Cleaning
To ensure the long-lasting use of your high chair, wipe down with a damp cloth and use a mild soap solution if necessary. Do not use abrasive cleaners. Always store
product in a clean dry place.
Maintenance
Always check parts regularly for tightness of screws, nuts and other fasteners – tighten or replace if required. Use only those parts and accessories approved by CNP
Brands.
VI STA
High Chair Model # 044213
Assembly / Operating Instructions
To attach front and rear bottom support frames
With care, depress spring pins and push each corresponding leg of the front bottom frame into legs of the
side frames until spring pins click and lock into place. Repeat for rear bottom frame.
Locate the two holes in the rear of the two front legs of the side frames, and secure stop washers in these
holes using short screws.
To attach footrest
Attach the footrest underneath the seat as shown, by inserting tab between seat and frame tube and pulling footrest forward.
Insert a long screw on both sides of footrest to secure it in place.
To attach tray
There are three tray positions. Firmly hold both sides of the tray and pull side levers underneath tray. Slide tray onto armrest into the preferred
position. Ensure tray automatically clicks and locks into place.
WARNING: Never attach the tray to the armrest where the warning symbol ‘‘ ’’ is visible on the armrest.
Harness
To secure the child in the harness, insert all buckle prongs into the buckle housing until buckle prongs snap into position. Carefully adjust the
harness by pulling the slider (A) until the desired t is achieved in the lap, shoulder and crotch strap. To release the harness, squeeze both
buckle buttons (B) until it disengages.
CAUTION: The harness must be used at all times and be correctly adjusted - most injuries from highchairs are caused by falls.
To adjust seat height
IMPORTANT:
• Do not adjust the height of the seat whilst child is still in the high chair.
• If the adjusting brackets on the seat becomes difcult after a period of use, as part of the regular maintenance routine; DO NOT use any
spray lubricants, simply wipe clean after use and try again.
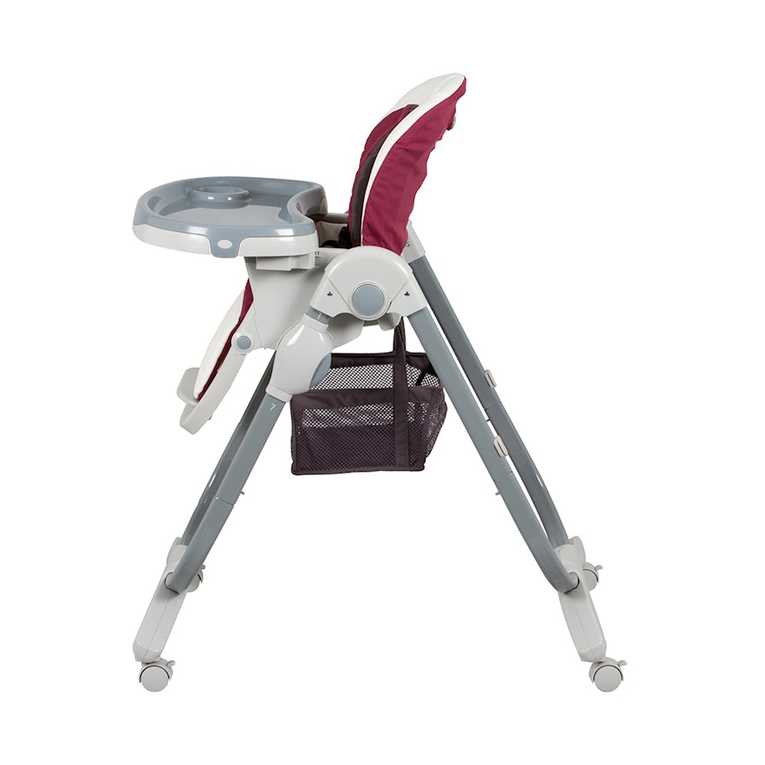
There are six seat height positions; ‘1’ being the highest and ‘6’ being the lowest. To raise or lower the seat height, simultaneously push in the red
buttons of both adjusting bracket on the seats. Lift or push down until seat is in the preferred position and release red buttons.
To recline seat backrest
There are three seat backrest positions. To adjust the seat backrest; lift the plastic lever at the back of the seat and lift or push down until
backrest is in the preferred position and release the plastic lever.
To remove seat pad
If the seat pad needs to be removed for easy clean; locate all ve harness attachments in the top, middle
and bottom section at the back of the seat. Remove plastic cover on harness attachment by levering end of
cover up using a screwdriver, as shown in rst image. Push each harness attachment through the seat as
shown in second image. Slide the detached harness out from the seat pad and remove to clean. Attach the
harness back onto to the high chair by repeating the previous steps in reverse. Ensure plastic cover is fully
clipped onto harness atachments, using a screwdriver if required as shown in the nal image.
Folding the high chair
The tray can be stored by locating it on the buttons that are situated on the rear of both the leg frames.
Lower the seat height to its lowest position. Press the red button on both of the leg frames as shown and bring front and rear
frames together.
How to care for your Childcare High Chair
A
A A
A
BB
A
