Chirana Medical 110D User manual

User manual for micromotor attachment handpieces CHIRANA
Micromotor attachment handpieces CHIRANA are manufactured according to directive MDD 93/42 / EEC under
ISO 13485: 2012 quality management system.
Straight handpiece 110 D No. 39 021 2567 Pic.1
Contra angle handpiece with light 120 L No. 39 033 2827 Pic.2
Contra angle handpiece 120 No. 39 033 2837 Pic.2
Contra angle handpiece 120LB No. 39 033 2853
Contra angle handpiece 120LR No. 39 033 2854
1. TECHNICAL DETAILS :
2. IMPORTANT INSTRUCTIONS:
- Straight handpiece and contra angle handpieces are intended
for use in dentistry by trained professionals only.
- Use under safe working conditions only. Follow the proper use
instruction in accordance with this manual.
- Protect the eyes of patient and assisting staff from direct
contact with light source.
- Protect yourself, patients and others from possible accidents.
- Avoid contamination from the product.
- Repairs and maintenance can be done by trained
professionals only.
3. STANDARD ACCESSORIES :
Jet cleaning needle 1 pc No. T 070 2603 4
SMIOIL spray with nozzle 1 pc No. 39 031 2690,1
KN lubricating tip 1 pc No. 070 2634 4
KT lubricating tip (only 120LR) 1 pc No. 3152 7608
4. FIRST USE:
- Check the content of the package to make sure you received
the attachment with accessories, user manual and a warranty
card.
- Micromotor handpiece attachment connection dimensions
conform to ISO 3964
- Use only burs and cutters that correspond to ISO 1797-1 with
shank diameter of 2.334 ÷ 2.350 mm, maximal length of 22 mm
for contra angle heads and maximal length of 44.5 mm for
straight attachments.
- Pay attention to the warnings and instructions provided by
manufacturers of burs and cutters.
- DO NOT USE burs and cutters that deviate from the indicated
data.
- DO NOT USE burs with worn shank. They could fall out during
treatment and injure the patient. Once in a while check the
sharpness of burs under a magnifying glass.
4.1. Coupling with micromotor pic. 3
Attaching: With a slight twisting motion slip the attachment
handpiece onto the micromotor coupling until the
driving and chuck mechanisms snaps into place.
Removal: Remove the attachment handpiece off of the
micromotor by a slight pull along the micromotor axis
while simultaneously twisting the attachment around.
Adjust the flow of water exiting the nozzle of the handpiece cooling
spray to min. 50 ml/min. at the inlet pressure of 200kPa. Air flow of the
cooling spray 1.5NL/min at the inlet pressure 200kPa.
Minimum requirement for the cooling air supplied by
micromotor is 6 NL/min.
Insufficient cooling can increase the temperature of
external parts.
DO NOT attach or remove any handpiece
attachments from the micromotor while it is running.
4.2. Attaching head to the contra angle pic. 4
(Does not apply for 110D, 120LB, 120LR) Rotate the clamping ring of
contra angle in the direction of the arrow until it stops and hold it in
position. Insert the head into the contra angle so the grooves on the head
match the slots inside the contra angle. Release the clamping ring.
- Never insert the head during rotation.
- Check the head’s proper connection with contra
angle handpiece before each use.
4.3. Straight handpiece bur insertion and replacement
pic. 5
The bur gripping mechanism is released by rotating the clamping ring in
the indicated direction. Reverse rotation will tighten and lock the inserted
bur.
4.4 Bur insertion and replacement on 120LB, 120LR contra angles
Fig.6
Inserting the bur - press the push button firmly with your thumb and
simultaneously insert the bur all the way into the hole. The correct
clamping position of latch burs is found by rotating the bur around its axis
(applies for 120LB). To remove the bur - press the push button with your
thumb and pull the bur out. After each change of the drill it is necessary
to check its clamping by pulling it outwards from the head.
168 D-T
168 D
110D
120
120L
120LB
120LR
Input RPM
Max.40 000
min-1
Max.40 000
min-1
Max.40 000
min-1
Max.40 000
min-1
Max.40 000
min-1
Gear Ratio
1:1
1:1
1:1
1:1
1:5
Color Marking
Blue point
Blue point
Blue point
Blue point
Red point
Bur Cooling
side spray
side spray
side spray
4-spray
4-spray
Light
-
-
yes
yes
yes
Ø shank / bur
length (mm)
Ø 2.35 / 44.5
-
-
Ø 2.35 / 22
Ø 1.6 / 22

We recommend the use of protective gloves or
another finger protection while inserting, removing
and checking the bur’s grip. This way you will avoid
injuries and infections.
5. PRODUCT MAINTENANCE
The lifetime of micromotor handpieces is extended by regular and correct
maintenance. Treat the handpiece before the first and after each
following use by the procedure of external cleaning –disinfection –
greasing –sterilization.
5.1. External cleaning
The surface of straight and contra angle micromotor attachments can be
cleaned with alcohol solution or by brushing under running water.
5.2. Disinfection
We recommend disinfecting the surface of handpiece with antiviral
disinfectants effective against HIV virus, i.e. disinfectant spray or wipes.
- DO NOT immerse attachments into disinfectant
bath. This may cause them to malfunction.
- DO NOT use high alkaline or chlorine based
disinfectants.
-DO NOT clean or disinfect attachments in ultrasonic
bath.
5.3. Greasing
Before each sterilization or at least twice a day, grease the handpiece by
overspraying for 1-2 seconds, pic. 7. Place the handpiece with the
header down that the residue oil could leave through the header out,
wipe the excess oil. If you see black oil flowing from the handpiece,
repeat the process until the flowing oil is clean. When handling, use a
pulp that is well visible for dirt.
It is recommended to treat the bur clamping system once per week.
Spray into the bur hole with spindle applicator tip for 1-2 seconds (Fig.
8).
- For maintenance of straight and contra angle attachments use only
SMIOIL spray.
5.4. Sterilization
Micromotor handpiece attachments are autoclave sterilizable up to 135oC.
Suggested verified parameters: temperature 134oC, Time 5 min.,
Pressure 300 kPa, three times pre-vacuum. We recommend use of
equipment according to EN 13060: 2004 Type B, packaging according to
EN 868-5: 2009.
- Also sterilize the needle T07026034
- Treat the handpiece attachments with SMIOIL spray before each
sterilization
- Autoclave only cleaned handpiece attachments
- Do not sterilize handpiece attachments with inserted burs.
- Follow the autoclave manufacturer instructions and national legislations.
- Remove the handpiece attachments from autoclave immediately after
sterilization cycle ends.
If handpiece attachments have not been used for a prolonged
period of time, it is necessary to clean and maintain them
according to the user manual.
Store handpiece attachments in a dry place.
If you hear irregular sounds during the operation, feel strong vibrations or
if the bur cannot be clamped, stop using the handpiece attachment and
immediately contact a Chirana authorized dealer or CHIRANA Medical,
Inc. to avoid further damage to the product.
6. REPAIRS AND SERVICE
Service lifetime of the product –min. 5 years
In the case of deviations from the usual characteristics, such as irregular
running, vibrations, deterioration of the clamping mechanism,
overheating, media leakage, mechanical damage, you must not work
with the handpiece. Contact an authorized service organization or the
manufacturer CHIRANA Medical, a. s. When repairing, use the original
spare parts from the device producer CHIRANA Medical, a. s.
7. DEVICE DISPOSAL
Disposal must be done in strict compliance with all applicable
regulations. At the end of a lifetime, the device (instrument)
cannot be disposed off with household waste. It has to be
disposed off with other industrial waste, ie by separate
collection. A separate collection of electrical waste is transferred
to the distributor or waste management company for reusing or
recycling. Waste collection of device or instrument is provided
by distributors (contracted service company, respectively
contracted service personnel), who will collect the device
(instrument) from the consumer after cleaning, required
disinfection and sterilization and forward it to the hazardous
waste management company.
8. TRANSPORT AND STORACE CONDITIONS
Temperature: -20˚C ÷70 ˚C (-4 ˚F ÷158 ˚F)
Relative humidity : 5% ÷95%
Atmospheric pressure: 50kPa ÷106kPa (0.5 ÷1.06bar; 7.25 ÷ 15.37psi)
9. USED SYMBOLS
XXXX
Manufacturing Date
Manufacturer
Autoclavable by
indicated temperature
Warning
Fragile,handle with
caution
Temperature limits
See the instruction
manual
Store in a dry place
Humidity limits
CE marking code of
the notified body
Wear protective glasses
Atmospheric pressure
limits
Do not dispose off
with household waste
Conformity mark of
Ukraine with number of
the conformity
assessment body
CHIRANA Medical a.s., Stará Turá
Nám. Dr. A. Schweitzera 194, 916 01 Stará Turá, P.O.Box 57, Slovak Republic
medical@chirana.eu , www.chirana.eu Date of last revision –01/2020
This manual suits for next models
4
Other Chirana Medical Dental Equipment manuals
Popular Dental Equipment manuals by other brands
DENTSPLY Tulsa Dental
DENTSPLY Tulsa Dental ProUltra PIEZO ULTRASONIC Instructions for use
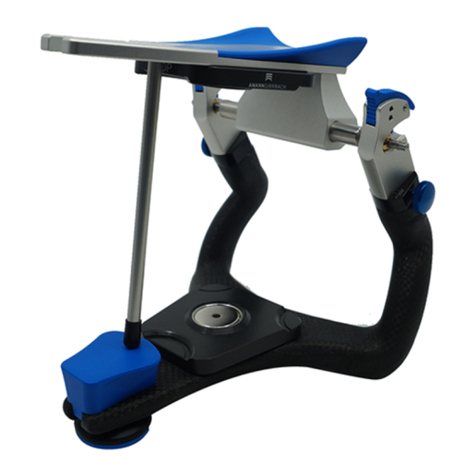
Amanngirrbach
Amanngirrbach Artex CN user manual

NSK
NSK S-Max M65 Operation manual
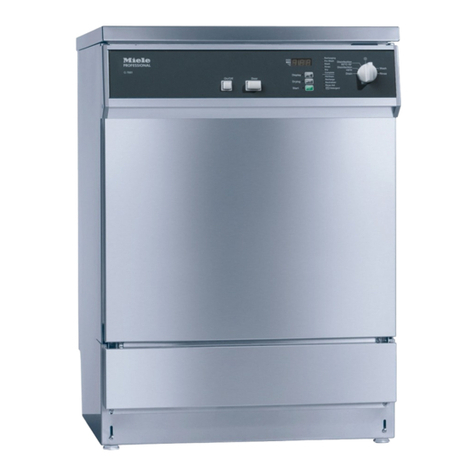
Miele
Miele G 7881 operating instructions
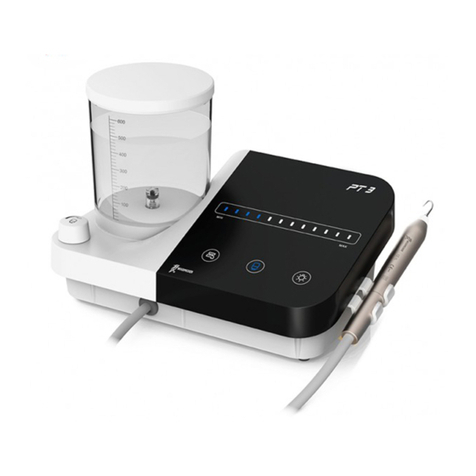
Woodpecker
Woodpecker PT MASTER 3 instruction manual
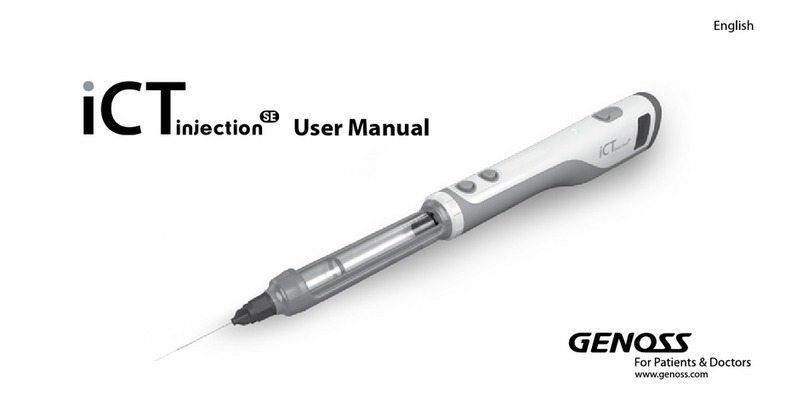
Genoss
Genoss iCT injection SE user manual
