Dentsply Sirona
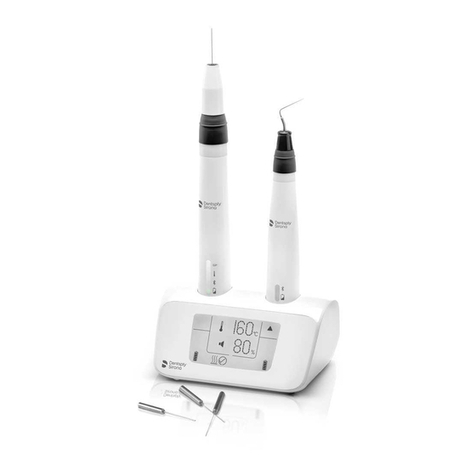
Operating Instructions inEos X5
Table of contents
64 17 096 D3586
D3586.201.01.11.0207.2018 3
6Initial startup ........................................................................................................... 23
6.1 Putting the inLab 4 PC into operation .......................................................... 23
6.1.1 Startup prerequisites...................................................................... 23
6.1.1.1 Required accessories................................................... 23
6.1.1.2 Making connections...................................................... 25
6.1.2 Safety............................................................................................. 26
6.1.3 Possible sources of error ............................................................... 26
6.2 Installing the software .................................................................................. 27
6.3 Connecting the unit ...................................................................................... 28
6.3.1 Connecting the unit to the PC........................................................ 28
6.3.2 Connecting the unit to the power supply........................................ 28
6.3.3 Connecting the foot switch (optional)............................................. 28
6.3.4 Switching the unit on and starting the software ............................. 29
6.4 Calibrating the motor arm ............................................................................ 29
6.5 Calibrating the inEos X5 camera ................................................................. 30
6.6 Updating the firmware.................................................................................. 31
7Controls and displays ............................................................................................. 32
7.1 Controls on the inEos X5 ............................................................................. 32
7.2 Operating state LED .................................................................................... 33
8Switching the system on ......................................................................................... 34
9Performing 3D acquisition....................................................................................... 35
9.1 General ........................................................................................................ 35
9.1.1 Acquisition methods....................................................................... 35
9.1.2 Scan modes................................................................................... 36
9.1.3 Scan options .................................................................................. 36
9.1.4 Model options................................................................................. 37
9.1.5 Scan models and impressions....................................................... 38
9.1.6 Autofocus....................................................................................... 39
9.1.7 Deleting images ............................................................................. 39
9.1.8 Operation via foot switch................................................................ 39
9.2 Starting the unit/standby mode .................................................................... 39
9.3 Automatic jaw scan ...................................................................................... 39
9.3.1 Preparing the optical impression.................................................... 40
9.3.2 Taking the scan.............................................................................. 41
9.3.3 Guideline editor.............................................................................. 41
9.3.4 Starting the automatic detail scan.................................................. 42
