9
SELF-TAPPING ACCESSORY Ref: SEP - 01
This accessory allows the CINTROCLEAR water purifier to be supplied a copper
pipe with diameter between 10 and 16 mm.
SELF-TAPPING VALVE
Installing the self-tapping valve on piping is a
simple operation for which the only tool required
is a screwdriver. The valve may be installad on
a pipe with diameter of 10, 12, 14 or 16 mm.
Important : before installings the self-
tapping valve, close the water supply tap to
the house and open some taps to ensure
that the system is depressurised and
partially drained.
Installation instructions
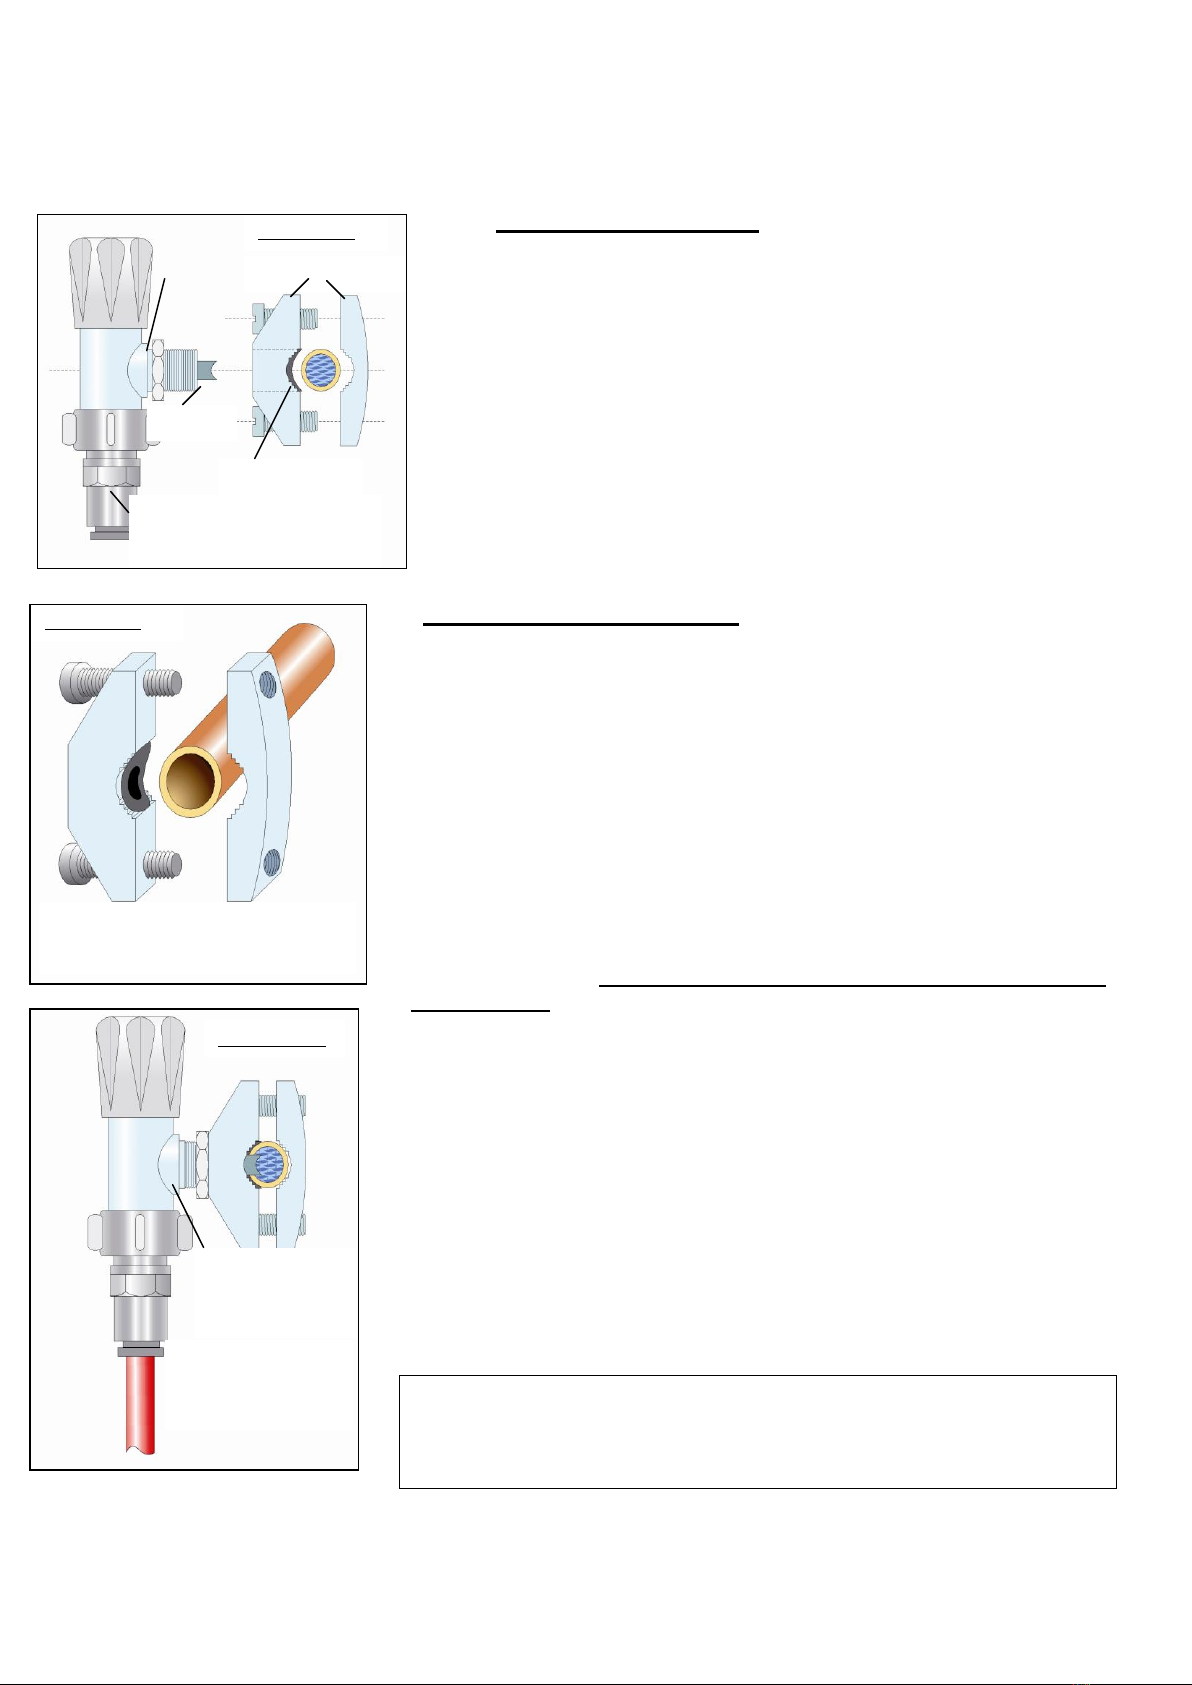
1) Unscrew the tap body to separate it completely from the flanges as
shown in diagram N°1.
2) Place the flanges on the pipe. Ensure that the round side of the seal
is turned in the right direction as indicated in diagram N°2.
3) Tighten the 2 fastening screws firmly, but witout exaggerating. That is
why it is best to systematically change sides when tightening the
screws.
4) Once the flanges are solidly tightened down on to the pipe, screw the
valve body on to the flange assembly. Before screwing the valve body
on to the flange, do not forget to fit the locking ring as shown in
diagram N°1, if not it will impede during the tapping operation. The
valve must be tightened down hard on to the seal but not excessively
since overtightening is useless and may deform the seal. When you
have finished with the screws, turn the tap in the desired direction and
block it by turning the lock nut op the flange as shown in diagram N°3.
5) Check that the self-tapping valve is in the “closed” position,
pressurise the water system again, purge the air from the pipes by
opening the valves slowly and check that the installed assembly does
not leak. If a leak should occur on pressurisation, check that the seal is
correctly orientated and that the valve is correctly tightened against the
flange.
Suggestion: when the drill tip touches the copper pipe, tighten down
one turn and then back off half a turn, then tighten down a full turn and
back off half a turn and so on until the pipe is drilled right through.
Drilling in this way will avoid burrs and crushing the copper pipe.
Locking nut in
drilling position
Check the correct orientation of the curve of
the seal before tightening down the assembly
using the two screws.
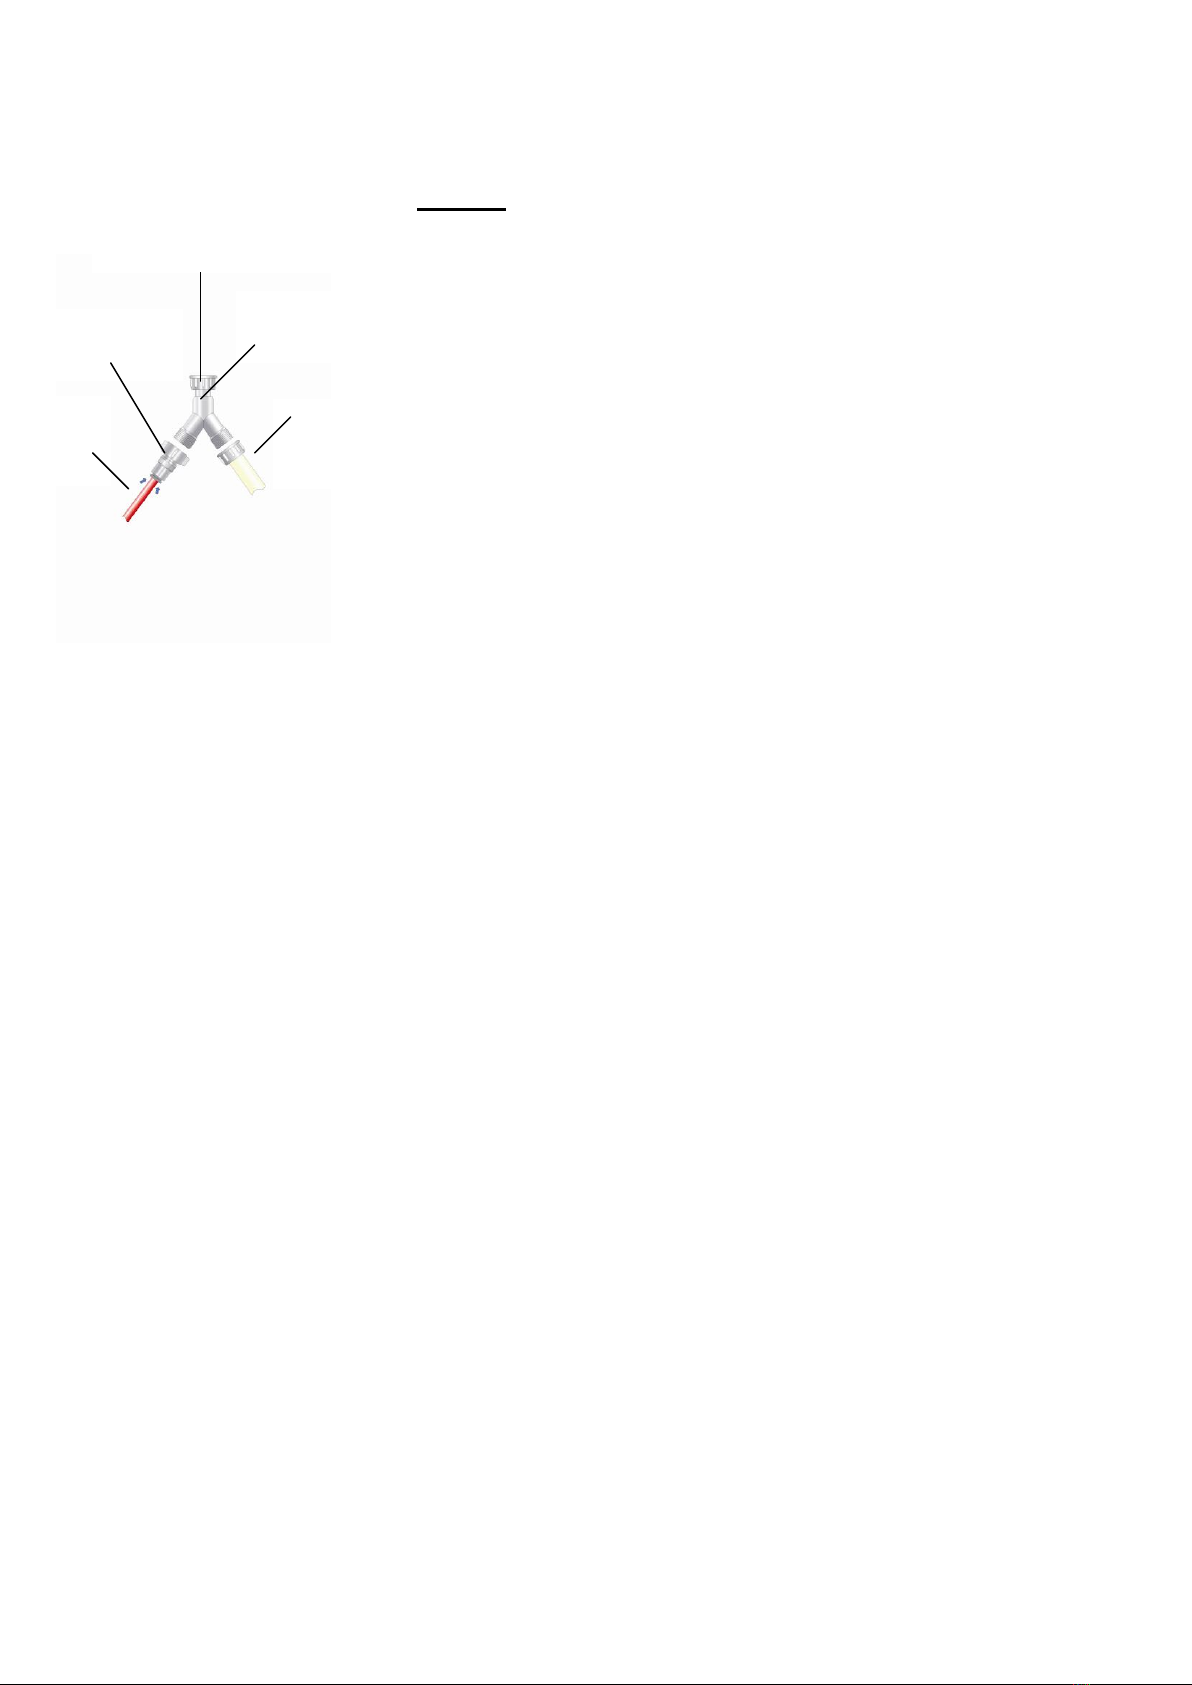
Automatic connector ref. RAC-01
(outlet of water purifier
View of completed
assembly. The valve may
be locked at any angle
using the locking nut
Locking nut tightened
down against the
flange in its definitive
position