Circuitron AR-1CC User manual

AUTO POLARITY REVERSER
AR-1CC
211 RocBaar Dr., Romeoville, IL 60446
(815) 886-9010 FAX: (815) 886-9076
Electronics for Model Railroads
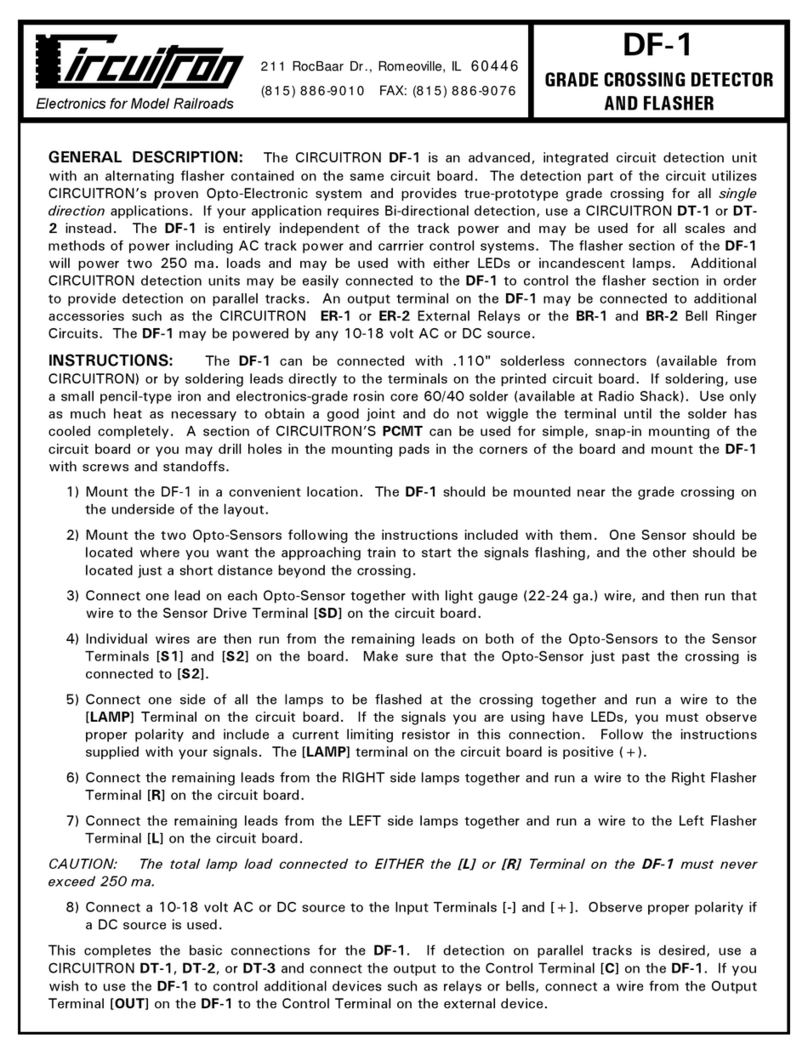
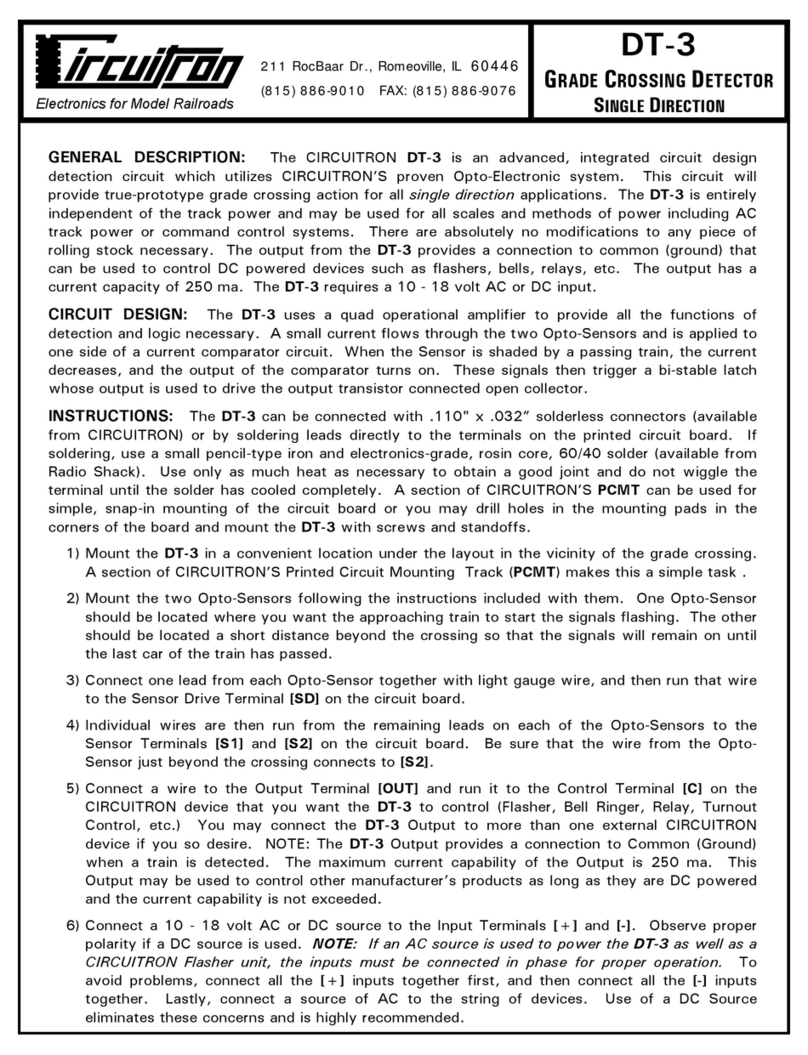
GENERAL DESCRIPTION: The CIRCUITRON AR-1CC is an automatic polarity reverser designed for
reverse loop applications on Command Control layouts. The AR-1CC can safely switch up to 5 amp
loads, making it compatible with virtually all scales. The AR-1CC uses tiny Opto-Sensors mounted
between the rails where they are shaded from ambient room light by the locomotive or a piece of rolling
stock. The length of the reversing section the AR-1CC is controlling MUST be longer than the train length
for proper operation (See NOTES section on next page). The AR-1CC requires a filtered 12 volt DC supply
for proper operation. Pushbuttons may be incorporated into the circuit for manual reversing.
INSTRUCTIONS: Please refer to the diagrams for labeling and Opto-Sensor locations. The AR-1CC can be
connected with .110" x .032” solderless connectors (available from CIRCUITRON) or by soldering leads directly
to the terminals on the printed circuit board. If soldering, use a small pencil-type iron and electronics-grade
rosin core 60/40 solder (available from Radio Shack). Use only as much heat as necessary to obtain a good
joint and do not wiggle the terminal until the solder has cooled completely. A section of CIRCUITRON’S PCMT
can be used for simple, snap-in mounting of the circuit board or you may drill holes in the mounting pads in the
corners of the board and mount the AR-1CC with screws and standoffs.
1] Mount the AR-1CC in a convenient location. A section of CIRCUITRON’s Printed Circuit Mounting
Track [PCMT] makes this step simple.
2] Your reversing section should be double-gapped (both rails) at both ends. Install Opto-Sensors at the
gaps following the instructions packed with them. Note that one sensor is mounted on each side of
each gap. We recommend a distance no less than 3 inches on either side of the gaps for the sensors.
3] The Opto-Sensors are wired as series pairs at each gap. Connect one lead from each of Opto-Sensors
A and B together with light gauge (22-24 ga.) wire. Do the same with Opto-Sensors C and D.
4] Run a wire from the remaining lead on Opto-Sensor B to the terminal marked [SD] on the printed
circuit board. Run another wire from the remaining lead on Opto-Sensor D to the [SD] terminal.
5] Run individual wires from the remaining leads of Opto-Sensors A and C to the terminals marked [S1]
and [S2] on the printed circuit board.
6] Connect wires from the [OUT] terminals at the top of the AR-1CC to the track in the reversing section
as shown. Use 20 gauge wire for short runs (6 feet or less), 18 gauge for long runs.
7] Connect the [IN] terminals to the output from your Command Control Power Station or to the the
track outside of the reversing section. Use the same wire size as in Step 6 above.
8] If manual reversing capability is desired, connect a momentary pushbutton between [S1] and the [-]
supply terminal as shown. Do the same with [S2] and the [-] supply terminal.
9] Connect the [+] and [-] supply terminals to a FILTERED 12 volt DC power supply. The AR-1CC may
be powered from the power station output (track) on DCC systems, but a bridge rectifier (available
from Circuitron or Radio Shack) will need to be wired between the Command Control Power Station
and the AR-1CC (see Figure 2). In addition, the voltage should be checked with a voltmeter to be
certain that it does not exceed 14 volts DC. WARNING: Excessive voltage may cause relay or circuit
damage which is not covered by warranty.
10] Making certain that no rolling stock is over any Opto-Sensor and that room lighting is at the level it
will be at during operation, rotate the sensitivity control P1 until indicator lamp L1 is on. Turn the
control back until L1 just turns off. Rotate the control about 10 degrees further to eliminate excess
sensitivity. Follow the same procedure with P2 and L2.
11] Roll a train car over the Opto-Sensors and make certain that the corresponding indicator (L1 or L2)
lights when the Opto-Sensor is covered. If it does not, repeat step 10.
12] Place a train on the track and run it through the reversing section. If you get a short circuit as the
train passes across a gap, reverse the connections to the [OUT] terminals.

NOTES: The AR-1 was originally designed for Point to Point layouts, and the AR-1CC utilizes the same
circuit with an extra pair of Opto-Sensors for Command Control apllications. Due to the design of the circuit,
it is mandatory that the entire train clear the sensors at one end of the reversing section before covering the
sensors at the other end. This is not a problem as long as train length is shorter than the reversing section. In
some cases, however, layout design requires a very short reversing section, and trains will bridge the sensors
at each end. By using a Circuitron DT-4 along with some additional components, it is possible to modify the
input section of the AR-1CC so that it will respond properly while the opposite Opto-Sensors remain covered.
Send $1.00 and request Application Note AN-5410-01 for additional information.
WARRANTY
CIRCUITRON warrants this device against defects in materials and workmanship for a period of one year from the date of purchase. This
warranty covers all defects incurred in normal use of the device and does not apply in the following cases:
a) damage to the device resulting from abuse, mishandling, accident or failure to follow operating instructions.
b) if the device has been serviced or modified by other than the CIRCUITRON factory.
EXCEPT AS MENTIONED ABOVE, NO OTHER WARRANTY OR GUARANTEE, EXPRESS OR IMPLIED INCLUDING MERCHANTABILITY, ON THE
PART OF THE UNDERSIGNED OR ANY OTHER PERSON, FIRM OR CORPORATION, APPLIES TO THIS DEVICE.
CIRCUITRON, INC.
Table of contents
Other Circuitron Security Sensor manuals
