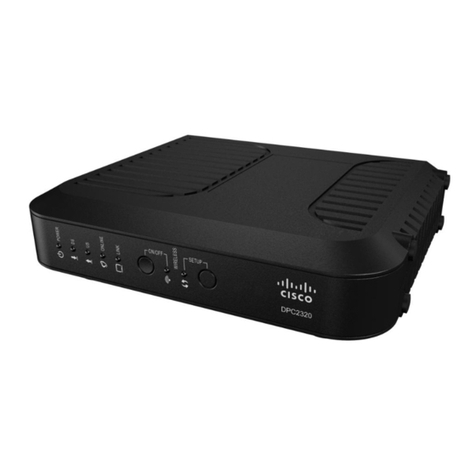
Cisco Physical Access Gateway User manual
Other Cisco Gateway manuals
Cisco
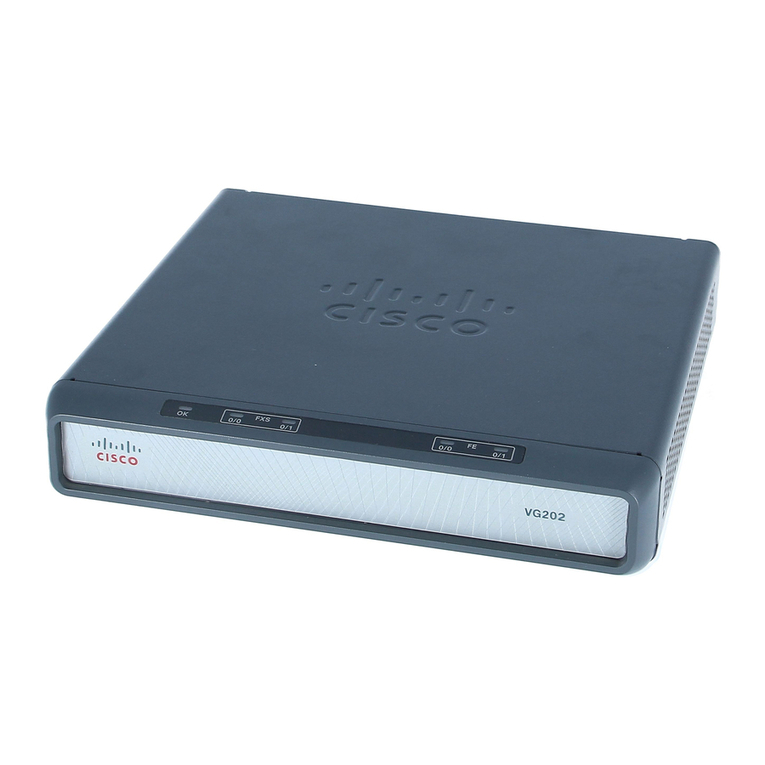
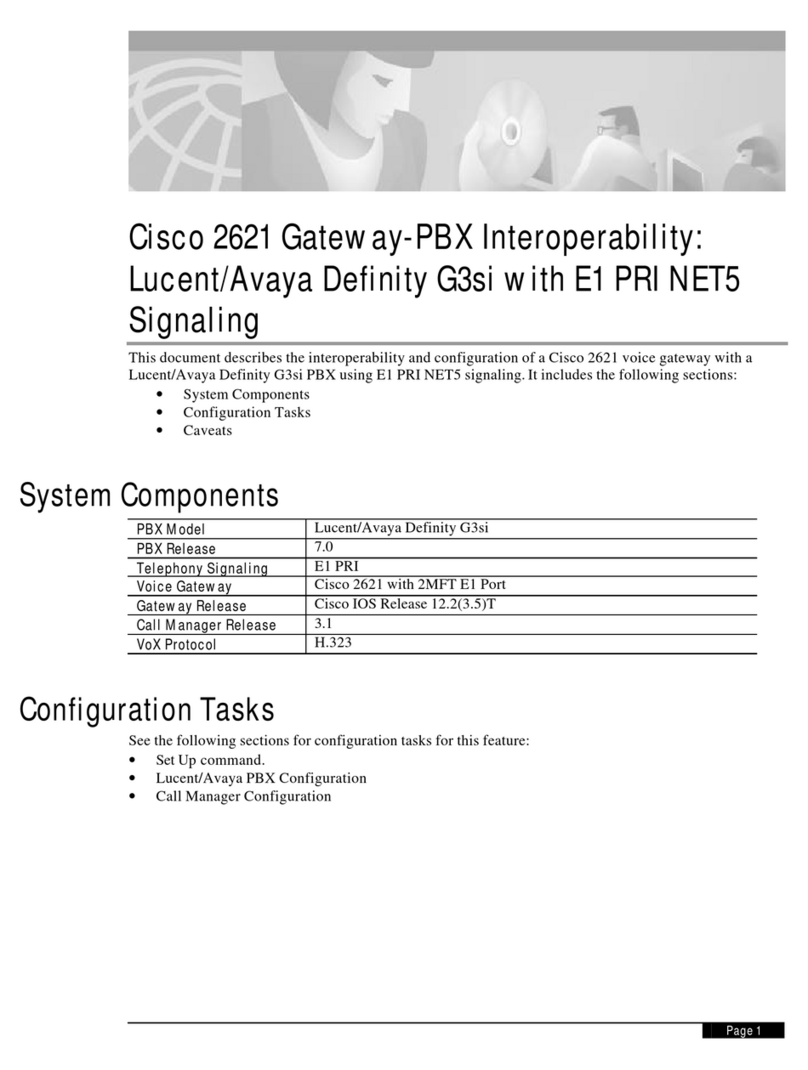
Cisco VG202 Manual
Cisco
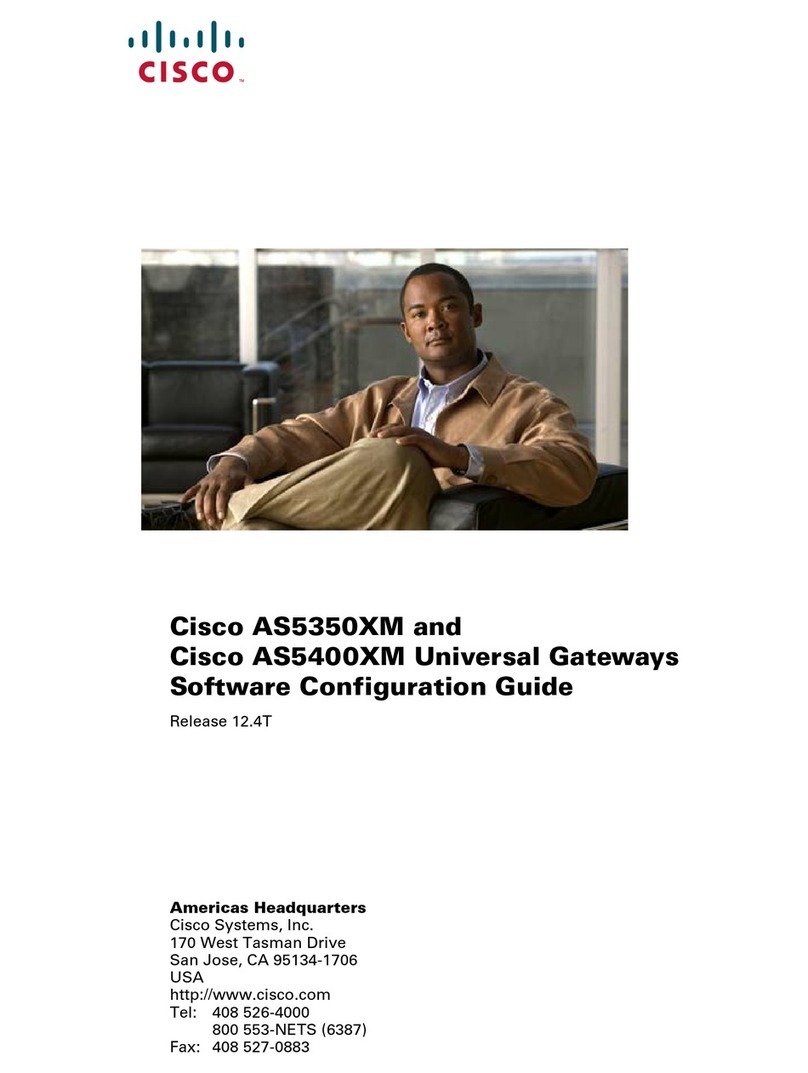
Cisco 2621XM User manual
Cisco
Cisco AS5350XM User manual
Cisco
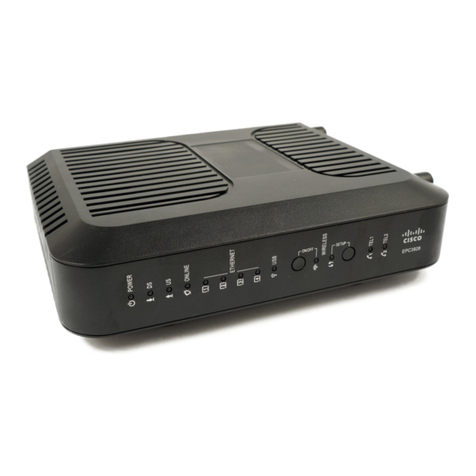
Cisco EPC3928 DOCSIS User manual
Cisco
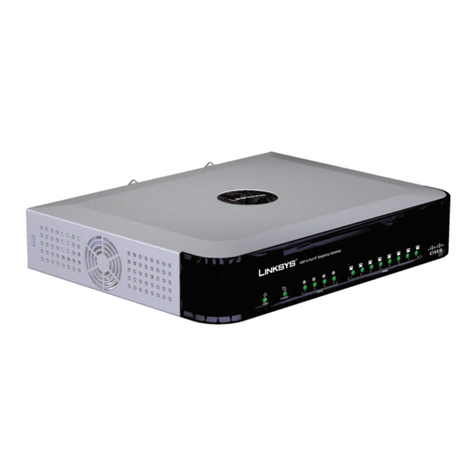
Cisco Linksys SPA8000-XU Original operating instructions
Cisco
Cisco ISDN GW 3241 User manual
Cisco
Cisco Small Business Pro series Instruction Manual
Cisco
Cisco DPC3829 User manual
Cisco
Cisco Linksys WAG160N User manual
Cisco
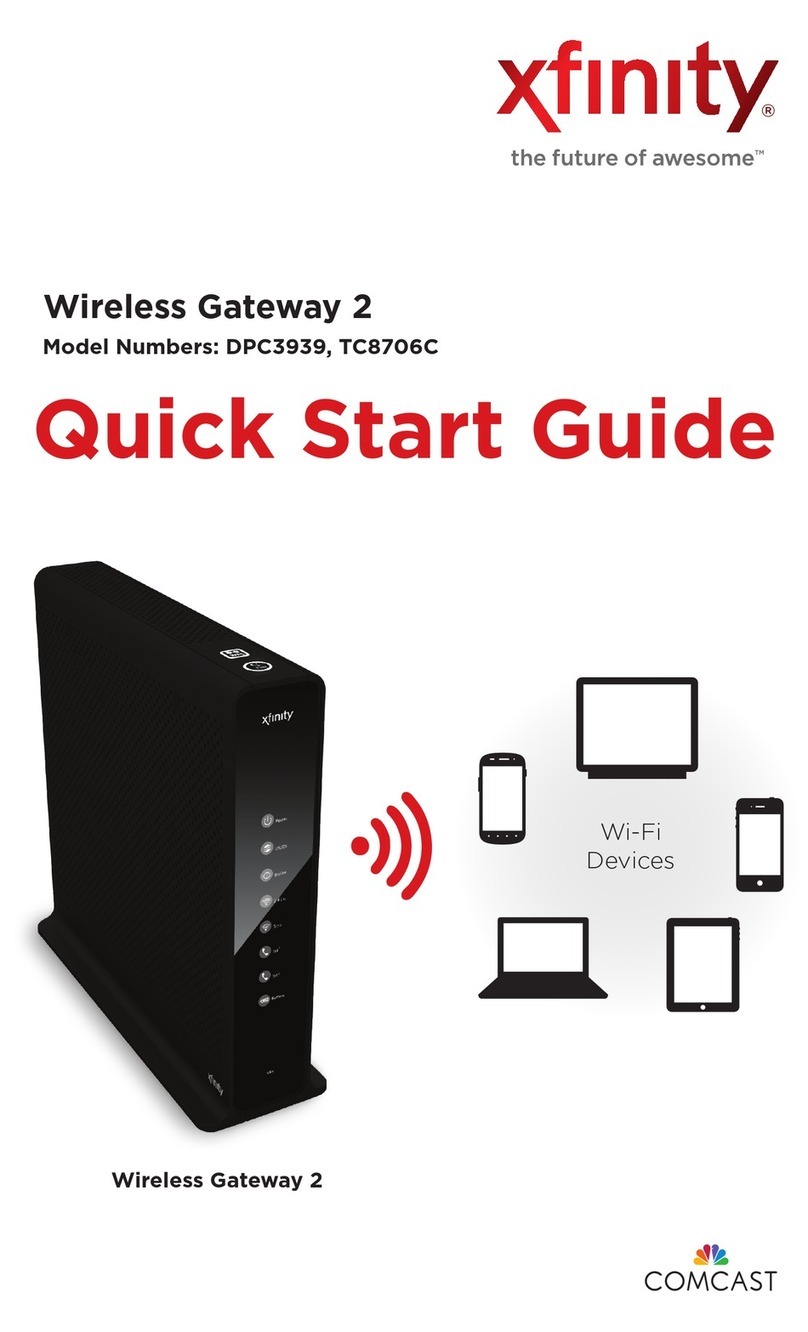
Cisco Comcast Xfinity DPC3939 User manual
Cisco
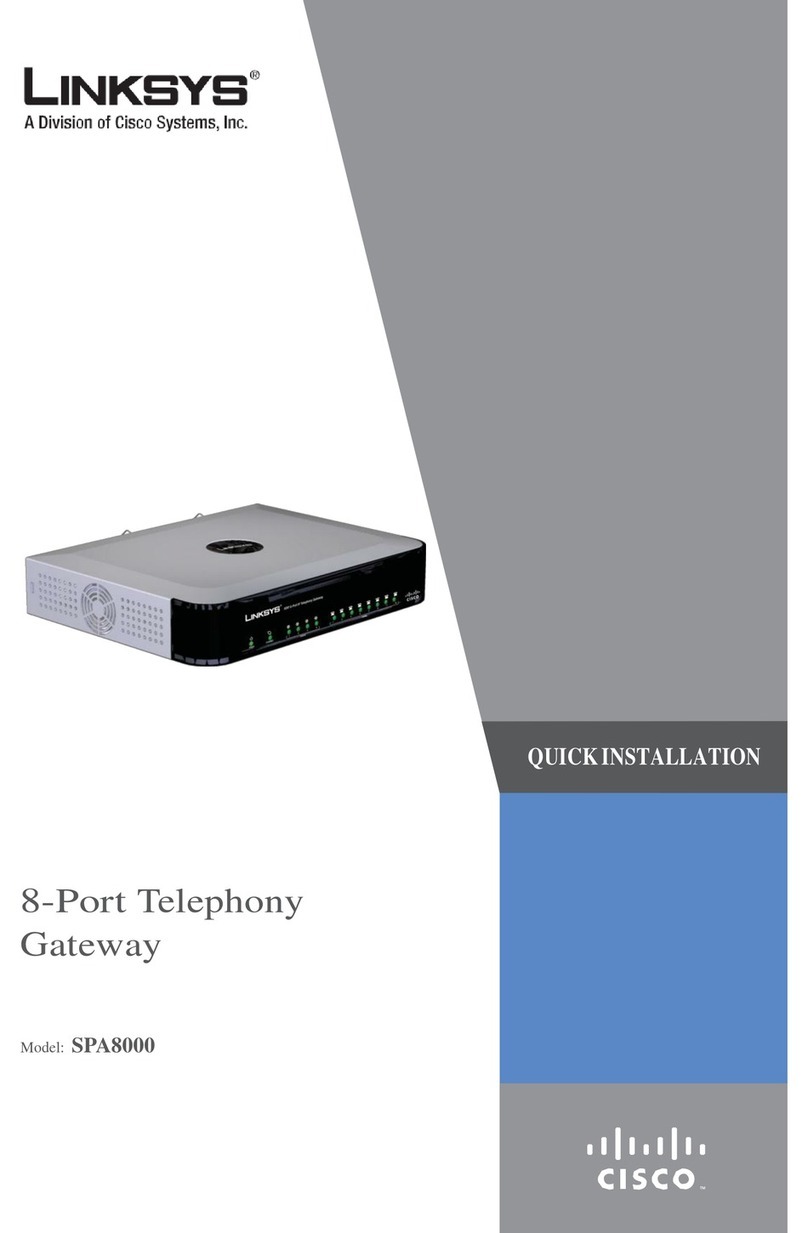
Cisco Small Business SPA8000 Original operating instructions

Cisco
Cisco UNIFIED COMMUNICATIONS UC320W User manual
Cisco
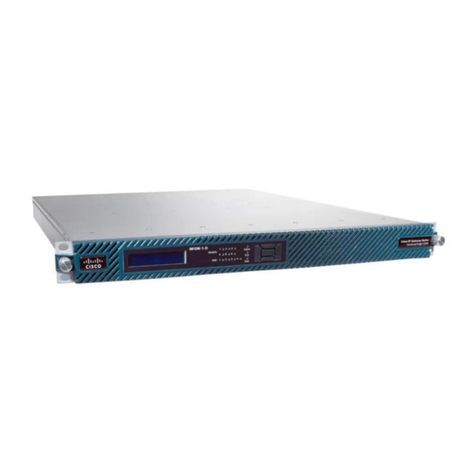
Cisco RF Gateway 1 Modules User manual
Cisco
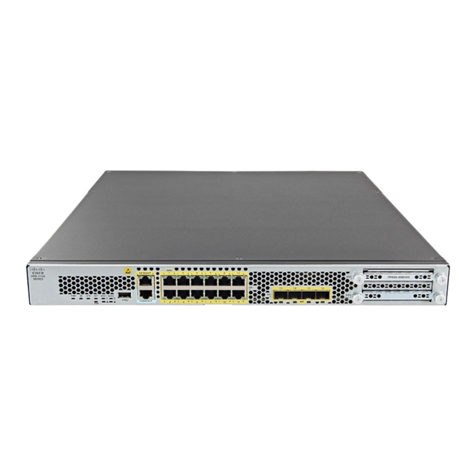
Cisco Firepower 2100 User manual
Cisco
Cisco AS5350 - Universal Access Server User manual
Cisco
Cisco SPA3000 User manual

Cisco
Cisco Small Business SPA8000 User manual
Cisco
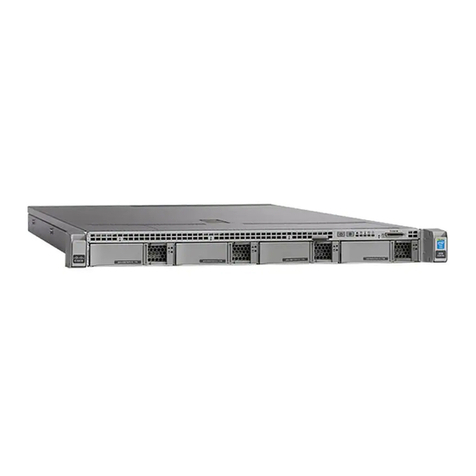
Cisco Firepower 1600 User manual
Cisco
Cisco Linksys AG310 User manual
Cisco
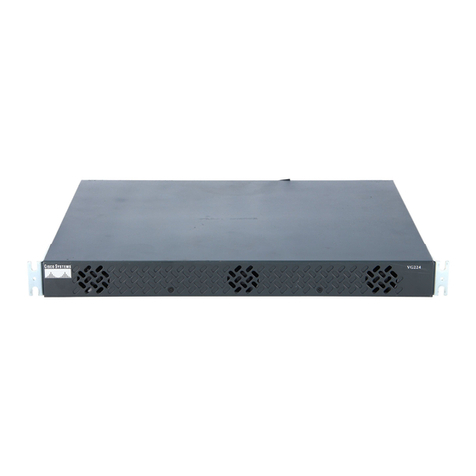
Cisco VG224 - Analog Phone Gateway Manual
Popular Gateway manuals by other brands

LST
LST M500RFE-AS Specification sheet

Kinnex
Kinnex Media Gateway quick start guide

2N Telekomunikace
2N Telekomunikace 2N StarGate user manual

Mitsubishi Heavy Industries
Mitsubishi Heavy Industries Superlink SC-WBGW256 Original instructions

ZyXEL Communications
ZyXEL Communications ZYWALL2 ET 2WE user guide

Telsey
Telsey CPVA 500 - SIP Technical manual
