manuals.online logo
Brands
  1. Home
  2. •
  3. Brands
  4. •
  5. Cisco
  6. •
  7. Handset
  8. •
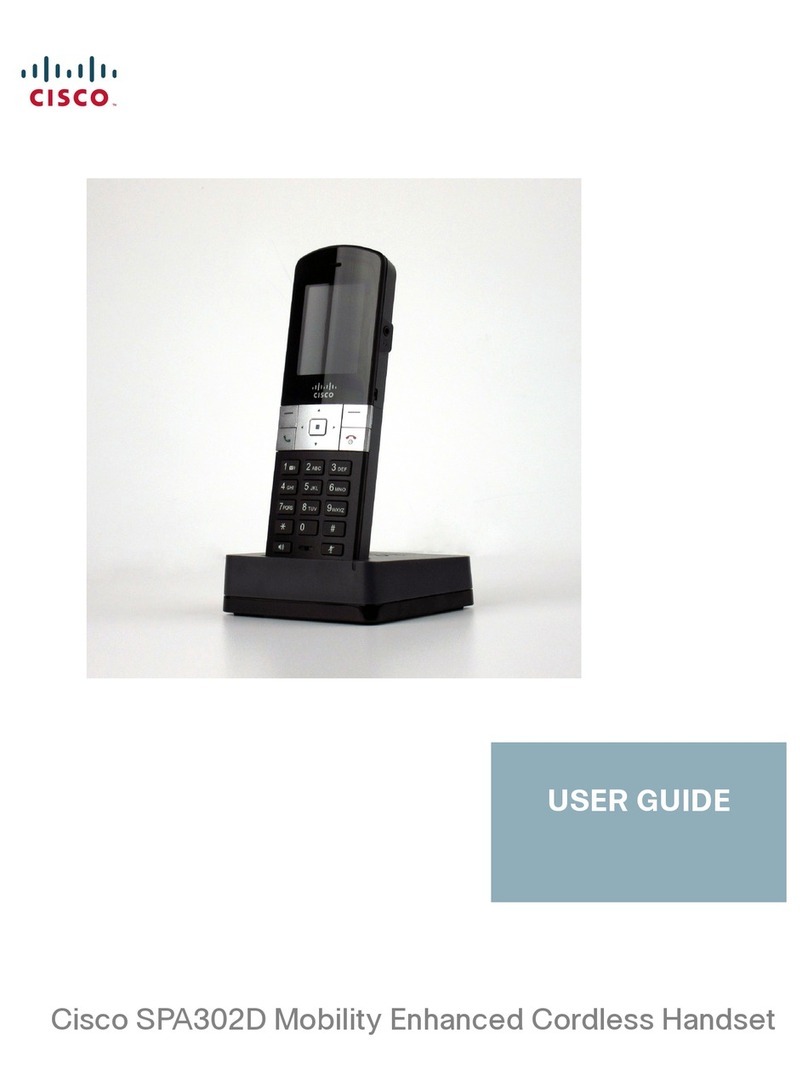
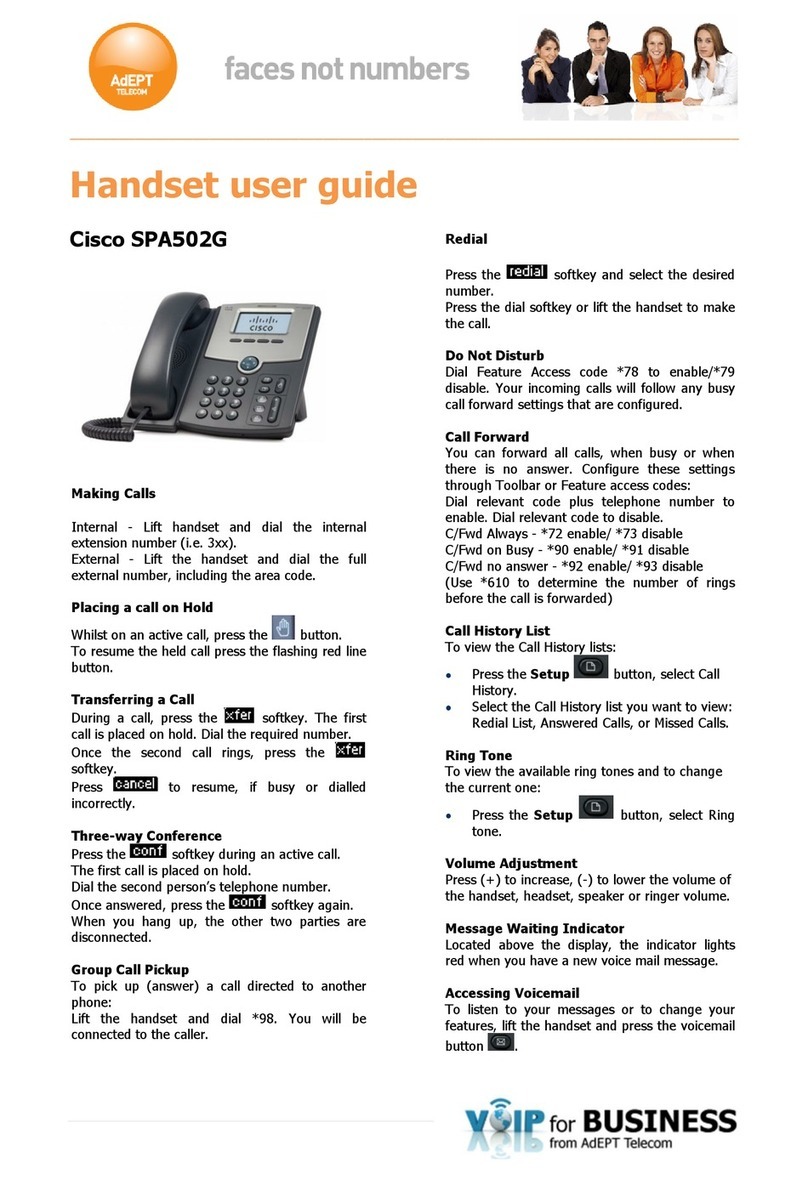
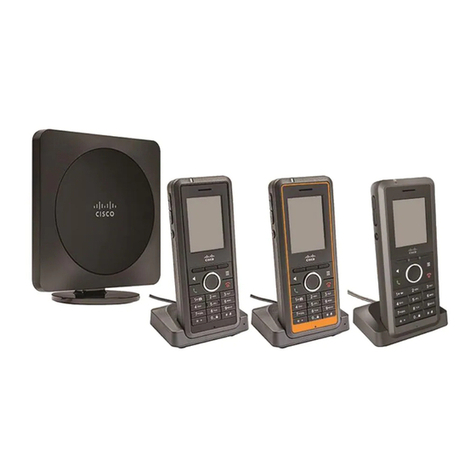
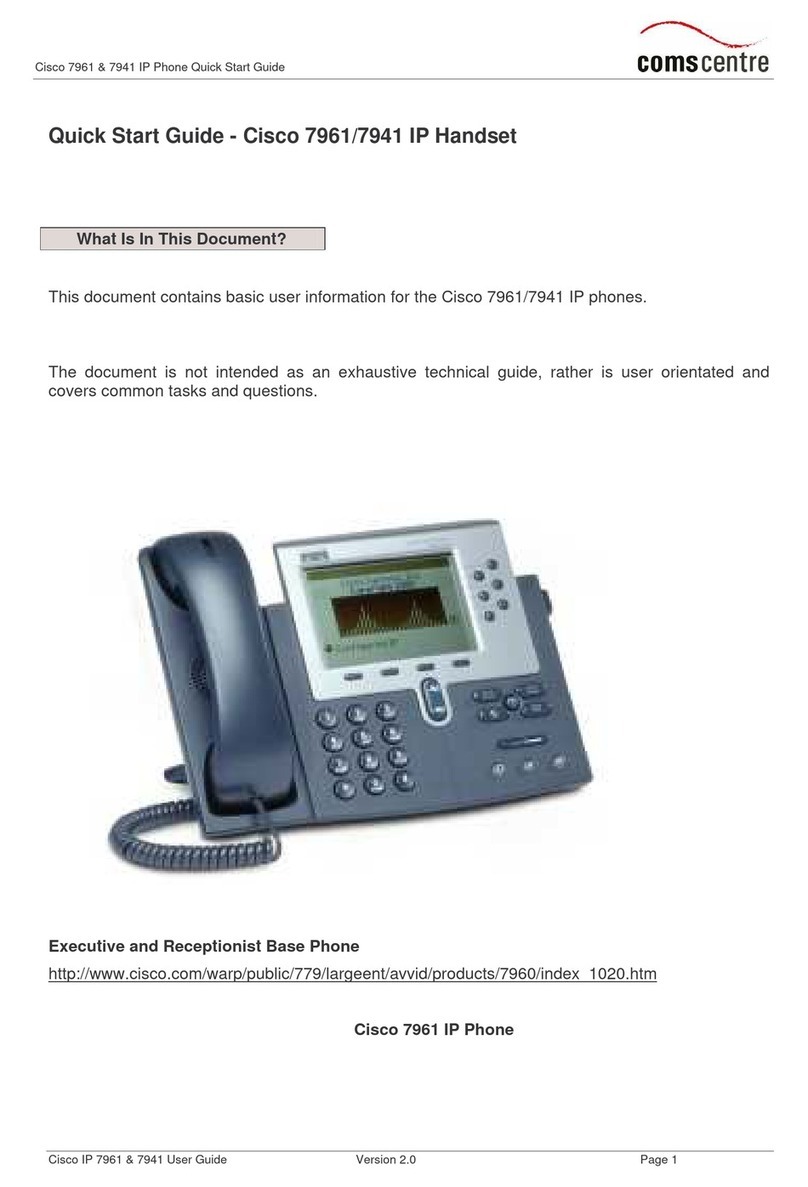
  9. Cisco IP 69 Series User manual

Cisco IP 69 Series User manual

Using your Cisco IP 69xx handset at Imperial College London –The Basics
Issued on 30.06.2015 Page 1 of 4Produced by Karen
Vincent
Cisco IP 6941 Cisco IP 6961
Using your Cisco IP 69xx handset at Imperial College London –The Basics
Issued on 30.06.2015 Page 2 of 4Produced by Karen
Vincent
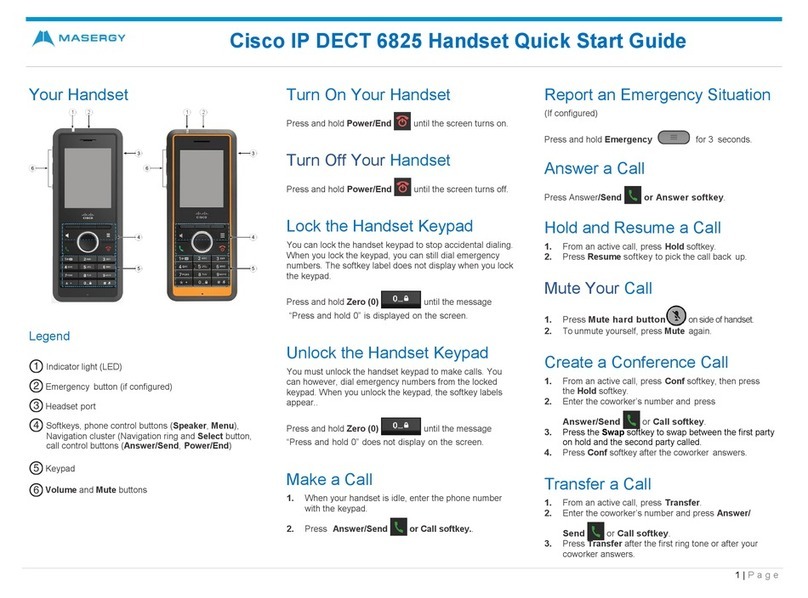
Key to Cisco IP 6941
1. Handset light stripor new voice mail message
(steady red). –Indicates incoming call (flashing red)
2. Phone Screen –Shows information about your phone
3. Programmable feature buttons –Depending on how
your system administrator sets up the phone,
programmable feature buttons provide access to:
Phone lines
Speed-dial numbers
Call features
Buttons illuminate to indicate status:
Green, steady –Active call
Green, flashing –Held call
Amber, flashing - Incoming call
Red, steady –Shared line in use
Red, flashing –Shared line on hold
4. Softkey buttons –Enables softkey options on your phone
5. Transfer button –Transfers a call
6. Conference button
7. Hold button –Places an active call on hold–Creates a
conference call
8. Navigation bar and Select button –Navigation bar allows
you to scroll through menus and highlight items. When
phone is on hook, displays calls from your Placed Call
listing (up arrow) or speed dials (down arrow). The
Select button (button with square) allows you to select a
highlighted item.
9. Headset button –Toggles the headset on or off. When
headset is on, the button is lit.
10. Speakerphone –Toggles the two way speakerphone on or
off. When speakerphone is on, button is lit.
11. Keypad –Allows you to dial numbers, enter letters and
select menu items (by entering the item number).
12. Mute button –Toggles the microphone on or off. When
microphone is muted, button is lit.
13. Volume button –Controls the handset, headset, and
speakerphone volume (off hook) and ringer volume (on
hook)
14. Messages button –Auto-dials your voice messaging
system
15. Applications button –Opens/ closes the Application
menu. Use it to access call history, user preferences,
phone settings and phone model information.
16. Contacts button –Open/ closes the Directories menu.
Uses it to access personal and corporate directories.
17. Handset/ Receiver –Phone handset/ receiver
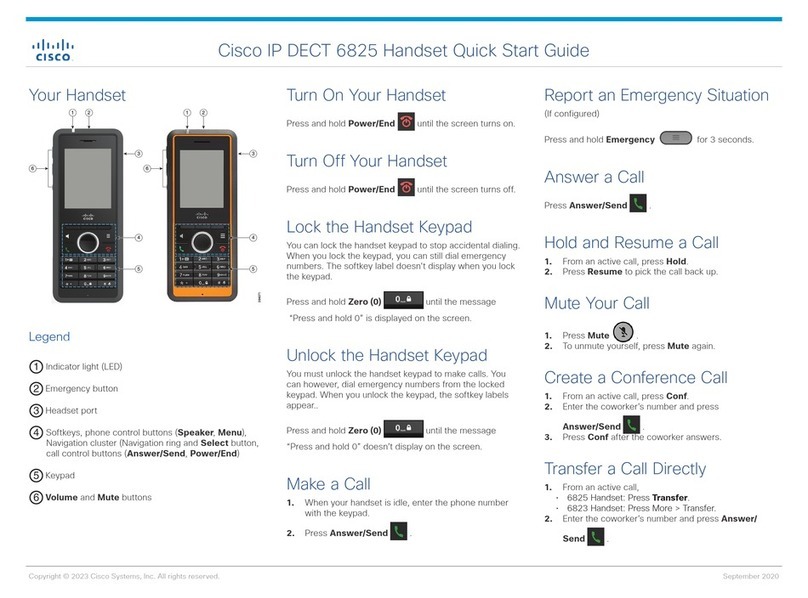
Key to Cisco IP 6961
1. Handset light strip –Indicates incoming call (flashing red) or
new voice mail message (steady red).
2. Phone Screen –Shows information about your phone
3. Softkey buttons –Enables softkey options on your phone
4. Transfer button –Transfers a call
5. Conference button –Creates a conference call
6. Hold button –Places an active call on hold
7. Navigation bar and Select button –Navigation bar allows
you to scroll through menus and highlight items. When phone
is on hook, displays calls from your Placed Call listing (up
arrow) or speed dials (down arrow). The Select button (button
with square) allows you to select a highlighted item.
8. Programmable feature buttons –Depending on how your
system administrator sets up the phone, programmable
feature buttons provide access to:
•Phone lines
•Speed-dial numbers
•Call features
•Buttons illuminate to indicate status:
•Green, steady –Active call
•Green, flashing –Held call
9. Headset button –Toggles the headset on or off. When
headset is on, the button is lit.
10. Speakerphone button –Toggles the two way speakerphone
on or off. When speakerphone is on, button is lit.
11. Keypad –Allows you to dial numbers, enter letters and select
menu items (by entering the item number).
12. Mute button –Toggles the microphone on or off. When
microphone is muted, button is lit.
13. Volume button –Controls the handset, headset, and
speakerphone volume (off hook) and ringer volume (on hook)
14. Messages button –Auto-dials your voice messaging system
15. Applications button –Opens/ closes the Application menu.
Use it to access call history, user preferences, phone settings
and phone model information.
16. Contacts button –Open/ closes the Directories menu. Uses
it to access personal and corporate directories.
17. Handset/ Receiver –Phone handset/ receiver
To transfer a call
Announce to the caller you are going to transfer their call
1. Press the Transfer button . The call will go on hold.
2. Dial the extension you wish to transfer to
3. Announce the call. (To return to the caller, if there is no answer, or
the extension you require is busy. Press the End Call softkey and
then press Resume softkey).
Using your Cisco IP 69xx handset at Imperial College London –The Basics
Issued on 30.06.2015 Page 3 of 4Produced by Karen
Vincent
4. Press the Transfer button or the Transfer softkey
5. Replace the receiver
To make an inquiry call
Whilst you are having a telephone conversation
1. Press the Transfer button . The person you were talking to
will be put on hold.
2.
Dial the required extension number and speak to your colleague
3.
To toggle between the calls press the Swap softkey. Your
colleague will go on hold and vice versa each time you press Swap.
4.
To return to the caller once your colleague has answered your
inquiry, or if there is no answer, or the extension you require is
busy. If your colleague does not hang up, press the End Call
softkey and then press the Resume softkey.
To put a call on hold
Announce to the caller you are going to them on hold
1. Press Hold button
2.
To retrieve the call press the Resume softkey
To Pick Up a call for a colleagues
extension
1.
Lift the receiver
2.
Press the PickUp softkey
Please note: Your extensions must be in a Pick Up Group to use this feature - To create a Pick Up Group or to change the member
extensions, please contact your telecoms rep.
To Divert a call Press the Divert softkey to send an active, ringing or
held call to your voicemail or to a predetermined extension (set up by
your system administrator.
Redial [Redial] Press the Redial softkey to redial the last telephone number you dialed.
Directories Service currently not available
Using your Cisco IP 69xx handset at Imperial College London –The Basics
Issued on 30.06.2015 Page 4 of 4Produced by Karen
Vincent
Do Not Disturb [DND]
To Activate the Do Not Disturb (i.e. stop the phone ringing)
1. Press DND
Screen will change and display DND is on
To Deactivate the Do Not Disturb (i.e. allow the phone to ring)
1. Press DND
Screen will change and display DND is off briefly before returning to the
default screen
For the College
Dial 0 (Externally (020)7 589 5111)
Switchboard
All internal calls for the Imperial College switchboard (by dialing 0) will be
answered by the Interactive Voice Response (IVR) system. To get to the
operator when the IVR answers, press 0 again or say Operator.
To log a fault
Dial 49049 (Externally (020)7 59 49049)
Please have the following details ready:
•Extension which has fault
•Socket Reference
•Location of the faulty Extension (i.e. room number, building
and campus )
•Alternative Contact number
To place a telecom works/ mobile/
Please contact your telecom rep.

This manual suits for next models

2

Other Cisco Handset manuals

Cisco Small Business Pro SPA 502G User manual

Cisco

Cisco Small Business Pro SPA 502G User manual

Cisco IP DECT 6800 Series User manual

Cisco

Cisco IP DECT 6800 Series User manual

Cisco 7965G - Unified IP Phone VoIP User manual

Cisco

Cisco 7965G - Unified IP Phone VoIP User manual

Cisco 6825 User manual

Cisco

Cisco 6825 User manual

Cisco IP DECT 6825 User manual

Cisco

Cisco IP DECT 6825 User manual

Cisco IP DECT 6823 User manual

Cisco

Cisco IP DECT 6823 User manual

Cisco SPA302D User manual

Cisco

Cisco SPA302D User manual

Cisco SPA302D User manual

Cisco

Cisco SPA302D User manual

Cisco DATAVOX 7941 User manual

Cisco

Cisco DATAVOX 7941 User manual

Cisco SPA302D User manual

Cisco

Cisco SPA302D User manual

Cisco 7911 User manual

Cisco

Cisco 7911 User manual

Cisco SPA302D User manual

Cisco

Cisco SPA302D User manual

Cisco 7961 User manual

Cisco

Cisco 7961 User manual

Cisco 7821 User manual

Cisco

Cisco 7821 User manual

Cisco IP DECT 6800 Series User manual

Cisco

Cisco IP DECT 6800 Series User manual

Cisco 6825 User manual

Cisco

Cisco 6825 User manual

Popular Handset manuals by other brands

Alcatel-Lucent 8028 user guide

Alcatel-Lucent

Alcatel-Lucent 8028 user guide

V-tech CTM-A2116 user guide

V-tech

V-tech CTM-A2116 user guide

GE 17254 user guide

GE

GE 17254 user guide

Alcatel-Lucent 400 user manual

Alcatel-Lucent

Alcatel-Lucent 400 user manual

Alcatel Omni Office 4039 quick guide

Alcatel

Alcatel Omni Office 4039 quick guide

Swisscom Aton CL317 user manual

Swisscom

Swisscom Aton CL317 user manual

SpectraLink S33 user guide

SpectraLink

SpectraLink S33 user guide

GE 28802 user guide

GE

GE 28802 user guide

Barristers' Chambers Limited 8028s Quick reference guide

Barristers' Chambers Limited

Barristers' Chambers Limited 8028s Quick reference guide

Alcatel-Lucent 8068s Premium Quick reference guide

Alcatel-Lucent

Alcatel-Lucent 8068s Premium Quick reference guide

Gigaset C610 manual 

Gigaset

Gigaset C610 manual 

Philips DECT2250G - DECT 2250G Cordless Extension... manual

Philips

Philips DECT2250G - DECT 2250G Cordless Extension... manual

NEC G955 Specifications

NEC

NEC G955 Specifications

SW Comms ShoreTel BT Diverse 7110 quick start guide

SW Comms

SW Comms ShoreTel BT Diverse 7110 quick start guide

ACO INS-UP720MR Installation and operating manual

ACO

ACO INS-UP720MR Installation and operating manual

Panasonic KX-TGA830FX installation manual

Panasonic

Panasonic KX-TGA830FX installation manual

Panasonic KX-TGDA99 installation manual

Panasonic

Panasonic KX-TGDA99 installation manual

Linak HB40 Product data sheet

Linak

Linak HB40 Product data sheet

manuals.online logo
manuals.online logoBrands
  • About & Mission
  • Contact us
  • Privacy Policy
  • Terms and Conditions

Copyright 2025 Manuals.Online. All Rights Reserved.