Citizen CT915 User manual

- Eng 1 -
English
INSTRUCTION MANUAL
FOR
CT915

- Eng 2 - - Eng 3 -
English
SAFETY PRECAUTIONS
WARNING
●Keep the battery away from children. If the battery is swallowed, contact a doctor
immediately.
●Measure temperature according to the directions given by your doctor.
CAUTION
●Do not disassemble the thermometer.
●Do not pull the cord.
●Do not splash water over the thermometer.
●Do not leave the thermometer in a place where it will be exposed to high tempera-
ture, direct sunlight, high humidity or where the ambient temperature is below 0°C.
FEATURES OF CT915
●CT915 records measurement results automatically.
CT915 records data of up to 120 days (measurements).
●Basal body temperature recording mode or all-measurements recording mode can
be selected.
If the basal body temperature recording mode is selected, the temperature is recorded
only one time a day. If the all-measurements recording mode is selected, all the measure-
ment results are recorded.
●You can check the change of your body temperature by graph.
Since the temperature data of 31 days (31 measurements) is displayed by a graph, you
can also check the measurement result and date.
●Alarm to notify measurement time is available.
You can measure your body temperature at a regular time every day.
●You can take out and store the probe easily.
You can take out and store the probe easily since it is small in size.
●Antibacterial plastic is used.
An antibacterial plastic is used for the probe.

- Eng 4 - - Eng 5 -
English
NAME OF EACH PART HOW TO SET THE BATTERY
Sensor
Probe
Display in value
(Temperature, date)
Display in graph
(Display by columns)
POWER/MEASURE button
Right shift button
Cover
Left shift button
SET button
RESET button
Cord
Battery cover
1. Remove the battery cover
Remove the battery cover by sliding it in the direction of the
arrow.
2. Set the battery
Insert the rim of the battery under the battery hook with the
positive side up, then push in the battery until it is fixed se-
curely. If the battery is set correctly, the buzzer sounds and
the display segments light up for 5 seconds. If the battery is
slanted, the thermometer does not operate.
3. Fix the battery cover
Fix the battery cover securely to the body.
*If the battery is replaced, the time, date, and alarm must be
set again.
*After setting the thermometer, if the display is disordered
or the buttons do not work, push the reset button with a
toothpick.
*Even if the reset button has been pushed, the recorded
data is not deleted.

- Eng 6 - - Eng 7 -
English
SETTING THE ALARM, TIME, DATE, AND MODE
1. Turn the power on
Press and hold the POWER/MEASURE button for 1
second. A pip is heard and the power is on.
2. Turn the alarm ON/OFF
a) Press and hold the SET button for 1 second. The
screen for setting the alarm appears.
b)Press the right (s) or left (t) shift button to dis-
playthebell mark( )
.
Iftheshift buttonispushed
again, the bell mark ( ) disappears. While the
bellmark( ) is displayed,thealarm is ON.When
the bell mark is not displayed, the alarm is OFF.
c) Press the SET button again to set the alarm time.
*To stop setting at any time, press the POWER/
MEASURE button.
3. Set the “minutes” of the alarm time
a) The alarm time is displayed and the “minutes”
blinks.
b)Press the right (s) or left (t) shift button to set
the “minutes”. Press and hold either shift button
to speed up the “minutes” seting.
c) Press the SET button to set the “minutes”. The
“hour” setting of the alarm time now blinks.
4. Set the “hour” of the alarm time
a) The alarm time is displayed and the “hour” blinks.
b)Set the “hour” by the step in 3. b) above.
* The “hour” is displayed in 24-hour display mode.
c) Press the SET button to set the “hour”. The “min-
utes” setting of the present time now blinks.
5. Set the “minutes” of the present time
a) The present time is displayed and the “minutes”
blinks.
b)Set the “minutes” by the step in 3. b) above.
c) Press the SET button to set the “minutes”. The
“hour” setting of the present time now blinks.

- Eng 8 - - Eng 9 -
English
6. Set the “hour” of the present time
a) The present time is displayed and the “hour”
blinks.
b)Set the “hour” by the step in 3. b) above.
c) Press the SET button to set the “hour”. The “day”
setting of the present date now blinks.
7. Set the “day” of the present date
a) Thepresent date isdisplayedand the“day”blinks.
b)Set the “day” by the step in 3. b) above.
c) PresstheSETbuttonto setthe“day”.The“month”
setting of the present date now blinks.
8. Set the “month” of the present date
a) The present date is displayed and the “month”
blinks.
b)A Set the “month” by the step in 3. b) above.
c) Press the SET button to set the “month”. The
“year” setting of the present date now blinks.
9. Set the “year” of the present date
a) Thepresentdateisdisplayed andthe“year”blinks.
b) Set the “year” by the step in 3. b) above.
*The “year” can be set to 2000
-
2099.
c) Press the SET button to set the “year”. The basal
body temperature recording mode/all-measure-
ments recording mode is now ready to be set.
10.Set the basal body temperature recording mode/
all-measurements recording mode.
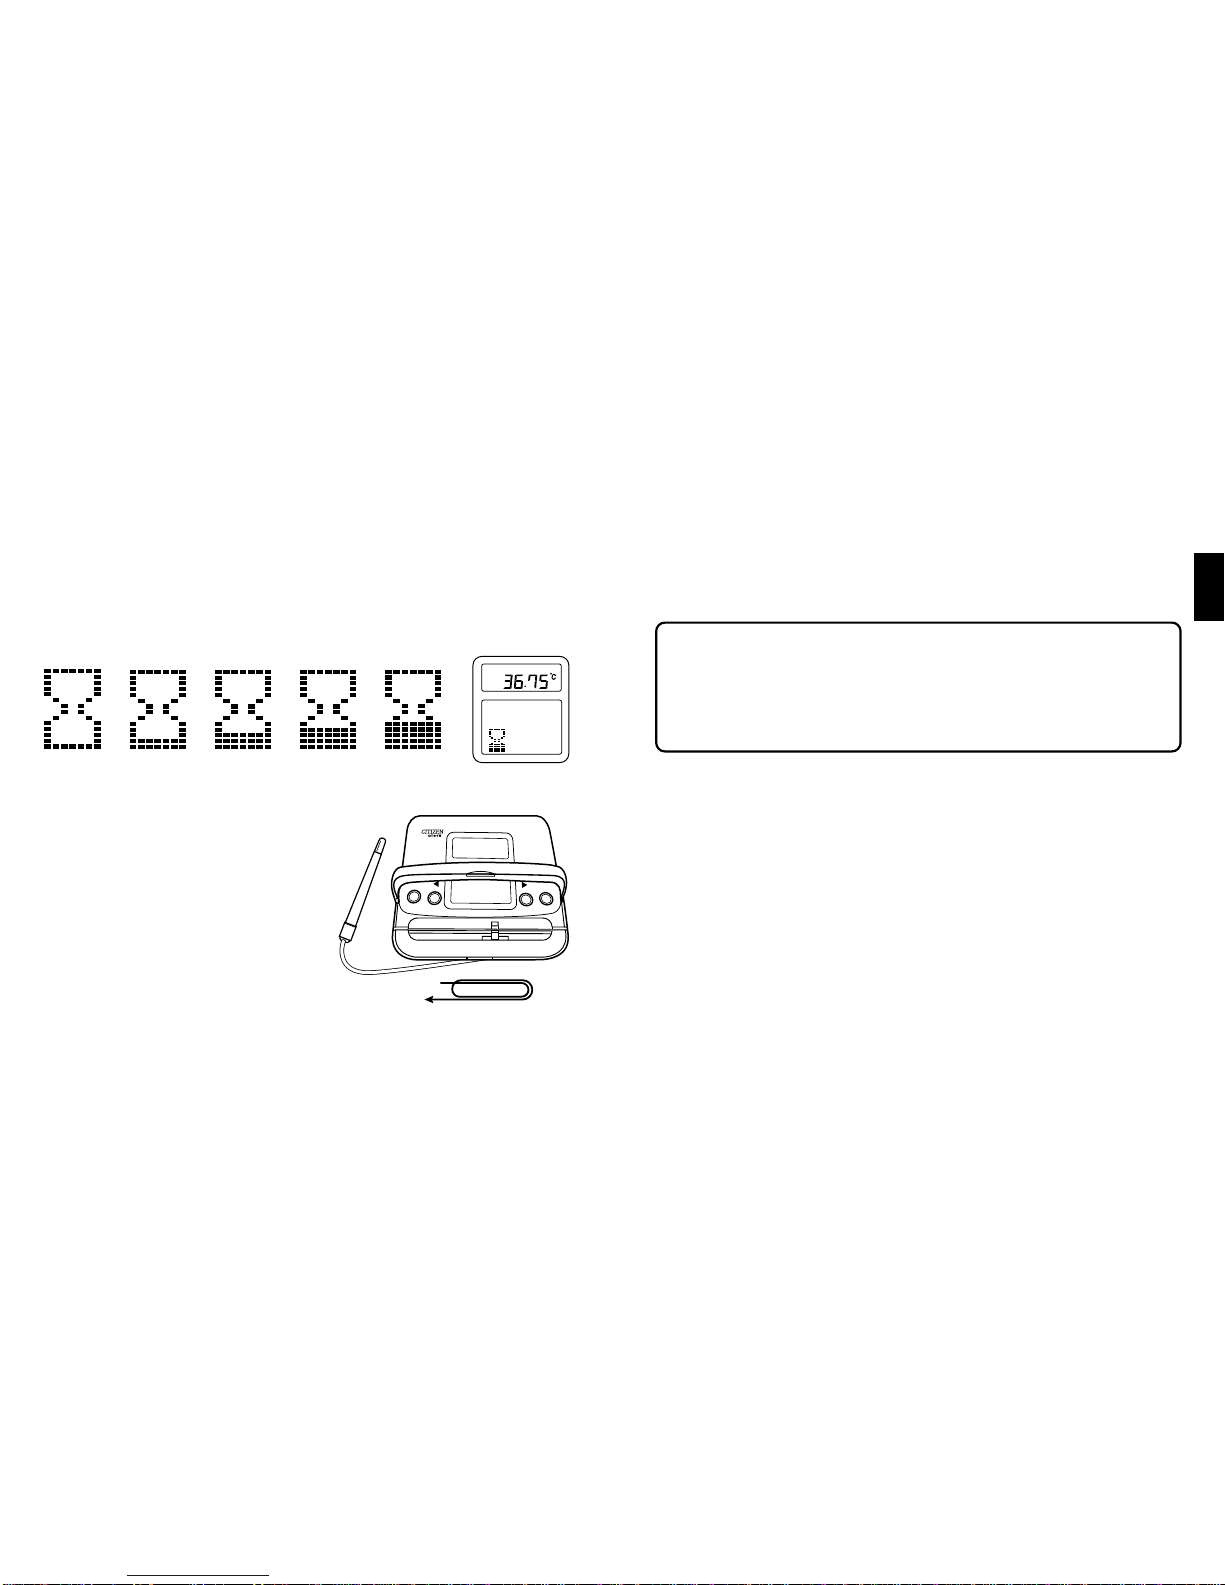
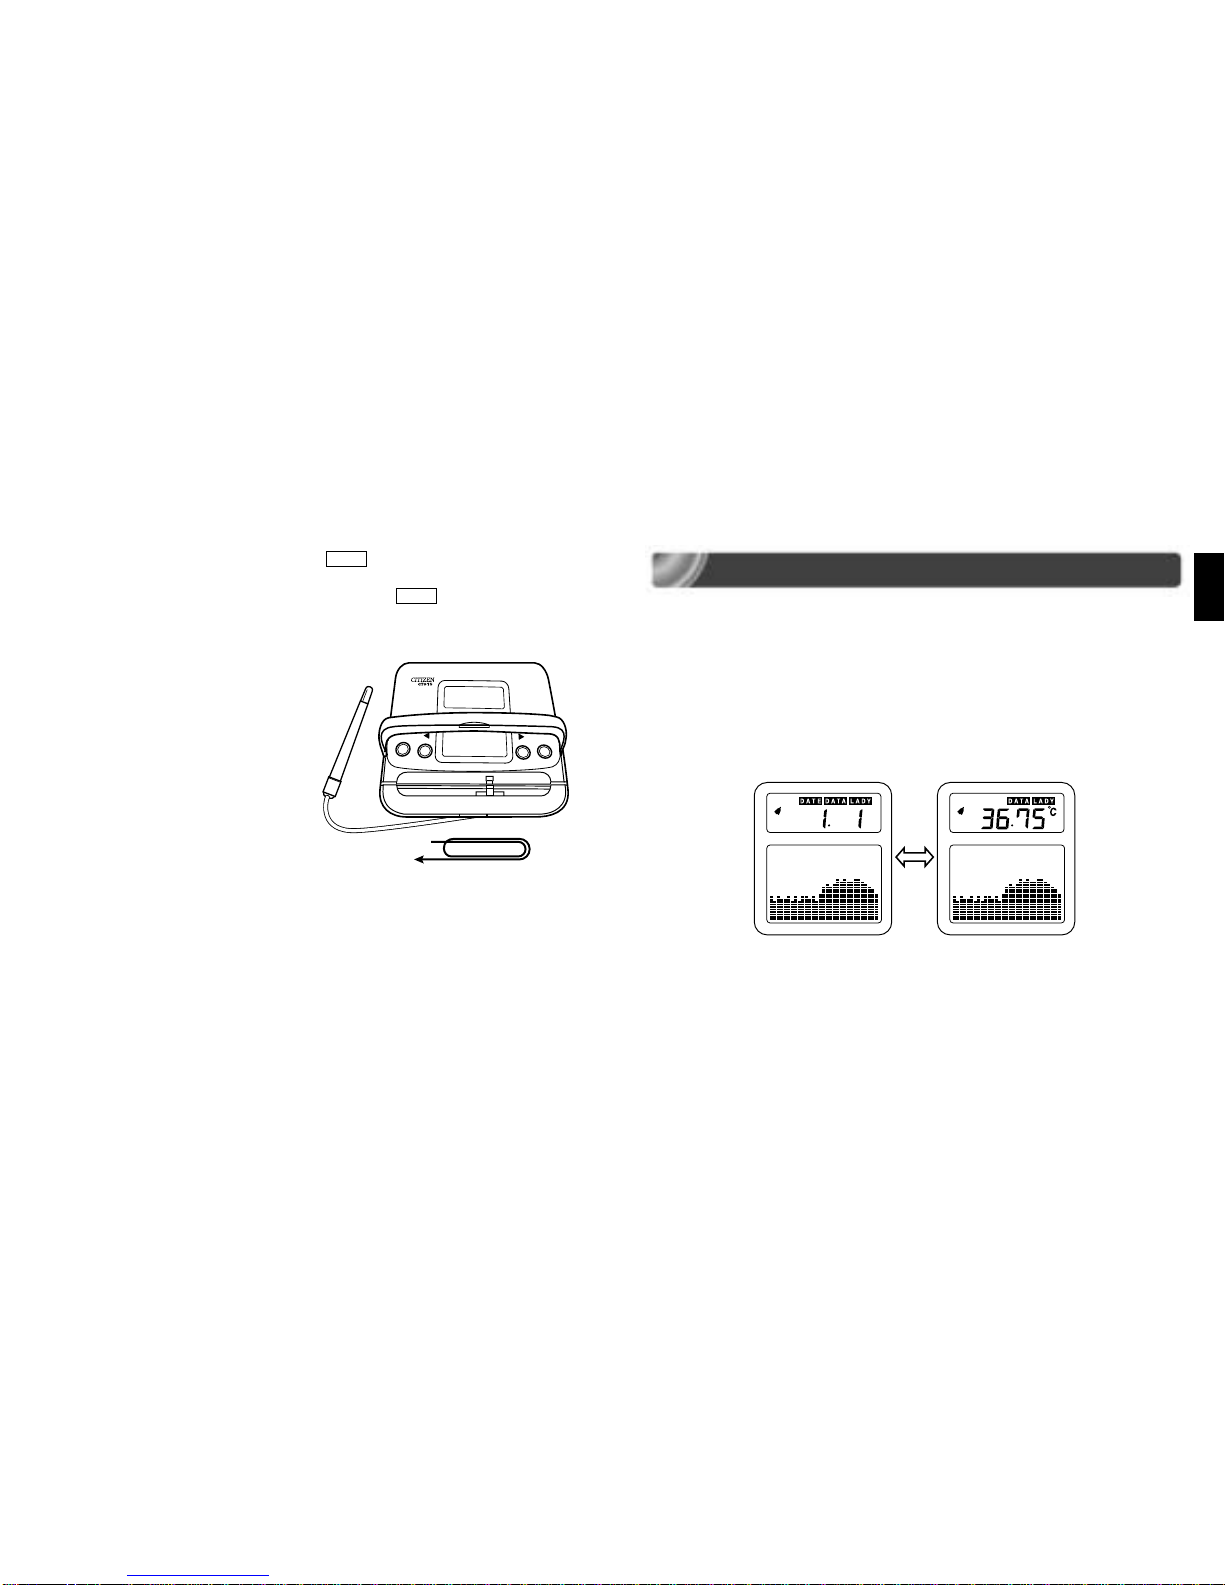
If the “LADY” mark is displayed, the thermometer
is in the basal body temperature recording mode.
Inthis mode,thebasal bodytemperature measured
for the first time on each day is recorded. If the “LADY” mark is not displayed, the
thermometer is in the all-measurements recording mode. In this mode, all the mea-
sured temperatures are recorded.
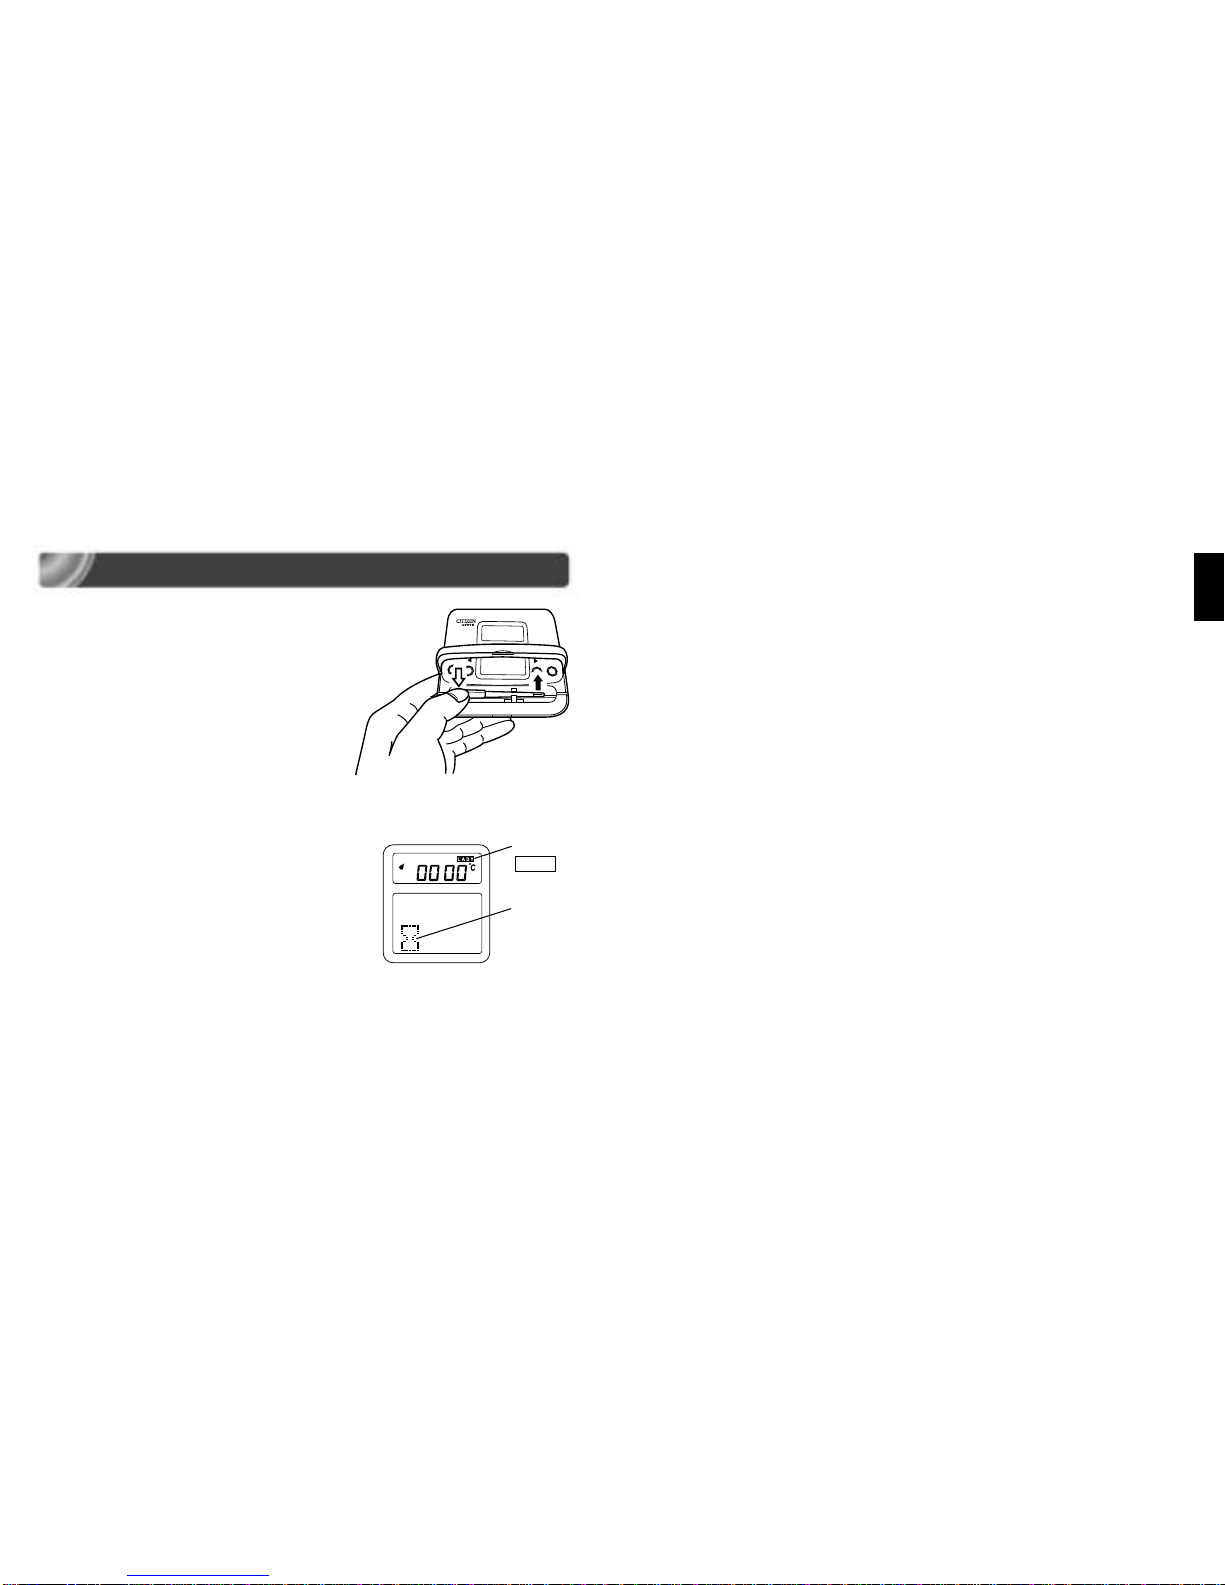
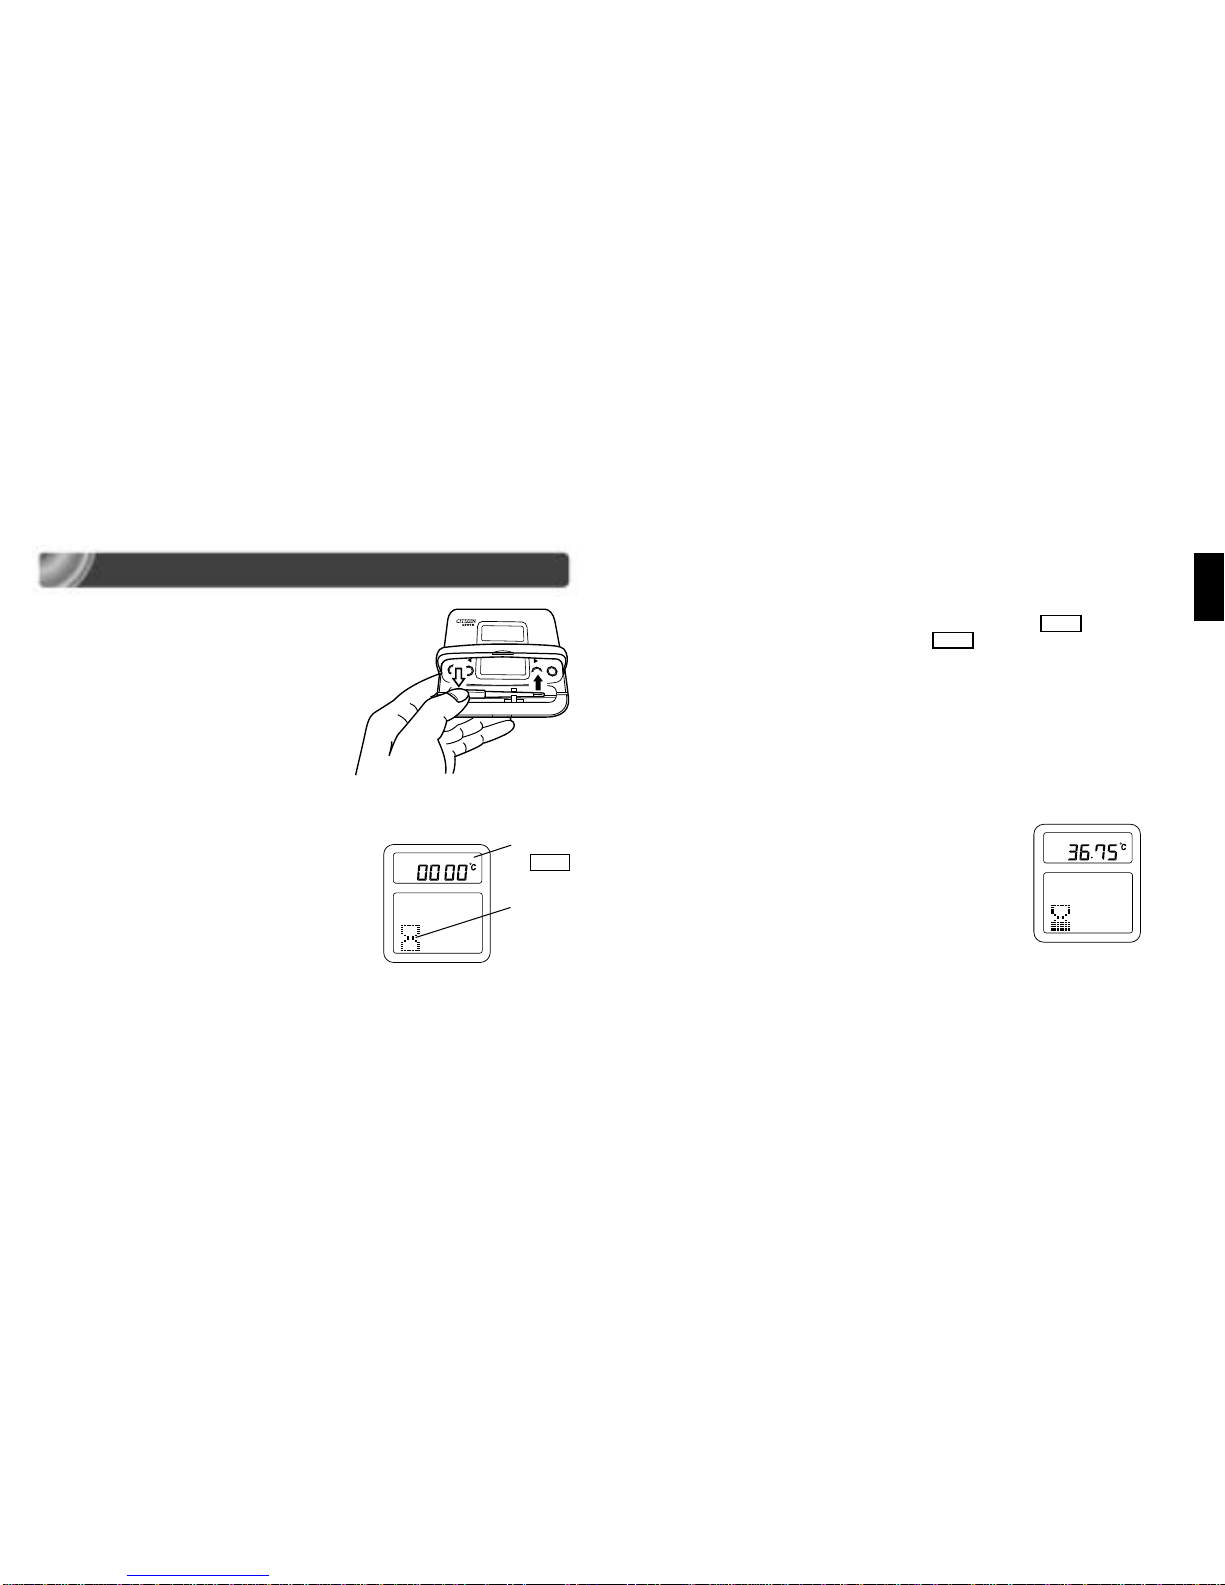
a) Press the right (s) or left (t) shift switch to turn on (or off) the display of “LADY”.
b)Press the SET switch to set turning-on (or turning-off) of the display of “LADY”.
You are now ready to take and record your temperature.
*If you have made a mistake in setting or need to change any of the above settings,
repeat the steps from the beginning.
*If any key is not touched for about 1 minute, the set screen changes to the record
display screen automatically.

- Eng 10 - - Eng 11 -
English
BASAL BODY TEMPERATURE RECORDING MODE
1.Take out the probe
a) Lift the cover and press the rear end (left end) of
the probe lightly to raise the probe from the hook.
b) Unwind the cord from the body.
2.Measure the basal body temperature
■Method of measuring basal body temperature
(at a regular time once a day)
a) The alarm buzzer alerts you.
b) Press any button for the alarm buzzer to stop and
the measurement screen to appear.
The alarm buzzer stops after about 30 seconds
automatically.
If any button still has not been pressed, the alarm
buzzer sounds again after 7 minutes.
*If you do not want to be woken by the alarm of this thermometer (See “Turn the
alarm ON/OFF” on page 6.)
*If the POWER/MEASURE button is pressed and held for 1 second, the power turns
off.
c) Place the probe under your tongue.
(See “How to measure basal body temperature correctly” on page 20.)
Apply the probe tip (sensor) to the groove at the center of the underside of your
tongue and close your mouth lightly.
*If peeps are heard, the measurement is in error (“E” is displayed). In this case, press
the POWER/MEASURE button again and start measurement.
d)A pip is heard when the temperature is being measured. When more pips are heard
5 minutes later, measuring has finished.
*The first electronic pip indicates that the temperature is being measured normally.
*In the basal body temperature recording mode, the temperature measured for the
first time on each day is the one to be recorded automatically.
Measurement
Screen Display of
LADY
Measure-
ment mark

- Eng 12 - - Eng 13 -
English
*The measure mark indicates how many minutes have passed after measurement is
started as shown below.
Start of
measure-
ment
After 1
minute After 2
minutes After 3
minutes After 4
minutes After 5 minutes /
Finish of
measurement
3. Store the probe in the body
a) Wipe off saliva on the probe using tissue
paper.
b)Wind the cord clockwise onto the body.
c) Fixthe probe tothe hook andclose the cover.
4. Press and hold the POWER/MEASURE button for 1 second to turn off the power.
If the POWER/MEASURE button is not pressed, the record display screen appears auto-
matically and the power is turned off 30 more seconds later.
*In the basal body temperature recording mode, the temperatures mea-
sured for the second time and after on the same day are not recorded
automatically. When recording the temperature measured for the sec-
ond time or after, press the SET button while the measurement finish
screen is being displayed, and the record is rewritten.

- Eng 14 - - Eng 15 -
English
ALL-MEASUREMENTS RECORDING MODE
1. Remove the probe from the body
a) Lift the cover and press the rear end of the probe
lightly to raise the probe from the hook.
b)Unwind the cord from the body.
2. Measure the body temperature
■Method of measuring body temperature (All-
measurements recording mode)
a) Press and hold the POWER/MEASURE button for
1 second to turn the power on.
With the power on check that all part of the dis-
play are working (Safety test for system).
b)Press the POWER/MEASURE button momentarily to display the measure screen.
*If the POWER/MEASURE button is pressed and held for 1 second, the power turns
off.
*To change the basal body temperature recording mode ( LADY is displayed) to
the all-measurements recording display ( LADY is not displayed), repeat the opera-
tion of “Setting alarm, time, date, and mode” (on pages 6-9), then select the all-
measurements recording mode.
c) Place the sensor of the probe under your tongue to start measurement. If peeps are
heard, the measurement is in error (“E” is displayed). In this case, press the POWER/
MEASURE button again and start measurement.
d)A pip is heard when the temperature is being
measured. When more pips are heard 5 minutes
later, measuring has finished.
*The first electronic pip indicates that the tempera-
ture is being measured normally.
Measurement
Screen
Measure-
ment mark
Ending of
measurement
No display
of LADY

- Eng 16 - - Eng 17 -
English
e) In the all-measurements recording mode ( LADY is not displayed), all the measured
temperatures are recorded automatically.
*Even in the basal body temperature recording mode ( LADY is displayed), you can
measure your body temperature by the above method. Your body temperatures
measured after measuring your basal body temperature are not recorded.
3.Store the probe in the body
a) Wipe off saliva on the probe using tissue
paper.
b)Wind the cord clockwise onto the body.
c) Fix the probe to the hook and close the
cover.
4. How to turn off the power
Press and hold the POWER/MEASURE button for 1 second to turn off the power.
If the POWER/MEASURE button is not pressed, the record display screen appears
automatically and the power turns off 30 seconds later.
READING RECORDS/CHECKING GRAPH
●You can check the results of your body temperatures over 31 days (mea-
surements) at a glance.
1) Press and hold the POWER/MEASURE button for 1 second to turn on the power.
(The record display screen appears.)
2) The temperatures recorded are displayed on the lower graph display unit. In the
upper value display unit, the temperature and the date of the blinking bar are dis-
played.

- Eng 18 - - Eng 19 -
English
3) Move the graph forward or backward with the
right (s) or left (t) shift button and check the
temperature and date of each bar displayed.
*If the SET button is pressed, the unit of the ver-
tical axis of the graph changes (0.05°C or
0.2°C). Select either unit to check the change
of your body temperature.
SET
[Unit: 0.05°C] [Unit: 0.2°C]
Detailed graph in the range of
1.5°C suitable for of basal body
temperature
Wide graph in the range of 6°C
suitable for check of usual body
temperature
Number of recorded days (measurements)
This thermometer can record data of up to 120 days (measurements). Data
taken after this 120 days (measurements) is now stored whilst past records
aredeletedfrom the oldest automatically.Itis recommended that youshould
take notes of important data.

- Eng 20 - - Eng 21 -
English
HOW TO MEASURE BASAL BODY TEMPERATURE CORRECTLY
●Measure temperature at a regular time every
morning
Measure your basal body temperature at a regular
time every morning. Measure immediately after
waking up and before getting out of bed.
●Measure correctly under tongue
Place the sensor at the base of your tongue and
close your month.
●Difference of temperature by measuring points
There is a slight temperature difference in areas
under your tongue. To obtain the accurate basal
body temperature, always measure it in the same
spot at the base of your tongue.
High
Medium
Low
EXPLANATION OF OTHER FUNCTIONS
■How to make personal mark “ ”
You can make a personal mark for your menstrual period for convenience.
1.Press and hold the POWER/MEASURE button for 1 second
to turn on the power. (The record display screen appears.)
2.Move the graph forward or backward with the right (s) or
left (t) shift button to select a date on which you want to
make a personal mark.
3.Press both right (s) and left (t) shift buttons simulta-
neously and the personal mark “ ” blinks. If both buttons
arepressed andheld, thedisplaycontrast adjustmentscreen
appears (See page 22.) In this case, press the POWER/
MEASURE button to return to the record display screen,
then press both buttons.
4.Press the SET button, and “ ” lights up and is set.
5.To delete the set personal mark, display the data on which “ ” is placed and press both
right (s) and left (t) shift buttons simultaneously. Check that “ ” is blinking, then
press the POWER/MEASURE button.
6.Press and hold the POWER/MEASURE button for 1 second to turn off the power.

- Eng 22 - - Eng 23 -
English
■Method of adjusting display contrast
1. Press and hold the POWER/MEASURE button for 1 second to turn on the power.
2. Press and hold both right (s) and left (t) shift buttons simultaneously for 1 second,
and the display contrast adjustment screen appears.
3. To increase the contrast, press the right (s) shift button. To decrease the contrast,
press the left (t) shift button. The contrast can be adjusted to 5 levels.
4. Press the POWER/MEASURE button twice (once to return to the record display screen,
then press and hold the POWER/MEASURE button a second time to turn the power
off).
■Setting switching sound
1. Press and hold the POWER/MEASURE button for 1 second to turn on the power.
2. Press and hold both right (s) and left (t) shift buttons simultaneously for 1 second,
and the display contrast adjustment screen appears.
3. Press the SET button, and the trumpet mark is displayed.
4. Press the right (s) or left (t) shift button to display the ON (or OFF) mark of the
switching sound. If you do not need the switching sound, select the OFF mark.
5. Press the POWER/MEASURE button twice (once to return to the record display screen,
then press and hold the POWWER/MEASURE button a second time to turn the power
off).

- Eng 24 - - Eng 25 -
English
■Method of deleting the data
<When you use the thermometer again after leaving it unused for a
long period or when a person other than you uses it.>
1. Press the POWER/MEASURE button for 1 second to turn on the power.
2. Press and hold both right (s) and left (t) shift buttons simultaneously for 1 second,
and the display contrast adjustment screen appears.
3. Press the SET button. After checking that the trumpet mark is displayed, press the SET
button again.
4. Press the right (s) or left (t) shift button, and “CLEAR”
blinks.
5. Press the SET button, and “CLEAR” lights up.
6. PresstheSET button again,andall the measurementdata
is deleted. It takes several seconds to delete the data.
*To stop deleting the data halfway, press the POWER/
MEASURE button.
7. Press and hold the POWER/MEASURE button for 1 sec-
ond to turn off the power.
REPLACING BATTERY
SFunction indicating low battery voltage
Lighting of battery mark: The battery voltage is low. Replace the battery immediately.
Blinking of battery mark: The battery mark blinks for 4 seconds. The battery is almost
dead. Replace it immediately.
Display condition: If the display is faint or cannot be read, replace the battery im-
mediately.
*Since the battery attached to the purchased thermometer is for monitoring, it may be
used up before the standard life.
*Dispose of the used battery correctly to protect the environment.
■How to replace battery
•Referring to “How to set battery” on page 5, replace
the battery.
•Remove the used battery with a toothpick.
•Use the specified lithium battery (CR2032).

- Eng 26 - - Eng 27 -
English
BASAL BODY TEMPERATURE
<Basal body temperature is important information from
a woman’s body.>
The body temperature of an adult woman in-
crease and decrease regularly after each ovu-
lation period. That is, the body temperature
remains low until an ovulation period, then
rises after the ovulation period. It decrease
again after the menstruation.
The difference between the high temperature
and low temperature is less than 1°C. The
temperature measured to check the high and
low-temperature periods is the basal body
temperature (BBT). The BBT should be mea-
suredideallyinyourmouth justafteryouwake
up each morning.
If you record your BBT for several months, you will observe the temperature change unique
to your body. From the change of the BBT, you can forecast your ovulation period and
menstruation, which allows you to control birth. If your menstruation is not regular, you
can receive proper medical advice based on the record of your BBT from your doctor.
Furthermore, you can forecast a menopausal disorder by observing your BBT. The BBT is
important information for every woman.
[Precaution]
The change of the BBT depends on each woman.
When using the BBT graph, record the BBT continuously for at
least three months and consult your doctor.
NBasal body temperature graph
High temperature
period
Low temperature
period
Ovulattion Day

- Eng 28 - - Eng 29 -
English
PRECAUTIONS
Observe the following precautions to prevent a malfunction.
1. Do not use the thermometer for any purpose other than measuring body temperature.
2. Do not splash water over the body.
3. Do not bring the thermometer near strong static electricity, radio wave, magnet, or TV
4. Do not use a cellular phone near the thermometer.
5. Do not bite the probe.
6. Do not pull the cord or swing the body with the cord.
7. Do not open or close the body cover forcibly.
8. Keep the thermometer away from children since it can injure them and can be dam-
aged.
9. Do not use paint thinner, benzene, or cresol water to clean the thermometer.
10. Do not clean the thermometer with water, hot water, or ultrasonic cleaner.
11. Do not dip the thermometer in disinfectant alcohol.
12. When storing the probe in the body, wipe off moisture with tissue paper, or a dry
cloth.
13. Never repair, modify, or disassemble the thermometer.
14. Store the thermometer in a place where water will not be splashed over it.
15. Do not store the thermometer in a place where it may be badly affected by atmo-
spheric pressure, temperature, humidity, ventilation, sunlight, dust, salt, air contain-
ing sulfur, etc. or where chemicals are stored or gas is produced.
16. Protect the thermometer from vibrations and impacts (during transportation, too).
17. Do not mistake the polarities of the battery.
18. Do not use the thermometer together with another device.
19. If any trouble is found in the thermometer, turn off the power.

- Eng 30 - - Eng 31 -
English
HOW TO CLEAN
●Wipe the body and cord with a cloth soaked in neutral detergent.
(Since the body and cord are not water-resistant, extreme care should be taken.)
●Wipe the probe and sensor with a cloth soaked in disinfectant alcohol or neutral deter-
gent.
●Since the probe and sensor are water-resistant, they can be washed in water.
Extreme care should be taken however, to prevent water being splashed over the body
and cord.
BEFORE ASKING FOR REPAIR OR SERVICE
Nothing is displayed Is battery set correctly? See page 5.
Display is light Is contrast adjusted properly? See page 22.
Is battery normal? See page 25.
is displayed (Error) Measure again. See pages 10 and 14.
is displayed Cool down probe, then measure again.

- Eng 32 - - Eng 33 -
English
RATING AND SPECIFICATIONS
Measuring method Actual measurement
Temperature sensor Thermistor
Display method Display in value: 4-digit LCD (Mm. unit: 0.01)
Display in graph: Bar graph of data of 31 days (measure-
ments)
[Detailed graph (Unit: 0.05°C), Wide graph (Unit: 0.2°C)]
Measurement range 32.00°C - 42.00°C
Measurement accuracy ±0 05°C (In range of 35.00°C
-
38.00°C)
±0.10°C (In range out of above)
Using condition Temperature: 10°C - 40°C, Humidity: 30%
-
85%
Storage condition Temperature: –20°C - 60°C, Humidity: 30% - 95%
Power source DC 3V [Lithium battery (CR2032) ×1 piece]
AC/DC DC
Current collector 2mA
Battery life Approx. 1 year (When used once a day)
Type of protection from electric shock Internal power source device
Level of protection from electric shock Type-B device
Dimensions Body: Approx. 100mm (W) ×90mm (D) ×23.5mm (H)
Probe: Approx. 60mm (including sensor)
Cord: Approx. 400mm
Weight Approx. 100g
Accessories 1 piece of lithium battery (CR2032) for monitoring Instruction
manual
Protect the natural environment:
Please help protect natural environment by respecting national and /or local recycling
regulations when disposing of the batteries and the product and at the end of their useful
lives.
Reference European standard:
This products complies with EC instructions 93/42/EEC.
(Medical Device Directive) and with the following standards: EN 12470-3.
Manufacturer:
Name: Premier Precision Ltd.
Address: Block E, G-H, 6th floor, Phase 2, Yip Fat Factory Building,
73-75 Hoi Yuen Road,
Kwun Tong, Kowloon, Hong Kong
European Representative:
Name: WvW elektronische Geräte Vertrieb GmbH.
Address: Robert-Koch-Straße 20, D-80538 München, GERMANY

Other manuals for CT915
1
Table of contents
Other Citizen Thermometer manuals

Citizen
Citizen CTD 504 User manual

Citizen
Citizen CTD 505 User manual

Citizen
Citizen CT561C Technical manual

Citizen
Citizen CT-513W User manual

Citizen
Citizen CT561C/F User manual

Citizen
Citizen CTD 505 User manual

Citizen
Citizen CT915 User manual

Citizen
Citizen CTD 504 User manual

Citizen
Citizen CT-513W User manual

Citizen
Citizen REF CTA 301 User manual