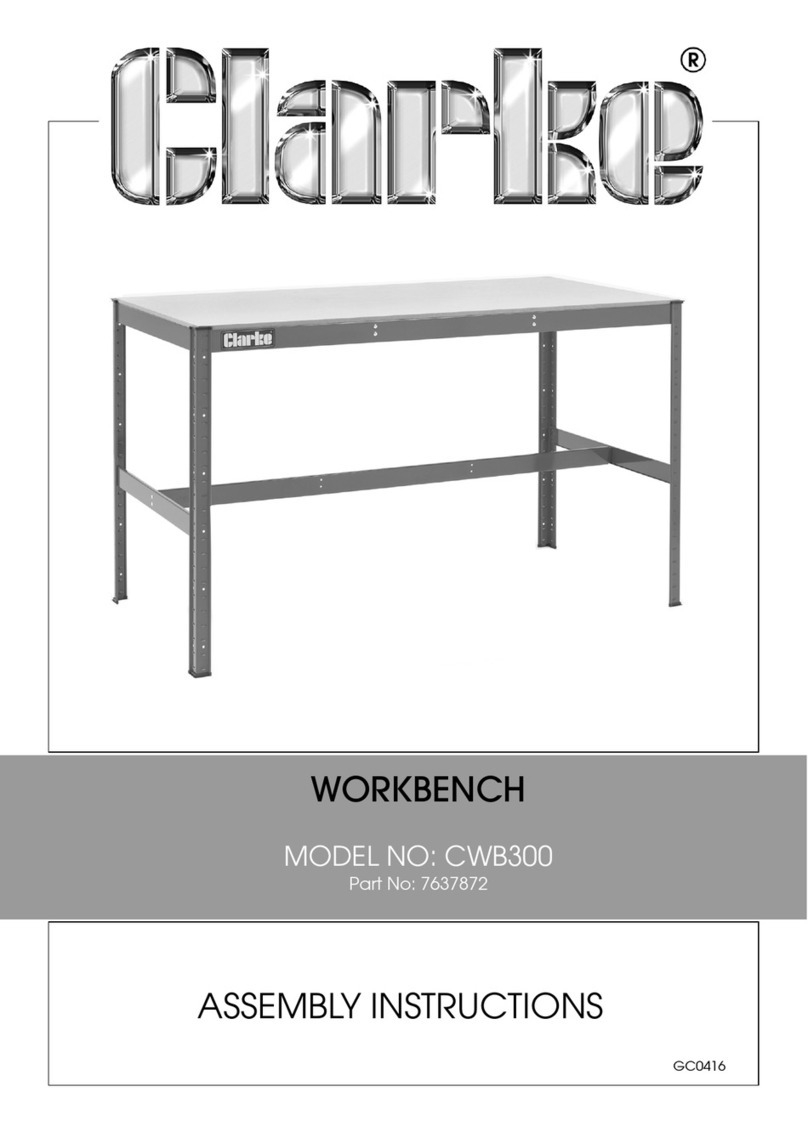
Clarke CWB1205P User manual
Other Clarke Tools Storage manuals
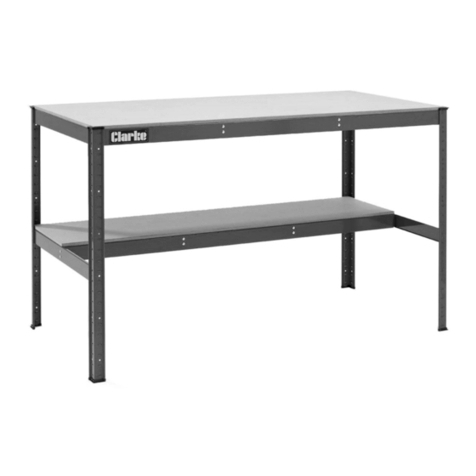
Clarke
Clarke CWB300LS User manual
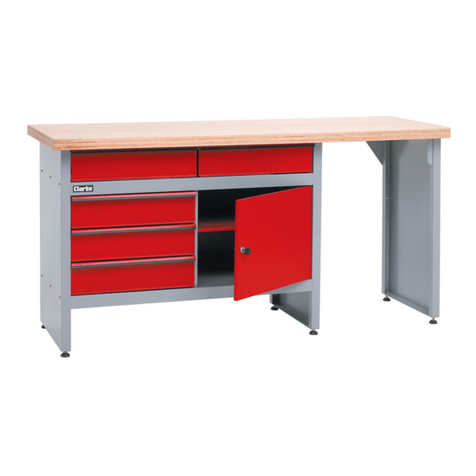
Clarke
Clarke CWB1700P User manual
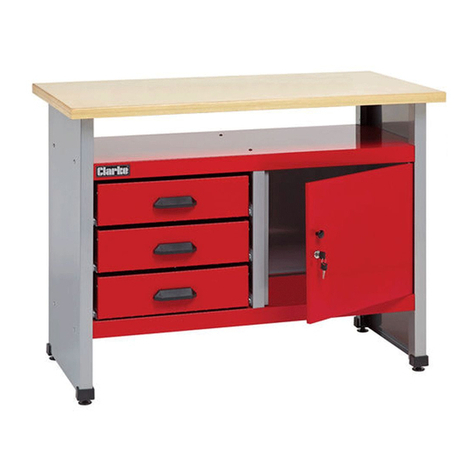
Clarke
Clarke CWB114 User manual
Clarke
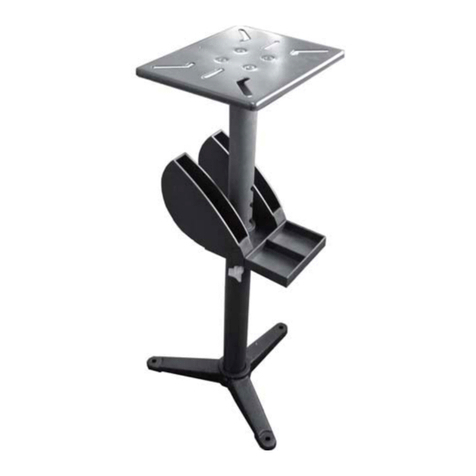
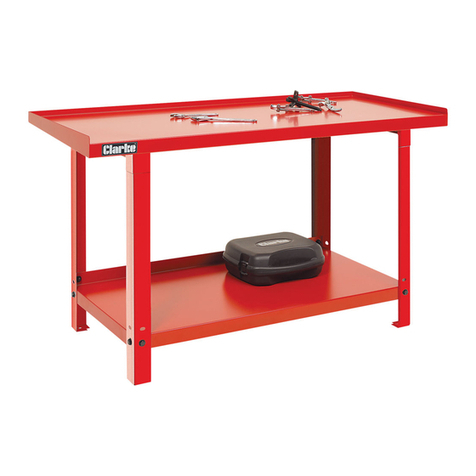
Clarke Metalworker CBGS2 User manual
Clarke
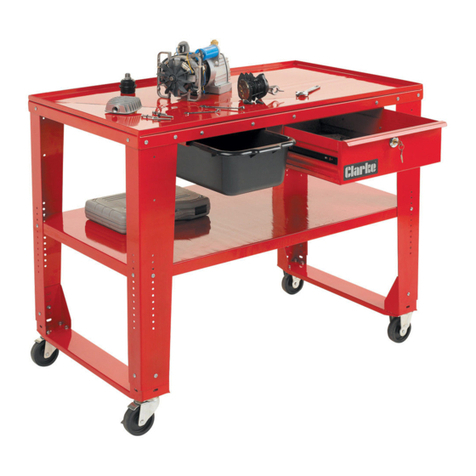
Clarke CWB1201E User manual
Clarke
Clarke CERT1225 User manual

Clarke
Clarke CWB1700P Instruction Manual

Clarke
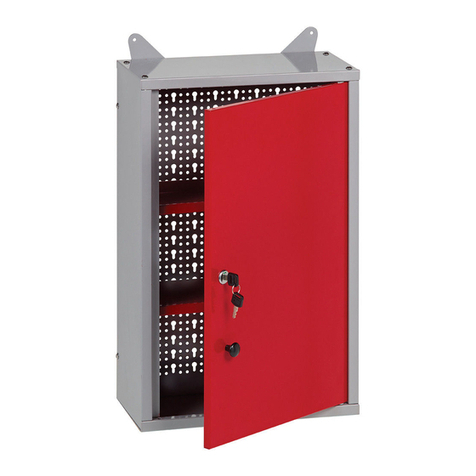
Clarke CWB1250 User manual
Clarke
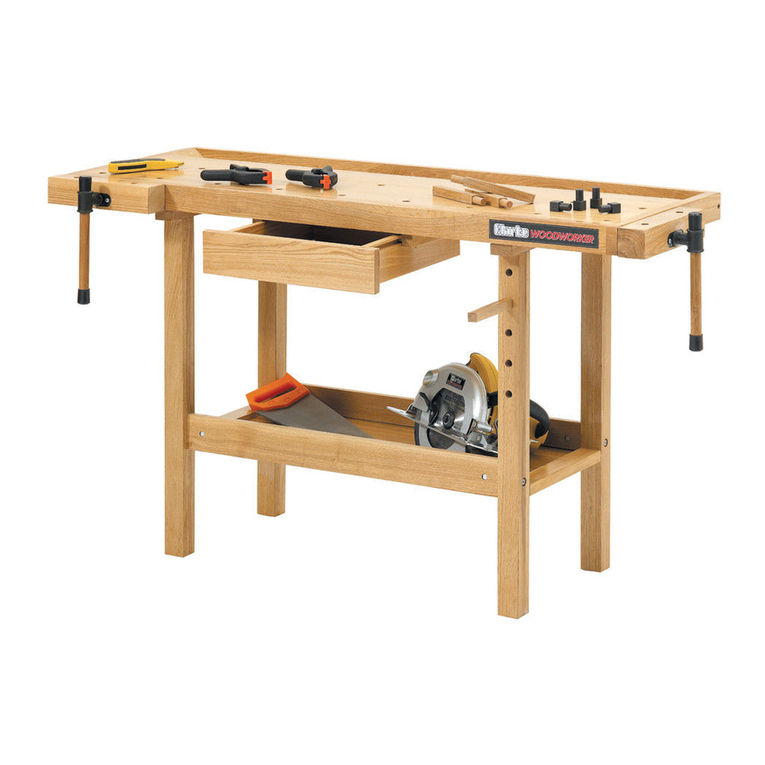
Clarke CWC38 User manual
Clarke
Clarke CHB1500 User manual
Clarke
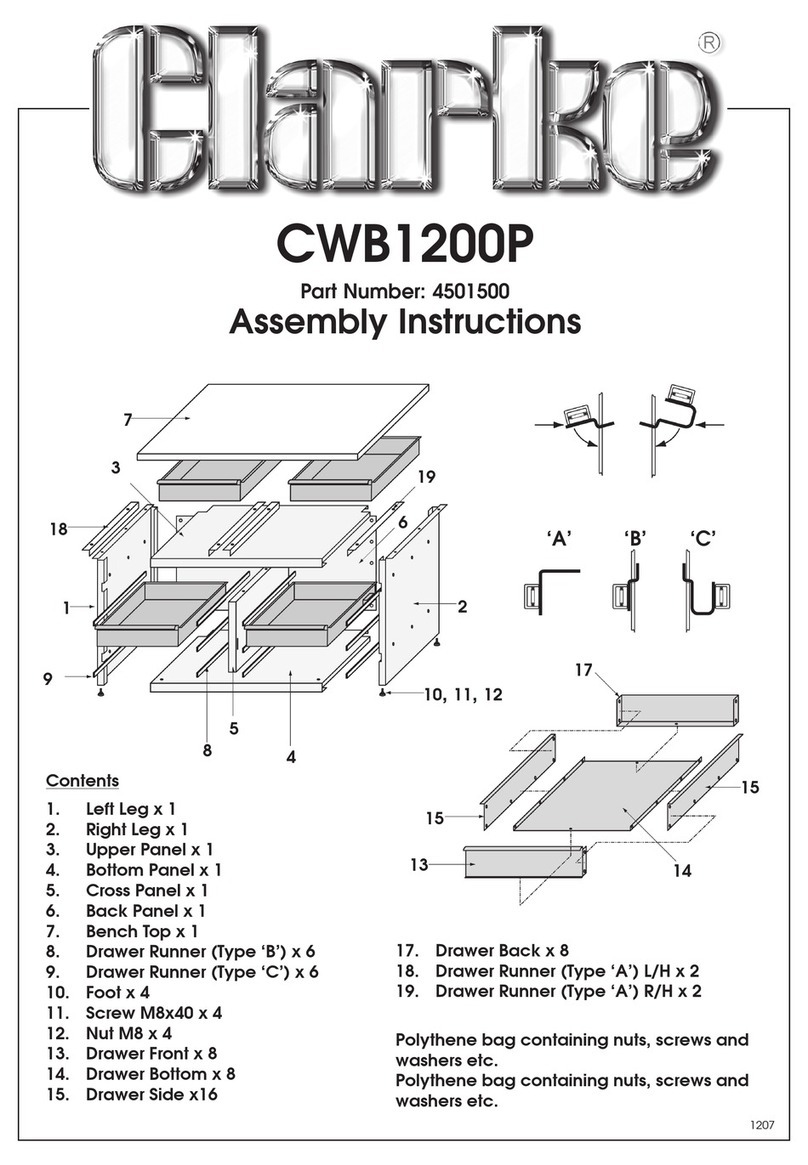
Clarke CWB1200P User manual

Clarke
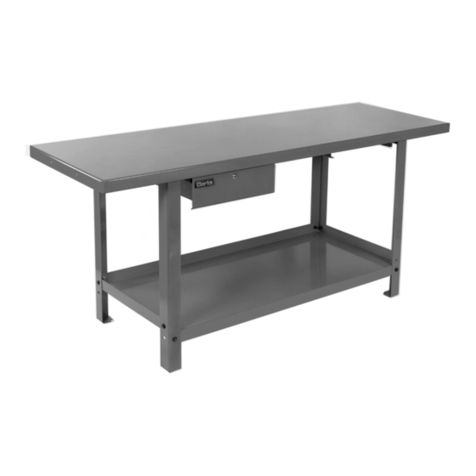
Clarke CWB1250 User manual
Clarke
Clarke CWB2001P User manual
Clarke
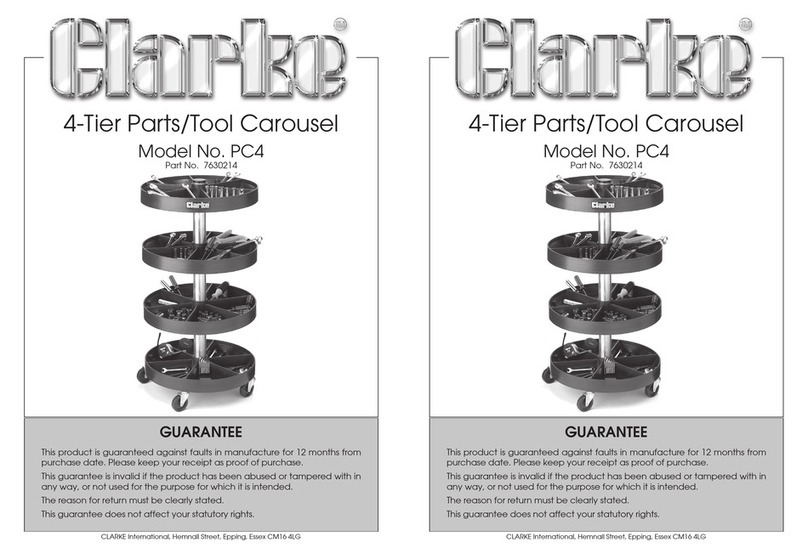
Clarke PC4 User manual
Clarke
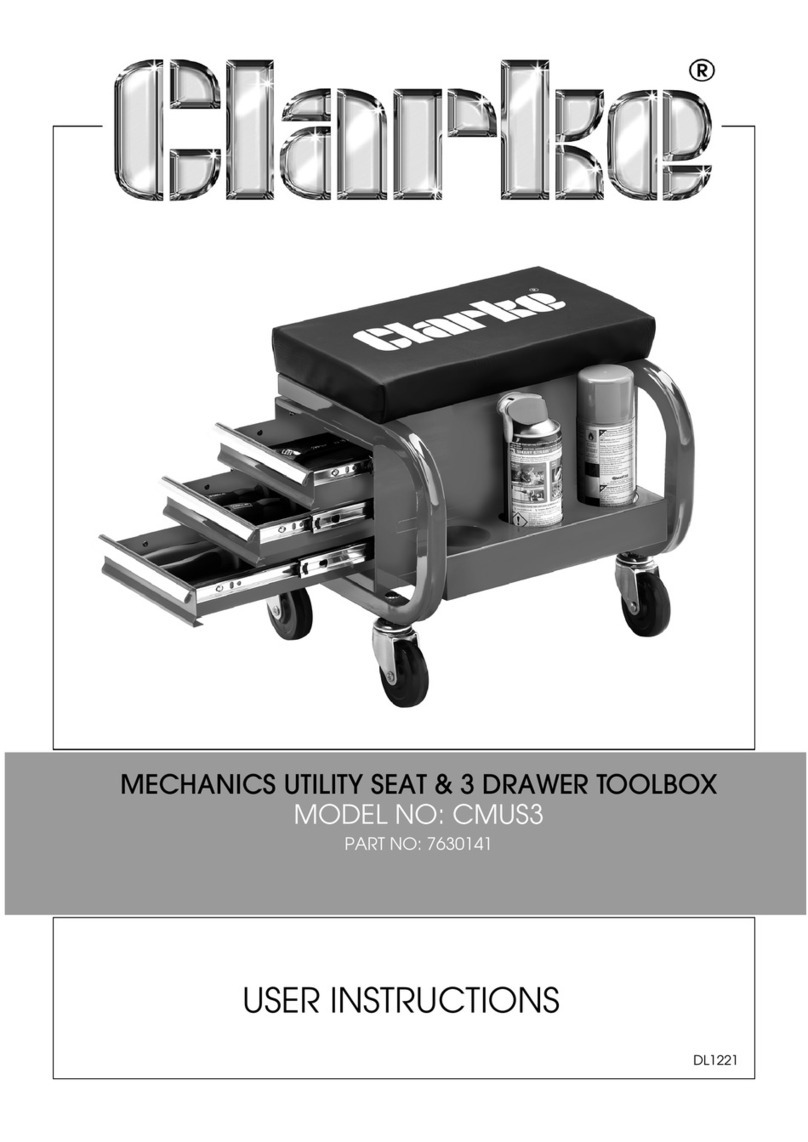
Clarke CMUS3 User manual
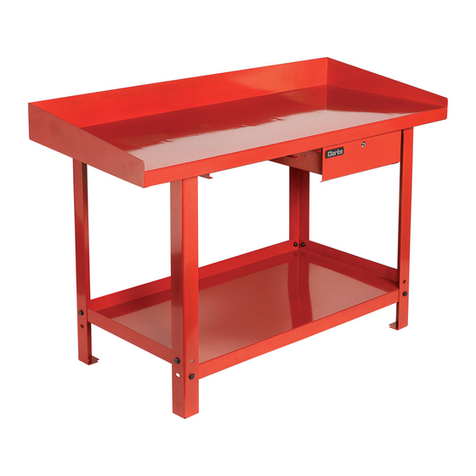
Clarke
Clarke CWB1500D User manual
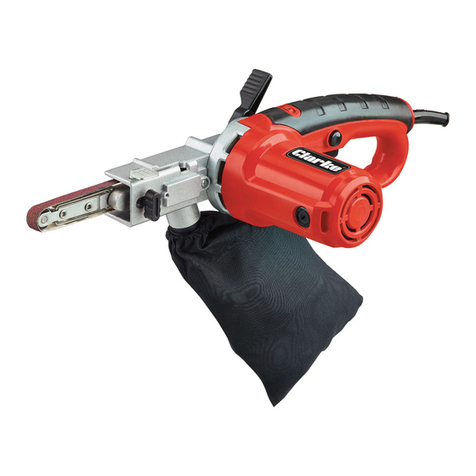
Clarke
Clarke CPF13 Troubleshooting guide
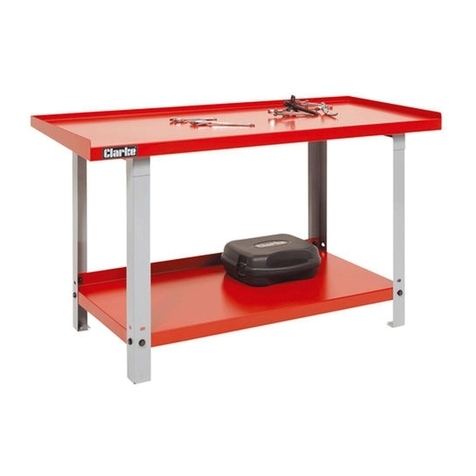
Clarke
Clarke CWB1200E User manual
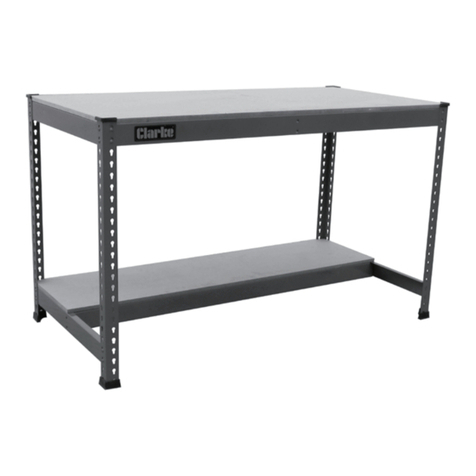
Clarke
Clarke CWB1630R User manual
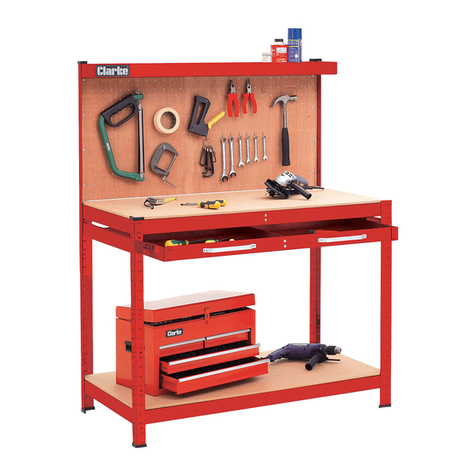
Clarke
Clarke CWBR1B User manual
Popular Tools Storage manuals by other brands

Ryobi
Ryobi RWB03 Original instructions

Husky
Husky H27CH5TR4BGK Use and care guide

Scheppach
Scheppach ts 2100 Translation from original manual

DIVERSIFIED WOODCRAFTS
DIVERSIFIED WOODCRAFTS SHAIN GSB-6024 Assembly instruction

Cassese
Cassese CS200 CART user & parts manual

Cornwell Tools
Cornwell Tools CTB360AKBK Assembly instructions

Kendall Howard
Kendall Howard ESDW-9630-1000 owner's manual

Lista
Lista Align Instructions for assembly

Workzone
Workzone 99609 Assembly instructions

Stanley
Stanley STST83800-1 instruction manual

Homak
Homak PROFESSIONAL Series Owner's manual & operating instructions

Perel
Perel ROLLER SHUTTER STORAGE CABINET Assembly instructions
