manuals.online logo
Brands
  1. Home
  2. •
  3. Brands
  4. •
  5. CLEAR DESIGN
  6. •
  7. Indoor Furnishing
  8. •
  9. CLEAR DESIGN BOOST PRO BPROLF-F User manual

CLEAR DESIGN BOOST PRO BPROLF-F User manual

BOOST PRO
FACING L-SHAPE INSTALLATION GUIDE
BPROLF-F
*General Guide | See Master Plan
48" POWER PARTS LIST
CODE QTY DESCRIPTION
BPROTPB 1Module Mounting Plate (Short)
2Power Module Bracket
1Assembled Power Beam
PRODB 1Double Receptacle Block
PROR# 4 Receptacles
PROJ## 1 Jumper
POWER
BOOST PRO
1
Slide inner beam inside of the outer beam and adjust until 2 power
slots are visible on the inner beam.
Place power blocks with receptacles on top of mounting plate.
Slide brackets over receptacle and secure with provided screws.
1 | ATTACH POWER BLOCKS WITH RECEPTACLES
TO MOUNTING PLATE
2 | ASSEMBLE POWER BEAM
POWER
BOOST PRO
Note: Do not over torque screws.
Outer Beam
Inner Beam
POWER
BOOST PRO
3 | CONNECT JUMPER TO RECEPTACLE
Connect the thicker end of the jumper to the double block
where the greater jog is located.
Greater
Jog
Lesser
Jog
2 3
4 | INSERT POWER INTO BEAM
POWER
BOOST PRO
54"–72" POWER PARTS LIST
CODE QTY DESCRIPTION
BPROTPB 1Module Mounting Plate (Long)
3Power Module Bracket
1Assembled Power Beam
PRODB 1Double Receptacle Block
PROSB 1Single Receptacle Block
PROBC 1In-line Connector
PROR# 6 Receptacles
PROJ## 1 Jumper
While having the mounting module slightly tilted, insert and
guide the jumper through the opposite end of the beam. Pull the
jumper out from the other end. Connect the mounting plate to the
power beam using 4 screws.
Transparency View of Jumper Inside Beam
POWER
BOOST PRO
4 5
2 | ASSEMBLE POWER BEAM
Slide inner beam inside of the outer beam and adjust until 3 power
slots are visible on the inner beam.
Place power blocks with receptacles on top of mounting plate.
Slide brackets over receptacle and secure with provided screws.
1 | ATTACH POWER BLOCKS WITH RECEPTACLES
TO MOUNTING PLATE
Note: Do not over torque screws.
Outer Beam
Inner Beam
Before securing to power beam, secure jumper(s) to receptacle.
3 | CONNECT JUMPER TO RECEPTACLE
Note: Jumper connects to the single block.
POWER
BOOST PRO
POWER
BOOST PRO
6 7
MAIN SYSTEM PARTS LIST
While having the mounting module slightly tilted, insert and
guide the jumper through the opposite end of the beam. Pull the
jumper out from the other end. Connect the mounting plate to the
power beam using 4 screws.
4 | INSERT POWER INTO BEAM
Transparency View of Jumper Inside Beam
POWER
BOOST PRO
CODE QTY DESCRIPTION
BPROF 4 Adjustable Leg
4Surface Attachment Bracket
4Surface Support Bracket
2Width Adjusting Bracket
BPROCB 1Cross Beam with Cover
(set of 2)
BPROBRG# 1Jumper Box
BPROTPB 1Assembled Power Beam
1Data Beam Tray
1Data Beam Bridge
BD4PFP 2Data Faceplate
GB## 2Main Surfaces
FACING L-SHAPE
BOOST PRO
8 9
CODE QTY DESCRIPTION
BPROLF 2Adjustable Return Leg
2T-Foot
2Return Leg Support Bracket
2Control Box L-Shape
2Extended Cable
GB## 2Return Surfaces
BFB1 4Flat Bracket
BASB72 2Support Bar
RETURN SYSTEM PARTS LIST
SURFACE CONFIGURATION
There are two surface configuration options depending on the
surface placement.
OPTION #1: Standard L-Shape Facing Configuration
The standard surfaces will be secured along the facing system
and the return surfaces will be secured along the return legs.
OPTION #2: Alternative L-Shape Facing Configuration
The return surfaces and part of the standard surfaces will be
secured along the main facing system. The standard surfaces
will be secured along the return legs.
Main Surface
Return Surface
Return Surface
Return Surface
Return Leg
Return Leg
Main Surface
Note: All parts list are for a Pod of 2, additional parts will be needed
for larger pods.
Return Leg
Return Leg
FACING L-SHAPE
BOOST PRO
FACING L-SHAPE
BOOST PRO
10 11
Remove cross beam cover and line up pre-drilled holes on inside
of beam with leg mounting plate. Connect the cross beam to each
leg using 4 screws. Use a right angle drill to simplify the process.
Repeat step for other set of legs.
1 | SECURE CROSS BEAM
Note: Small center cutout on cross beam should be facing inward.
2 | CONNECT POWER BEAM
Secure each side of the power beam to the cross beams using
4 screws.
FACING L-SHAPE
BOOST PRO
FACING L-SHAPE
BOOST PRO
Align beam covers and slide down and over cross beam. Using 3
screws, secure cover to cross beam from the bottom of the beam.
3 | ATTACH CROSS BEAM COVERS
Expand surface brackets so that they align flush with end of the leg
cap, assuring all pre-drilled holes are aligned. Secure second hole
on bracket to pre-drilled hole of the inner-end of the foot.
4 | PLACE SURFACE BRACKETS ON FRAME
Note: Width adjusting bracket should be on inside of both beams.
12 13
6.1 | SET WORKSTATION LENGTH
Measure from outer edges of legs to determine proper workstation
length. Use the chart below to determine the length of frame.
Note: See 6.2 chart if working with option #2 surface configuration.
#"
Surface
Width
Frame
Length #
48" 47.5"
54" 54"
60" 60"
66" 66"
72" 66"
5 | SECURE SURFACE AND ARM BRACKETS
Align pre-drilled holes of surface and arm bracket to facing
frame and secure with 4 screws each.
The return surfaces and main surfaces will be along the main facing
frame. The frame will be centered along the combined surface
width.
6.2 | ALTERNATIVE CONFIGURATION OPTION
Surface
Width
Frame
Length (#)
66"
66"72"
78"
Combined Surface Width
Frame Length (#)
FACING L-SHAPE
BOOST PRO
FACING L-SHAPE
BOOST PRO
14 15
8 | REMOVE DATA PLATE COVER
After power beam is secured, remove data plate from the outer
beam.
Once length of workstation is determined, insert and secure set
screws to underside of beam and tighten to secure.
7 | SET POWER BEAM WIDTH
Note: Use 2 set screws with 48" workstations and 4 set screws
for all other widths.
Slide the inner tray / outer tray beam into the grooves of the outer
beam and place onto the underside of the power beam. Adjust
width as needed and secure.
9 | ASSEMBLE DATA TRAY
FACING L-SHAPE
BOOST PRO
FACING L-SHAPE
BOOST PRO
10 | (OPTIONAL) SLIDE ON PANEL BRACKETS
If you have laminate panels, slide brackets over legs. Tabs on
brackets must face the direction that panels are being added.
Note: Brackets must be added before feet are attached.
16 17
11 | ALIGN FRAME WITH SURFACE WIDTH
2”
4”
Secure return leg to T-foot using 4 screws.
13 | CONNECT RETURN LEG TO T-FOOT
Using wood screws, attach frame to surface and tighten screws
on adjustable center bracket. Use a right angle drill to simplify the
process.
12 | SECURE FRAME TO SURFACES
Note: For alternative configuration, secure surfaces to frame
system after return legs are assembled.
24" DEEP SURFACES
30" DEEP SURFACES
FACING L-SHAPE
BOOST PRO
FACING L-SHAPE
BOOST PRO
18 19
14 | CONNECT RETURN LEG SUPPORT BRACKET
Secure the return leg support bracket to the return leg
from the side using 4 screws.
For a rigid connection, connect the return leg support bracket to
the leg using 2 screws.
Place the return surface and the return leg next to the already
assembled facing station. The longer edge of the return surface
will be in-line with the standard surface.
15 | ALIGN RETURN SURFACE WITH MAIN
SURFACE
Note: For alternative configuration, skip to STEP 18.
16 | CONNECT RETURN SURFACES TO RETURN LEGS
Requires 6 wood screws for each return leg.
Note: The return leg will be centered along the depth of the return
surface.
FACING L-SHAPE
BOOST PRO
FACING L-SHAPE
BOOST PRO
20 21
Center and secure flat brackets where the return and standard
surfaces meet. Use 4 screws for each bracket to secure. Center
and secure support bar between flat brackets for extra support
and rigidity. Once step is complete, move forward to STEP 20.
17 | CONNECT RETURN SURFACES TO STANDARD
SURFACES WITH FLAT BRACKET & SUPPORT BAR
Using wood screws, attach frame to surfaces and tighten screws
on adjustable center bracket. Use wood screws for each leg
support bracket as well.
18 | ALTERNATIVE CONFIGURATION OPTION:
CONNECT SURFACES TO FRAME SYSTEM AND
STANDARD SURFACE TO RETURN LEG
Note: The return legs will be centered along the depth of the
standard surfaces. Use a right-angle drill to simplify the process.
FACING L-SHAPE
BOOST PRO
FACING L-SHAPE
BOOST PRO
22 23
Center and secure flat brackets where the return and standard
surfaces meet. Use 4 screws for each bracket to secure. Center
and secure support bar on the main surface for extra support and
rigidity.
19 | CONNECT RETURN SURFACE TO STANDARD
SURFACE WITH FLAT BRACKETS AND SECURE
SUPPORT BAR
20 | CONNECT L-SHAPE CONTROL BOX
Remove the control box from the facing frame and use the L-shape
control box provided with the return kit. The L-shape control
has 3 cord inputs, which will connect to the return leg and the
facing legs.
Note: Use the extended cord provided with the return kit to
connect the return leg to the new control box. Once all connections
are made, secure the control box underneath the surface.
FACING L-SHAPE
BOOST PRO
FACING L-SHAPE
BOOST PRO
24 25
Connect handset cable to control box. Align front of handset with
surface edge and secure with 3 wood screws.
21 | SECURE HANDSET AND CONNECT
22 | POWER UP AND INITIALIZE
Connect cord to power source then press and hold and
simultaneously for 5 seconds until both leg columns are in lowest
position. Desk will slightly rise, lower again, and then stop. Release
buttons. The system is now operational.
23 | ALIGN AND CONNECT WORKSTATIONS
Pass jumper through bridge extension. Then, insert the extension
into the open slot of power bridge on first workstation. Align second
workstation, connect jumper, and push workstations together. Both
ends of bridge extension should sit inside the power bridge. Insert
the data bridge in between the two systems.
Use BPROBRG2 (12.25") extension for workstation have 72" surfaces.
Use BPROBRG1 (7.5") extension for workstation 48"-66".
Note: Width between workstations will vary depending on layout.
FACING L-SHAPE
BOOST PRO
FACING L-SHAPE
BOOST PRO
26 27
210.648.2095 | mycleardesign.com
© 2021 Clear Design. All rights reserved.

Other CLEAR DESIGN Indoor Furnishing manuals
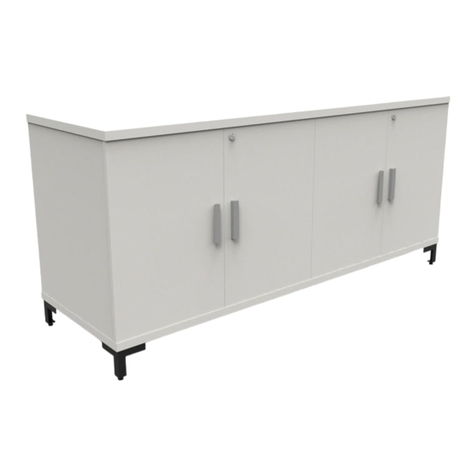
CLEAR DESIGN EDGE CASEGOODS EBDF3571 User manual

CLEAR DESIGN

CLEAR DESIGN EDGE CASEGOODS EBDF3571 User manual

CLEAR DESIGN EDGE CASEGOODS EDF3059 User manual

CLEAR DESIGN

CLEAR DESIGN EDGE CASEGOODS EDF3059 User manual

CLEAR DESIGN BHA2GSA User manual

CLEAR DESIGN

CLEAR DESIGN BHA2GSA User manual

CLEAR DESIGN BOOST PRO BP-1 User manual

CLEAR DESIGN

CLEAR DESIGN BOOST PRO BP-1 User manual

CLEAR DESIGN BLLOSV2 User manual

CLEAR DESIGN

CLEAR DESIGN BLLOSV2 User manual

CLEAR DESIGN COVE CV-4 Configuration guide

CLEAR DESIGN

CLEAR DESIGN COVE CV-4 Configuration guide

CLEAR DESIGN BL-3 Configuration guide

CLEAR DESIGN

CLEAR DESIGN BL-3 Configuration guide

CLEAR DESIGN COVE CV-1 Configuration guide

CLEAR DESIGN

CLEAR DESIGN COVE CV-1 Configuration guide

CLEAR DESIGN BFSLM.UB User manual

CLEAR DESIGN

CLEAR DESIGN BFSLM.UB User manual

CLEAR DESIGN THREE60 User manual

CLEAR DESIGN

CLEAR DESIGN THREE60 User manual

CLEAR DESIGN BLLBFV2 User manual

CLEAR DESIGN

CLEAR DESIGN BLLBFV2 User manual

CLEAR DESIGN COVE CV-2 Configuration guide

CLEAR DESIGN

CLEAR DESIGN COVE CV-2 Configuration guide

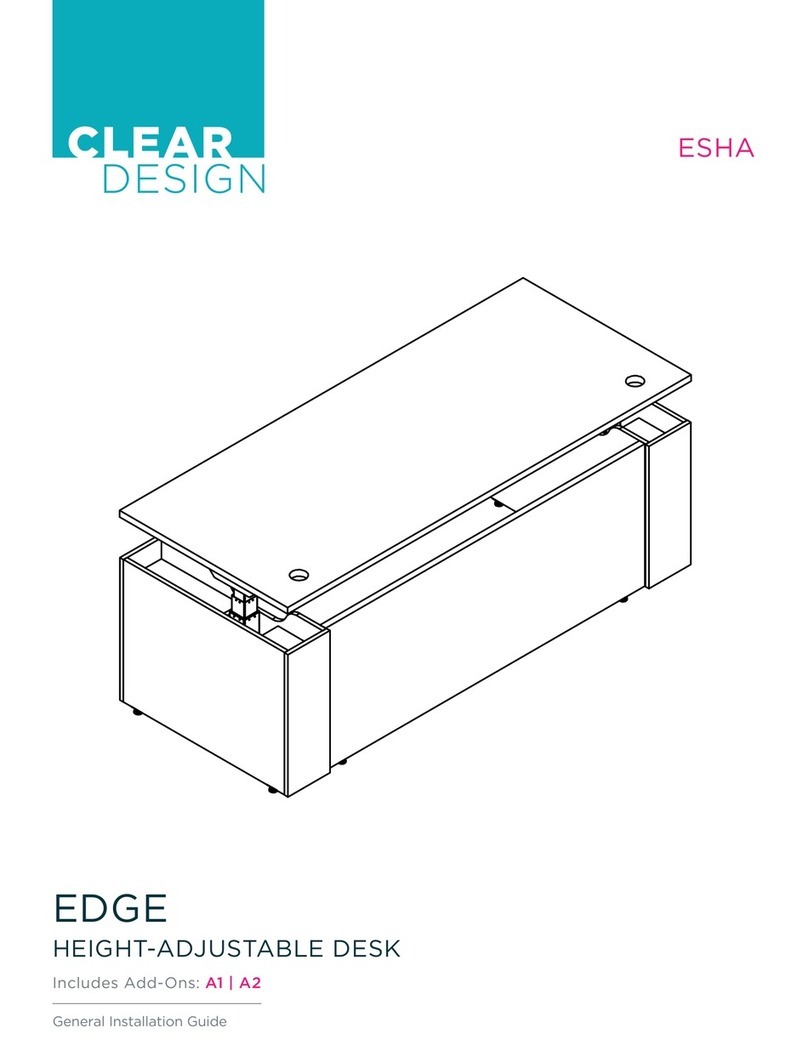
CLEAR DESIGN EDGE ESHA User manual

CLEAR DESIGN

CLEAR DESIGN EDGE ESHA User manual

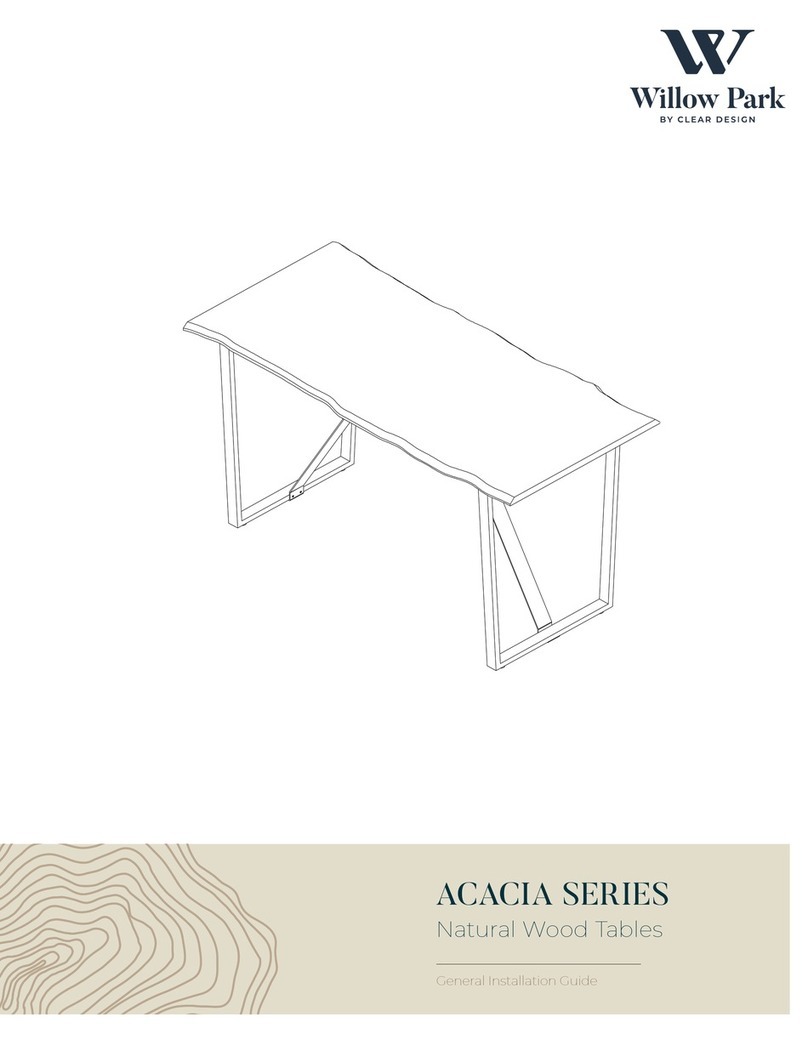
CLEAR DESIGN Willow Park ACACIA Series User manual

CLEAR DESIGN

CLEAR DESIGN Willow Park ACACIA Series User manual

CLEAR DESIGN BLCC Series User manual

CLEAR DESIGN

CLEAR DESIGN BLCC Series User manual
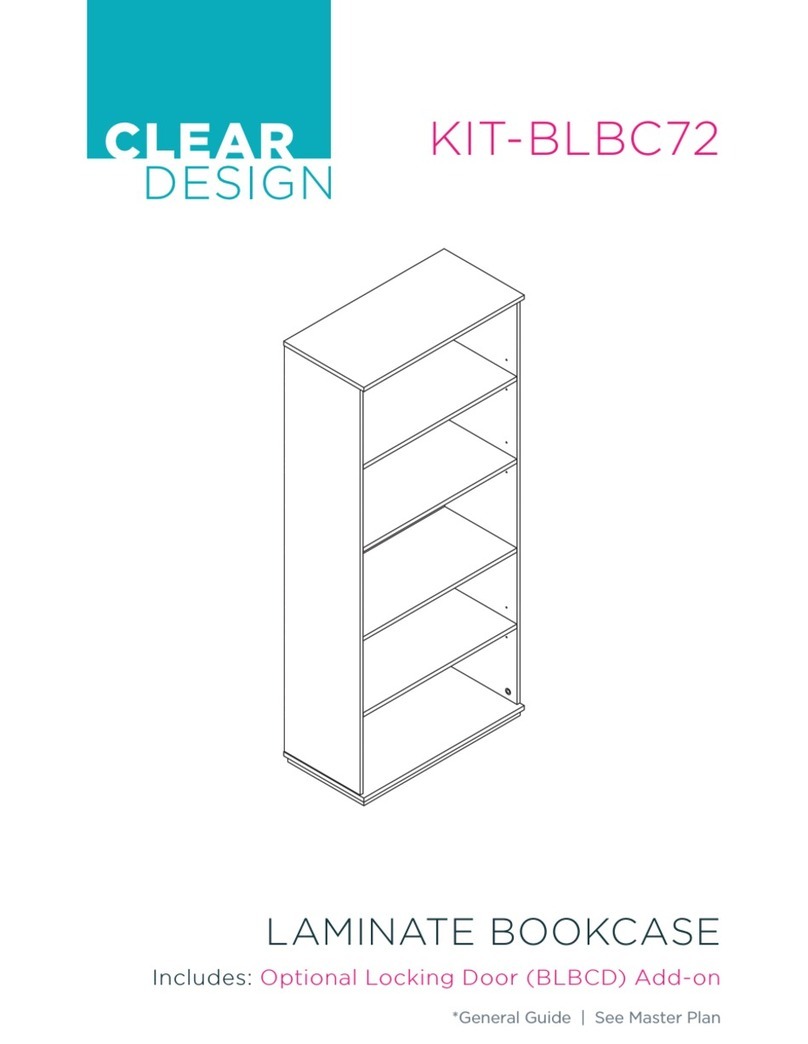
CLEAR DESIGN COVE CV-3 Configuration guide

CLEAR DESIGN

CLEAR DESIGN COVE CV-3 Configuration guide

CLEAR DESIGN EDGE ECH2472 User manual

CLEAR DESIGN

CLEAR DESIGN EDGE ECH2472 User manual

CLEAR DESIGN BLLBFV2 User manual

CLEAR DESIGN

CLEAR DESIGN BLLBFV2 User manual

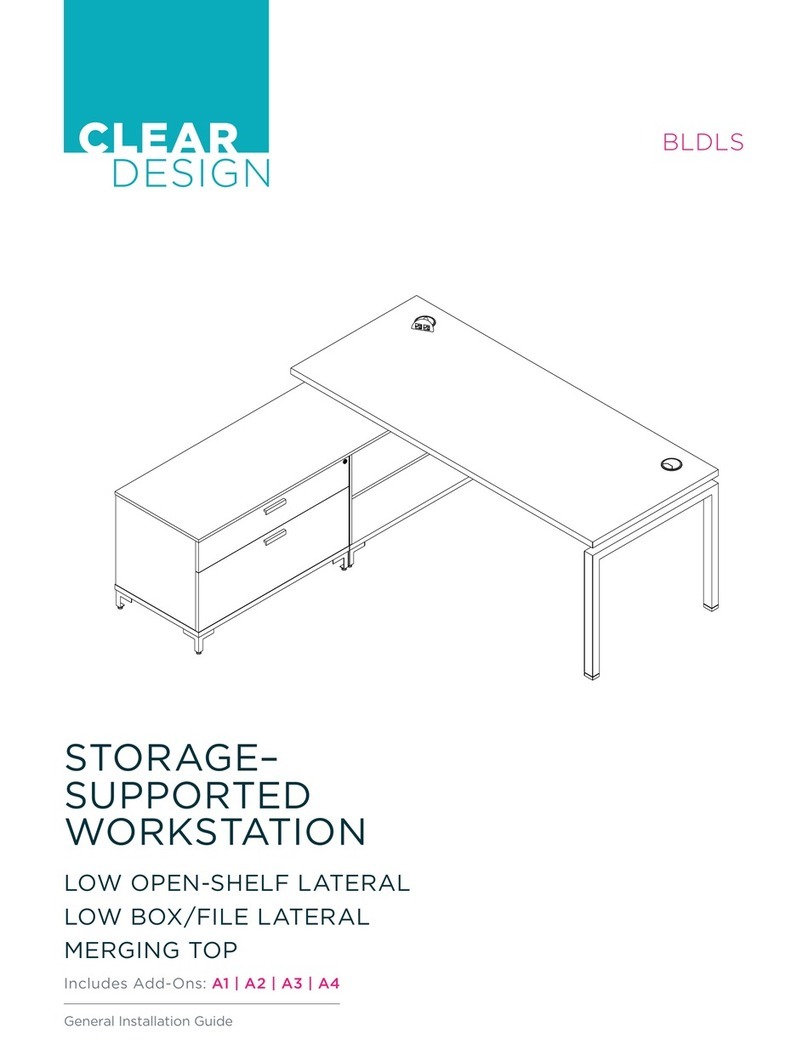
CLEAR DESIGN BLDLS User manual

CLEAR DESIGN

CLEAR DESIGN BLDLS User manual

CLEAR DESIGN BLADE BBC1 User manual

CLEAR DESIGN

CLEAR DESIGN BLADE BBC1 User manual

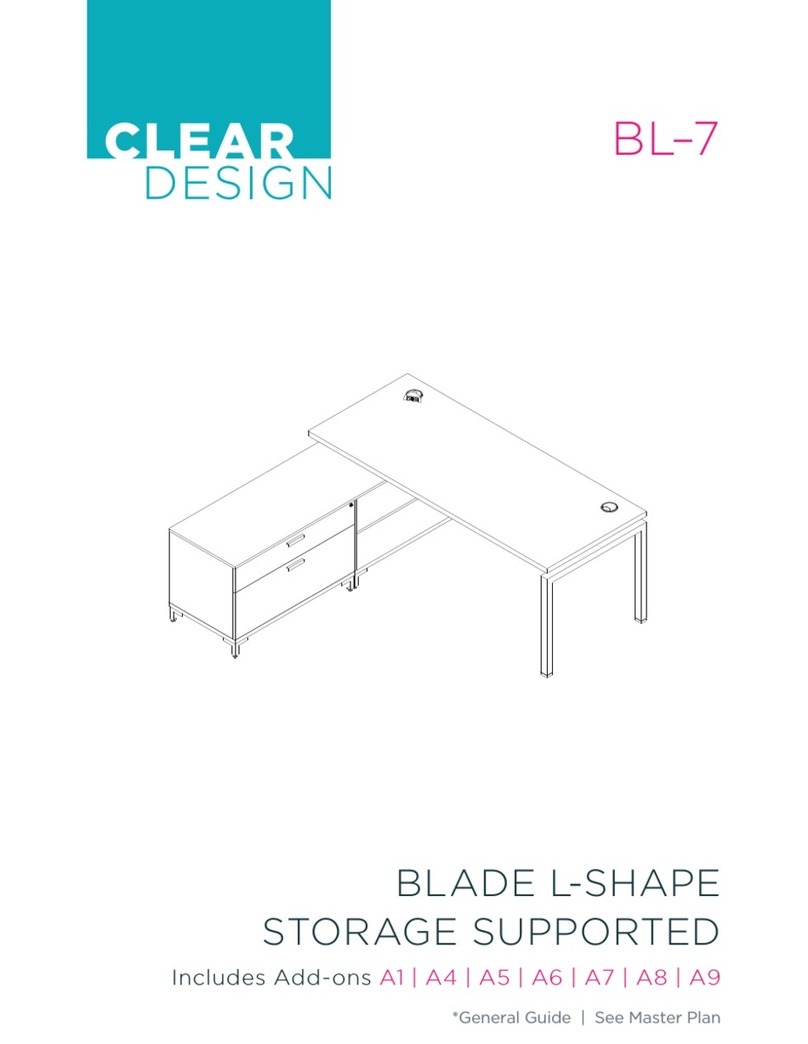
CLEAR DESIGN BL-7 User manual

CLEAR DESIGN

CLEAR DESIGN BL-7 User manual

CLEAR DESIGN BLADE BSW User manual

CLEAR DESIGN

CLEAR DESIGN BLADE BSW User manual

CLEAR DESIGN KIT-BLBC72 User manual

CLEAR DESIGN

CLEAR DESIGN KIT-BLBC72 User manual
Popular Indoor Furnishing manuals by other brands
Julian Bowen Limited CAPRI Assembly instructions

Julian Bowen Limited

Julian Bowen Limited CAPRI Assembly instructions

Belleze 014-HG-31933 owner's manual

Belleze

Belleze 014-HG-31933 owner's manual

VIBO EDS 1150 Assembling instructions

VIBO

VIBO EDS 1150 Assembling instructions

Eagle Group Poly/Richlite Assembly instructions

Eagle Group

Eagle Group Poly/Richlite Assembly instructions

Vauth-Sagel VS ADD Iron manual

Vauth-Sagel

Vauth-Sagel VS ADD Iron manual

OVE ATHEA 42 installation manual

OVE

OVE ATHEA 42 installation manual
Wilding Wallbeds Brittany Installation booklet

Wilding Wallbeds

Wilding Wallbeds Brittany Installation booklet

THB Sognare Excellence Glass 5 Doors manual

THB

THB Sognare Excellence Glass 5 Doors manual

Cheyenne Products CPFH1076BWHTE Assembly instructions

Cheyenne Products

Cheyenne Products CPFH1076BWHTE Assembly instructions

Homelegance 1526RF-31 Assembly instruction

Homelegance

Homelegance 1526RF-31 Assembly instruction

Whittier Wood 1191RGBa Assembly instructions

Whittier Wood

Whittier Wood 1191RGBa Assembly instructions

VASAGLE LNT13 manual

VASAGLE

VASAGLE LNT13 manual

Next 415485 Assembly instructions

Next

Next 415485 Assembly instructions

Office Star Products ST235V operating instructions

Office Star Products

Office Star Products ST235V operating instructions

Geuther Bambino 2620 manual

Geuther

Geuther Bambino 2620 manual

World Market JOZY 507802 Assembly instructions

World Market

World Market JOZY 507802 Assembly instructions

Extremis dirk wynants PONTSUN Assembly instructions

Extremis

Extremis dirk wynants PONTSUN Assembly instructions

LG OUTDOOR SAV08 Assembly instructions

LG OUTDOOR

LG OUTDOOR SAV08 Assembly instructions

manuals.online logo
manuals.online logoBrands
  • About & Mission
  • Contact us
  • Privacy Policy
  • Terms and Conditions

Copyright 2025 Manuals.Online. All Rights Reserved.