manuals.online logo
Brands
  1. Home
  2. •
  3. Brands
  4. •
  5. CLEAR DESIGN
  6. •
  7. Indoor Furnishing
  8. •
  9. CLEAR DESIGN BLCC Series User manual

CLEAR DESIGN BLCC Series User manual

BLCC##
STORAGE
LAMINATE CONFERENCE
CREDENZA
Includes Optional Laminate Top Install
General Installation Guide
CODE QTY DESCRIPTION
BLCC##
1Bottom Panel
1Top Panel
2End Panel
1Center Support Panel
1Back Panel
1Fixed Shelf 1
1Fixed Shelf 2
4Door
14 Wooden Dowel
34 Cam Lock
30 Cam Pin
2Connecting Rod
PARTS LIST
1
2
CREDENZA
CODE QTY DESCRIPTION
BLCC##
34 Cam Cover
4Corner Foot
1Center Footer
28 Wood Screw 1
48 Wood Screw 2
4Handle w/ Screws
2Lock
4Corner Bracket
2Latch
WALAMCC.X 1 Custom FX Top Panel*
KIT-LCCB
12 Plastic L-Bracket
24 Wood Screws
*If applicable. FX Top Panel does not include pre-drilled holes.
3
CREDENZA
1 | INSERT HARDWARE INTO BOTTOM PANEL
Using a screwdriver, secure 8 cam pins into the pre-drilled holes on the
bottom panel of the credenza.
2 | INSERT HARDWARE INTO TOP PANEL
Using a screwdriver, secure 8 cam pins into the pre-drilled holes on the
top panel of the credenza.
Cam Pin
Cam Pin
4
CREDENZA
3 | INSERT HARDWARE INTO FIXED SHELF
Using a screwdriver, secure 4 cam pins into the pre-drilled holes as they are
shown below, for each panel. Insert 4 wooden dowels and 4 cam locks into
the pre-drilled holes at the top and bottom of the panel.
Note: Repeat steps for both side panels.
Cam Pin
Cam Lock
Wooden Dowel
5
CREDENZA
4 | INSERT HARDWARE INTO CENTER SUPPORT PANEL
Insert 4 wooden dowels and 6 cam locks into the pre-drilled holes in
the panel.
5 | INSERT HARDWARE INTO BACK PANEL
Using a screwdriver, secure 6 cam pins and 8 cam locks into the pre-drilled holes
in the panel.
Cam Lock Wooden Dowel
Cam PinCam Lock
6
CREDENZA
7 | INSERT HARDWARE INTO FIXED SHELF 2
Insert 6 cam locks into the pre-drilled holes at the top and bottom of the panel.
Note: Repeat steps for both side panels.
6 | INSERT HARDWARE INTO FIXED SHELF 1
Insert 2 wooden dowels into the pre-drilled holes at the bottom of the panel.
Insert 6 cam locks into the pre-drilled holes on the side of the panel.
Cam Lock Wooden Dowel
Cam Lock
7
CREDENZA
8 | SECURE FIXED SHELVES TO CENTER SUPPORT PANEL
Pass 2 wooden dowels and 2 connecting rods through the center support
panel and insert into the sides of both of the fixed shelf panels. Using a
screwdriver, turn the 4 cam locks to lock the connecting rods in place.
Wooden Dowel
Tighten Cams
Connecting Rod
8
CREDENZA
10 | SECURE END PANELS TO ASSEMBLED STRUCTURE
Align the cam pins with the open cam locks on the assembled structure. Using a
screwdriver, turn the 8 cam locks to lock the cam pins in place.
9 | SECURE BACK PANEL TO ASSEMBLED STRUCTURE
Align the cam pins with the open cam locks on the assembled structure.
Using a screwdriver, turn the 6 cam locks to lock the cam pins in place.
Tighten Cams
Tighten Cam Locks
9
CREDENZA
11 | SECURE BOTTOM PANEL TO ASSEMBLED STRUCTURE
Align the cam pins with the open cam locks on the assembled structure.
Using a screwdriver, turn the 8 cam locks to lock the cam pins in place.
12 | SECURE TOP PANEL TO ASSEMBLED STRUCTURE
(A) FAST (1"Thick) Top: Align the cam pins with the open cam locks on the as-
sembled structure. Using a screwdriver, turn the 8 cam locks to lock the cam pins
in place.
Note: If Credenza has an 1.25"top, skip to 12B.
Tighten Cam Locks
Tighten Cam Locks
10
CREDENZA
2
For installation questions call 210.648.2095 or email customerservice@mycleardesign.com
STEP #1 CONTINUED
13 ”
1
4
14 ”
13 ”
17 ”16 ”
1”
14 ”
1”
”
1 ”
13
16
5
8
13
16
3
8
3
16
5
16 11
16
1 ”
5
16 ”
11
16
Drill two " deep holes with a " drill bit.
1
2
5
16
MM
MM
5
(B) FX (1.25"Thick) Top: Drill 2.5” deep holes with a 5/16” drill bit. Holes
should be 17 5/8” from the left edge, 16 3/8” from the right edge and 7” from
the bottom edge.
Attach corner braces in the location shown below. Insert 2 wood screws
through each of the corner braces into the top and side panels.
11
CREDENZA
13 | SECURE FEET TO BOTTOM PANEL
Attach corner feet and center foot to the bottom panel with 4 wood screws
per foot. Cover all exposed cam locks with cam covers.
14 | SECURE DOORS TO CREDENZA
Use 4 wood screws to the side and center panels.
12
CREDENZA
16 | ATTACH CORNER BRACKETS TO THE TOP PANEL
Attach brackets to the underside of the top panel using 2 wood screws each.
15 | SECURE LOCKS AND LATCHES TO DOORS
Align the cam pins with the open cam locks on the assembled structure.
Using a screwdriver, turn the 6 cam locks to lock the cam pins in place.
13
CREDENZA
17 | ATTACH HANDLES TO EACH DOOR
Attach using 2 wood screws for each handle.
18 | ASSEMBLY COMPLETE
14
END OF CREDENZA SECTION
1-866-304-7197 | inspire@mycleardesign.com | mycleardesign.com
© 2022 Clear Design | Version 22.1.2

Other CLEAR DESIGN Indoor Furnishing manuals
CLEAR DESIGN BFSLM.UB User manual

CLEAR DESIGN

CLEAR DESIGN BFSLM.UB User manual
CLEAR DESIGN BLADE BSW User manual

CLEAR DESIGN

CLEAR DESIGN BLADE BSW User manual
CLEAR DESIGN Willow Park ACACIA Series User manual
CLEAR DESIGN

CLEAR DESIGN Willow Park ACACIA Series User manual

CLEAR DESIGN COVE CV-2 Configuration guide
CLEAR DESIGN

CLEAR DESIGN COVE CV-2 Configuration guide

CLEAR DESIGN BLLBFV2 User manual

CLEAR DESIGN

CLEAR DESIGN BLLBFV2 User manual
CLEAR DESIGN BL-3 Configuration guide

CLEAR DESIGN

CLEAR DESIGN BL-3 Configuration guide
CLEAR DESIGN COVE CV-1 Configuration guide
CLEAR DESIGN

CLEAR DESIGN COVE CV-1 Configuration guide

CLEAR DESIGN COVE CV-4 Configuration guide
CLEAR DESIGN

CLEAR DESIGN COVE CV-4 Configuration guide

CLEAR DESIGN EDGE CASEGOODS EDF3059 User manual
CLEAR DESIGN

CLEAR DESIGN EDGE CASEGOODS EDF3059 User manual

CLEAR DESIGN THREE60 User manual

CLEAR DESIGN

CLEAR DESIGN THREE60 User manual
CLEAR DESIGN KIT-BLBC72 User manual

CLEAR DESIGN

CLEAR DESIGN KIT-BLBC72 User manual
CLEAR DESIGN BOOST PRO BP-1 User manual
CLEAR DESIGN

CLEAR DESIGN BOOST PRO BP-1 User manual

CLEAR DESIGN BHA2GSA User manual

CLEAR DESIGN

CLEAR DESIGN BHA2GSA User manual

CLEAR DESIGN COVE CV-3 Configuration guide
CLEAR DESIGN

CLEAR DESIGN COVE CV-3 Configuration guide

CLEAR DESIGN EDGE ECH2472 User manual

CLEAR DESIGN

CLEAR DESIGN EDGE ECH2472 User manual
CLEAR DESIGN BLADE BBC1 User manual

CLEAR DESIGN

CLEAR DESIGN BLADE BBC1 User manual
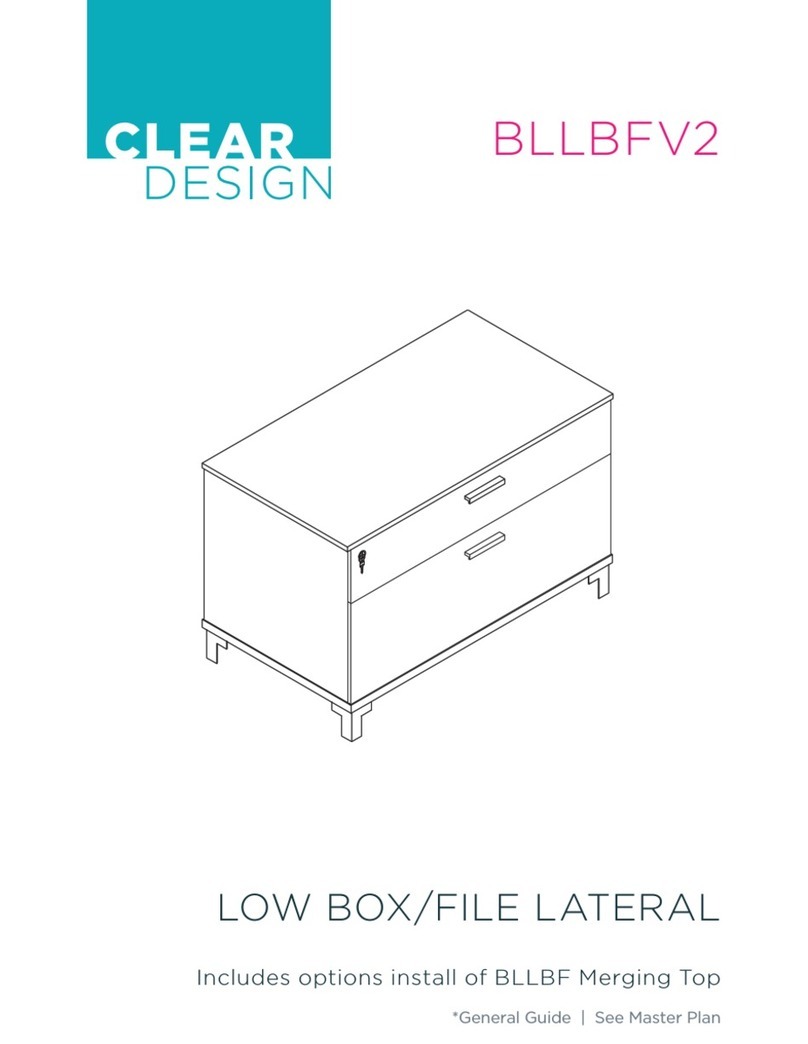
CLEAR DESIGN BLLBFV2 User manual

CLEAR DESIGN

CLEAR DESIGN BLLBFV2 User manual
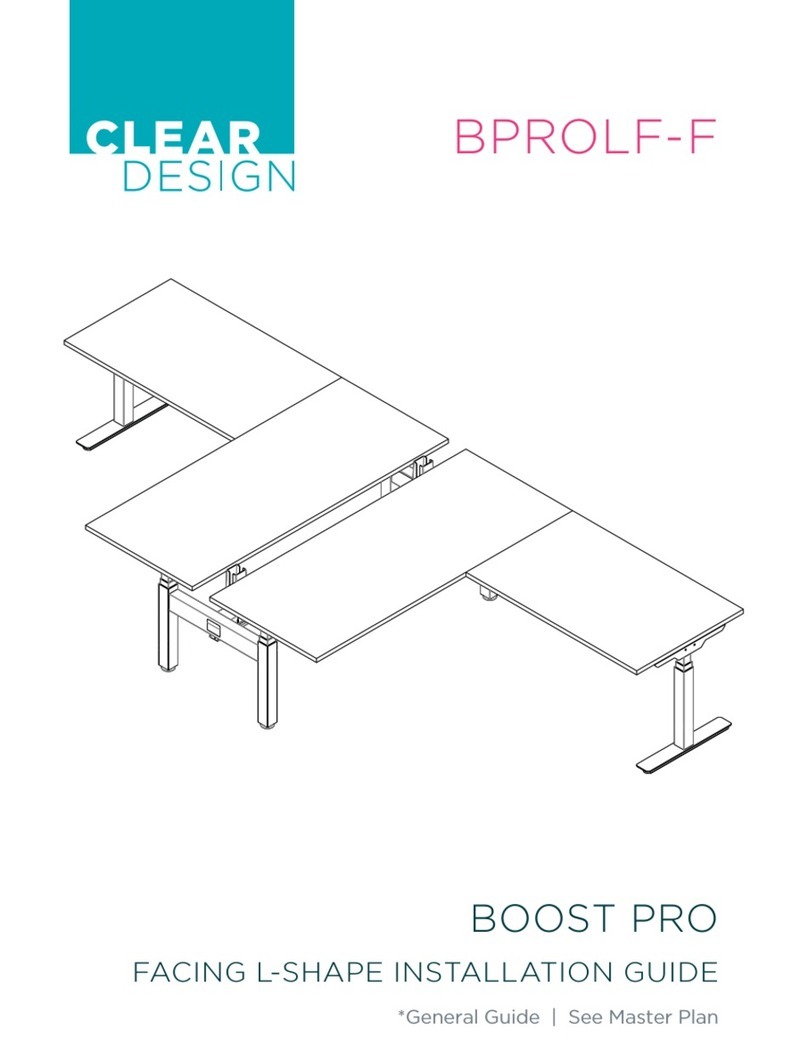
CLEAR DESIGN BOOST PRO BPROLF-F User manual
CLEAR DESIGN

CLEAR DESIGN BOOST PRO BPROLF-F User manual

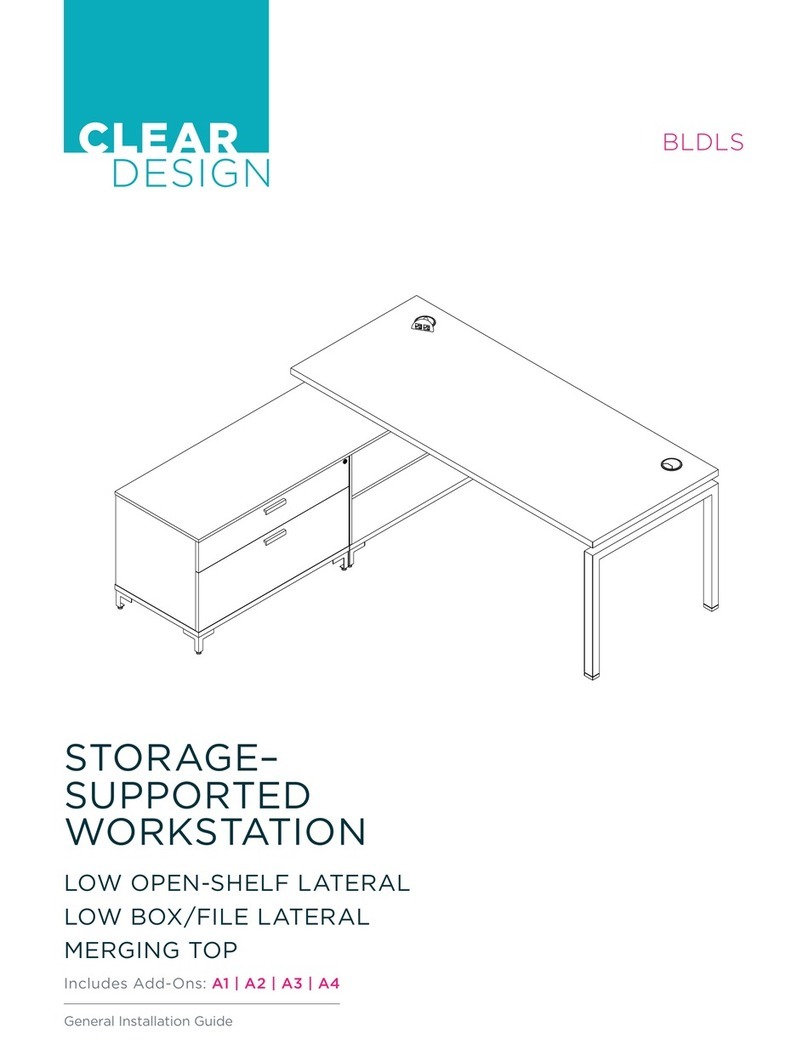
CLEAR DESIGN BLDLS User manual

CLEAR DESIGN

CLEAR DESIGN BLDLS User manual
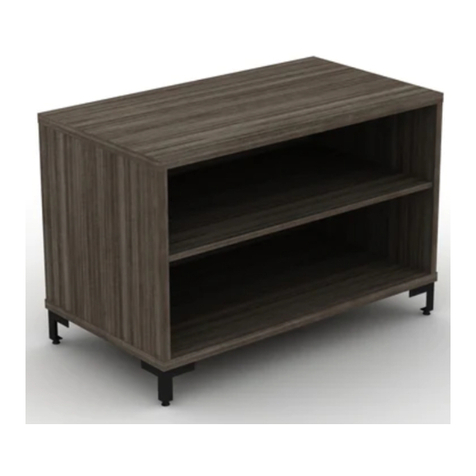
CLEAR DESIGN BLLOSV2 User manual

CLEAR DESIGN

CLEAR DESIGN BLLOSV2 User manual

CLEAR DESIGN EDGE ESHA User manual

CLEAR DESIGN

CLEAR DESIGN EDGE ESHA User manual

CLEAR DESIGN BL-7 User manual

CLEAR DESIGN

CLEAR DESIGN BL-7 User manual

CLEAR DESIGN EDGE CASEGOODS EBDF3571 User manual

CLEAR DESIGN

CLEAR DESIGN EDGE CASEGOODS EBDF3571 User manual

Popular Indoor Furnishing manuals by other brands

Direct Supply Maxwell Thomas Colonnade owner's manual

Direct Supply

Direct Supply Maxwell Thomas Colonnade owner's manual

Wójcik HOBBY 21 - 2D manual

Wójcik

Wójcik HOBBY 21 - 2D manual
Max-Ability R8593118000 Installation drawing
Max-Ability

Max-Ability R8593118000 Installation drawing

STRUCTUBE DRAKE manual

STRUCTUBE

STRUCTUBE DRAKE manual

Furniture of America CM-BR6463 Assembly instructions
Furniture of America

Furniture of America CM-BR6463 Assembly instructions

Delta Children DELTA10 Assembly instructions

Delta Children

Delta Children DELTA10 Assembly instructions

MOOSE Cars Toddler Bed Assembly instructions
MOOSE

MOOSE Cars Toddler Bed Assembly instructions
Next NOAH 960642 Assembly instructions

Next

Next NOAH 960642 Assembly instructions
Okamura Risefit III Instructions for use

Okamura

Okamura Risefit III Instructions for use

Aeris 3Dee Assembly instructions

Aeris

Aeris 3Dee Assembly instructions

Safavieh Furniture Alora BCT2502 manual

Safavieh Furniture

Safavieh Furniture Alora BCT2502 manual

Rauch MD121 Assembly instructions
Rauch

Rauch MD121 Assembly instructions
Otto 96415126 Assembly instructions
Otto

Otto 96415126 Assembly instructions
Woodland MONTEREY 501 Assembly instruction

Woodland

Woodland MONTEREY 501 Assembly instruction

OVE PAOLA Assembly instructions

OVE

OVE PAOLA Assembly instructions
Habitat Macao 817629 manual

Habitat

Habitat Macao 817629 manual

MACMILANO CAPITAN MCM022002 Series quick start guide

MACMILANO

MACMILANO CAPITAN MCM022002 Series quick start guide

Mayline Ranger Team Table Assembly instructions

Mayline

Mayline Ranger Team Table Assembly instructions
manuals.online logo
manuals.online logoBrands
  • About & Mission
  • Contact us
  • Privacy Policy
  • Terms and Conditions

Copyright 2025 Manuals.Online. All Rights Reserved.