Pag e / Sei t e 10 © clearaudioelectronic GmbH, 2019-04
User manual / Bedienungsanleit ung
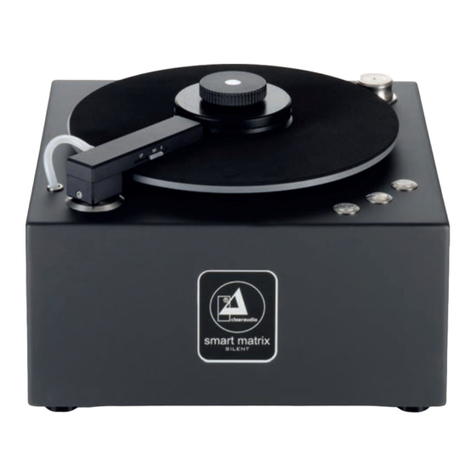
Opening the cleaning and vacuum arm and placing the record
Lift the upper cleaning arm and swing it to the left to open the cleaning and vacuum assembly.
Tur n t he knob of t h e Seal r ecor d clam p an t iclockw ise t o r elease t he cl amp t hen pl ace t h e r ecor d t o
be cleaned on the label-sized platter. Now put the
Seal
record clamp back on the spindle and press
down gently while rotating the knob clockwise to secure the record in position and create a seal to
protect the record label from uid damage.
Closing t he cleaning and vacuum unit
Now you can swing the upper cleaning arm to the right to close the cleaning and vacuum assembly.
Automatic cleaning
The new features of the
double matrix professional SONIC
“Auto”, “Superclean” and “ECO mode”
provide fully automatic and ecient cleaning (see function 5.1, page 8). You only have to manually
activate the antistatic brush.
Manual cleaning
To set y ou r ow n par am et er s f o r t h e cl ean i ng p r ocess m an u al l y:
• After you have placed and xed the record with the
Seal
record clamp, close the cleaning and
vacuum assembly.
• Pr ess t he “ Pow er ” but t on t o st ar t t he soni c cl ean ing f un ct ion and r ot at ion of t he r ecor d.
• Press the “Liquid” button to apply cleaning uid to the record. Holding down the button for
longer applies more uid. Adjust this according to the desired quantity of cleaning uid.
• After about 3 or 4 rotations, change the platter direction by pressing the “Platter” button. We
recommend 3 or 4 turns in each direction. By turning the “Platter Speed” knob you can vary the
rotational speed to further ne tune the cleaning process.
• Once you are happy wit h the cleaning, press the “ Vacuum” butt on. This will stop t he sonic
cleaning function and start the vacuum drying process. After about 3 or 4 rotations, when the
record is visibly dry, switch o the suction by pressing the “Vacuum” button again.
• Pr ess t he “ Pow er ” but t on t o st op t he r ecor d r ot at ion.
• Open the suction arm. Now start the antistatic function (see 5.3, page 9). After completion of the
antistatic function the manual cleaning is complete and you can remove your record.
