manuals.online logo
Brands
  1. Home
  2. •
  3. Brands
  4. •
  5. ClearWater Lights
  6. •
  7. Motorcycle Accessories
  8. •
  9. ClearWater Lights Glenda User manual

ClearWater Lights Glenda User manual

Page 2
Step 1: Parts List and Bike Preparation
• Check Parts list below with your kit to be sure all parts are handy. If
something is missing, please call us at (916) 852-7029.
Please be sure to read our instructions thoroughly
before attempting installation.
Please take the time to review the included instructions. Installation of your
new Clearwater Lights is straightforward. But, be sure to follow some of the
suggestions to keep the installation safe and reliable. If you have any questions
or comments, please feel free to contact us. Thank you!
Page 1
Page 3
Step 1: Parts List & Bike Preparation
Installation Tips:
There are two main parts to the installation of your new
Clearwater Lights. The mechanical portion, and the electrical portion.
With this manual, we will go over the basics of both which should allow
you to get your lights up and running. If you purchased a bracket made
specically for your bike, refer to our manuals online for that specic
installation at:
www.clearwaterlights.com
Note: Motorcycle needs to be turned on before the lights will function.
Bike Preparation:
• First, park the motorcycle on hard pavement or concrete to insure the
bike will be stable during the installation. If you can mount the bike on a
stand with tie-down straps, this will help secure the motorcycle.
• Follow the manufacturers guidelines for disconnecting the battery. This
is important to prevent damage to the electrical system.
Note:
We suggest keeping your lights on all the time, we do not furnish an
“on-o” switch. It is important to be sure that the wire you use will turn
o when the bike is turned o. Otherwise, you will end up with a dead
battery. Nobody likes that.
Page 2
D41 Fork MountD41 Fork Mount
Page 4
Step 2: Mounting The Lights / Fork Mount
Mounting The Lights: (Fork Mount)
Pre-assemble the lights, mounting bracket, shoulder washers and
spacers with new bolts. Gently screw all bolts in hand tight. Inspect the
bolt length and spacer alignment before tightening the bolts.
Page 3
D41/G41 Fork Kit
D41 Fork MountD41 Fork Mount
#14 Spacer (Small)#14 Spacer (Small)
#15 Spacer (Big)#15 Spacer (Big)
Page 5
Page 4
Step 3: Disassembly
Disassembly
Step 1. Remove seat (2 screws at rear of seat)
Step 2. Remove rear seat (insert key and turn key 90 degrees to remove)
Step 3. Remove right side body panel (follow diagram below which can
also be found on pg. 181 of your BMW S1000RR owners manual.)
Step 1.Step 1. Step 2.Step 2.
Step 3.Step 3. Step 3.Step 3.
Page 6 Page 5
Step 3: Disassembly
Disassembly
Step 4. Remove upper right side body panel
This is how the bike should look with the seats and right side fairings removed.This is how the bike should look with the seats and right side fairings removed.
Step 4.Step 4.
Screw under seatScrew under seat
needs to be removedneeds to be removed
Plastic clip under fairingPlastic clip under fairing
here needs to be gentlyhere needs to be gently
popped out of the socket.popped out of the socket.
Page 7
Page 6
Step 3: Mounting The Volume Control Knob
Mounting The Volume Control Knob: (Bar Mount)
• Mount the Volume Control Knob to handlebar by using supplied
bracket and bolt to the existing controls.
• Route wires from lights and volume control knob bracket to area
under left side of forks. Connections can be made here and be kept
weatherproof.
Hint for High Vibration installations: To keep the Volume Control Knob from
rotating itself under high vibration, put a dab of silicone adhesive under the knob
and let it dry. Then push the rubber knob back on. The friction of the glue under
the knob will keep it in place.
Page 8
Step 4: Wiring
Page 7
Wiring:
• We highly recommend you take a minute to review the wiring diagram
below before starting the wiring portion of the installation. Once you
feel comfortable with the information below you are ready to begin the
electrical portion of the installation. Be sure to keep this diagram handy
to reference throughout the installation.
Page 9
Page 8
Step 4: Wiring
Wire Routing:
• Be sure to route wires so that they cannot become tangled or caught
in either a suspension part or steering part. Check movement of both
steering and suspension before riding the bike.
• It is sometimes helpful to follow existing wire routing.
Wiring:
• Main power needs to be connected to a switched hot. This means one
that turns o with the key. An Auxiliary hot can be used as an alternative.
Using the supplied Posi-twist connectors, connect the wires according
to the accompanying color wire diagram. Attach ground lug to ground
on frame tab or other suitable location. Be sure not use a Low beam
headlight wire on H4 headlight bikes or else the lights will shut o when
the high beam is activated.
• Find a good solid ground point for the black wire terminal ring.
• Use a Posi-twist to connect the green wire from the volume control knob
to the two green wires from the lights (3 wires).
• Use a Posi-twist to connect red wire from the fuse holder to the red
wires from lights and volume control knob (4 wires)
• Connect ground/black wire to black wires from lights and volume control
knob. (4 wires)
• If you would like to use the high beam feature (recommended), use a
Posi-tap to connect the white wire from the volume control knob to the
High Beam headlight hot lead (+). This will be on only when the high
beam is illuminated.
Page 10
Step 5: Alignment / Drip Loop Instructions
Aligning The Lights:
Adjustment is up to the user depending on his needs. Ask an
assistant to help you with this procedure. Make sure the bike is on level
ground and have an assistant sit on the bike. With a right angle board
or object, position the board on the oor and slide it up to the light. The
goal is to adjust the lights so that the light is level with the ground.
Passengers and luggage may alter the alignment of the light, so
further adjustments may be needed. You may nd that a slight downward
angle (5 degrees) is helpful. Often times it is helpful to angle the right
side light toward the right side of the road. This helps with identifying
road terrain and potential critters.
No Drip Loop With Drip Loop
Using a Drip Loop
Though our lights are sealed for ultimate all weather use,
sometimes water sneaks by. To make sure this doesn’t happen, we
highly suggest using a drip loop. When installing the wiring to your lights,
use a drip loop as shown below. This will keep water from dripping
directly into the light and instead fall o before it can reach the back of
the body.
To do this just leave a bit of extra wiring and let it hang below the
light. You could make a complete loop if you like, but just make sure the
wire hangs below the light as shown below.
Page 9
Page 11
Page 10
Notes:
Notes:
Revised on 7/23/20

Other manuals for Glenda

5

This manual suits for next models

1

Other ClearWater Lights Motorcycle Accessories manuals

ClearWater Lights Glenda User manual

ClearWater Lights

ClearWater Lights Glenda User manual

ClearWater Lights Glenda User manual

ClearWater Lights

ClearWater Lights Glenda User manual

ClearWater Lights BMW K1600GT User manual

ClearWater Lights

ClearWater Lights BMW K1600GT User manual

ClearWater Lights Glenda User manual

ClearWater Lights

ClearWater Lights Glenda User manual

ClearWater Lights Billie Brake Light User manual

ClearWater Lights

ClearWater Lights Billie Brake Light User manual

ClearWater Lights Dixie User manual

ClearWater Lights

ClearWater Lights Dixie User manual

ClearWater Lights BMW G310R User manual

ClearWater Lights

ClearWater Lights BMW G310R User manual

ClearWater Lights Krista User manual

ClearWater Lights

ClearWater Lights Krista User manual

ClearWater Lights Krista User manual

ClearWater Lights

ClearWater Lights Krista User manual

ClearWater Lights Glenda User manual

ClearWater Lights

ClearWater Lights Glenda User manual

ClearWater Lights Krista User manual

ClearWater Lights

ClearWater Lights Krista User manual

ClearWater Lights Glenda User manual

ClearWater Lights

ClearWater Lights Glenda User manual

ClearWater Lights CANopener User manual

ClearWater Lights

ClearWater Lights CANopener User manual

ClearWater Lights BMW K1600GT User manual

ClearWater Lights

ClearWater Lights BMW K1600GT User manual

ClearWater Lights Darla User manual

ClearWater Lights

ClearWater Lights Darla User manual

Popular Motorcycle Accessories manuals by other brands

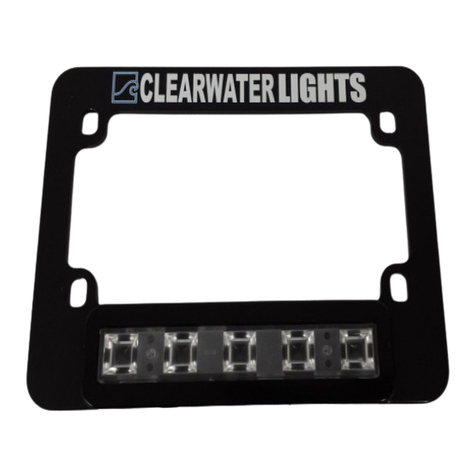
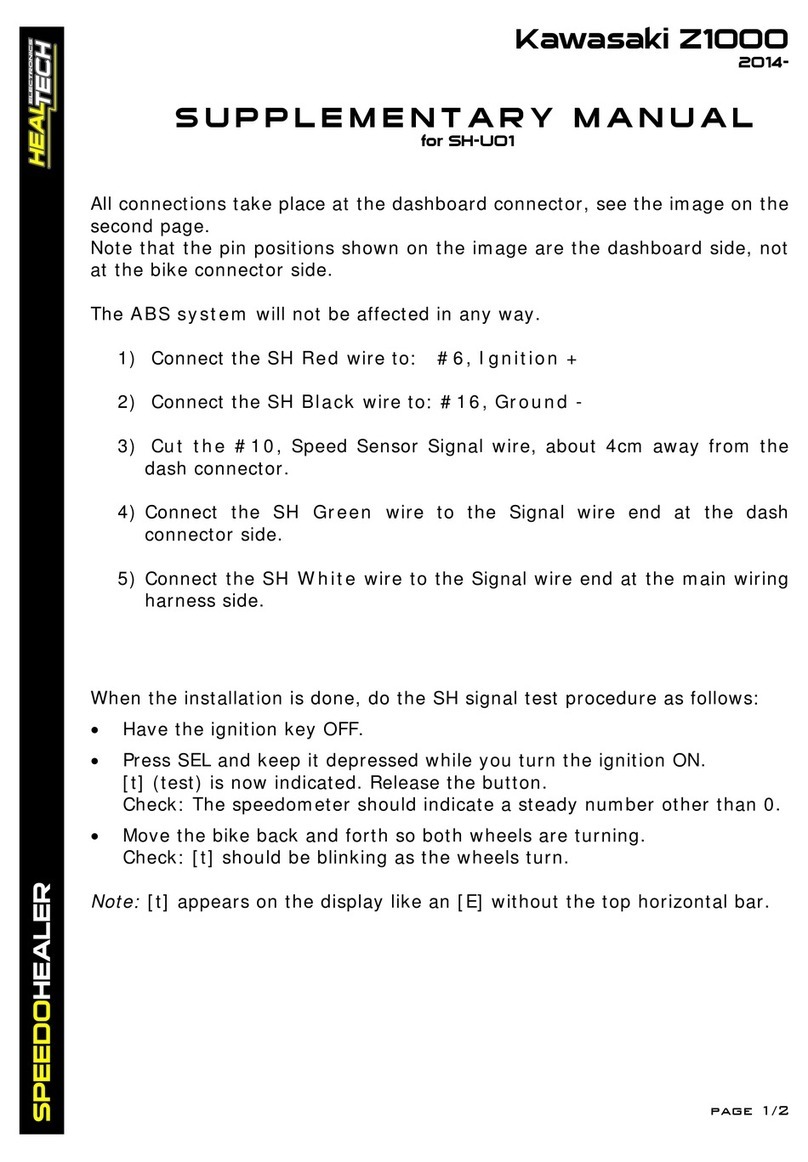
Heal-Tech SH-U01 Supplementary manual

Heal-Tech

Heal-Tech SH-U01 Supplementary manual

Abus PEDELEC instruction manual

Abus

Abus PEDELEC instruction manual

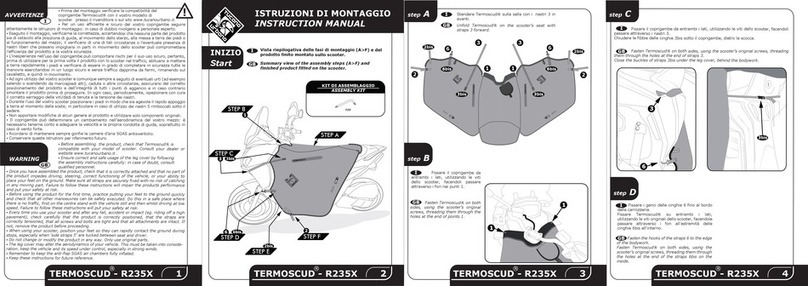
Tucano Urbano R235X instruction manual

Tucano Urbano

Tucano Urbano R235X instruction manual

Silvercrest SMFB 2.1 A1 operating instructions

Silvercrest

Silvercrest SMFB 2.1 A1 operating instructions

SUP’AIR PILOT user manual

SUP’AIR

SUP’AIR PILOT user manual

ICON Alliance instruction manual

ICON

ICON Alliance instruction manual

ThinkGizmos TG915 user manual

ThinkGizmos

ThinkGizmos TG915 user manual

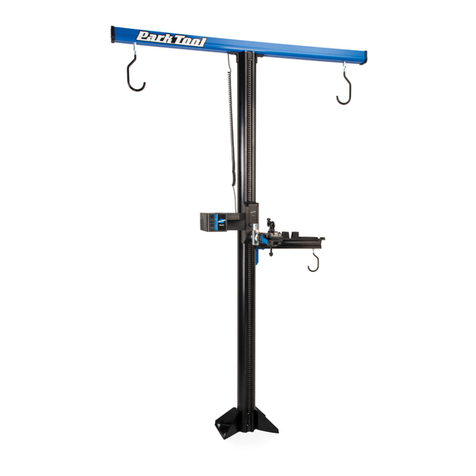
parktool PRS-33 manual

parktool

parktool PRS-33 manual

X-lite X-903 Ultra Carbon 29 Safety and instructions for use

X-lite

X-lite X-903 Ultra Carbon 29 Safety and instructions for use

Yakkay Strap Set Two quick start guide

Yakkay

Yakkay Strap Set Two quick start guide

Dakota Digital MCL-36K-TCH Installation

Dakota Digital

Dakota Digital MCL-36K-TCH Installation

Crivit CEB 2000 A1 operating instructions

Crivit

Crivit CEB 2000 A1 operating instructions

Shad KIT TOPMASTER S0BN11ST quick start guide

Shad

Shad KIT TOPMASTER S0BN11ST quick start guide

Scottoiler eSystem installation guide

Scottoiler

Scottoiler eSystem installation guide

KTM Power Parts 69012078000 instructions

KTM Power Parts

KTM Power Parts 69012078000 instructions

N-Com B901 quick start guide

N-Com

N-Com B901 quick start guide

hepco & becker Sportrack 6703531 quick guide

hepco & becker

hepco & becker Sportrack 6703531 quick guide

optrel b110 manual

optrel

optrel b110 manual

manuals.online logo
manuals.online logoBrands
  • About & Mission
  • Contact us
  • Privacy Policy
  • Terms and Conditions

Copyright 2025 Manuals.Online. All Rights Reserved.