Page 15
Page 14
Step 4: Wiring
Electrical:
• Run the Red and Black power wires directly to the battery. The fuse will
protect the system in the event of a short.
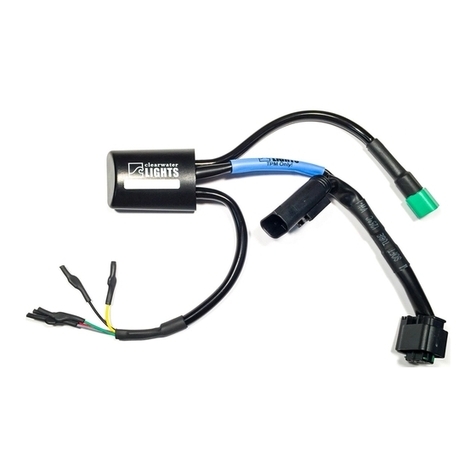
• Mount the power relay box in a safe location (see photo below for one
recommended location). Secure with a zip tie. It is a good idea to face
the relay box with the wires coming out of the bottom. This helps keep
everything dry.
• Main power needs to be connected to a switched hot. This means one
that turns o with the key. An Auxiliary hot can be used as an alternative.
Using the supplied Posi-twist connectors, connect the wires according to
the accompanying color wire diagram (page 7).
• Use a Posi-twist to connect the green wire from the volume control knob
to the two green wires from the lights (3 wires).
• Use a Posi-twist to connect red wire from the relay harness to the red
wires from lights and volume control knob (4 wires)
• Connect ground/black wire to black wires from lights, relay harness, and
volume control knob. (4 wires)
• Use a Posi-lock to connect the white wire from the volume control knob
to the male headlight jumper kit connector.
• Use a Posi-lock to connect the red wire from the relay harness to the
male headlight jumper kit connector.
• Plug the female headlight jumper kit connector into the OEM headlight
connector and then plug the stock connector into the supplied male end.
• Carefully assemble all components in the opposite way they were removed.
Under beak relay box location.
