CLS Manuals
CLS Atmosphere LED-panel
www.cls-led.com
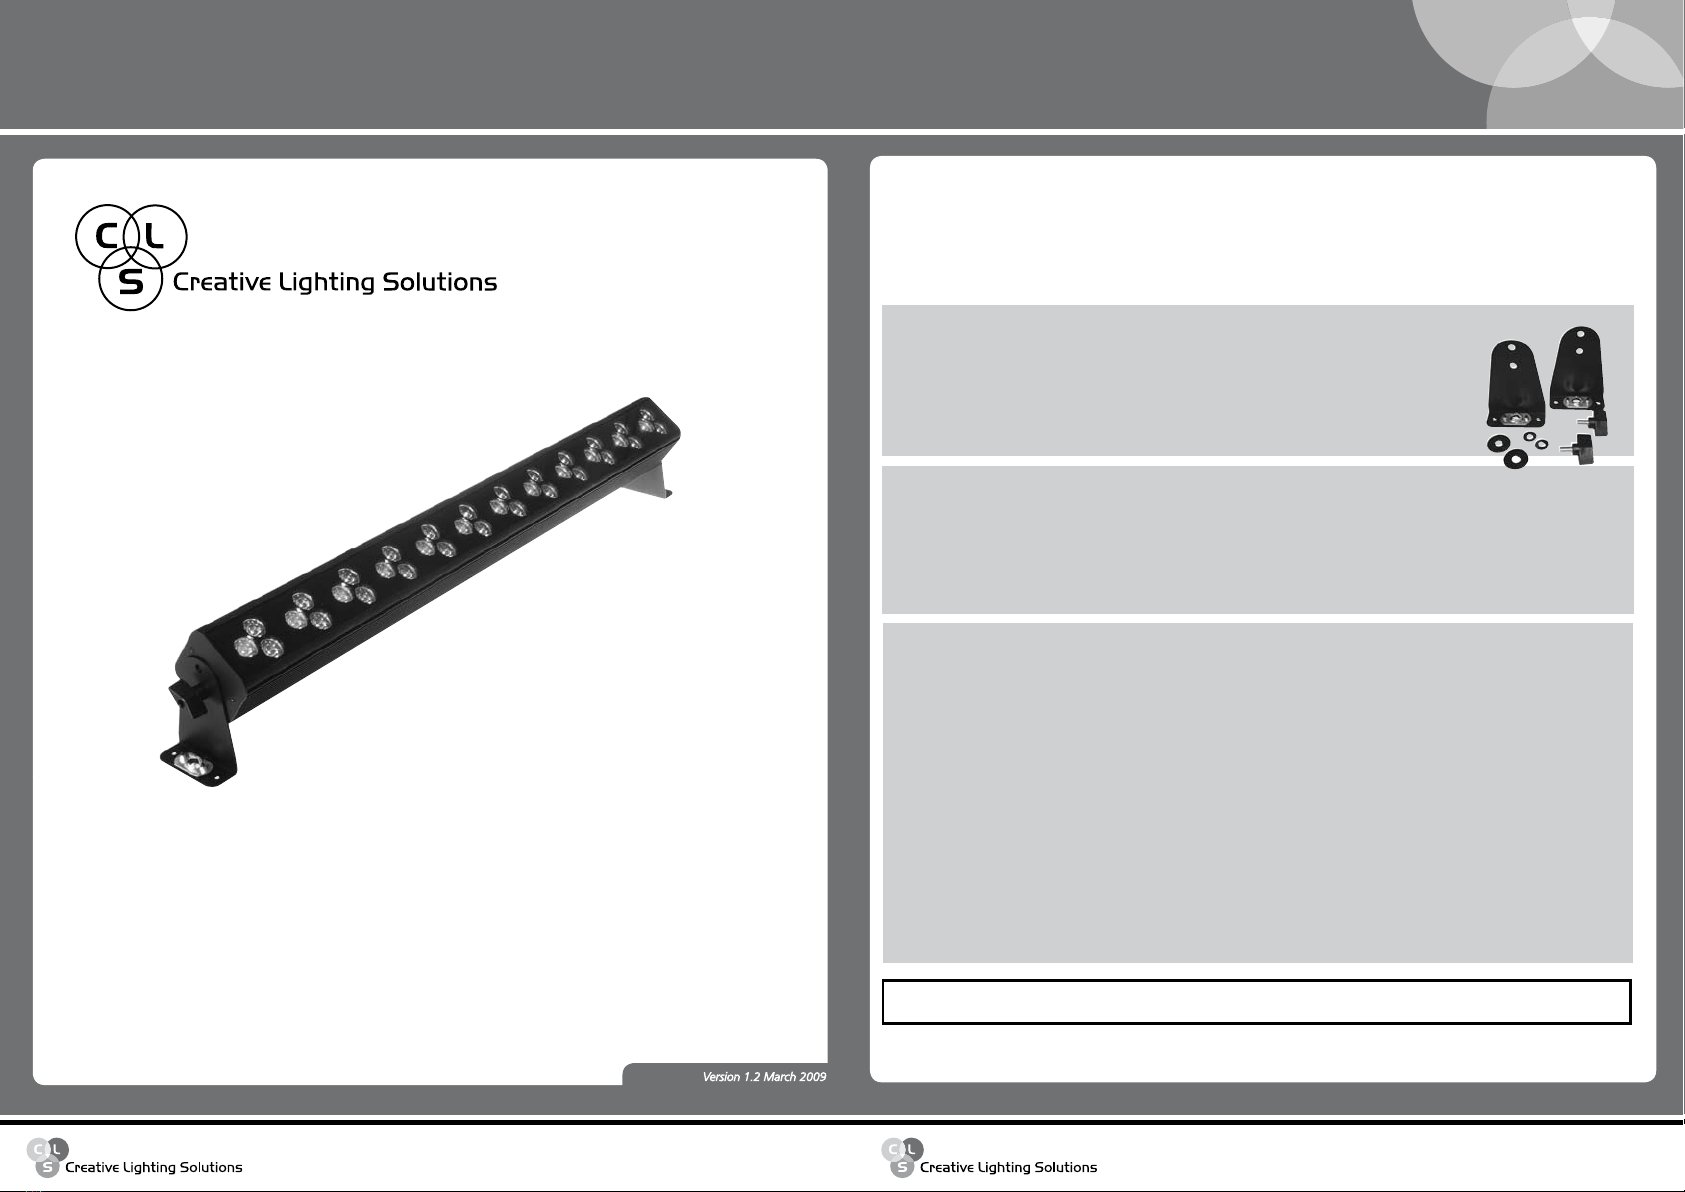
CLS PiXelbar 36
- 5 - - 6 -
DMX mode setting
Before selecting the DMX modes, first disconnect the DMX XLR connector. See page 5 for the lock
functionality if the display is off.
Press Menu until the display shows S--.
Press Up and Down to select the desired program from S01~S31.
Press Menu again to confirm it.
S10: Control all LED fixtures in the same channel (default)
S11: Control all LED fixtures independently
S20: Master off (default)*
S21: Master
S30: RGB 3 channels (Default)
S31: RGB dimming, strobe 5 channel
DMX mode S30:
Ch 1 = Red LED (single or group)
Ch 2 = Green LED (single or group)
Ch 3 = Blue LED (single or group)
DMX mode S31:
Ch 1 = Red LED (single or group)
Ch 2 = Green LED (single or group)
Ch 3 = Blue LED (single or group)
Ch 4 = Master
Ch 5 = Strobe (01~255/slow~fast)
* The slave units must be set on DMX add. 001 when running the Master / Slave function. The Slave unit
follows the Master unit’s functions. When the PiXelbar 36 is in slave mode and receiving DMX from the
Master unit, the display shows --- and the DMX LED is burning.
OPERATION
Lock functionality
When the display is off, the button functionality is locked. To unlock, press the menu button and hold it for 3
seconds. The display will light up.
When none of the buttons are in use for 30 seconds, the display will turn off. This will automatically lock the
button functionality.
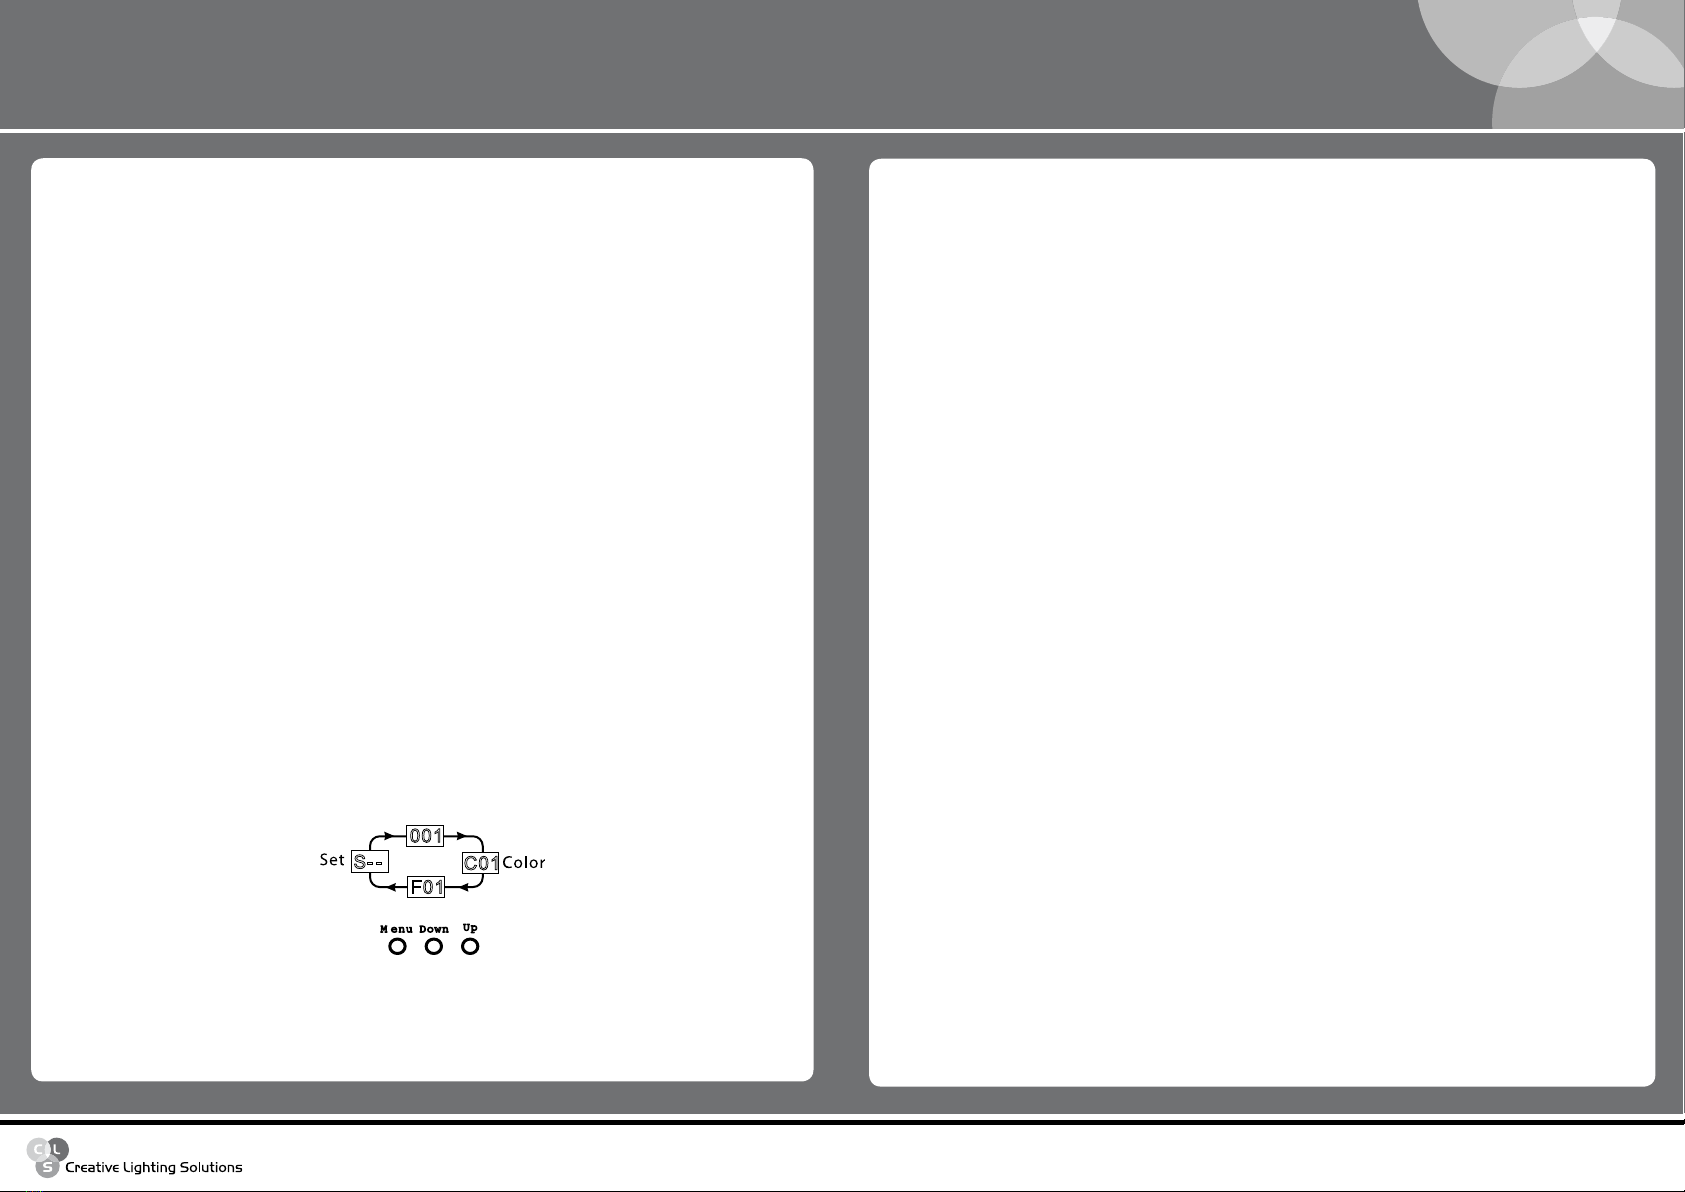
DMX address settings:
For setting up a DMX address, press Menu until you see 3 numbers. The display shows the DMX address. Press
Up and Down to select the desired address from 001-512.
STAND ALONE
There are two possibilities to use the CLS PiXelbar in a stand alone mode.
1) Fixed colour
There are 20 built-in fixed colours. Press Menu until the display shows C01. Press Up and Down to select the
desired colour from C01~C20.
2) Fade program
There are 9 built-in fade programs. Press Menu until the display shows F01. Press Up and Down to select the
desired program from F01~F09.
The fade time of the program can be changed from 01~99% (0.5~50 sec). To change the fade times press
and hold the menu button. The display now shows S--, hold the button until the display shows two numbers.
The fade time can be adjusted from 01~99% by pressing Up and Down. To confirm and activate speed
settings, press Menu again.
001
C01
F01
S- M enu
A dd.
Fade
-
M enu Up
Down