ENGLISH
5
18. Avoid accidental starts. Do not walk around with your finger on thetrigger of apower
tool if it is plugged in. Make sure that thepower switch is set to [0] before plugging
in any power tool.
19. Use thecorrect extension leads. If you use extension leads outdoors, only use
those designed for outdoor use. Only use extension leads with adequate wire core
area and roll out thewhole lead.
20. Use common sense and be careful. Think carefully before carrying out every
action, so that it is carried out safely. Never operate machines/power tools when
you are tired or under theinfluence of medicine.
21. Inspect thetool for damage. Before starting thetool, make sure that theguards
and other parts are undamaged and working properly, that moving parts can rotate
freely and are correctly aligned, that no moving parts can get caught and that there
is no fault or defect that could affect theperformance of themachine. A safety guard
or any other part that is damaged should be repaired by atradesman or replaced.
Damaged power leads and switches must always be replaced by atradesman.
Never operate atool if you cannot stop or start thetool comfortably.
22. Use only recommended accessories. The use of non-recommended accessories
can cause accidents and personal injury.
23. Should only be repaired by aqualified technician. This tool conforms to current
safety requirements. Repairs to thetool should only be carried out by atradesman
using original spares; otherwise thetool could cause accidents and personal injury.
24. Use aResidual Current Device on all 230 V power tools. This can help minimise
therisk of anelectric shock if anearth fault or short circuit occurs. The product
must not be modified or used for any other purpose than that for which it has been
designed. Regularly check that all screws and nuts are securely tightened.
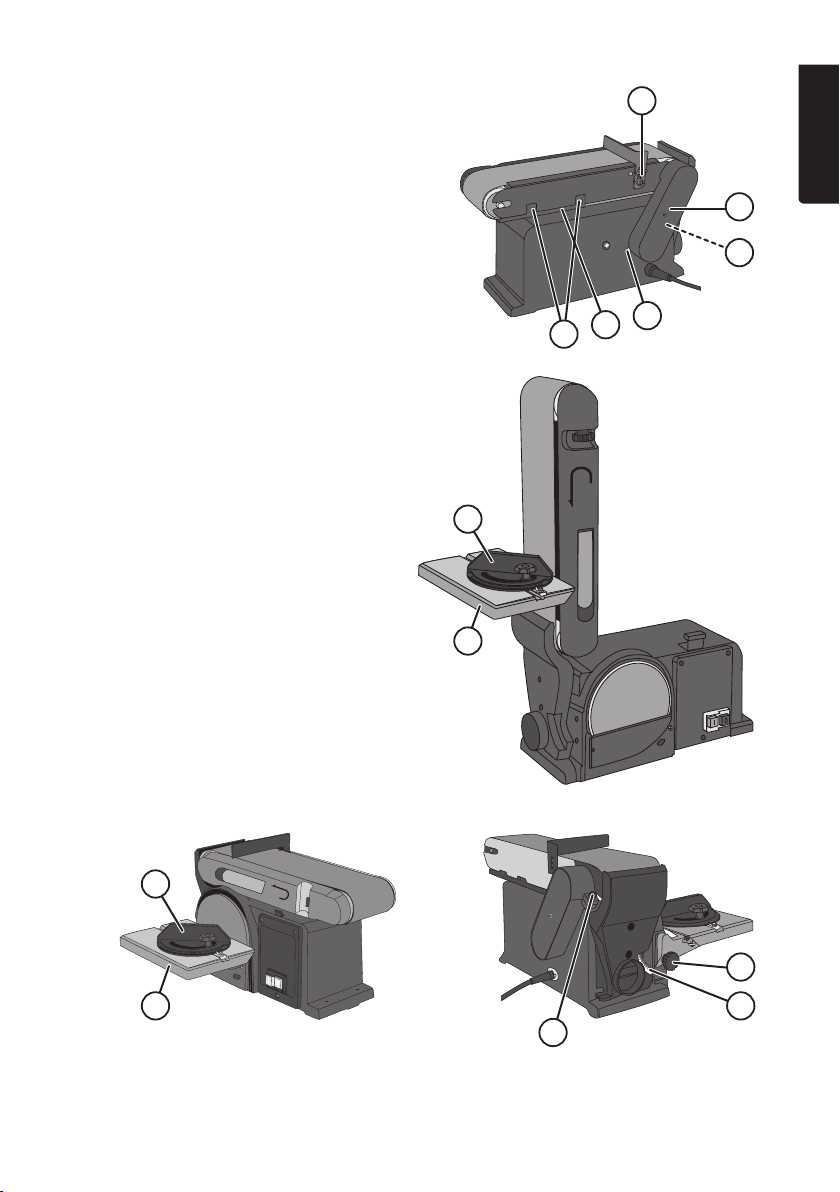
1.2 Specic safety regulations for bench sanders
• Place themachine on astable, level surface with plenty of room for manoeuvre.
• Think about how you are going to hold theworkpiece during theentire sanding
operation. Be wary of kickbacks and injuries. The workpiece could catch in
thesanding belt or disc and be ripped from your grasp.
• When using thesanding disc, always hold theworkpiece against theside of
thedisc moving downwards towards thetable. If you sand against theupward
side theworkpiece can easily be ripped from your grasp.
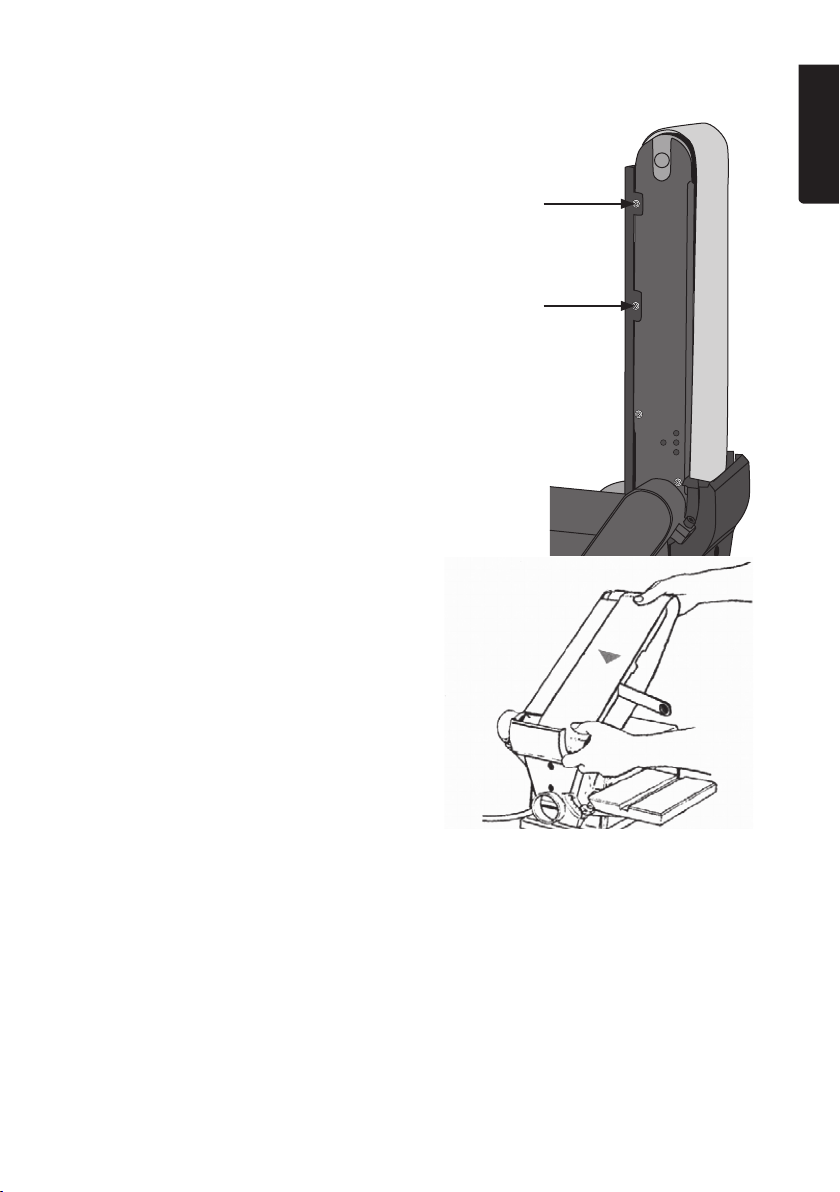
• The distance between thebelt/disc and work rest must never exceed 2 mm.
• To prevent therisk of fire; keep themachine free of sander dust. Sparks produced
when sanding metal can start fires. Prevent this by:
- Disconnecting any dust extractor suction hose that might be attached.
- First blowing off any dust particles on or in themachine.
- Removing any particles of metal before sanding wood again.
• Using thesander in adry place, indoors and out of therain. Make sure that
thework area is well illuminated.
• Position thesander in such away neither theuser nor any observer need stand in
line with thesanding belt or disc.
• Remove everything from theside table except theworkpiece and themitre guide.