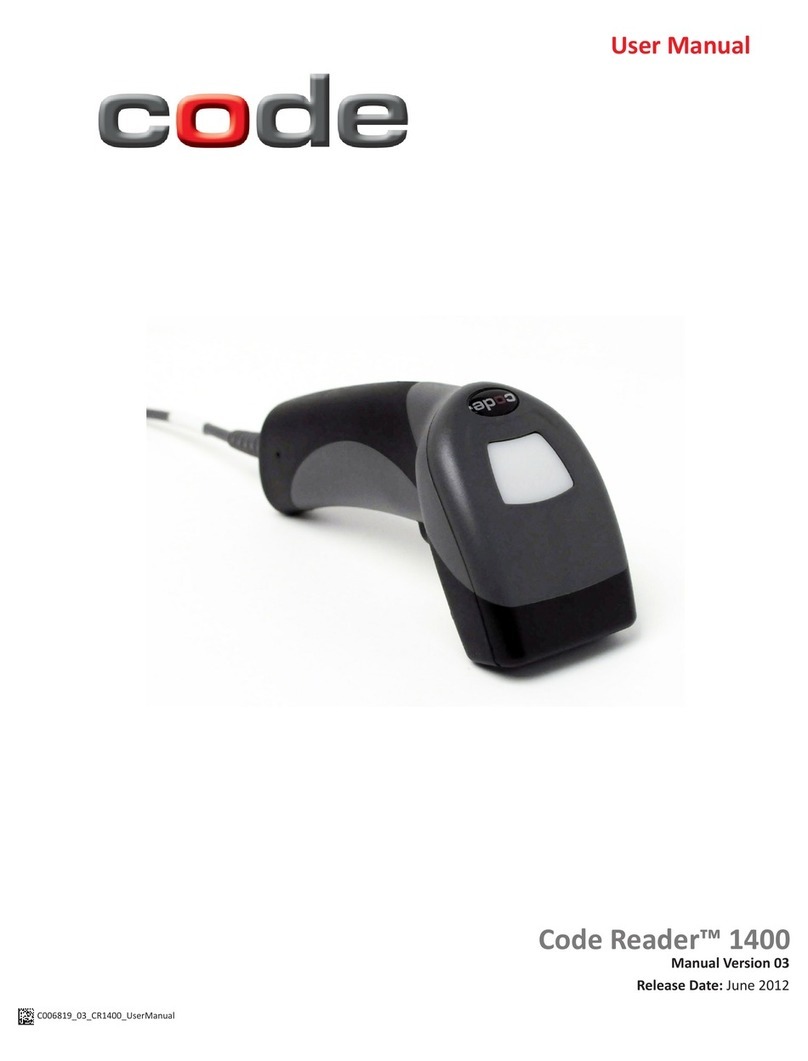
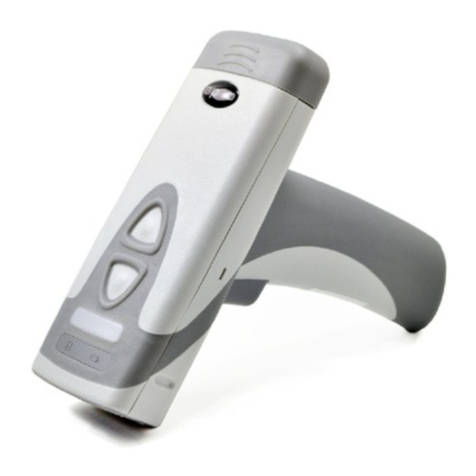
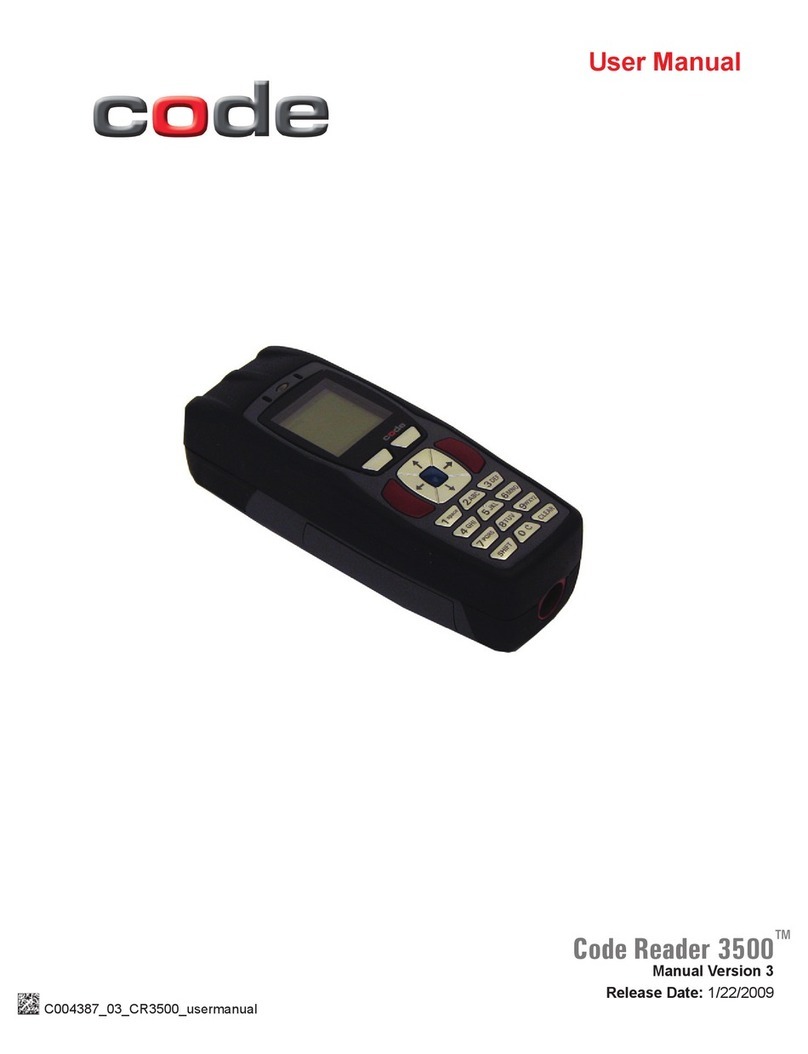
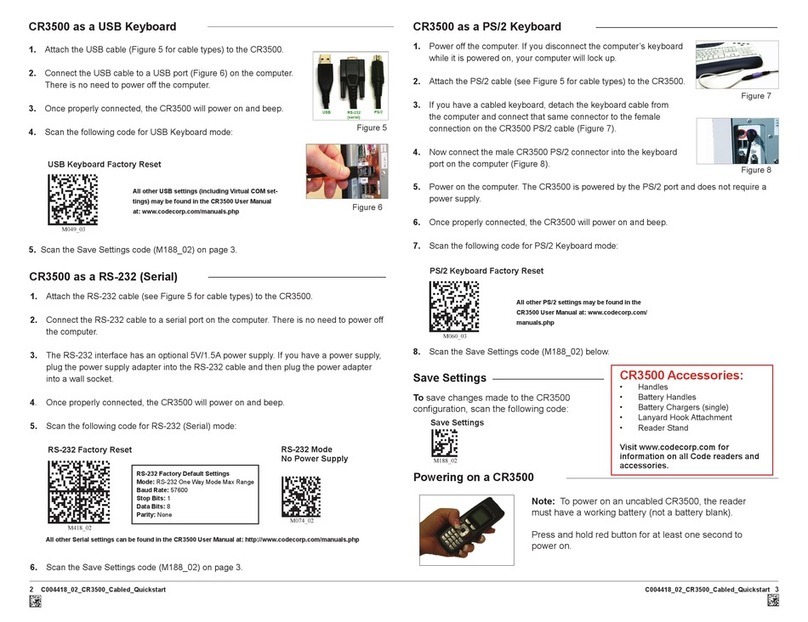
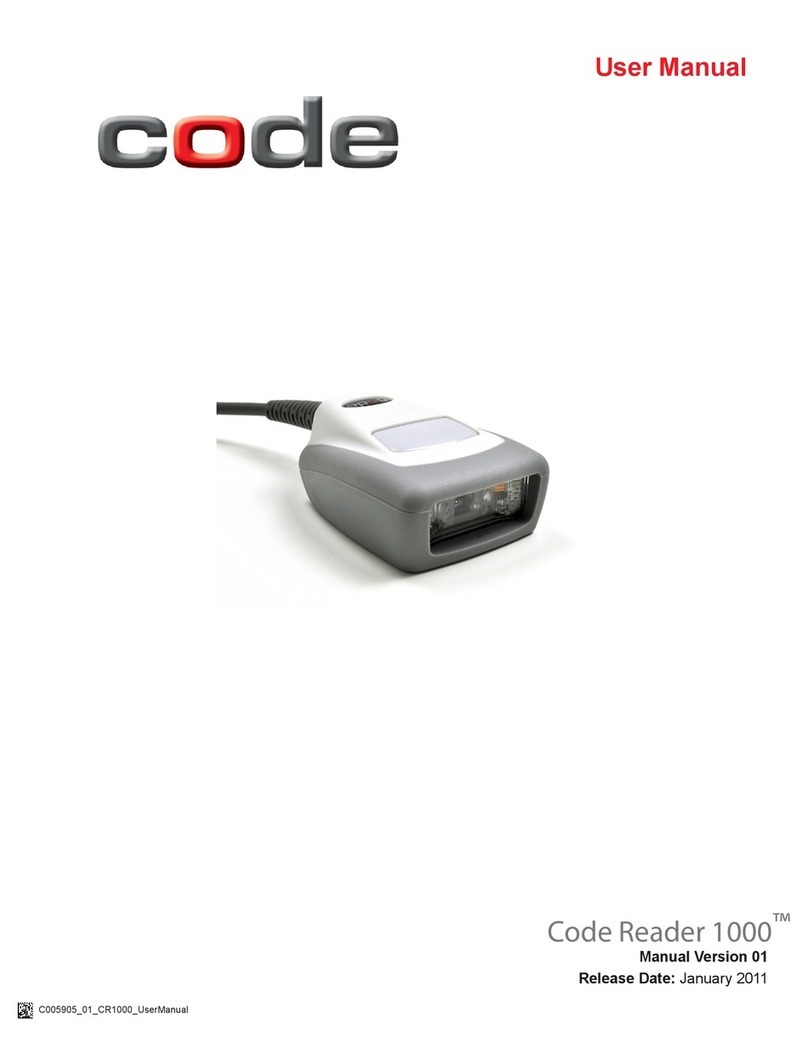
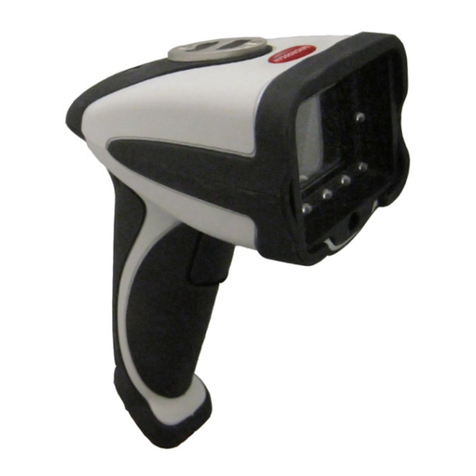
Code CR3600 User manual

USER MANUAL
NORTH AMERICA
MANUAL VERSION 03
RELEASE DATE: NOVEMBER 2015
CR3600
Configuration Guidewww.codecorp.com YouTube.com/codecorporation

2
D013597_03 CR3600 User Manual
Statement of Agency Compliance
The Code Reader™ 3600 (CR3600) has been tested for compliance with FCC regulations and was found to be compliant
with all applicable FCC Rules and Regulations.
IMPORTANT NOTE: To comply with FCC RF exposure compliance requirements, this device must not be co-located or
operate in conjunction with any other antenna or transmitter.
CAUTION: Changes or modications not expressly approved by the party responsible for compliance could void the user’s
authority to operate the equipment.
The CR3600 has been tested for compliance to CE standards and guidelines and was found to conform to applicable CE
standards, specically the EMC requirements EN 55024, ESD EN 61000-4-2, Radiated RF Immunity EN 61000-4-3,
ENV 50204, EFT EN 61000-4-4, Conducted RF Immunity EN 61000-4-6, EN 55022, Class B Radiated Emissions, and
Class B Conducted Emissions.
The CR3600 has been tested and certied in compliance with the Technical Regulations Conformity Certication of
Specied Radio Equipment (ordinance of MPT N°.37. 1981), Article 2, Paragraph 1, Item 19.
Code voids product warranty if the hard case has been opened or tampered with in any way.
The CR3600 meets all safety and quality standards in accordance to EN 60950-1:2006/A11:2009/A1:2010.
CR3600 CodeXML® Modem FCC, Industry Canada and ICES Compliance
FCC:
This device complies with part 15 of the FCC Rules. Operation is subject to the following two conditions: (1) This device may
not cause harmful interference, and (2) this device must accept any interference received, including interference that may cause
undesired operation.
NOTE: This equipment has been tested and found to comply with the limits for a Class B digital device, pursuant to part 15 of the
FCC Rules. These limits are designed to provide reasonable protection against harmful interference in a residential installation. This
equipment generates, uses and can radiate radio frequency energy and, if not installed and used in accordance with the instructions,
may cause harmful interference to radio communications. However, there is no guarantee that interference will not occur in a
particular installation.
If this equipment does cause harmful interference to radio or television reception, which can be determined by turning the equipment
off and on, the user is encouraged to try to correct the interference by one or more of the following measures:
• Reorient or relocate the receiving antenna.
• Increase the separation between the equipment and receiver.
• Connect the equipment into an outlet on a circuit different from that to which the receiver is connected.
• Consult the dealer or an experienced radio/TV technician for help.
IMPORTANT! Any changes or modications not expressly approved by the party responsible for compliance could void the user’s
authority to operate this equipment.
IMPORTANT! Tous les changements ou modications pas expressément approuvés par la partie responsable de la conformité ont pu
vider l’autorité de l’utilisateur pour actioner cet équipment.
FCC Radiation Exposure Statement:
This equipment complies with FCC radiation exposure limits set forth for an uncontrolled environment. This equipment should be
installed and operated with minimum distance 20cm between the radiator and your body.
Industry Canada
This device complies with Industry Canada licence-exempt RSS standard(s). Operation is subject to the following two conditions:
(1) this device may not cause interference, and (2) this device must accept any interference, including interference that may cause
undesired operation of the device.
Le présent appareil est conforme aux CNR d’Industrie Canada applicables aux appareils radio exempts de licence. L’exploitation
est autorisée aux deux conditions suivantes : (1) l’appareil ne doit pas produire de brouillage, et (2) l’utilisateur de l’appareil doit
accepter tout brouillage radioélectrique subi, même si le brouillage est susceptible d’en compromettre le fonctionnement.
This Class B digital apparatus complies with Canadian ICES-003.
Cet appareil numérique de la classe B est conforme à la norme NMB-003 du Canada.
Important Note:
Radiation Exposure Statement:
This equipment complies with IC radiation exposure limits set forth for an uncontrolled environment. This equipment should be
installed and operated with minimum distance 20cm between the radiator and your body.
Note Importante: (Pour l’utilisation de dispositifs mobiles)
Declaration d’exposition aus radiations:
Cet équipement est conforme aux limites d´exposition aux rayonnements IC établies pour un environnement non contrôlé. Cet
équipment doit être installé et utilisé avec un mimimum de 20 cm de distance entre la source de rayonnement et votre corps.
3
D013597_03 CR3600 User Manual
Code Reader™ 3600 User Manual
Copyright © 2015 Code Corporation.
All Rights Reserved.
The software described in this manual may only be used in accordance with the terms of its license agreement.
No part of this publication may be reproduced in any form or by any means without written permission from Code Corporation. This includes
electronic or mechanical means such as photocopying or recording in information storage and retrieval systems.
NO WARRANTY. This technical documentation is provided AS-IS. Further, the documentation does not represent a commitment on the part
of Code Corporation. Code Corporation does not warrant that it is accurate, complete or error free. Any use of the technical documentation
is at the risk of the user. Code Corporation reserves the right to make changes in specications and other information contained in this
document without prior notice, and the reader should in all cases consult Code Corporation to determine whether any such changes
have been made. Code Corporation shall not be liable for technical or editorial errors or omissions contained herein; nor for incidental or
consequential damages resulting from the furnishing, performance, or use of this material. Code Corporation does not assume any product
liability arising out of or in connection with the application or use of any product or application described herein.
NO LICENSE. No license is granted, either by implication, estoppel, or otherwise under any intellectual property rights of Code Corporation.
Any use of hardware, software and/or technology of Code Corporation is governed by its own agreement.
The following are trademarks or registered trademarks of Code Corporation:
CodeXML®, Maker, QuickMaker, CodeXML®Maker, CodeXML®Maker Pro, CodeXML®Router, CodeXML® Client SDK, CodeXML®Filter,
HyperPage, CodeTrack, GoCard, GoWeb, ShortCode, GoCode®, Code Router, QuickConnect Code, Rule Runner®, Cortex®, CortexRM,
CortexMobile, Code, Code Reader, CortexAG, CortexStudio, CortexTools, Afnity®, CortexDecoder, CortexJPOS, and CortexOPOS.
All other product names mentioned in this manual may be trademarks of their respective companies and are hereby acknowledged.
The software and/or products of Code Corporation include inventions that are patented or that are the subject of patents pending. U.S.
Patents: 6997387, 6942152, 7014113, 7070091, 7097099, 7353999, 7519239, 7621453, 8001550, 8011584.
The Code Reader software uses the Mozilla SpiderMonkey JavaScript engine, which is distributed under the terms of the Mozilla Public
License Version 1.1. The Code Reader software is based in part on the work of the Independent JPEG Group.
Code Corporation, 12393 S. Gateway Park Place, Ste. 600, Draper, Utah 84020
www.codecorp.com

4
D013597_03 CR3600 User Manual
Table of Contents
1.0 - Included Items ........................................................................................... 5
2.0 - Set Up....................................................................................................... 6
3.0 - Battery Installation and Removal .................................................................. 6
4.0 - Fuel Gauge Battery Status Indicator.............................................................. 6
5.0 - Charging .................................................................................................... 7
6.0 - Powering On the Reader .............................................................................. 7
7.0 - Keypad/Icon Overview ................................................................................... 8
8.0 - Scanning ................................................................................................... 9
9.0 - Viewing Stored Data.................................................................................... 9
10.0 - Deleting Stored Data ............................................................................... 10
11.0 - Transferring Stored Data .......................................................................... 10
12.0 - Manually Entering Data ........................................................................... 11
13.0 - Establishing a Bluetooth Connection......................................................... 12
14.0 - Transmitting Batch Data via Bluetooth Communication ............................... 13
15.0 - Transmitting Batch Data via USB Communication ...................................... 13
16.0 - Wired Communication via USB Downloader Mode ...................................... 14
17.0 - Reader Feedback .................................................................................... 15
18.0 - Reading Ranges...................................................................................... 15
19.0 - Symbologies Defaulted On ....................................................................... 16
20.0 - Symbologies Defaulted Off....................................................................... 16
21.0 - Conguring a CR3600............................................................................. 16
22.0 - CR3600: Pre-Installed Applications Overview ............................................ 16
22.1 - CR3600: Event Admissions Application .................................................... 17
22.2 - CR3600: Tradeshow Admissions Application ............................................. 18
22.3 - CR3600: Inventory Application ................................................................ 19
23.0 - CR3600DPM: Overview ........................................................................... 20
23.1 - CR3600DPM: Scanning .......................................................................... 20
24.0 - CR3600AV: Overview .............................................................................. 21
24.1 - CR3600AV: Age Restricted Defaults ......................................................... 21
24.2 - CR3600AV: Activating or Deactivating an Age Restricted Type..................... 21
24.3 - CR3600AV: Changing an Active Product Age Limit..................................... 22
24.4 - CR3600AV: Adding Custom Age Restricted Product Types........................... 23
24.5 - CR3600AV: Data Storage Overview ........................................................... 24
24.6 - CR3600AV: Activating Data Storage.......................................................... 24
24.7 - CR3600AV: Enabling Blacklist Data Storage.............................................. 25
24.8 - CR3600AV: Enabling Passbook Data Storage ............................................. 25
24.9 - CR3600AV: Enabling Retention Data Storage ............................................ 26
24.10 - CR3600AV: Selecting Retention Data Fields............................................ 27
24.11 - CR3600AV: Setting the Retention Data Storage Store Type ....................... 28
24.12 - CR3600AV: Setting Date and Time ......................................................... 28
24.13 - CR3600AV: Setting a Passcode.............................................................. 28
24.14 - CR3600AV: Reset to Defaults ................................................................ 29
24.15 - CR3600AV: Feedback ........................................................................... 29
24.16 - CR3600AV: Data Storage File Formats .................................................... 30
25.0 - Reader ID and Firmware Version............................................................... 30
27.0 - Dimensions ............................................................................................ 31
27.0 - Charging Station Dimensions ................................................................... 32
28.0 - Maintenance .......................................................................................... 32
29.0 - Warranty ................................................................................................ 33

5
D013597_03 CR3600 User Manual
1.0 - Included (if Ordered)
CR3600
(Model #: CR36XX)
USB 2.0 Cable
RS232 Cable
5VDC Power Supply
CodeXML®M3 Modem
Battery Cartridge
Charging Station Charging Station
with Embedded
CodeXML®Modem

6
D013597_03 CR3600 User Manual
2.0 - Set Up
4.0 - Fuel Gauge Battery
Status Indicator
3.0 - Battery Installation
and Removal
Completely charge before initial use.
< 10%
< 25%
25-50%
50-75%
75-100%

7
D013597_03 CR3600 User Manual
5.0 - Charging
4 Hrs.
2.5 Hrs.
=
=
1
4
5
6.0 - Powering On the Reader
1 Sec.
1x
2
3

8
D013597_03 CR3600 User Manual
7.0 - Keypad/Icon Overview
Key Description of Button Function
Numeric Mode Upper Case Text Mode Lower Case Text Mode Symbol Mode
(All Modes) Toggles between numeric characters, upper case text, lower case text, and symbol character input.
1 Space, 1 Space, 1 Space ) < _
2A, B, C, 2 a, b, c, 2 ! * = `
3D, E, F, 3 d, e, f, 3 “ + > {
4 G, H, I, 4 g, h, i, 4 # , ? |
5 J, K, L, 5 j, k, l, 5 $ - @ }
6 M, N, O, 6 m, n, o, 6 % . [ ~
7 P, Q, R, S, 7 p, q, r, s, 7 & / \ Space
8 T, U, V, 8 t, u, v, 8 ‘ : ] Space
9 W, X, Y, Z, 9 w, x, y, z, 9 ( ; ^ Space
000Toggles between 4 sets of
symbols – when pressed, the
current symbol set is displayed.
Backspace and clear messages Backspace and clear messages Backspace and clear messages Backspace and clear messages
Icon Description
Power Icons
50% to 100% capacity of battery
20% to 50% capacity of battery
0% to 20% capacity of battery – recharge battery
as soon as possible
Connection Icons
Establishing a Bluetooth connection
No icon is displayed when the reader does not
detect a connection
Communication Mode Icons
USB communication mode enabled
Bluetooth communication mode enabled
Packet Mode Icons
Standard Bluetooth Reliability Mode (previously One
Way Mode) – no acknowledgement required
Additional Bluetooth Reliability Mode (previously Two
Way Mode) – packetized communication between a
CR3600 and an application
USB Downloader mode
Keyboard mode – to be used as USB keyboard input mode
Secure mode – data encryption mode enabled
Icon Description
Memory Icons
No stored data
Memory is at 20% full
Memory is at 40% full
Memory is at 60% full
Memory is at 80% full
Memory is at 100% full
No batch mode – data will not be stored in the reader’s
memory if not connected
Input Mode Icons
Caps Lock – data entered manually on the keypad
will be in capital letters
Lower Case – data entered manually on the keypad
will be in lower case letters
Numeric – data entered manually on the keypad
will be numeric
Symbol – data entered manually on the keypad
will be symbols
Locked – buttons pushed on the reader’s keypad
will be ignored*
Note: All characters represented in this table are for ASCII mode.
*Note: To lock/unlock reader buttons press
Shift + Up Arrow simultaneously.

9
D013597_03 CR3600 User Manual
9.0 - Viewing Stored Data
8.0 - Scanning
10 cm
10 cm
12 3
Use left/right arrow buttons to
scroll through stored data.
Use soft button to
select Options.
Use the up/down arrow buttons
to highlight View Storage. Use
the soft button to Select.
At the Ready screen, use left/
right arrow buttons to scroll
through stored data.
Shortcut:

10
D013597_03 CR3600 User Manual
10.0 - Deleting Stored Data
1234
Use left/right arrow buttons to
scroll to desired data, then select
Options with the soft button.
Use the up/down arrow button
to highlight Send All. Use the
soft button to Select.
11.0 - Transferring Stored Data
1234
Sent All conrmation will
be displayed.
Ensure a Bluetooth connection
has been established.
Use soft button to
select Options.
Use the up/down arrow buttons
to highlight View Storage. Use
the soft button to Select.
Use soft button to
select Options.
Use the up/down arrow buttons
to highlight Delete. Use soft
button to Select.

11
D013597_03 CR3600 User Manual
12.0 - Manually Entering Data
12 3 4
Press ‘SHIFT’ to cycle through
numbers, text or symbols.
When done, press Enter
key to send data.
Press any key multiple times to
cycle available letters.
Press ‘0’ to cycle through
available symbols.
Use soft button to
select Options.
Use soft button to
select Enter Data.

12
D013597_03 CR3600 User Manual
13.0 - Establishing a Bluetooth Connection
1X
1X
13
4
2
12 3

13
D013597_03 CR3600 User Manual
15.0 - Transmitting Batch Data via USB Communication
12
Scan the USB Keyboard Mode - Batch
Mode Only* conguration barcode:
14.0 - Transmitting Batch Data via Bluetooth Communication
1
Scan the Batch Mode Enable - Log
Only* conguration barcode to save
scanned data to reader memory.
2
* Additional Batch Mode and Communication conguration options are available in the
CR3600 Conguration Guide located at www.codecorp.com/les.php
Open an application on
the host device. Scan
the Batch Mode Transfer
All Data and Images in
Memory* conguration
barcode to transfer data to
the host device.
4
3
Scan the Batch Mode Enable - Log
Only* conguration barcode to save
scanned data to reader memory.
3
(next page)

14
D013597_03 CR3600 User Manual
16.0 - Wired Communication via USB Downloader Mode
Scan USB Downloader Mode
conguration barcode:
1234
Open
CortexTools®
15.0 - Transmitting Batch Data via USB Communication (continued)
Scan the Batch Mode Auto Transfer
Buffer Memory On* conguration
barcode to automatically upload
scanned data to reader memory.
* Additional Batch Mode and Communication conguration options are available in the
CR3600 Conguration Guide located at www.codecorp.com/les.php
5
4
Open an application on the host device.
Dock the reader into the charging station
to automatically transfer data to the host
device. Note: Data, in this mode, will not be
deleted from memory.

15
D013597_03 CR3600 User Manual
18.0 - Reading Ranges
CR3600 Performance
Test Barcode Min Inches (mm) Max Inches (mm)
3 mil Code 39 3.1” (80 mm) 4.0” (102 mm)
7.5 mil Code 39 1.3” (33 mm) 7.2” (182 mm)
10.5 mil GS1 DataBar 0.8” (20 mm) 8.7” (220 mm)
13 mil UPC 1.1” (28 mm) 11.0” (280 mm)
5 mil Data Matrix 1.7” (43 mm) 4.5” (115 mm)
6.3 mil Data Matrix 1.3” (33 mm) 5.9” (150 mm)
10 mil Data Matrix 0.8” (20 mm) 7.1” (180 mm)
20.8 mil Data Matrix 1.1” (28 mm) 13.5” (343 mm)
Note: working ranges are a combination of both the wide and high density elds. All samples were high quality barcodes and were read along a
physical center line at a 10° angle. Default AGC settings were used. Accuracy= +/- 10%.
Scenario LEDs on Reader Sound Vibrate
Successfully Powers Up All LEDs Flash 1X
Successfully Connects with Host Wireless Icon Flashes 1X
Unsuccessfully Connects with Host -3X -
Successful Decode and Data Transfer Good Read Indicator
will Flash 1X
Unsuccessful Decode and Data Transfer -3X -
Conguration Barcode Successfully
Decoded and Processed
Good Read Indicator
will Flash 2X
Conguration Barcode Unsuccessfully
Decoded and Processed -4X -
Batch Mode Enabled and No Data is Stored Batch Icon Off - -
Batch Mode Enabled and Data Stored Batch Icon Flashes 2X -
Memory Space for Batching is Full Batch Icon Flashes 5
Times a Second - -
Batch Mode Enabled, Data Stored, and
Reader is in Sleep Mode
Batch Icon Flashes Once
Every 10 Seconds - -
17.0 - Reader Feedback

16
D013597_03 CR3600 User Manual
21.0 - Conguring a CR3600
The online Conguration Guide Generator found at www.codecorp.com/congguide may be used to quickly congure a CR3600
to desired settings.
22.0 - CR3600: Pre-Installed Applications Overview
The CR3600 ships with two pre-installed applications: Admissions (Events and Tradeshows) and Inventory. These applications will appear
during initial boot-up of the reader and can be accessed at a later time by selecting Settings > Applications > Pre-Installation > Run. For app
customization, the CR3600 Software Development Kit (SDK) is available for download from www.codecorp.com.
Use up/down arrow buttons to
highlight desired application.
Use the soft button to Select.
Arrow Buttons
Soft Button
19.0 - Symbologies Defaulted On 20.0 - Symbologies Defaulted Off
The following are symbologies that have a default of ON.
To turn symbologies on or off, scan the symbology barcodes
located in the CR3600 Conguration Guide located on our
website at http://www.codecorp.com.
Aztec
Codabar
Code 39
Code 93
Code 128
Data Matrix
Data Matrix Rectangle
The following are symbologies that have a default of OFF.
To turn symbologies on or off, scan the symbology barcodes
located in the CR3600 Conguration Guide located on our
website at http://www.codecorp.com.
Codablock F
Code 11
Code 32
Code 49
Composite
Data Matrix Inverse
Han Xin Code
Hong Kong 2 of 5
IATA 2 of 5
Maxicode
Matrix 2 of 5
All GS1 DataBar
Interleaved 2 of 5
PDF417
QR Code
UPC/EAN/UPC-E
Micro PDF417
MSI Plessey
NEC 2 of 5
Pharmacode
Plessey
Straight 2 of 5
Telepen
Trioptic
Postal Codes

17
D013597_03 CR3600 User Manual
22.1 - CR3600: Event Admissions Application
Event Application Options Description
Scan Tickets Activates the reader to begin scanning tickets. Ticket information that appears on the screen after a
ticket is scanned is based on the data contained in the barcode.
Hourly Totals Provides hourly updates based on the number of tickets scanned.
Event Totals Provides event updates based on the number of scans taken during a specic day
or the event as a whole.
Check Ticket Enables the user to scan a ticket to determine ticket validity or to list the number of
times the ticket has been used.
Send/Log Allows the user to save the scanned data to a le. The data will be saved under the
name events_log.demo, and using CortexTools® can be opened with Notepad on a PC.
134
Use the up/down arrow
buttons to highlight Events.
Use the soft button to Select.
Use soft button to
select Options.
2
Use the up/down arrow buttons
to highlight Admissions. Use
the soft button to Select.
Use the up/down arrow
buttons to highlight the
preferred option. Use the
soft button to Select.
The Event Admissions application will read 1D barcodes that are 19 characters in length. It is recommended the format be set-up as follows:
Example: 00001kurban10152013
00001 KURBAN 10152013
Event name Event data (mmddyyyy)
Event ticket number
Select type
Events
Tradeshow CR3600
Events
Application
Options Quit Select Back
Event options
Scan tickets
Hourly totals
Event totals
Check ticket
Send/Log

18
D013597_03 CR3600 User Manual
22.2 - CR3600: Tradeshow Admissions Application
Tradeshow Application Options Description
Scan Ready Activates the reader to begin scanning badges.
Hourly Totals Provides real-time updates of hourly totals.
Daily Totals Provides daily updates of the number of scans/attendees who have visited the booth.
Check Badge Enables the user to scan a badge and determine the validity, or list the number of
times the badge has been used.
List Attendees Lists the number of attendees of a specic company and the number of times
each member has visited the booth.
Send/Log Allows the user to save the scanned data. The data will be saved under the
name tradeshow_log.demo, and using CortexTools® can be opened with Notepad on a PC.
34
Use the up/down arrow
buttons to highlight
Tradeshow. Use the soft
button to Select.
Use soft button to
select Options.
2
Use the up/down arrow
buttons to highlight the
preferred option. Use the
soft button to Select.
The Tradeshow Admissions application will read barcodes in the following format: Badge Number (Must start with A (Attendee) or E (Exhibitor)
followed by a 5 digit number, First Name, Last Name, Title, Company, City, State, Phone, Email.
Example: E10001*Jon*Doe*CEO*XYZ, Inc*Anywhere*CA*555-555-0000*[email protected]*
State EmailPhoneBadge Number
E10001*Jon*Doe*CEO*XYZ, Inc*Anywhere*CA*555-555-5555*[email protected]*
City
Company
Title
Last
Name
First
Name
Use the up/down arrow buttons
to highlight Admissions. Use
the soft button to Select.
1
Select type
Events
Tradeshow CR3600
Tradeshow
Application
Options Quit Select Back
Show options
Scan ready
Hourly totals
Daily totals
Check badge
List attendees

19
D013597_03 CR3600 User Manual
22.3 - CR3600: Inventory Application
2 3
Use the up/down arrow buttons
to highlight the preferred option.
Use soft button to Select.
The Inventory application will read UPC barcodes.
1
Use the up/down arrow buttons
to highlight Inventory. Use the
soft button to Select.
Use the soft button to
select Options.
Invent. Options
Scan products
Check quantity
Check location
Last edit date
Upload file
CR3600
Inventory
Application
Options Quit
CR3600 Apps
Admissions
Inventory
Cancel
Inventory Application Options Description
Scan Products
Allows the user to scan a product, its inventory location, a quantity, and enter any quantity
adjustment (use positive numbers only). If the product already exists in inventory, the location
and existing quantity will automatically populate and the adjustment amount can be entered at
this time. Once the data is entered and inventory is adjusted, a review screen will appear with
the entered data with time and date stamp. Data can be saved to le or erased to begin a new
entry. The reset option can be used when needed.
Check Quantity Displays the product quantity in inventory.*
Check Location Displays the product location in inventory.*
Last Edit Date Displays the date and time when a specic product location or quantity was most recently
entered or edited.*
Upload File
Selecting this uploads all data records in memory to the host device. Reader must be Bluetooth
connected to the host device with a spreadsheet or data entry platform opened, and the cursor
placed where data is to be transmitted. Once data is transmitted, a notication to delete the
transmitted information from reader memory will appear.
Total Scans Displays the total number of scans.
*Once scanned, the last entry for the product will be displayed. If the product does not exist, a message will appear to indicate the product
is not in the system. Pressing the “Back” option will revert to the inventory menu and the “Another” option allows the user to scan another
product for location, quantity, or last edit date.

20
D013597_03 CR3600 User Manual
23.0- CR3600DPM: Overview
DPM (Direct Part Marks such as Dot Peen and Laser-Etched) reading is enabled by default in CR3600DPM readers. To optimize reading for
either Dot Peen or Laser-Etched reader, the following settings are available in the online Conguration Guide Generator found at
www.codecorp.com/congguide.
23.1- CR3600DPM: Scanning
5-10 cm
10-45°
CR3600DPM Settings Description
Dot Peen and Laser-Etched Reading Dot Peen and Laser-Etched reading is the default DPM setting. This will also read common
1D/2D printed barcodes.
Dot Peen Barcode Reading
If reading Dot Peen barcodes only, scan the DPM (Dot Peen Only) On conguration barcode to
optimize reading for that barcode type. Scanning the DPM (Dot Peen Only) On conguration
barcode will disable laser-etched barcode reading. This will not read common
1D/2D printed barcodes.
Laser-Etched Barcode Reading
If reading laser-etched barcodes only, scan the DPM (Laser-Etched only) On conguration
barcode to optimize laser-etched barcode reading. Scanning the DPM (Laser-Etched Only) On
conguration barcode will disable Dot Peen barcode reading. This will also read common 1D/2D
printed barcodes.
DPM (All) Off To reset a CR3600DPM reader to standard CR3600 settings, scan the DPM (All) Off
conguration barcode. This will disable all DPM reading. To return to DPM reading functionality,
scan the preferred DPM On conguration barcode.
Other manuals for CR3600
3
Table of contents
Other Code Barcode Reader manuals

Code
Code CR2700 User manual

Code
Code Code Reader 822 Series Quick setup guide

Code
Code Code Reader CR3500 User manual

Code
Code CORTEXJPOS CR5000 User manual

Code
Code CORTEXJPOS CR5000 User manual

Code
Code 900FD User manual

Code
Code CORTEXJPOS CR2600 User manual

Code
Code Reader 2500 CR2500) User manual

Code
Code CR4405 User manual

Code
Code CR2 User manual