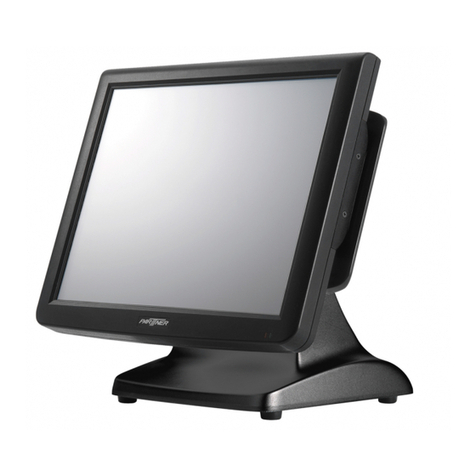
Colormetrics Vion User manual

Errors excepted; subject to change www.colormetric.net
Vion
User Manual
Version 1.0

2www.colormetric.netColormetrics Vion
Copyright 2015 Publishing. All Rights Reserved.
This manual, software and firmware described in it are copyrighted by their respective owners and
protected under the laws of the Universal Copyright Convention. You may not reproduce, transmit,
transcribe, store in a retrieval system, or translate into any language, in any form or by any means,
electronic, mechanical, magnetic, optical, chemical, biological, molecular, manual, or otherwise, any
part of this publication without the express written permission of the publisher.
All products and trade names described within are mentioned for identification purpose only. No
affiliation with or endorsement of the manufacturer is made or implied. Product names and brands
appearing in this manual are registered trademarks of their respective companies.
The information published herein has been checked for accuracy as of publishing time. No represen-
tation or warranties regarding the fitness of this document for any use are made or implied by the
publisher. We reserve the right to revise this document or make changes in the specifications of the
product described therein at any time without notice and without obligation to notify any person of such
revision or change.
COPYRIGHT

3
www.colormetric.net Colormetrics Vion
SAFETY INSTRUCTIONS
1. Read these instructions carefully. Keep these instructions for future reference.
2. Please disconnect this equipment from AC outlet before cleaning. Don’t use liquid or sprayed
detergent for cleaning. Use moisture sheet or cloth for cleaning.
3. Please keep this equipment from humidity.
4. Lay this equipment on a reliable surface when install. A drop or fall could cause injury.
5. Make sure power cord such a way that people cannot step on it. Do not place anything over the
power cord.
6. All cautions and warnings on the equipment should be noted.
7. If the equipment is not used for long time, disconnect the equipment from main to avoid being
damaged by transient over voltage.
8. Never pour any liquid into opening, this could cause fire or electrical shock.
9. If one of the following situations arises, get the equipment checked by a service personnel:
a. The power cord or plug is damaged.
b. Liquid has penetrated into the equipment.
c. The equipment has been exposed to moisture.
d. The equipment does not work well or you can not get it work according to user manual.
e. The equipment has dropped and damaged.
10. Do not leave this equipment in an environment unconditioned, storage temperature below -20°C or
above 60°C, it may damage the equipment.
11. Unplug the power cord when doing any service or adding optional kits.
Lithium Battery Caution:
Danger of explosion can happen if the battery is incorrectly replaced, Replace only the original or equivalent
type recommended by the manufacture. Dispose used batteries according to the manufacture’s instructions.
Do not remove the cover, and ensure no user serviceable components are inside. Take the unit to the
service center for service and repair.
4www.colormetric.netColormetrics Vion
CE Notice
This device complies with the requirements of the CE directive.
FCC Notice
This equipment has been tested and found to comply with the limits for a Class B digital device,
pursuant to Part 15 of the FCC rules. These limits are designed to provide reasonable protection against
harmful interference in a residential installation. This equipment generates uses and can radiate radio
frequency energy and, if not installed and used in accordance with the instructions, may cause harmful
interference to radio communications. However, there is no guarantee that interference will not occur in
a particular installation. If this equipment does cause harmful interference to radio or television reception,
which can be determined by turning the equipment off and on, the user is encouraged to try to correct
the interference by one or more of the following measures:
• Reorient or relocate the receiving antenna.
• Increase the separation between the equipment and receiver.
• Connect the equipment into an outlet on a circuit different from that to which the receiver
is connected.
• Consult the dealer or an experienced radio/TV technician for help.
Shielded interface cables must be used in order to comply with emission limits. Changes or
modifications not expressly approved by the party responsible for compliance could void the user’s
authority to operate the equipment.
WEEE Notice
This appliance is labeled in accordance with European Directive 2002/96/EC concerning waste electrical
and electronic equipment (WEEE). The Directive determines the framework for the return and recycling of
used appliances as applicable throughout the European Union. This label is applied to various products
to indicate that the product is not to be thrown away, but rather reclaimed upon end of life per this
Directive.
NOTICE

5
www.colormetric.net Colormetrics Vion
COPYRIGHT 2
SAFETY INSTRUCTIONS 3
NOTICE 4
1 PACKING LIST 6
1-1. Standard Accessories 6
1-2. Optional Accessories 6
2 SYSTEM VIEW 7
2-1. Rear View 7
2-2. Side View 7
2-3. Front View 7
2-4. Back View 7
2-5. Specification 8
2-6. Power on/Power off SOP 9
3 PIN DEFINITION 11
4 REAR I/O INTERFACE 13
5 SYSTEM ASSEMBLY & DISASSEMBLY 15
5-1. HDD 15
5-2. Memory 16
5-3. MSR 17
5-4. VFD 18
5-5. 8” 2nd Monitor 19
5-6. Wi-Fi 20
5 -7. Parallel cable 21
6 DEVICE DRIVER INSTALLATION 22
6-1. Resistive Type Touch Panel and P-CAP 22
6-2. MagStripe Card Reader Configuration Utility 28
6-3. RFID 37
6-4. Configuration Utility of i-Button Reader 43
6-5. VFD VD1220 48
7 BIOS/UTILITY SETUP 53
7-1. Advanced 54
7-2. Security 56
7-3. Power 57
7-4. Boot 58
7-5. Exit 58
8 LCD SURFACE CLEANING 59
TABLE OF CONTENTS

6www.colormetric.netColormetrics Vion
1-1. Standard Accessories
a. b.
c. d.
1 PACKING LIST
a. System (with stand)
b. Power Adapter
c. Power Cord
d. Driver Bank
- MSR (side)
- Barcodescanner (1D/2D, front)
- 2x20 customer display
- 8” customer display
- 10” customer display
- 15” customer display
- MSR + RF-ID (side)
- MSR + iButton (side)
- iButton (front)
- Wi-Fi
1-2. Optional Accessories

7
www.colormetric.net Colormetrics Vion
2 SYSTEM VIEW
2-1. Rear View
2-2. Side View
2-3. Front View 2-4. Back View
2-5. Bottom View
Please make sure 19V DC plug
in the right direction before
plugging in DC jack.

8www.colormetric.netColormetrics Vion
Processor
Memory
Storage
Audio
Network
USB port
Serial port
BIOS
Power
Thermal Solution
Dimension
Operating Temperature
Storage Temperature
Storage Humidity
Display
LCD Panel Size
Resolution
Brightness
Touch Panel
Intel® Celeron J1900 Quad Core 2.0Ghz
One SO-DIMM socket supports DDR3L up to 8GB
2.5” SATAII HDD / SSD
Line-out/Mic-in
RJ45 10/100/1000 Base-T
4x USB 2.0 / 1x USB 3.0
2x DB9, 2x RJ45
Insyde UEFI BIOS
AC 19V 60W Adaptor
Fanless
398 (W) x 325 (H) x 257 (D) mm
0°C ~ 35°C
-20°C ~ 60°C
20% ~ 80%, non-condensing
115.1-inch TFT LED LCD
1366*768 Pixels
220 cd/m2
5-wire Resistive Type / Projected Capacitive Type
2-6. Specification
Note:
Intel® Celeron J1900 CPU does not support POSReady 2009 / Windows XP

9
www.colormetric.net Colormetrics Vion
2-7. Internal Layout

10 www.colormetric.netColormetrics Vion
2-8. Power on/Power off SOP
1. Power on
Put the finger on the pad for 0.5 second and slide your finger from left to right
4. Power off
Put the finger on the pad for 0.5 second and slide your finger from right to left
3. Shut down
Put two fingers on the pad for around 5 second, the power will shut down automatically

11
www.colormetric.net Colormetrics Vion
1. LCD Panel (J1)
2. USB HUB (CN5)
3. Speaker (SPK1)
3 PIN DEFINITION
Pin NO. Definition Pin NO. Definition
1 NA 16 GND
2 GND 17 HPDET
3 NC 18 GND
4 NC 19 GND
5 GND 20 GND
6 DDI1 TX0 DN 21 GND
7 DDI1 TX0 DP 22 BL Enable
8 GND 23 BL PWM DIM
9 DDI1 AUX DP 24 NC
10 DDI1 AUX DN 25 NC
11 GND 26 +12V
12 LCD VCC 27 +12V
13 LCD VCC 28 +12V
14 LCD Self Test 29 +12V
15 GND 30 NC
Pin NO. Definition Pin NO. Definition
1 +V5S 13 NTXD4
2 +V5S 14 NC
3 NDSR4# 15 GND
4 TXD 16 GND
5 NDSR4# 17 +V5S
6 RXD 18 +V5A
7 NDSR4# 19 D-
8 GND 20 +V5S
9 NDSR4# 21 D+
10 +12V 22 PM PWRBTN
11 NTXD4 23 GND
12 NC 24 GND
Pin NO. Definition
1 SPKOUT L+
2 SPKOUT L-
3 -
4 SPKOUT R+
5 SPKOUT R-

12 www.colormetric.netColormetrics Vion
4. 2nd Layer I/O Board (CN7)
Pin NO. Definition Pin NO. Definition
1 +V5S 20 SLCT
2 +V5S 21 PD6
3 +V5S 22 GND
4 +V5S 23 PD7
5 GND 24 GND
6 GND 25 ACK#
7 STB# 26 GND
8 AFD# 27 GND
9 PD0 28 DSR#3
10 ERR# 29 DCD#3
11 PD1 30 RTS#3
12 INIT# 31 SIN3
13 PD2 32 CTS#3
14 SLIN# 33 SOUT3
15 PD3 34 RI#3
16 BUSY 35 DTR#3
17 PD4 36 COM3 Pin9
18 PE 37 NRI3#
19 PD5 38 COM3 Pin9

13
www.colormetric.net Colormetrics Vion
1. COM1, COM2 port
2. RJ45 VFD (COM4)
Pin NO. Definition
1 DCD#
2 RxD
3 TxD
4 DTR#
5 GND
6 DSR#
7 RTS#
8 CTS#
9 RI#/+5V/+12V
Pin NO. Definition
1 +5V/+12V
2 DSR#
3 GND
4 DTR#
5 RST#
6 CTS#
7 TxD
8 RxD
4 REAR I/O INTERFACE
Jumper for COM4
Voltage Setting
NOTICE:
COM 4 port. Warning!! COM4 (RJ45 Connector) for external VFD use only. Never use on
network device. If you are using on the network device will cause device damage.
COM 4 port will be inactive if POS has internal VFD.
(Alternative of COM 4 or internal VFD)
Enlarge JUMP

14 www.colormetric.netColormetrics Vion
3. RJ11 port (for Cash drawer)
4. DC Jack
Pin NO. Signal Name Direction
1 Frame GND -
2 Drawer Kick-out drive signal 1 Output
3 Cash Drawer Status Input
4 +12V -
5 N/C -
6 Signal GND -
Pin NO. Signal Name
1 Ground
2 Ground
3 Ground
4 DC IN 19V
5 Ground
6 Ground
Example DOS COMMAND
for Cash Drawer:
1. Create the file: TEST.TXT
2. Input below contents in
TEST.TXT
CONTEXT-“000.0”
MODE COM 6:300

15
www.colormetric.net Colormetrics Vion
5 SYSTEM ASSEMBLY & DISASSEMBLY
5-1. HDD
1. Unscrew 3 screws and remove the base cover
2. Fasten HDD on HDD bracket with 4 screws
3. Install HDD with 2 screws

16 www.colormetric.netColormetrics Vion
5-2. Memory
1. Unscrew 3 screws and remove the base cover
2. Put the memory into socket

17
www.colormetric.net Colormetrics Vion
5-3. MSR
1. Remove MSR cover
2. Install MSR holder with 2 screws
3. Plug MSR cable
4. Install MSR with 2 screws

18 www.colormetric.netColormetrics Vion
5-4. VFD
1. Remove the Top cover
2. Plug VFD cable
3. Install VFD with 2 screws
4. Cover the Top cover (with Hinge hole)
Alternative of external COM4 (RJ45 Connector) or Internal VFD.

19
www.colormetric.net Colormetrics Vion
5-5. 8” 2nd Display
1. Remove the Top cover
2. Plug 8” 2nd display cable
3. Install 8” 2nd display with 2 screws
4. Cover the Top cover (with Hinge hole)

20 www.colormetric.netColormetrics Vion
5-6. Wi-Fi
1. Unscrew 3 screws and remove the base cover
2. Connect 2 antennas on Wi-Fi module.( Notice: The antenna in black should be connected on position
1 of WI-FI module, and antenna in gray should be connected on position 2 of WI-FI module)
3. Put Wi-Fi module into socket with 1 screw
Other Colormetrics Touch Terminal manuals

Colormetrics
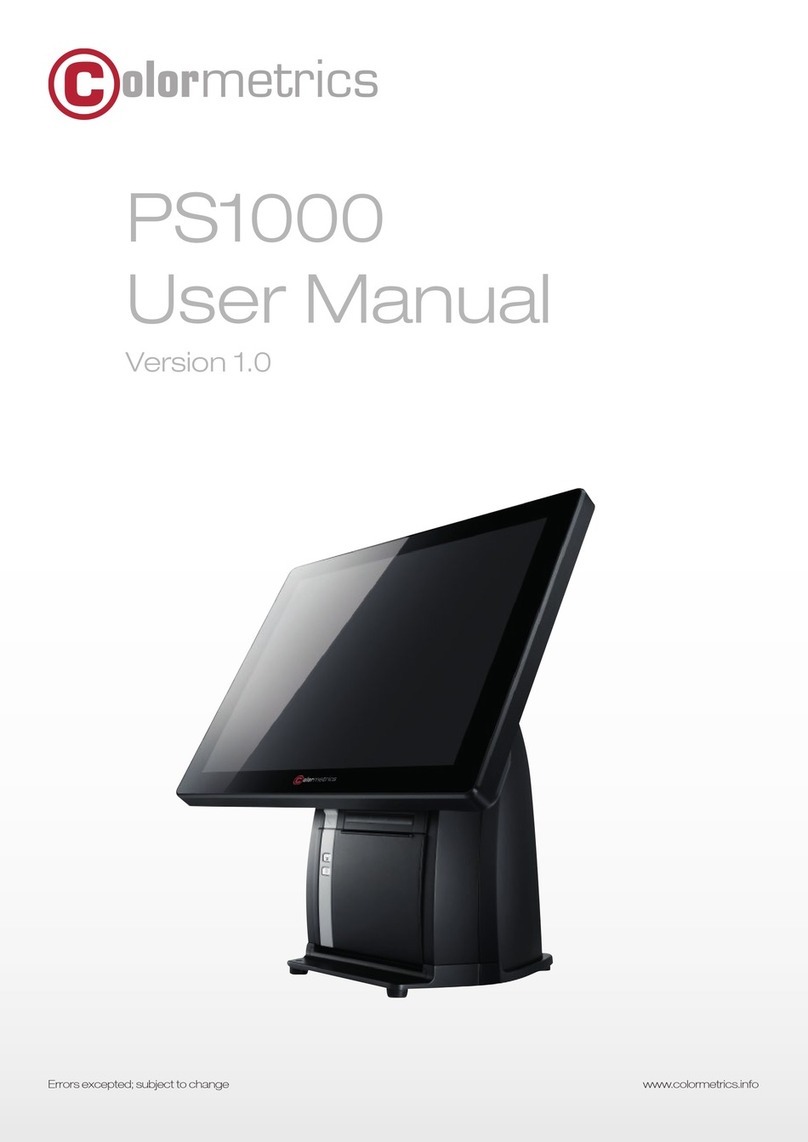
Colormetrics PS1000 User manual

Colormetrics
Colormetrics P4500 User manual

Colormetrics
Colormetrics P5100 User manual

Colormetrics
Colormetrics P4500 User manual

Colormetrics
Colormetrics V1200 User manual

Colormetrics
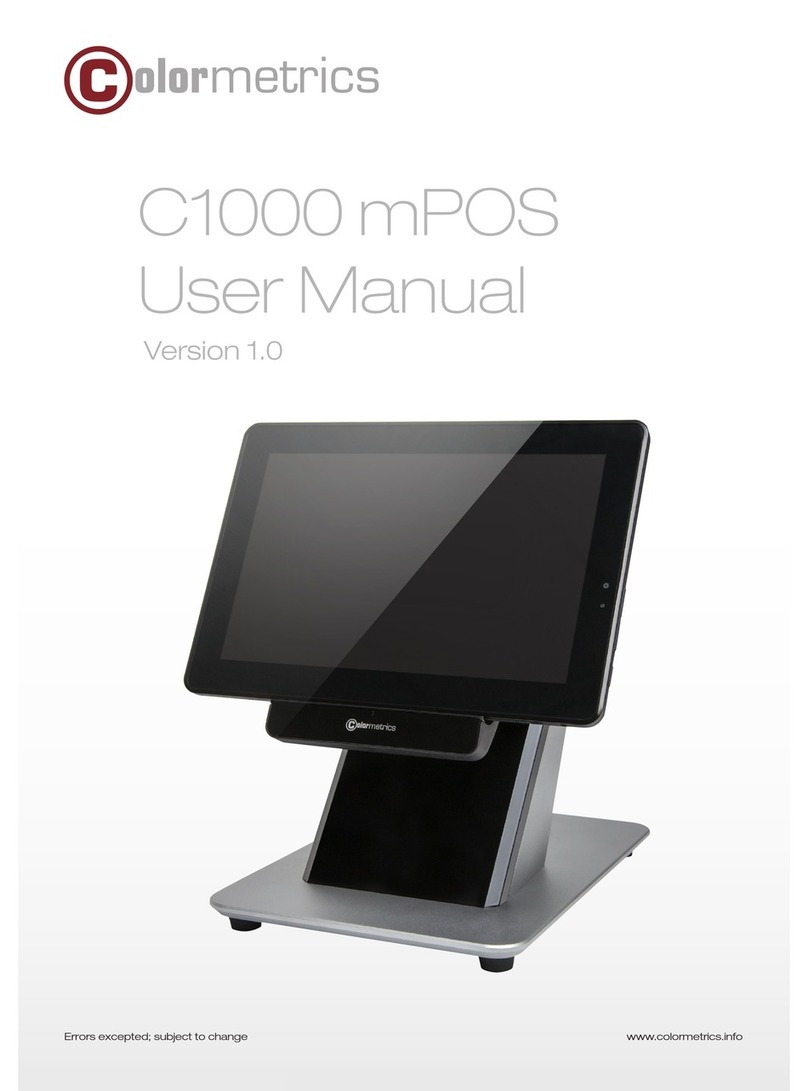
Colormetrics C1000 mPOS User manual

Colormetrics
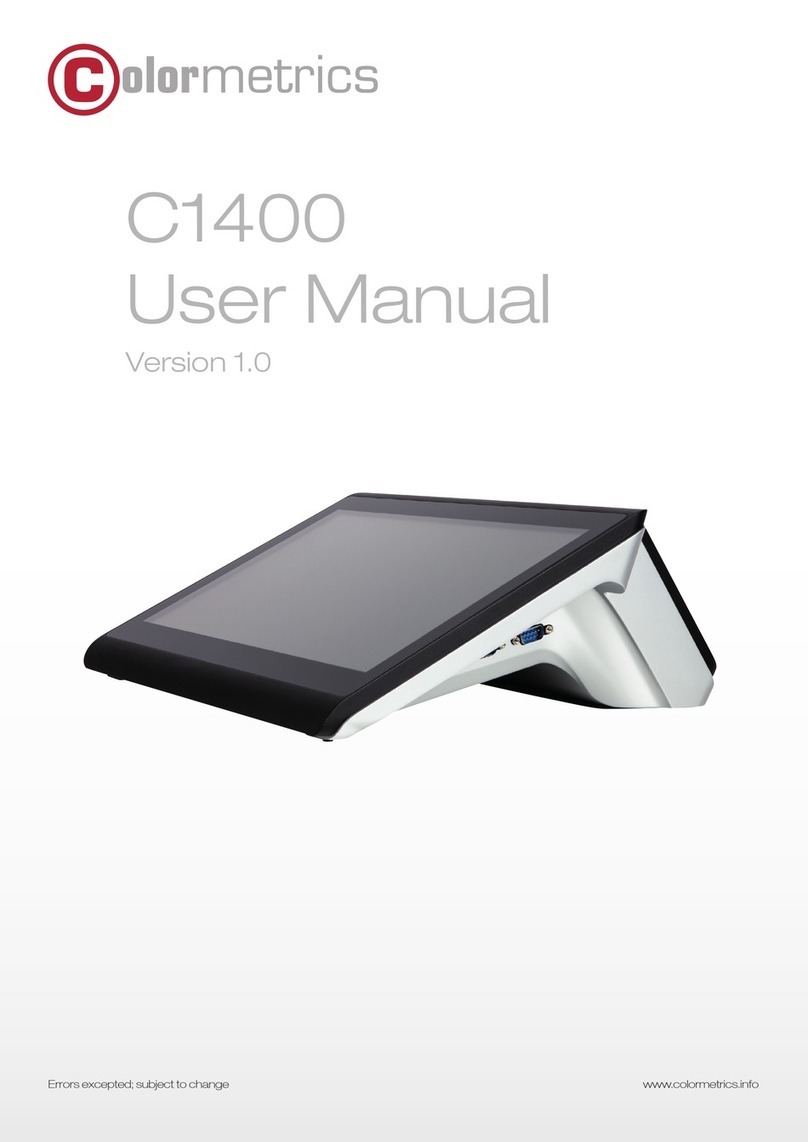
Colormetrics C1400 User manual

Colormetrics
Colormetrics P2000 User manual

Colormetrics
Colormetrics V1506 User manual

Colormetrics
Colormetrics P2500 User manual