i. Select to enable Micro Receiver DT20´s Push Button
and press .
j. Turn on your Comfort Digisystem Microphone
and configure it with an appropriate radio channel.
On Programmer DT20 select and press .
k. Press DT20´s Push button and hold it down for
more than 2 sec in order to set Micro Receiver
DT20 in pairing mode. You will then automatically
be guided to the next step.
l. Send the pairing information from Comfort
Digisystem Microphone to Micro Receiver DT20.
m. Depending on whether the pairing procedure
has been successful ❶ or not ❷, one of
the symbols shown in the pictures to the
right will appear and you will be guided to:
i. The Step o if the pairing has been successful.
ii. The Step l if the pairing has not been successful.
Press to go to the next step.
n. Press to skip the Volume Adjustment Animation.
o. Adjust the volume of R to 0 dB.
Select and press .
You will be presented a chequered flag.
Press to go to the next step.
You will now be guided to the Main menu.
p. In the Main Menu check that all settings are
correctly selected.
Make sure that volume of R+M is turned off.
Choose if “Pairing by push button” may be
enabled or disabled .
Select High sensitivity .
q. The settings can be transferred and
saved in any computer via USB.
Connect Programmer DT20 to the computer.
Select and press .
r. Make a brief listening test through a pair of headphones connected to Programmer DT20 in order to ensure that entire Comfort
Digisystem is working properly.
The Comfort Digisystem is now prepared to be used with the CI processor.
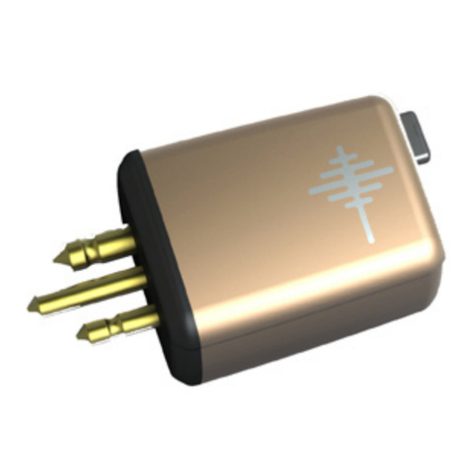
s. Detach Micro Receiver DT20 from the Programmer DT20 and connect it into the Oticon Amigo FM-CI adaptor.
t. Put a P13 Zink Air battery in the battery compartment of Oticon Amigo FM-CI adaptor and close it.
u. Connect the Adaptor cord CI-40 to the Oticon Amigo FM-CI adaptor.
