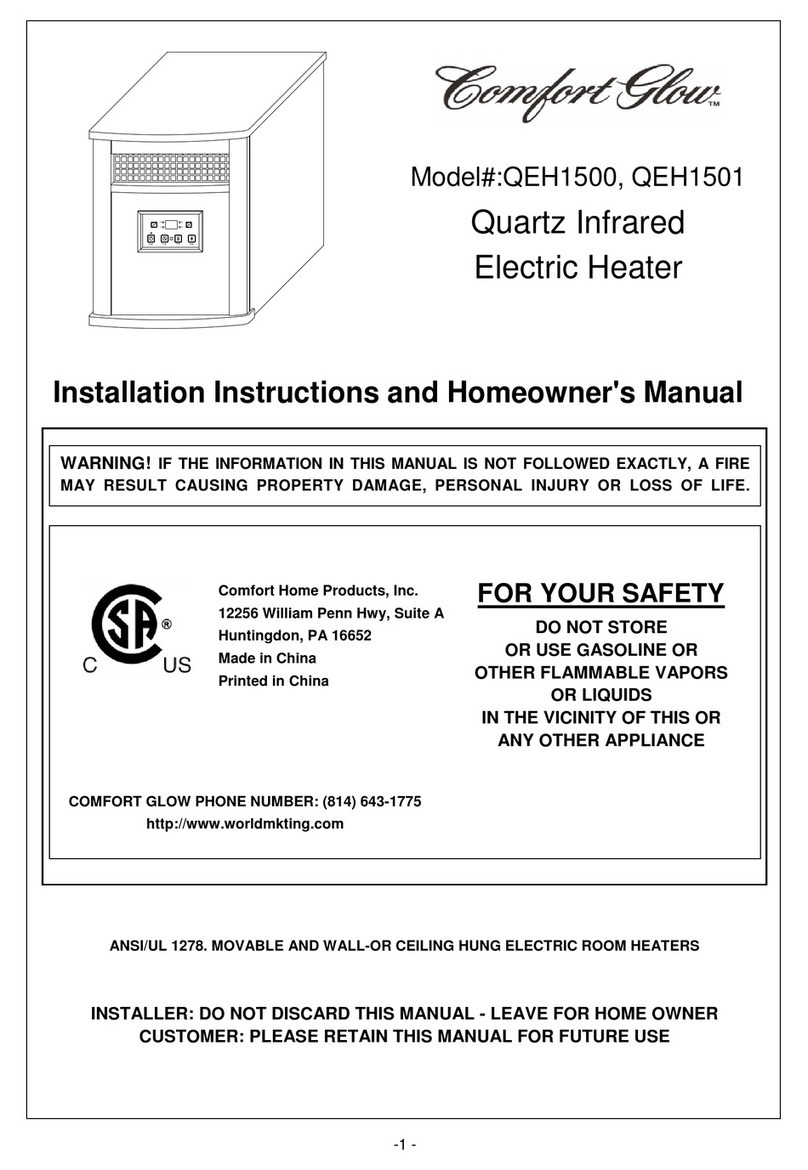
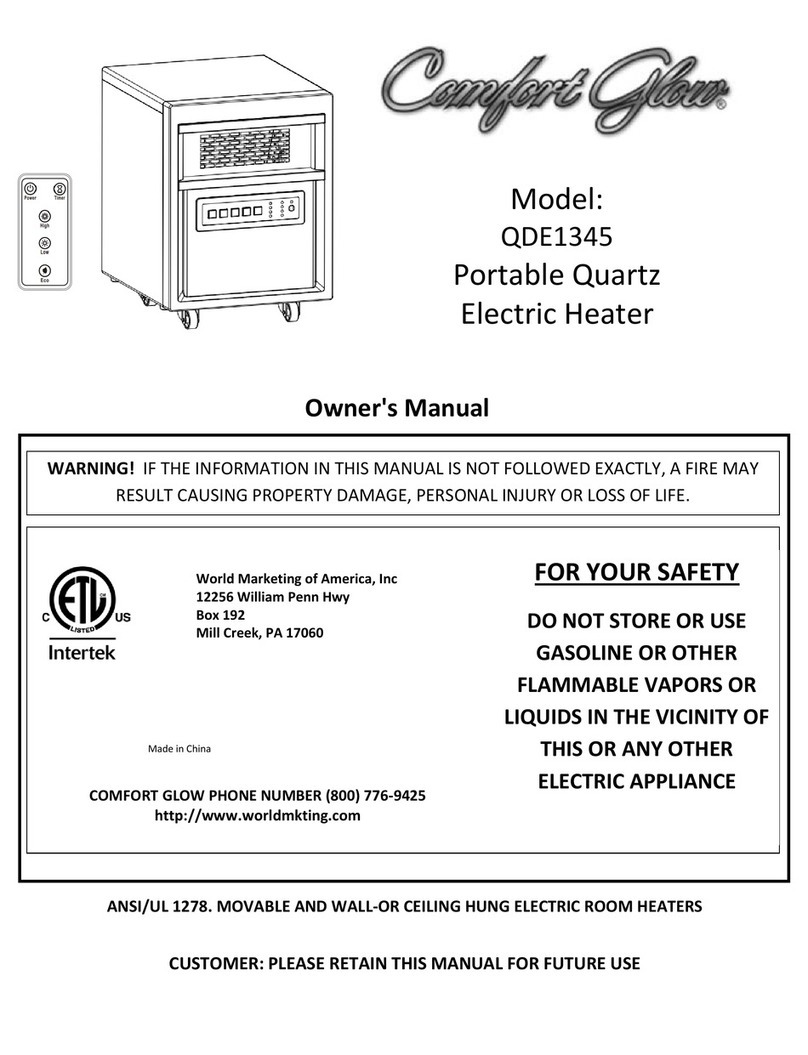
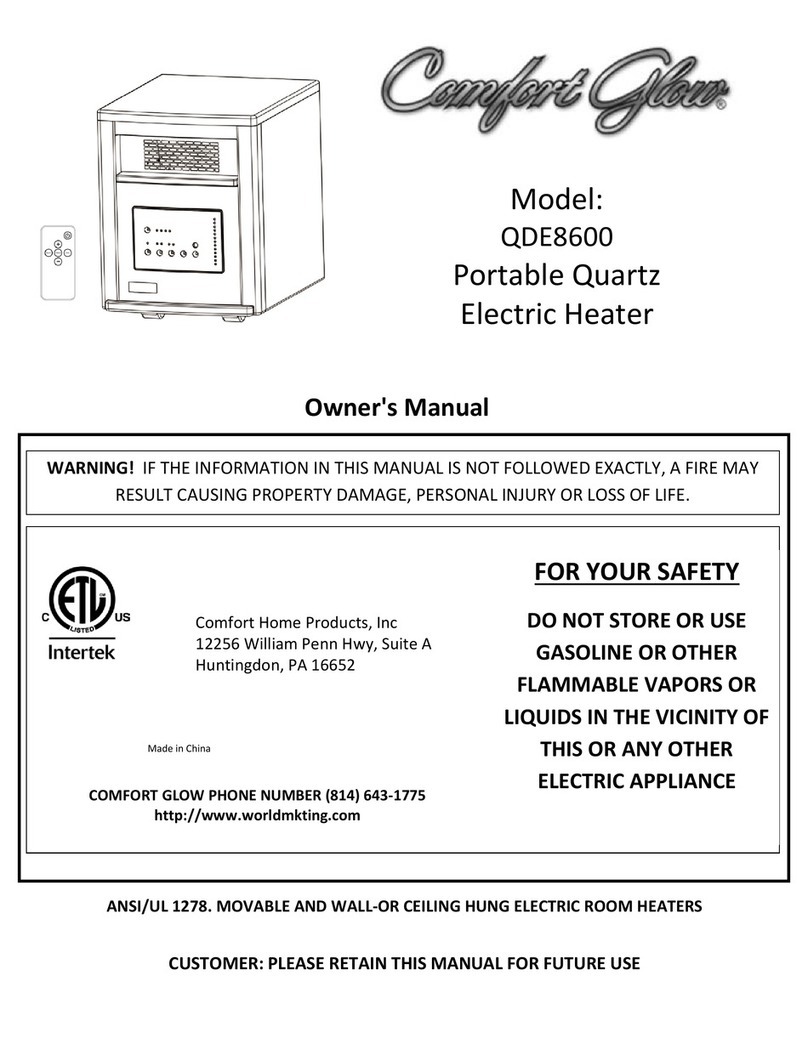
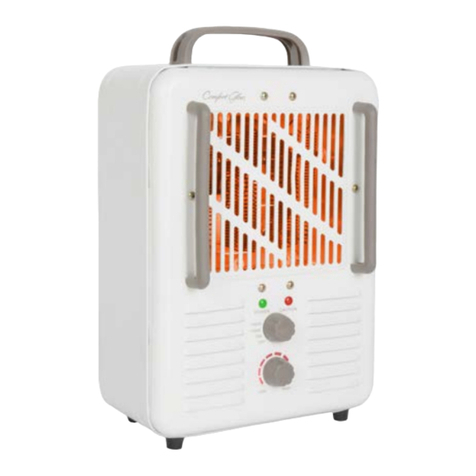
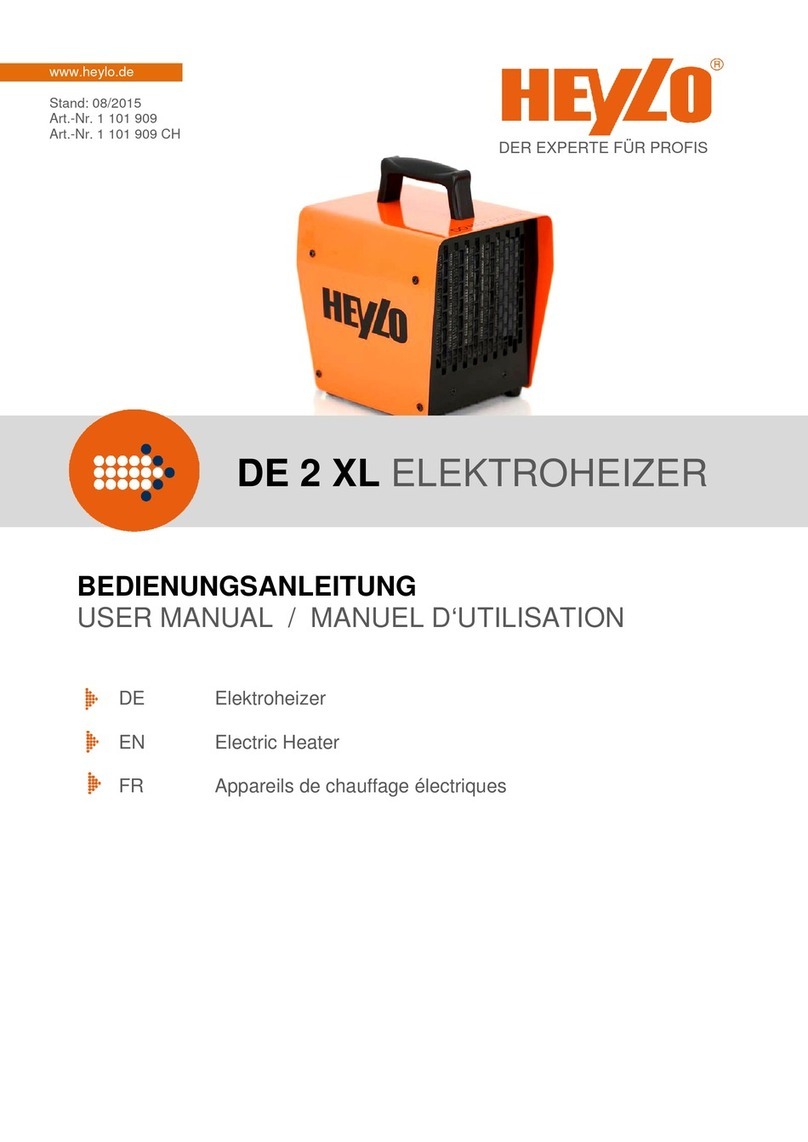
Comfort Glow QDE1350 User manual

Owner's Manual
WARNING! IF THE INFORMATION IN THIS MANUAL IS NOT FOLLOWED EXACTLY, A FIRE MAY
RESULT CAUSING PROPERTY DAMAGE, PERSONAL INJURY OR LOSS OF LIFE.
Comfort Home Products, Inc
12256 William Penn Hwy, Suite A
Huntingdon, PA 16652
FOR YOUR SAFETY
DO NOT STORE OR USE
GASOLINE OR OTHER
FLAMMABLE VAPORS OR
LIQUIDS IN THE VICINITY OF
THIS OR ANY OTHER
ELECTRIC APPLIANCE
ANSI/UL 1278. MOVABLE AND WALL-OR CEILING HUNG ELECTRIC ROOM HEATERS
CUSTOMER: PLEASE RETAIN THIS MANUAL FOR FUTURE USE
COMFORT GLOW PHONE NUMBER (814) 643-1775
http://www.worldmkting.com
Model:
QDE1350 / QEH1400 / QEH1410
Portable Quartz
Electric Heater
Made in China

2
Thank you for purchasing a Comfort Glow portable comfort furnace. For your
safety and to insure that you get the full benefit of this powerful heater please
take the time to read this guide completely BEFORE using your heater.
Table of contents, Specifications, Safety features 2
Important Safety Instruction 3
What to expect, Results, Suggestions and Helpful Hints 4-5
Operation, Maintenance 5-9
Storage, Troubleshooting 10
Warranty Guidelines 11-12
SPECIFICATIONS
Features: Electrical:
4 Quartz heating tubes Voltage 120V 60Hz
Remote Control Power Consumption:
Electronic Thermostat High: 1500w Low: 750w
High & Low Heat Settings ( +5% - 10% tolerance)
Lifetime Washable air Filter Amps: High 12.5 Low: 6.25
Timer Eco: varies 6.25- 12.5
Wood Cabinet
Cool Touch
Easy Roll Casters
1 Year Warranty
SAFETY FEATURES
Tip-Over Safety Feature
This heater is equipped with a tip-over safety feature. Once the heater is tipped over, an internal switch will
automatically shut the heater off. Once the heater is restored an upright position, the heater will reset. To continue
operation, turn on the heater using the supplied remote control or the control panel on the heater.
Overheat Safety Feature
This heater is equipped with a overheat safety feature. When the heaters internal components reach a certain
temperature that could cause overheat and possible fire, the heater will automatically shut off.

3
INTENDED USE: This product is intended only for indoor household or office use.
It is NOT intended for industrial or commercial use. DO NOT USE OUTDOORS
PLEASE READ AND SAVE THESE IMPORTANT SAFETY INSTRUCTIONS when using electrical appliances, basic
precautions should always be followed to reduce the risk of fire, electrical shock, and injury to persons including
the following:
1. Read all instructions before using this heater.
2. This heater is hot when in use. To avoid burns, do not let bare skin touch hot surfaces. If provided, use handles
when moving this heater. Keep combustible materials, such as furniture, pillows, bedding, papers, clothes and
curtains at least 3 feet (0.9m) from the heater.
3. Extreme caution is necessary when any heater is used by or near children, pets or invalids and whenever the
heater is left operating unattended.
4. Use your heater only in dry environments. This heater is not intended for use in bathrooms, laundry areas and
similar indoor locations. Never locate the heater where it may fall into a bathtub or other water container. Do not
use your heater outdoors. Do not use near sinks, swimming pools or other damp areas such as flooded basements,
garages, etc or anyplace where the heater could come in contact with water.
5. A heater has hot and arcing parts inside. Do not use in areas where gasoline, paint, or flammable liquids are
used or stored.
6. To disconnect heater, first turn controls to off, then remove plug from outlet. Always unplug the heater when
not in use.
7. Always unplug heater by removing the plug end from the outlet when not in use. Never unplug by pulling on
the cord as this can damage the power cord.
8. Do not operate any heater with a damaged cord or plug or after the heater malfunctions, has been dropped or
damaged in any manner. Return heater to authorized service facility for examination, electrical or mechanical
adjustment or repair.
9. Always plug heaters directly into a wall outlet/receptacle. Never use with an extension cord or relocatable
power strip.
10. Do not run cord under carpeting. Do not cover cord with throw rugs, runners, or similar coverings. Arrange
cord away from traffic area and where it will not be tripped over.
11. It is normal for the plug to feel warm to touch; however, a loose fit between the AC outlet (receptacle) and
plug may cause overheating and distortion of the plug. Contact a qualified electrician to replace loose or worn
outlet.
12. Do not insert or allow foreign objects to enter any ventilation or exhaust opening as this may cause an
electrical shock or fire, or damage the heater.
13. To prevent a possible fire, do not block air intakes or exhaust in any manner. Do not use on soft surfaces, like a
bed, where openings may become blocked.
14. Do not operate heater with any safeguards removed.
15. Use this heater only as described in this manual. Any other use not recommended by the manufacturer may
cause fire, electric shock, or injury to persons.
16. This heater draws 12.5 amps during operation. To prevent overloading a circuit, do not plug the heater into a
circuit that already has other appliances working.
17. Do not use outdoors.
18. Save these instructions.
IMPORTANT SAFETY INSTRUCTIONS
4
WHAT TO EXPECT FROM YOUR COMFORT FURNACE
The Comfort Glow portable comfort furnace is not intended to replace your central heating system nor is it intended to
be a sole heating source. Your comfort furnace is intended as a supplemental zone heating source. The goal of this
heater is to reduce the total home heating costs by allowing you to turn back the central heat system and provide
supplemental heat to the rooms being occupied.
The Comfort glow portable comfort furnace is not an instant room heater. It may take 24-36 hours for your heater to
reach maximum efficiency. The portable comfort furnace will warm all the elements in the area being heated (furniture,
floors, walls etc.) This will take some time based on the size of the area, insulation ambient temperature and many
other factors but once these elements are heated they will help to maintain a more steady room temperature and less
on/off cycling of your central heat. You will notice that the comfort furnace does not rely on high speed flow of air. This
sensitive flow is by design. The purpose of the built in circulator is to move a large volume of air without creating
hot/cold spots in the area being heated, and thereby promoting a more consistent room temperature.
About your Heater:
Quartz infrared heating tubes: Provide comfortable radiant heat like the sun.
Target Temperature function: Heater will operate until target temperature is reached at heaters location. Note: This
may vary from the room temperature.
Timer Function: User can program heater to turn-on or turn-off in 1-12 hours.
Eco Setting: In this mode the temperature will cycle between High/Low/Off settings to maintain a temperature at the
heater of 20 °C / 68 °F.
Cool down Cycle: fan will continue to operate for approximately 3 minutes after heating elements have turned off.
Safety Devises: See page 2
For Best Heating Results please follow these suggestions:
1) Close doors to areas you do not wish to heat.
2) Locate a three prong outlet along an interior wall if possible. Position the heater so that the warm air can blow
unobstructed across the room towards the exterior walls.
3) Check your windows and doors for the infiltration of cold air and insulate as needed to avoid heat loss. Rapid
heat loss will minimize the effectiveness of your Infrared heater as it would any conventional type heater.
4) Keep the area around the heater free of obstructions to insure maximum airflow. Keep electrical cords,
drapery, furniture, and other combustibles 3 feet (0.9 M) away from the front of the heater and away from the
sides.
5) Avoid locating your heater in high traffic areas or in direct sunlight.
6) Avoid locating your heater near your central heating thermostat.

5
Helpful Tips:
1) If heater will not turn on, check main power switch.
2) Check air filter, clean as needed.
3) If your room has minimal heat loss, and is closed off to cooler areas you may be able to reduce the cost of
operation by setting the heater to low after the room has reached a comfortable temperature.
4) If remote is lost you can still operate the heater manually.
5) Do not drag your heater across the room by pulling it by the cord. Store cord on cord wrap when not in use.
6) Use the timer to turn off your heater and save energy
7) Cool Down feature: When the thermostat cycles “off” or when you turn the unit off the fan will continue to run
for a few moments to finish distributing the heat and to cool down the heaters heating elements.
1) Digital display: Indicates target room temperature or time value according to the timer.
2) High mode indication light: Light is on when in high mode.
3) Low mode indication light: Light is on when in Low mode..
4) Power indication Light: Indicates when the unit is connected to power supply.
5) Eco mode: Light is on when in Eco mode.
6) ON/OFF switch button: For power on or off.
7) Mode button: For selecting running mode.
8) Temp up button: For setting temp higher.
9) Temp down button: For setting temp lower.
10) °C /°F Button: Button for alternating between Fahrenheit and Celsius.
11) Timer button: Used for setting the timer and adjusting time value.
12) Fahrenheit indicating light
13) Timer indication light: The light’s on when timer is functioning.
14) Signal-receiving window: For receiving remote control signal.
15) Celsius indicating light
Control Panel

6
REMOTE OPERATION
PREPARATION
Place the heater on a firm, level surface and plug into a grounded 120V 60Hz power outlet. And turn on the
power switch in the rear of the unit. Only operate heater in upright position with caster wheels attached.
Insert 2 AAA batteries into the remote control before using (Batteries Not Included)
Temp up button: to make target temperature rise
ON/OFF button: Used for power-on or power-off
Temp down button: to make target temperature decline
Mode button:Used for mode selection
℃/℉button: Button for alternating between Fahrenheit
and Celsius
Timer button: Used for setting timer and adjust time value
of timing.
PUSH
Cover
Battery

7
OPERATING INSTRUCTIONS
1. Start and select working mode
Turn the heater off by pressing the ON/OFF button on the control
panel or by pressing the Power button on the supplied remote
control.
Note: Powering off the heater will stop the heating process only.
The fan will continue to blow for approximately 3 more minutes
to allow for the interior components to cool. The fan will then
turn off automatically.
Select a heat Mode
Press the MODE button to toggle between the three heat modes.
High Mode uses 1500W; Low Mode uses 750W. ECO mode is an
Economic Energy Saving Function. When ECO mode is chosen, the
heater will manage itself from less to more heating power (watts)
in an attempt to maintain a constant warm 68 °F (20 °C).
2. Setting Desired Temperature
Adjust the desired temperature by pressing the Up/Down arrows on
the control panel or remote control.
Desired temperature options vary from 59 °F to 86 °F or from 15 °C to
30 °C. Once you have chosen the desired temperature, the heater will
remain on until the room temperature increases to the temperature
on the digital display. The heater will cycle on and off to maintain the
desired room temperature.
Press °C/°F button to change the display temperature between
Fahrenheit and Celsius.
The Fahrenheit indicator LED will light, when the temperature is
displayed in Fahrenheit.
The Celsius LED will light, when the temperature is displayed in Celsius.

8
3. Setting the POWER OFF TIMER Function
Note: The Power-Off-Timer Function will allow for the heater to power OFF after a certain set time, and can only be set
while the heater’s display is in the “On” position.
OR
Turn the heater to the “On” position. Press the Timer button on
the heater’s control panel or the remote.
The digital display changes from the “temperature” to the
“hours” option for the timer. Continue to press the timer button
to change the number of hours you would like the heater to run
before powering itself off. The hour options for the timer are
from 0 to 12 hrs. (in 1 hr increments).
The selected hour increments will flash for a few seconds, and
then revert back to the set desired temperature. The Timer
indicator light will remain lit as long as the Timer is set. The
heater will power OFF when the internal heater clock counts
down the hour increments you set.
4. Setting the POWER-ON-TIMER Function
(Note: The Power-ON-Timer Function will allow for the heater to power ON after a certain set time, and can only be set
while the heater’s display is in the “Off” position.
Turn the heater to the “OFF” position. Press the Timer button on
the heater’s control panel or the remote.
The digital display shows the “hours” option for the timer.
Continue to press the timer button to change the number of
hours you would like the heater’s internal clock to count down
before powering itself on. The hour options for the timer are
from 0 to 12 hrs. (In 1 hr increments).
The Timer indicator light will remain lit as long as the Timer is set.
The heater will power itself ON when the internal heater clock
counts down the hour increments you set.

9
5. Setting electro lock
The Electro Lock can help avoid the heater from being accidentally engaged by children. The locking mechanism can
be set in both the ON and OFF modes.
Press Temp Up and Temp Down buttons at the same time for 3 seconds.
Locking is complete when you hear a beep. When locked, the functions of the
control panel and remote will be locked for use.
When you need to unlock it, press Temp Up and Temp Down buttons at the
same time for 3 seconds. You will hear a beep .The control panel and remote
control will become functional again.
MAINTENANCE
1. Turn off the power switch in the rear of the unit.
2. Unplug the unit and let it cool completely.
3. To keep the heater clean, the outer shell may be cleaned with a soft, damp cloth. You may use a mild detergent
if necessary. After cleaning, dry the unit with a soft cloth. CAUTION: DO NOT let liquid enter the heater.
4. DO NOT use alcohol, gasoline, abrasive powders, furniture polish, or rough brushes to clean the heater. This may
cause damage or deterioration to the surface of the heater.
5. DO NOT immerse the heater in water.
6. Wait until the unit is completely dry before use.
7. Air filter needs cleaning after 3 months of use.
FILTER MAINTENANCE
1) WARNING! Make sure the power is turned off before
performing any maintenance. Turn off heater, by using
the main power switch on the rear of the unit and unplug
the heater from the wall outlet.
2) Remove the filter bracket from the rear of the heater.
3) Remove the filter from the bracket.
4) Vacuuming will generally clean the filter in most cases.
5) If dirt remains, rinse filter with warm tap water through
the rear side of the filter (opposite of air intake direction)
until clear of dust and debris.
6) If the filter is extremely dirty or clogged with grease, you
can soak the filter in a mild solution of dish soap and
water, and repeat rinsing process.
7) Shake filter to remove excess water and lay on clean cloth
or paper towels to dry. Do not use heat source to dry
filter.
8) Replace filter in heater ONLY after it is completely dry.
BRACKET
SCREWS

10
STORAGE
Store the heater in a cool, dry location when not in use. To prevent dust and dirt build-up, use the original packaging to
repack the unit.
If you do not use the heater for a long time, please take out the remote batteries (to prevent corrosion)
TROUBLE SHOOTING
\
PORTABLE ELECTRIC HEATER WARRANTY
PROBLEM
CORRECTIVE ACTION
1. Heater does not blow warm air
a. The room temperature is higher than the thermostat setting.
b. Check to be sure unit is on high setting.
c. If the power button on the front of the heater is red but the heater is
not operating the safety overheat function may have been triggered. Try
pressing the power button. If the heater does not turn on, clear any
obstructions from front and rear of unit that may have caused internal
overheating. Allow the heater to cool for approximately 10 minutes and
then press the power button again.
2. No Power to heater
a. Make sure main switch on rear of unit is switched to on position.
b. Over heat safety control activated. Remove blockage from filter and
around heater. Unplug heater for 10 to 20 minutes. Unit should then
operate normally.
c. Check circuit breaker, reset as needed or plug into different outlet.
d. Call customer service at 1-814-643-1775 or visit us at
www.worldmkting.com

11
LIMITED WARRANTY:
A limited warranty is extended to the original purchaser of this heater and warrants against malfunction due to
manufacturing defects for a period of (1) one year from the date of retail purchase. Please read and follow all details
noted below.
CLAIMS HANDLED AS FOLLOWS:
-DO NOT RETURN TO PLACE OF PURCHASE
-Contact our Customer Service Department at 1-800-776-9425. You must have the model number, serial
number and date of purchase.
-They will provide you with further instructions, which may include replacement parts, repair or replacement
at our option.
CALL 1-800-776-9425 FOR SERVICE (9AM-6PM MON.-FRI.) or EMAIL US AT info@worldmkting.com
DUTIES OF THE OWNER:
This heating appliance must be operated in accordance with the written instructions furnished with this heater. This
warranty shall not excuse the owner from properly maintaining this heater in accordance with the written instructions
furnished with this heater. A bill of sale, canceled check or payment record must be kept to verify purchase date and
establish warranty period. Original carton should be kept in case of warranty return of unit.
WHAT IS NOT COVERED:
1. Damage caused by misuse or use contrary to the owner’s manual and safety guidelines.
2. Damage caused by a lack of normal maintenance.
3. Repair by an unauthorized person.
4. Damage caused by connection to an improper voltage.
5. Damaged caused by use outdoors.

12
LIMITATIONS:
This warranty does not imply or assume any responsibility for consequential damages that may result from the
use, misuse, or the lack of routine maintenance of this heating appliance. A cleaning fee and the cost of parts
may be charged for appliance failures resulting from lack of maintenance. This warranty does not cover claims,
which do not involve defective workmanship or materials. FAILURE TO PERFORM GENERAL MAINTENANCE
(INCLUDING CLEANING) WILL VOID THIS WARRANTY.
THIS LIMITED WARRANTY IS GIVEN TO THE PURCHASER IN LIEU OF ALL OTHER WARRANTIES, EXPRESSED OR
IMPLIED, INCLUDING BUT NOT LIMITED TO THE WARRANTIES OF MERCHANTABILITY OF FITNESS FOR A
PARTICULAR PURPOSE. THE REMEDY PROVIDED IN THIS WARRANTY IS EXCLUSIVE AND IS GRANTED IN LIEU OF
ALL OTHER REMEDIES. IN NO EVENT WILL WORLD MARKETING OF AMERICA BE LIABLE FOR INCIDENTAL OR
CONSEQUENTIAL DAMAGES.
Some states do not allow limitations on how long an implied warranty lasts, so the above limitation may not
apply to you. Some states do not allow the exclusion or limitation of incidental or consequential damages so
the above limitation or exclusion may not apply to you.
For your record, staple your sales receipt to this manual and record the following
DATE OF PURCHASE:
PLACE OF PURCHASE:
SERIAL NUMBER:
MODEL NUMBER:
Register your warranty at www.worldmkting.com
Printed in China

13
Instrucciones de instalación y el Manual de Propietario
¡ADVERTENCIA! SI LA INFORMACIÓN CONTENIDA EN ESTE MANUAL no se sigue
estrictamente, puede ocasionar un incendio, causando daños materiales, LESIONES
PERSONALES O LA MUERTE.
PARA SU SEGURIDAD
NO utilice ni almacene
gasolina u otros líquidos
inflamables cerca de este o
CUALQUIER OTRO
APARATO
Comfort Home Products, Inc
12256 William Penn Hwy, Suite A
Huntingdon, PA 16652
COMFORT GLOW PHONE NUMBER (814) 643-1775
http://www.worldmkting.com
ANSI/UL 1278. MOVABLE AND WALL-OR CEILING HUNG ELECTRIC ROOM HEATERS
El INSTALADOR: No DESECHE ESTE MANUAL - HOJA PARA el PROPIETARIO CLIENTE: RETENGA POR FAVOR ESTE MANUAL
PARA
FUTURO USO
Hecho en China
Modelo:
QDE1350 / QEH1400/ QEH1410
Cuarzo portátil
Calentador eléctrico

14
Gracias por comprar un Resplandor de Consuelo horno portátil de consuelo. Para su
seguridad y para asegurar que consigue el beneficio lleno de esta calentadora poderosa
toma por favor el tiempo de leer esta guía completamente ANTES QUE cante su calentadora.
Tabla de características de seguridad de contenidos, especificaciones, 14
Instrucciones importantes de seguridad 15
Qué esperar, resultados, sugerencias y consejos útiles 16-17
Operación, mantenimiento 17-21
Almacenamiento de información, resolución de problemas 22
Directrices de garantía 23-24
ESPECIFICACIONES:
Características: Eléctrica:
4 Tubos de calefacción de cuarzo Voltaje 120V 60Hz
Mando a Distancia Consumo de energía:
Termostato Electrónico Elevado: 1500w Escaso: 750w
Configuración Elevado & Escaso (+5% - 10% Tolerancia)
Del filtro de aire lavable Amperios: Elevado 12.5 Escaso: 6.25
Minutero Eco: variar 6.25- 12.5
Gabinete de madera
Contacto Seguro
Ruedas Roll fácil
1 Año de garantía
CARACTERÍSTICAS DE SEGURIDAD
Característica de seguridad de volcadura
Este calefactor está equipado con un dispositivo de seguridad de la volcadura. Una vez que el calentador se
vuelca, un interruptor interno apagará automáticamente el calentador. Una vez que el calentador se restaura
una posición vertical, el calentador se restablecerá. Para continuar la operación, encienda el calentador
usando el control remoto suministrado o el panel de control en el calentador.
Característica de seguridad de sobrecalentamiento
Este calefactor está equipado con un dispositivo de seguridad de sobrecalentamiento. Cuando los
calentadores componentes internos alcancen una temperatura determinada que podría causar
sobrecalentamiento y posibles incendios, el calentador se apaga automáticamente.

15
USO DESTINADO
Este producto es pensado sólo para interior de la casa o el uso de la oficina. No es pensado para el valor
industrial ni el uso comercial. No UTILICE FUERA
LEA POR FAVOR Y SALVO ESTAS INSTRUCCIONES IMPORTANTES de SEGURIDAD cuando se usa
electrodomésticos, precauciones básicas siempre deben ser seguidas para reducir el riesgo del fuego, de golpe
eléctrico, y de la herida a personas, inclusive lo Siguiente:
1. Lea todas las instrucciones antes de utilizar esta calentadora.
2. Esta calentadora tiene calor cuando en el uso. Para evitar quemaduras, no permiten toque descubierto de piel
superficies calientes. Si proporcionado, asideros de uso al mover esta calentadora. Mantenga materiales combustibles,
como muebles, ropa de cama de almohadas, los papeles, la ropa y las cortinas por lo menos 3 pies (0,9) de la
calentadora.
3. El cuidado extremo es necesario cuando cualquier calentadora es utilizada por o cerca de niños, los animales favoritos
o los inválidos y siempre que la calentadora sea dejada operando desatendido.
4. Utilice su calentadora sólo en ambientes secos. Esta calentadora no es pensada para el uso en cuartos de baño, áreas
de ropa sucia y ubicaciones interiores semejantes. Nunca sitúe la calentadora donde puede caerse en una bañera u otro
contenedor de agua. No utilice su calentadora fuera. No utilice cerca fregaderos, las albercas ni otras áreas húmedas
como sótanos inundados, los garajes, etc. ni en algún lugar donde la calentadora podría entrar contacto con agua.
5. Una calentadora tiene caliente y las partes de arcén adentro. No utilice en áreas donde gasolina, la pintura, ni líquidos
flaméales son utilizados ni son almacenados.
6. Para desconectar calentadora, primero controles de vuelta a lejos, el quita tapón de la salida. Siempre desenchufe la
calentadora cuando no en uso.
7. Siempre desenchufe calentadora quitando el fin de tapón de la salida cuando no en uso. Nunca desenchufe tirando de
la cuerda como esto puede dañar el cable de alimentación.
8. No opere ninguna calentadora con una cuerda ni el tapón dañados ni después de que la calentadora falle, haya sido
dejada caer o ha sido dañada en ninguna manera. Regrese calentadora a la facilidad autorizada del servicio para el
examen, ajuste reparación eléctricos o mecánicos.
9. Siempre tape calentadoras directamente en un salida/receptáculo de pared. Nunca utilice con un alargador ni la tira
del poder de relocatable.
10. No corra cuerda bajo alfombrar. No cubra cuerda con tapetes de tiro, con los corredores, ni con cubiertas
semejantes. Arregle cuerda lejos de área de tráfico y de donde no será tropezado sobre.
11. Es normal para el tapón para sentirse tibio tocar; sin embargo, un ataque flojo entre la salida de C.A. (receptáculo) y
el tapón puede causar recalentar y deformación del tapón. Contacte a un electricista calificado para reemplazar salida
floja o gastada.
12. No inserte ni permita objetos extranjeros entrar ninguna ventilación ni el escape que abren como esto puede causar
un golpe o el fuego eléctricos, o dañar la calentadora.
13. Para prevenir un fuego posible, no bloquea tomas de aire ni agota en ninguna manera. No utilice en superficies
suaves, como una cama, donde aperturas pueden llegar a ser bloqueadas.
14. No opere calentadora con cualquier medidas de protección quitada.
15. Utilice esta calentadora sólo como descrito en este manual. Cualquier otro uso no recomendado por el fabricante
puede causar el fuego, la descarga eléctrica, ni la herida a personas.
16. Esta calentadora dibuja 12.5 amperios durante operación. Para prevenir sobrecargando un circuito, no tapa la
calentadora en un circuito que ya tiene otros aparatos que trabaja.
17. No utilice fuer.
18. Salvo estas instrucciones
INSTRUCCIONES IMPORTANTES

16
QUÉ ESPERAR DE SU CALENTADOR COMFORT
El calentador Comfort Glow no tiene como objetivo reemplazar su sistema de calentamiento central ni pretende ser la
única fuente de calentamiento. Su calentador Comfort pretende ser una fuente de calentamiento suplementaria y de
zona. El objetivo del calentador es reducir los costos totales de calentamiento del hogar, al permitirle disminuir el uso
de su sistema de calentamiento central y proveyéndole calor suplementario a los cuartos que están siendo ocupados.
El calentador Comfort Glow no es un calentador instantáneo de cuarto. Puede tardar entre 24-36 horas para que su
calentador llegue a su máxima eficiencia. El calentador Comfort Glow portable calentará todos los elementos en el área
que está siendo calentada (muebles, pisos, paredes, etc.) Esto tomará tiempo dependiendo del tamaño del área,
temperatura de ambiente insulado, y muchos otros factores, pero una vez que estos elementos sean calentados,
ayudarán a mantener una temperatura en el cuarto consistente y disminuir el ciclo de prendido/apagado de su
calentador central. Notará que el calentador no depende de un flujo de aire rápido. Este flujo sensible es por diseño. El
propósito del circulados que contiene es mover grandes volúmenes de aire sin crear puntos calientes/fríos en el área
siendo calentada, promoviendo una temperatura consistente en el cuarto.
Acerca de su calentador:
Tubos de calefacción infrarrojo de cuarzo: proporcionar cómodo calor radiante como el sol
Objetivo en función de la temperatura: calentador funcionará hasta que se alcanza la temperatura objetivo en lugar de
calentadores. Nota: Esto puede variar de la temperatura
Función de temporizador: El usuario puede programar el calentador encendido o apagado en 1-12 horas
Posición Eco: En este modo la temperatura alternará entre alto/bajo/apagado ajustes para mantener una temperatura
en el calentador de 20 ° C/68 ° F.
Enfriar el ciclo: ventilador seguirá funcionando para aproximadamente 3 minutos después elementos de calefacción se
han apagado
Los dispositivos de seguridad: Ver página 2
Para mejores resultados de calefacción por favor sigan estas sugerencias:
1) Cerrar las puertas a las áreas que usted no desea calor.
2) Localizar un enchufe de tres clavijas a lo largo de una pared interior si es posible. Coloque el calentador para que
el aire caliente puede volar sin obstáculos a través de la habitación hacia las paredes exteriores.
3) Comprueba tus ventanas y puertas para la infiltración de aire frío y aislar según sea necesario para evitar la
pérdida de calor. Pérdida de calor rápida reducirá la efectividad de su calentador infrarrojo como lo haría
cualquier calentador de tipo convencional.
4) Mantenga el área alrededor del calentador libre de obstrucciones para asegurar la máxima circulación de aire.
Mantenga los cordones eléctricos, cortinas, muebles y otros materiales combustibles 3 pies (0.9 M) de la parte
delantera del calefactor y lejos de los lados.
5) Evite colocar su calentador en áreas de alto tráfico o luz solar directa.
6) Evite colocar su calentador cerca de su termostato de calefacción central.

17
Puntas útiles:
1) Si calentadora no prenderá, el cheque principal interruptor del poder
2) El filtro de aire del cheque, limpia como necesitado
3) Si su cuarto tiene pérdida mínima de calor, y es bloqueado a áreas más frías que usted puede poder reducir
el costo de operación poniendo la calentadora al punto más bajo después de que el cuarto haya alcanzado
una temperatura cómoda.
4) Si telemando le es perdido todavía puede operar la calentadora manualmente.
5) No arrastre calentadora a través del cuarto tirandolo por la cuerda
6) Utilice el reloj para apagar su calentadora y salvo energía
7) Enfríese característica: Cuando el termostato va en bicicleta "lejos" o cuando apaga la unidad el ventilador
continuará correr por unos momentos de terminar distribuir el calor y para enfriarse las calentadoras que
calientan elementos.
1) Pantalla digital: indica la temperatura objetivo o valor según el contador de tiempo.
2) Luz indicadora de modo alto: luz está encendida cuando en modo de alto.
3) Luz indicadora de modo bajo: luz está encendida cuando en de baja...
4) Indicación de potencia luz: indica cuando la unidad está conectada a la fuente de alimentación.
5) Eco mode: luz está encendida cuando en el modo Eco.
6) Botón interruptor ON/OFF: para poder activar o desactivar.
7) Botón mode: para seleccionar el modo de funcionamiento.
8) Temp encima del botón: para temperatura ambiente superior.
9) Temp botón: para el ajuste de temperatura inferior.
10) ° C / ° F botón: botón para alternar entre Fahrenheit y Celsius.
11) Botón timer: utilizado para fijar el temporizador y el ajuste de valor de tiempo.
12) Fahrenheit que indica la luz
13) Luz de indicación de del reloj: la luz está encendida cuando el temporizador está funcionando.
14) Ventana receptores de señal: para recibir la señal del control remoto.
15) Celsius indicando luz
Panel de control

18
OPERACIÓN REMOTA
PREPARACIÓN
Coloque el calefactor sobre una superficie firme y nivelada y enchufe en un tomacorriente con conexión a tierra
de 120V 60Hz. Y encienda el interruptor en la parte trasera de la unidad. Sólo operar calentador en posición
vertical con ruedas pivotantes adjunta. Inserte 2 baterías AAA en el control remoto antes de usar (pilas no
incluidas)
Botón Temp: a haga la subida de temperatura deseada
Botón ON/OFF: utilizado para el encendido o apagado
Botón Temp: para hacer la temperatura objetivo disminuir
Botón: de selección de modo
℃/℉botón: botón para alternar entre grados Fahrenheit
and Celsius
Botón Timer: utilizado para el ajuste temporizador y
ajustar el valor de tiempo de sincronización.
PUSH
Cubierta
Batería

19
INSTRUCCIONES DE USO
1. Select working mode
Encienda el calentador pulsando el botón ON/OFF en el panel de
control o presionando el botón de encendido en el control
remoto suministrado.
Una vez que la energía está apagada, elemento de calefacción
dejará de funcionar al principio. Ventilador prolongará trabajando
durante 3 minutos para que emita un montón de calor interior.
Esta marca indica funcionamiento durante los 3 minutos.
Seleccione un modo de calor
Pulse el botón MODE para cambiar entre los modos de 3 calor.
Alto modo utiliza 1500W; Modo de baja utiliza 750W. Modo ECO
es una función de ahorro de energía económica. Cuando se
selecciona el modo ECO, el calentador gestionará propia de
menos a más energía de la calefacción (w) en un intento por
mantener un constante calor 68 ° F (20 ° C).
2. Ajuste la temperatura deseada
Ajuste la temperatura deseada pulsando las flechas arriba y abajo en el
panel de control o mando a distancia.
Las opciones varían desde 59 ° F a 86 ° F o desde 15 ° C a 30 ° C. de
temperatura deseada Una vez que usted haya elegido la temperatura
deseada, el calentador permanecerá encendida hasta que la
temperatura aumenta con la temperatura en la pantalla digital. El
calentador de ciclos de encendido y apagado para mantener la
temperatura deseada.
El botón ° C/ ° F para cambiar la pantalla de temperatura entre
Fahrenheit y Celsius.
Se encenderá el LED indicador de Fahrenheit, cuando la temperatura
se muestra en Fahrenheit.)
Se iluminará el LED de Celsio, cuando se muestre la temperatura en
grados Celsius.

20
3. Apagar la función de temporizador
Nota: La función Power-Off-Timer permitirá el calentador se apague después de un cierto tiempo y sólo se puede
establecer mientras visualiza la calefacción está en la posición "On".
Gire el calentador a la posición "On".Presione el botón Timer en
panel de control de la calefacción o el control remoto.
La pantalla digital cambia de la "temperatura" a la opción de
"horas" para el temporizador. Continúe presionando el botón
timer para cambiar el número de horas que desea que el
calentador antes de sí mismo apagado.Son las opciones de hora
para el temporizador de 0 a 12 hrs. (en incrementos de 1 hora).
Los incrementos de hora seleccionada serán parpadeará
durante unos segundos y luego volver a la temperatura
deseada.La luz de indicador del reloj permanecerá encendida
mientras el temporizador. El calentador apagará cuando el reloj
calentador interno cuenta regresiva los incrementos de la hora
se establece.
4. POWER-ON-función de temporizador
Nota: La función Power-ON-Timer permitirá para que encienda el calentador después de cierto tiempo y sólo se puede
establecer mientras visualiza la calefacción está en la posición "Off".
Gire el calentador a la posición "OFF". Presione el botón Timer en
panel de control de la calefacción o el control remoto.
La pantalla digital muestra la opción de "horas" para el
temporizador. Continúe presionando el botón timer para
cambiar el número de horas que desea que el reloj interno del
calentador cuenta regresiva antes de encender el mismo. Son las
opciones de hora para el temporizador de 0 a 12 hrs. (En
incrementos de 1 hora).
La luz de indicador del reloj permanecerá encendida mientras el
temporizador. La fuerza de voluntad de calefacción sí mismo
sobre cuándo el reloj calentador interno cuenta regresiva los
incrementos de la hora se establece.
This manual suits for next models
2
Table of contents
Languages:
Other Comfort Glow Electric Heater manuals

Comfort Glow
Comfort Glow EUH1490 User manual

Comfort Glow
Comfort Glow QDE1320 User manual

Comfort Glow
Comfort Glow ERH4465 User manual

Comfort Glow
Comfort Glow QDE8600 User manual

Comfort Glow
Comfort Glow QEH1410 User manual

Comfort Glow
Comfort Glow CEH154 Planning guide

Comfort Glow
Comfort Glow EUH352 Planning guide

Comfort Glow
Comfort Glow CDE4800 User manual

Comfort Glow
Comfort Glow ELCG251 Assembly instructions

Comfort Glow
Comfort Glow QEH1500 Assembly instructions