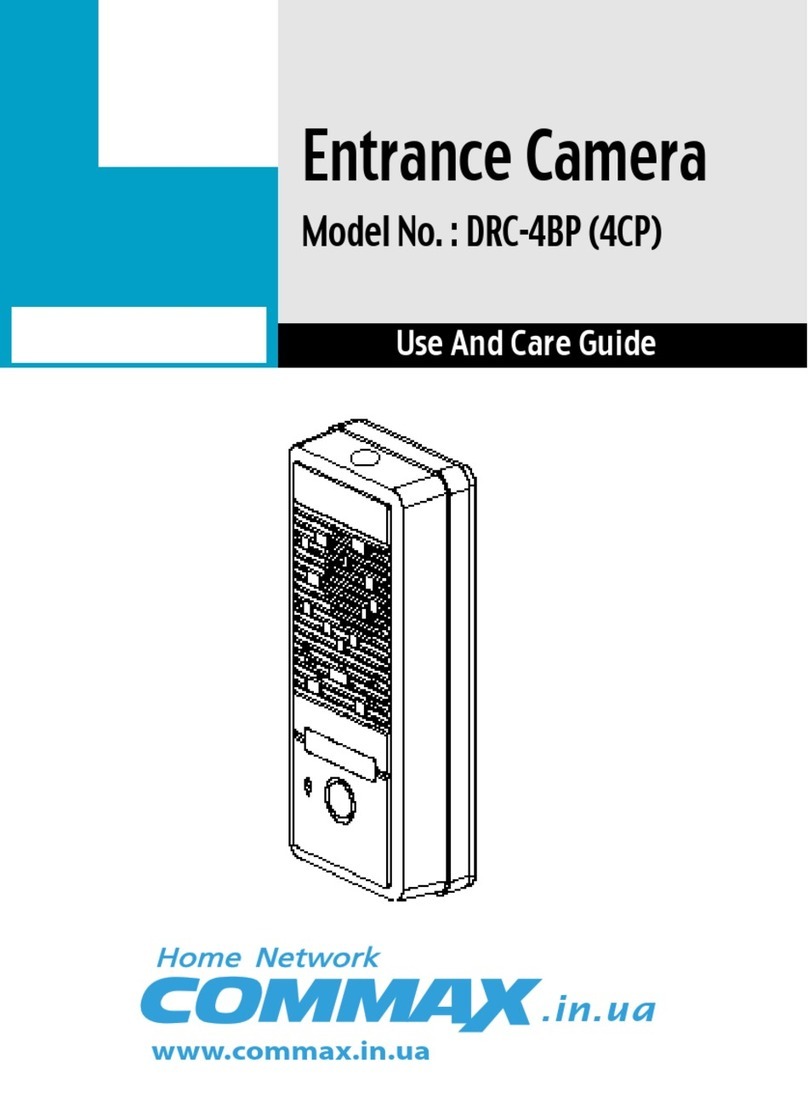
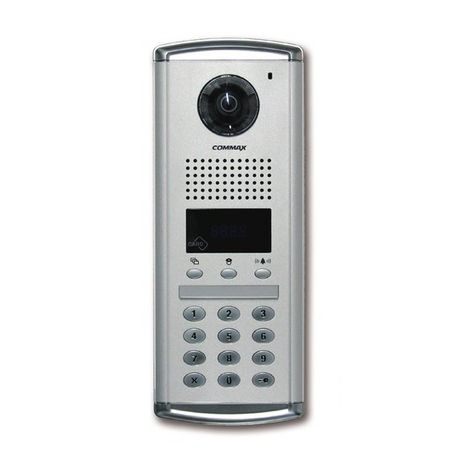
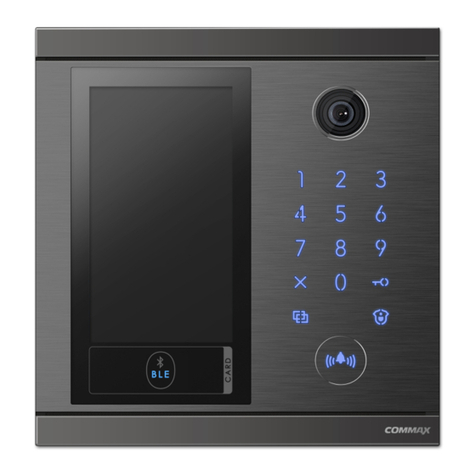
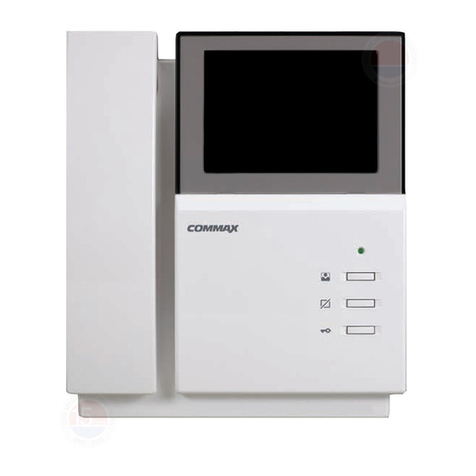
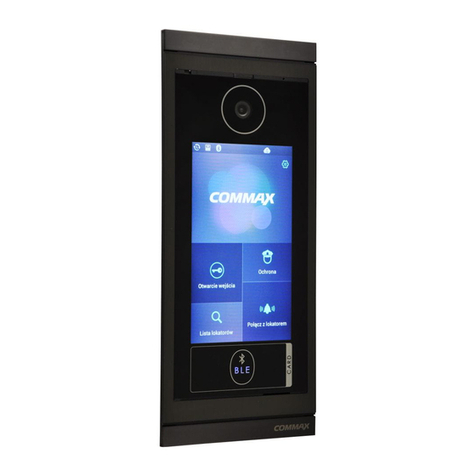
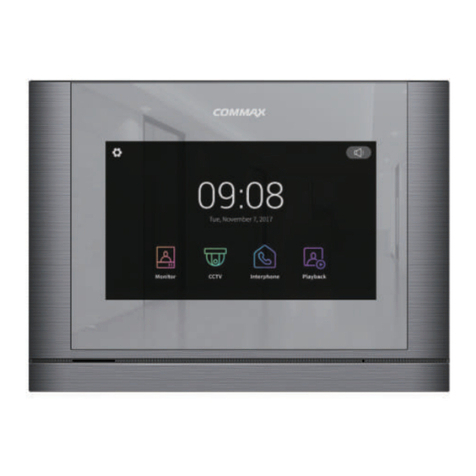
Commax CIOT-1020M User manual

Printed In Korea / 2016.06.104
513-11, Sangdaewon-dong, Jungwon-gu, Seongnam-si, Gyeonggi-do, Korea
Int’l Business Dept. Tel. : +82-31-7393-540~550 Fax. : +82-31-745-2133
Web site : www.commax.com
PM0770ND00010
•Thank you for purchasing COMMAX products.
•Please carefully read this User’s Guide (in particular, precautions for safety) before using a product and follow
instructions to use a product exactly.
•The company is not responsible for any safety accidents caused by abnormal operation of the product.
513-11, Sangdaewon-dong, Jungwon-gu, Seongnam-si, Gyeonggi-do, Korea
Int’l Business Dept. Tel. : +82-31-7393-540~550 Fax. : +82-31-745-2133
Web site : www.commax.com
•Thank you for purchasing COMMAX products.
•Please carefully read this User’s Guide (in particular, precautions for safety) before using a product and follow
instructions to use a product exactly.
•The company is not responsible for any safety accidents caused by abnormal operation of the product.
CIOT-1020M
User Manual

1
%QPVGPVU
Safety Warning & Caution····················································· 2
1. Main funciton ································································ 4
Basic Screen Conguration ··············································· 7
2. Home Screen ······························································· 10
Home Area ·································································· 10
2.1. Editing a space list ·················································· 11
2.2. Registering a device ················································· 12
2.3. Placing device (move / delete) ···································· 15
2.4. Controlling devices ·················································· 18
2.5. Widget area ··························································· 18
3. House Reporter····························································· 20
3.1. Edit house reporter ·················································· 20
3.2. Setting the weather area ············································ 20
4. Control ······································································· 22
4.1. Control lighting ······················································· 22
4.2. Multi-sensor ·························································· 23
4.3. Magnetic sensor······················································ 23
4.4. Adding devices ······················································· 24
4.5. Edit device ···························································· 25
5. Application ·································································· 26
5.1. Interphone ····························································· 26
5.2. Door entrance ························································ 27
5.3. Call log ································································· 29
5.4. security································································· 30
5.5. Checking visitor ······················································ 33
5.6. Etc App ································································ 35
5.7. Setting the Wall Pad ················································· 39
6. Scene / Booking Control ················································· 49

2
Please follow the things described below in order to prevent any
danger or property damage.
Warning
Caution
Pr hibiti n.
N disassembly
N t uch
Must f ll w strictly.
Sh ws plugging ut the p wer c rd
with ut an excepti n
Sh ws the warning and cauti n f r an electric sh ck.
Sh ws the warning and cauti n f r a fire.
It may cause a seri us damage r
injury if vi lated.
It may cause a min r damage r
injury if vi lated.
Power & Installation
Warning
Please d n’t use several
pr ducts at the same time n
ne p wer s cket.
·It may cause a fire due t an
abn rmal verheating.
Please d n’t bend the p wer
cable excessively r it may
cause an electric sh ck.
·fire when using a damaged
p wer cable.
Please d n’t handle the
p wer cable with a wet hand.
·It may cause an electric
sh ck.
Please plug ut the p wer
cable fr m the s cket when
n t using it f r a l ng peri d
f time.
·It may sh rten the pr duct
lifespan r cause a fire.
Please d n’t install the
pr duct in the place where
there is much il, sm ke r
humidity.
·It may cause an electric
sh ck r fire.
Please d n’t install the
pr duct with the lightening
and thunder.
·It may cause an electric
sh ck r fire.
Please d n’t use and c nnect
this pr duct with ther
pr ducts with different rated
v ltage
·It may cause a dis rder r
fire.
When installing the pr duct
that generates heat, please
install the pr duct away fr m
the wall (10cm) f r the
ventilati n.
·It may cause a fire due t
the increased internal
temperature.
Safety Warning & Caution

3
Cleaning & Use
Please d n’t disassemble,
repair r rebuild this pr duct
arbitrarily (please c ntact the
service center if a repair is
needed.
·It may cause an electric
sh ck r fire.
Please plug the p wer cable
firmly int the inner end
·It may cause a fire.
Please h ld the plug tightly
when unplugging the p wer
cable (a part f the c pper
wire may be disc nnected if
the grabbing is nly made n
the c rd when pulling ut the
cable).
·It may cause an electric
sh ck r fire
When c nnecting the p wer
cables after cutting the cable,
please install the pr duct with
p wer ff
·It may cause an electric
sh ck r fire
When installing the pr duct,
please fix it firmly while using
the wall-m unting unit and
screws.
·It may cause an injury fr m
the falling bject.
Please be careful when using
an AC circuit breaker since
there is a p ssibility f an
electric sh ck.
When cleaning the pr duct,
please rub it with a s ft and
dry cl th after plugging ut
the p wer cable. (Please
d n’t use any chemical
pr ducts such as wax,
benzene, alc h l r cleanser.)
Please d n’t dr p the
pr duct n the gr und and
d n’t apply a sh ck .
·It may cause a failure.
Please use the designated
c nnecti n cable within the
maximum calling distance
designated f r the pr duct
·It may reduce the pr duct
perf rmance.
Please check the use v ltage
and current f r the DC- nly
pr ducts and use the
appr priate rectifier.
·It may cause a fire.
Please av id direct rays f the
sun r heating devices at a
time f installati n.
·It may cause a fire.
Please d n’t install the
pr duct n an unstable place
r small supp rt b ard.
·It may cause an injury if it
falls d wn while in use.
If an abn rmal s und, burning
smell r sm ke is c ming ut
f the pr duct, please plug ut
the p wer cable and c ntact a
service center.
·It may cause an electric
sh ck r fire.
Please d n’t insert any
metallic r burnable materials
int the ventilati n h le.
·It may cause an electric
sh ck r fire.
Please use nly the designated
batteries f r the pr ducts f
using DC p wer.
·It may cause an electric
sh ck r fire.
Cleaning & UsePower & Installation
Warning
Caution
4
5VCTV
/CKPHWPEVKQP
Function Description
COMMAX
Widget
Display of widget type such as today's weather, indoor
temperature and humidity, smart plug electricity amount,
absence information
Login and
Membership User subscription and login to use UC and Cloud
My Reporter To vie w a nd set the integrated value information provided
by the app
COMMAX
launcher
Support for space control / editing / addition to the main
screen and main functions (weather, quick menu,
household device information, individual device control)
Scene control
It is main functions that can display basic values (away,
burglar), appear user-specified scenes, and register new
scenes and delete
My house coach Offer various lifestyle tips to users by apps
Device control Funciton to control a wireless device that works with wall-
pad
Apps Show all apps that are registered in the wall-pad
Door call /
recording
Video call with IP door and recording function through IP
network
House to call Call between household and another household through IP
network
Lobby call /
recording Video call to lobby and recording function by IP network
Guard call Voice call to guard station by IP network
Call list Checking the call list and recorded video of lobby phone
and IP Door

5
CCTVlive view/
recording
Real-time and CCTV video monitoring service
Fucntion to display and record multiple images on two or
more monitors
CCTV video
recording view Check recorded CCTV images by date
Security fuction Using wireless IoT sensor (magnetic, PIR) to away, burglar,
emergency handling
Scenario Control Multi-control function for device by user condition
System
management
Manual setting of the basic environment (IP setting, etc.)
by the user
Automatic
device
registration
User can register interlock device (IP Door, CCTV, IoT
device, etc.)
COMMAX
Setting
IP and various environce setting for lobby call and system
operation
Mobile call Calls to mobile phones login ID same as wallpad
Video streaming
server
Format reset function to send CCTV / Door image to
external (UC)
Cloud server Wall pad control by smartphone through cloud server
Notification Fuction to notify emergency from your house
to mobile phone
xInterlocked mobile phone
(Smart devices are compatible with Android OS (4.4.1 or later), iOS (8.0 or
later)
OS Resolution Mobile phone
Apple 1136x640 iPhone5s
1920x1080 iPhone6
1334x750 iPhone6s
1920x1080 iPhone6 Plus
1334x750 iPhone7

6
Android 1920x1080 Nexus5x
2048x1536 Nexus9
2560x1440 Galaxy Note 4
2560x1440 GalaxyS5edge
1920x1080 GalaxyS4
2560 x 1440 LG G3 cat6
Total 11ea

7
$CUKE5ETGGP%QPHKIWTCVKQP
The moving of screen for
using scrolling
6JGUETGGPEJCPIG
The navigation bar of home screen bottom
No. CONTENTS No. CONTENTS
1 Touch screen 9 MIC
2 SPEAKER 10 HOME
3 CMOS 11 POWER S/W
4 POWER LED 12 SENSOR(OPTION)
5 EMERGENCY 13 PoE
6 GUARD CALL 14 RS-485(OPTION)
7 Door Release 15 Door Release(OPTION)
8 DIAL 16

8
Go to home screen Go back
Volume control
)QVQ5GVVKPI
Home screen bottom setting bar
Wifi setting
Go to system wireless Wifi setting
IPsetting
Go to wired network IP setting
Internet
status
Check the status of external Internet connection
Door
registration
Go to IP Door Camera registration

9
User
registration
Go to user registration
IoT Device
registration
Go to IoTt device registration
Wall pad
settings
Go to wall pad setting
OS setting
Go to OS setting

10
*QOG5ETGGP
*QOG#TGC
View the door
camera
View the door camera
dial Dial key for call
Device
status
Door, network, membership status display
*Icons is displayed during abnormal operation
all Apps All App list
Scene contorl
Scene and Reservation control
Emergency button
User Emergency button

11
'FKVKPICURCEGNKUV
1) ‘Press an empty space on background screen for one second.
2) Drag the space you want to move and move it to the desired location
3) Press the "X" button to delete the space.
4) Press "+" button to add space
5) Press the Cancel button to cancel editing.
6) Press the 'complete ' button to save the space list.
Adding Space
1) Enter the name of the space.

12
2) Press "Enter" on the keyboard.
3) Select a space image .
‘Press 'OK' button to add space. 4)
5) ‘Previous' button will move to previous screen
4GIKUVGTKPICFGXKEG
/GVJQF
1) Press an empty space on background screen for one second.
2) Press register IoT Device

13
3) Connect the device according to the device pairing method..
4) The device can be paired for up to 60 seconds.
5) Press Cancel 'button to cancel the device pairing method.
6) W
hen a device is registered, the device is automatically placed on the
screen

14
/GVJQF
1) Drag or click IoT Device ICON leftside on screen
2) Click IoT Pairing ICON on upside and drag center on screen.
3) Connect the device by using device pairing method.

15
2NCEKPIFGXKEGOQXGFGNGVG
/GVJQF
1) Press an empty space on background screen for one second
2) Press ‘Device icon placement’.
3) You can move to the desired location by pressing the device you want to
move.
4) Drag the device, move it to the desired location, and release the device
5) To delete a device, press the corresponding icon longer to move to the
desired location..

16
6)
To delete a device, press the icon longer and move it to the upper trash...
[Device delet screen]
/GVJQF
1) Drag or click IoT Device ICON leftside on screen

17
1) You can move to the desired location by pressing the device you want to
move.
2)
To delete a device, press the icon longer and move it to the upper trash...

18
%QPVTQNNKPIFGXKEGU
1) Move to the space to control.
2) Y
ou can turn the device on / off by pressing the device you want to
control..
[The device control sreen]
9KFIGV#TGC
1) Provide a summary of our home environment and external environment
information at present..
2) Press empty space on background screen for one second.
3) Press widget .
4) Select and drag the widget you want to display on the background

19
5)
To delete a widget, press the widge tlonger and move it to the upper
trash.
Other manuals for CIOT-1020M
1
Table of contents
Other Commax Intercom System manuals

Commax
Commax TP-1L User manual

Commax
Commax DP-20H User manual

Commax
Commax CAV-51M User manual

Commax
Commax DR-2PN User manual

Commax
Commax CIP-700M User manual

Commax
Commax dpv-4be User manual

Commax
Commax DRC-41UN User manual

Commax
Commax CDV-43M User manual

Commax
Commax Fineview CDV-70H2 User manual

Commax
Commax CIOT-L20M User manual

Commax
Commax TP-90RN User manual

Commax
Commax CIOT-G700M User manual

Commax
Commax DP-4VHP User manual

Commax
Commax CDV-70A User manual

Commax
Commax CAV-40NG User manual

Commax
Commax DP-201LA User manual

Commax
Commax CDV-43N User manual

Commax
Commax DP-SS User manual

Commax
Commax CDV-50 User manual

Commax
Commax CDS-481L User manual