manuals.online logo
Brands
  1. Home
  2. •
  3. Brands
  4. •
  5. COMPX
  6. •
  7. Lock
  8. •
  9. COMPX elock User manual

COMPX elock User manual

1
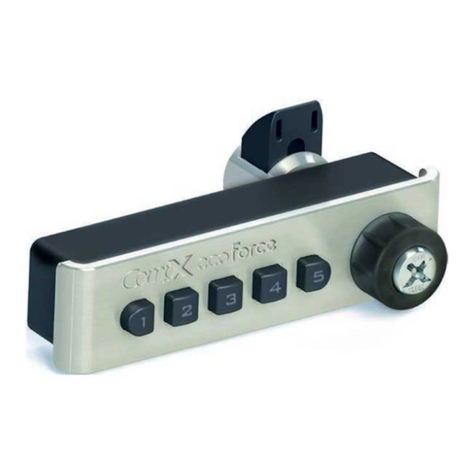
CompX eLock®is a highly engineered lock with a motor-driven latch. Its uncompromising lock
control electronics include a non-volatile memory that stores 250 user / supervisor codes and
audit trail. With optional LockView®audit trail software, CompX eLock®remembers 1500 access
attempts. Programming is simple with numeric keypad or WindowsTM based LockView®software.
Quick Programming Guide
1. GETTING STARTED:
a. The unit is shipped with no user / supervisor codes
b. Press and hold until the beeping stops
c. Input the new PIN (4 digit min) and press or present new card
d. This PIN / Card is now a supervisor in slot #001
2. ADD A USER:
a. Input a valid supervisor PIN and press or present valid supervisor card
b. Press and hold until beeping stops
c. Input the new user PIN (4 digit min) and press or present new card
3. ADD A SUPERVISOR:
a. Input a valid supervisor PIN and press or present valid supervisor card
b. Press and hold until beeping stops
c. Press and hold again until beeping stops
d. Input new supervisor PIN (4 digit min) and press or present NEW supervisor card
4. DELETE A USER OR SUPERVISOR:
a. Input a valid supervisor PIN and press or present valid supervisor card
b. Press and hold until beeping stops
c. Input the PIN to be deleted and press or present existing card to be deleted
5. ADD A USER WITH A SPECIFIC SLOT ASSIGNMENT:
a. Input a valid supervisor PIN and press or present valid supervisor card
b. Press and hold until beeping stops
c. Enter slot number that will be assigned to user and press
(example: to program slot 6 type 006 )
d. Input the new user PIN (4 digit min) and press or present NEW card
6. DELETE A USER WITH A SPECIFIC SLOT ASSIGNMENT:
a. Input a valid supervisor PIN and press or present valid supervisor card
b. Press and hold until beeping stops
c. Enter slot number to be cleared and press (example: to clear slot 6 type 006 )
d. Enter slot number to be cleared again and press (example: to clear slot 6 type 006 )
See programming
guide included
with optional
LockView ®
software for
advanced
programming
instructions.
NUMERIC
KEYPAD
MAGSTRIPE
CARD
PROX
READER
PROX READER / KEYPAD
DUAL SYSTEM
MAGSTRIPE / KEYPAD
DUAL SYSTEM
Thank you for choosing eLock.
1
2
CompX eLock®Accessories
HID is a trademark of HID Corporation. * These items are offered as Service / Replacement Parts only.
AC ADAPTER
Part Numbers:
EL-2004-9VWB
(for use with the CompX eLock kit)
EL-2004-acWB
(for use with 12V electric strikes)
SUPERVISOR
HID®PROX USER,
SUPERVISOR CARD
Part Number:
EL-2004-Pc (no logo)
EL-2004-Pc-S (CSP logo)
LOCKVIEW®
SOFTWARE KIT
(provided with 7ft., 6-pin RJ11 cable,
1-USB dongle, 1 LockView®CD)
Part Number:
EL-LockViEW-3
HID®PROX TAG
Part Number:
EL-2004-PT
MAGSTRIPE USER,
SUPERVISOR CARD
Part Number:
EL-2004-MSc (no logo)
EL-2004-MSc-S (CSP logo)
LATCH CABLE,
*24”
Part Number:
EL-2004-Lc
RJ 11 EXTENSION
KIT, 4”
Part Number:
EL-2004-RJ kiT
TORX HEAD
DRIVER FOR
FRIG KIT
(Torx head bit also available)
Part Number:
EL-dRV-15
LATCH SPLITTER
(for running up to 2 latches)
Part Number:
EL-2004-LS
MOTORIZED
LATCH*
Part Number:
EL-LaTch-3
3
TEMPLaTE on
oPPoSiTE PagE
4
1.81
7.77
NoTe:
Don't forget
to fill out and
return your
warraNTy
card!
CompX eLock®Surface Mounting
Use the diagrams below as a template for holes to be drilled and for mounting your CompX eLock®
.
Put this template on the outside of the cabinet door where the eLock will go, and you can drill right through
it to mount your CompX eLock®
. Mount with 2 shorter, steel colored screws.
#1a
#2
#3
#4
#5
#6
#1b
#1a, b Mounting Holes
required
#2 Battery Latch Cable
required
#3 Alarm
optional
#4 Battery Cable*
optional
#5 RJ11 Port
required only if using LockView
#6 AC Wall Adapter*
optional
* If you're using a battery
cable,then a wall adapter
is not required. If you're using
a wall adapter, then battery
cable is not required.
Hole Function
warNiNg:
Print this page and
measure the line
above. It is ONE
INCH LONG. If it
measures less than
or more than one
inch, the template
measurements also
need to be scaled
accordingly.
FaiLure To
do so couLd
resuLT iN
misdriLLed
hoLes.
1”
5
warNiNg: Print this
page and measure the line
above. It is ONE INCH
LONG. If it measures less
than or more than one inch,
the template measurements
also need to be scaled
accordingly.
FaiLure To do so
couLd resuLT iN
misdriLLed hoLes.
1”
CompX eLock®Latch Dimensions
LockView®Software
qAdd, edit, view and delete users / supervisors and their credentials
qAdd, edit and delete CompX eLocks®
qAssign access rights between users / supervisors and CompX eLocks®in the database
qUSB connection required
qDownload, view, save, print, archive and delete audit trails
qDual credential access available
qSet real time clock
qTime based access restrictions
qCreate user groups
qWindowsTM based
LockView is a Registered Trademark of CompX International. Windows is a trademark
of the Microsoft Corporation. Specifications may vary based on user application.
Use the diagrams below as a template for holes to be drilled and for mounting your
CompX eLock®latch. Put this template on the inside of the cabinet door where the latch
will go, and you can drill right through it to mount your CompX eLock®latch.
Mount with 4 longer, black colored screws.
6
TEMPLaTE on
oPPoSiTE PagE
7
2d bar code. Provides the same information as sticker
number three, but a 2d laser scanner is needed to
decode the information.
1d bar code. Place this sticker on or around the CompX
eLock® unit to help identify which codes to use if
resetting the lock is necessary.
Keep this sticker in a safe location.
Serial #: Needed to identify CompX eLock® units
Passcode: Unique to lock. Needed for LockView.
Prevents unauthorized LockView use
User Rst: Allows administrator or owner to erase
all user codes from eLock unit but keep
supervisor codes
Fact Rst: Erases all codes from eLock, including
settings. eLock unit will need to be set
up again after a Factory Reset
Sticker #1
Sticker #2
Sticker #3
sample
sample
sample
CompX eLock®Warranty Card
These stickers are included with each CompX eLock® unit. Please review the information and keep the stickers in a
safe location as they may be needed to reset or identify a specific eLock unit. The codes shown here are not real codes.
They are representations of what the stickers will look like.
8
sample
Copyright © 2009 CompX Security ProductsPart #: 331926-0000-00
864.297.6655
compxelock.com
[email protected]
PO Box 200
Mauldin, SC 29662
CompX eLock®Warranty Card
NoTe:
Don't forget
to fill out and
return your
warraNTy
card!
sample
Sticker
#3
Affix one copy of sticker #3
(see page 7) to the CompX
eLock® registration card
and return to CompX Fort
at address shown on the
registration card.
Revised 11.2.09

Other manuals for elock

2

Other COMPX Lock manuals

COMPX C8142-3 Guide

COMPX

COMPX C8142-3 Guide

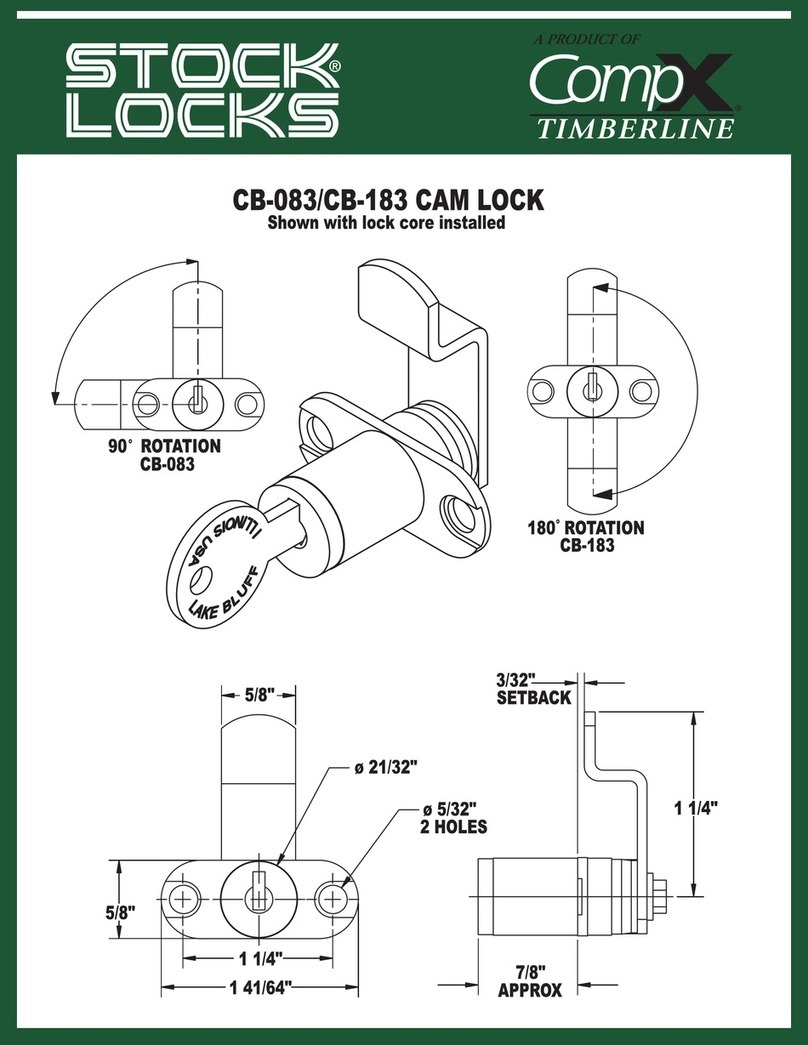
COMPX CB083-183 User manual

COMPX

COMPX CB083-183 User manual

COMPX CB-250 User manual

COMPX

COMPX CB-250 User manual

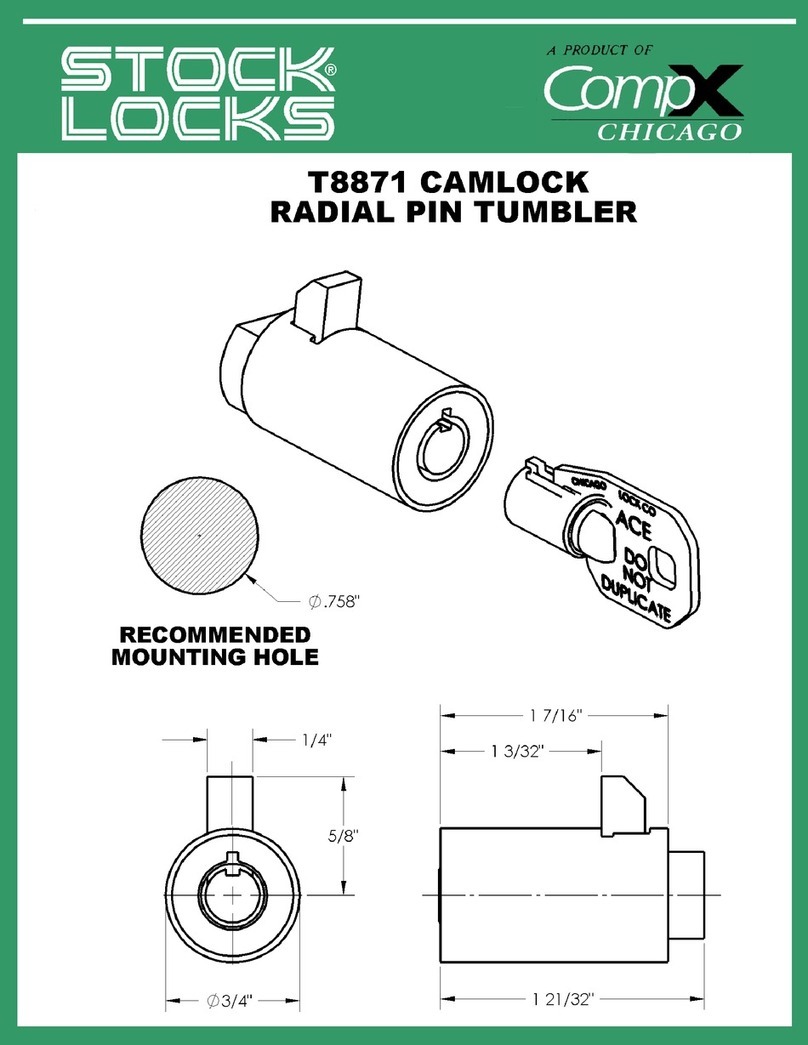
COMPX T8871 Guide

COMPX

COMPX T8871 Guide

COMPX TYPE370 Guide

COMPX

COMPX TYPE370 Guide

COMPX Timberline CB-294 User manual

COMPX

COMPX Timberline CB-294 User manual

COMPX Timberline CB-291 User manual

COMPX

COMPX Timberline CB-291 User manual

COMPX C8475 Guide

COMPX

COMPX C8475 Guide

COMPX Timberline CB-290 User manual

COMPX

COMPX Timberline CB-290 User manual

COMPX SW20-3118MC Guide

COMPX

COMPX SW20-3118MC Guide

COMPX B12 Guide

COMPX

COMPX B12 Guide

COMPX OU-4265-NA Guide

COMPX

COMPX OU-4265-NA Guide

COMPX CB093-193 User manual

COMPX

COMPX CB093-193 User manual

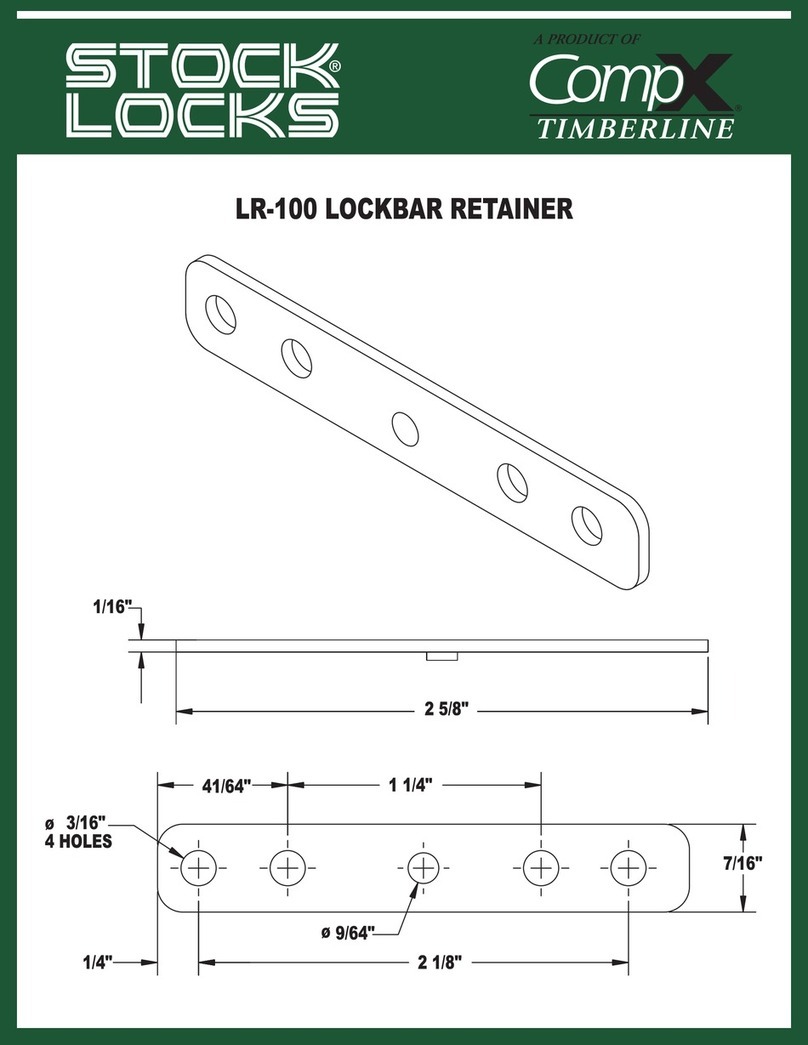
COMPX Timberlane LR-100 User manual

COMPX

COMPX Timberlane LR-100 User manual

COMPX National D2905 User manual

COMPX

COMPX National D2905 User manual

COMPX Timberline CB-265 User manual

COMPX

COMPX Timberline CB-265 User manual

COMPX Timberline CB-235 User manual

COMPX

COMPX Timberline CB-235 User manual

COMPX 230SERIES User manual

COMPX

COMPX 230SERIES User manual

COMPX Timberline CB-280 User manual

COMPX

COMPX Timberline CB-280 User manual

COMPX TS1058U Guide

COMPX

COMPX TS1058U Guide

COMPX Stock Locks C17256-TNH Guide

COMPX

COMPX Stock Locks C17256-TNH Guide

COMPX C8140 Guide

COMPX

COMPX C8140 Guide

COMPX Stock Locks C1703 Guide

COMPX

COMPX Stock Locks C1703 Guide

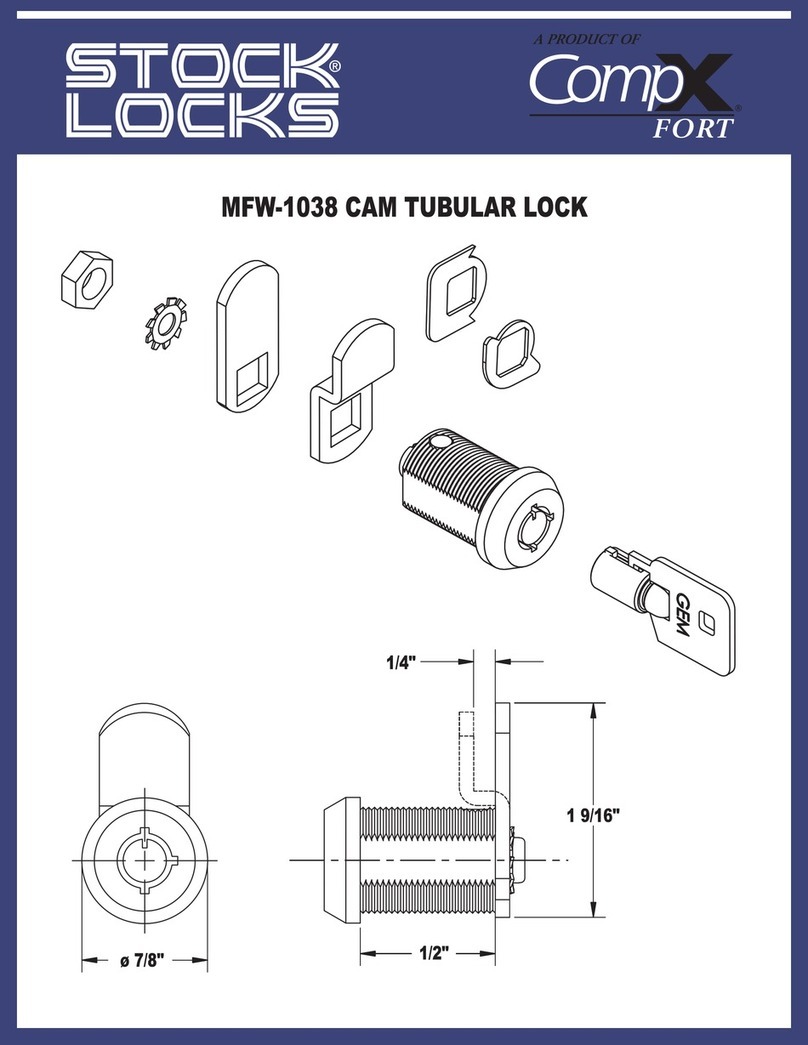
COMPX FORT MFW-1038 User manual

COMPX

COMPX FORT MFW-1038 User manual
Popular Lock manuals by other brands

Yale inTouch Installation and programming instructions

Yale

Yale inTouch Installation and programming instructions

Assa Abloy Securitron SAM Installation and operating instructions

Assa Abloy

Assa Abloy Securitron SAM Installation and operating instructions

M-LOCKS E-Pass user manual

M-LOCKS

M-LOCKS E-Pass user manual

iControl mLOCK Quick start manual

iControl

iControl mLOCK Quick start manual

INSYS TwinLock B600 CashProtect 1.1 quick start guide

INSYS

INSYS TwinLock B600 CashProtect 1.1 quick start guide

Dorex TECNICA DESIGN 200TS installation instructions

Dorex

Dorex TECNICA DESIGN 200TS installation instructions

VALBERG PS 300 Operational instructions

VALBERG

VALBERG PS 300 Operational instructions

Alarm Lock DL2500-SERIES Programming instructions

Alarm Lock

Alarm Lock DL2500-SERIES Programming instructions

Safelock Systems MiniTech instructions

Safelock Systems

Safelock Systems MiniTech instructions

Metra Electronics ELS user manual

Metra Electronics

Metra Electronics ELS user manual

ZKTeco AL30B user manual

ZKTeco

ZKTeco AL30B user manual

Andersen Estate 400 Series Application guide

Andersen

Andersen Estate 400 Series Application guide

Yale Real Living Touchscreen Lever Installation and programming guide

Yale

Yale Real Living Touchscreen Lever Installation and programming guide

NCTeco AL10 Series installation guide

NCTeco

NCTeco AL10 Series installation guide

Stanley Omnilock OM500 installation instructions

Stanley

Stanley Omnilock OM500 installation instructions

Simpled UF-SP manual

Simpled

Simpled UF-SP manual

HES 9500 Series installation instructions

HES

HES 9500 Series installation instructions

Sentrilock NXT-M installation manual

Sentrilock

Sentrilock NXT-M installation manual

manuals.online logo
manuals.online logoBrands
  • About & Mission
  • Contact us
  • Privacy Policy
  • Terms and Conditions

Copyright 2025 Manuals.Online. All Rights Reserved.