Conair TravelSmart TSLT3C Manual

Model
TSLT3C
2 in one trimmer
Instruction Guide
OPERATING
INSTRUCTIONS
BEFORE USE:
Prior to initial use, test trimmer on small area
of arm or leg. If any signs of allergic reaction or
sensitivity occur, discontinue use. Do not use
trimmer on ultra sensitive or irritated skin. Keep
out of reach of children.
TO OPERATE TRIMMER:
This trimmer comes with a two trimming blades.
The larger blade can be used to trim body
hair and eyebrows. The smaller is ideal one for
details.
It also comes with an attachment comb that
helps you achieve an even cut when you do
not want to completely remove the hair. The
attachment comb has two sides, the longer
tooth is good for body hair while the shorter is
good for eyebrow trimming. Align the indicator
with the L mark on the comb leaves hair longer
while align with S mark leaves hair shorter.
To use the attachment comb,
be sure the unit is in the “off”
position and slide it over the
trimming blades. Make sure that
the teeth of the comb are facing
in the same direction as the
trimming blade and that the top
of the comb is even with the top
of the trimmer.
(See Fig. 1)
If you want to completely remove hair, use the
trimmer without the attachment comb.
To operate the trimmer, slide the “on” switch
towards the trimming blades. When you are
finished trimming, slide the “on” switch away
from the blades.
To store the Trimmer, slide the
attachment comb to cover the
trimming blades. Be sure to align
triangle sign on the comb attachment
with indicator on the trimmer
housing.(see Fig. 2) Then, slide the
protective cap over the attachment
comb so that the triangle sign on
protective cap aligns with the triangle
sign on the handle tube (see Fig. 3)
TRIMMING TIPS
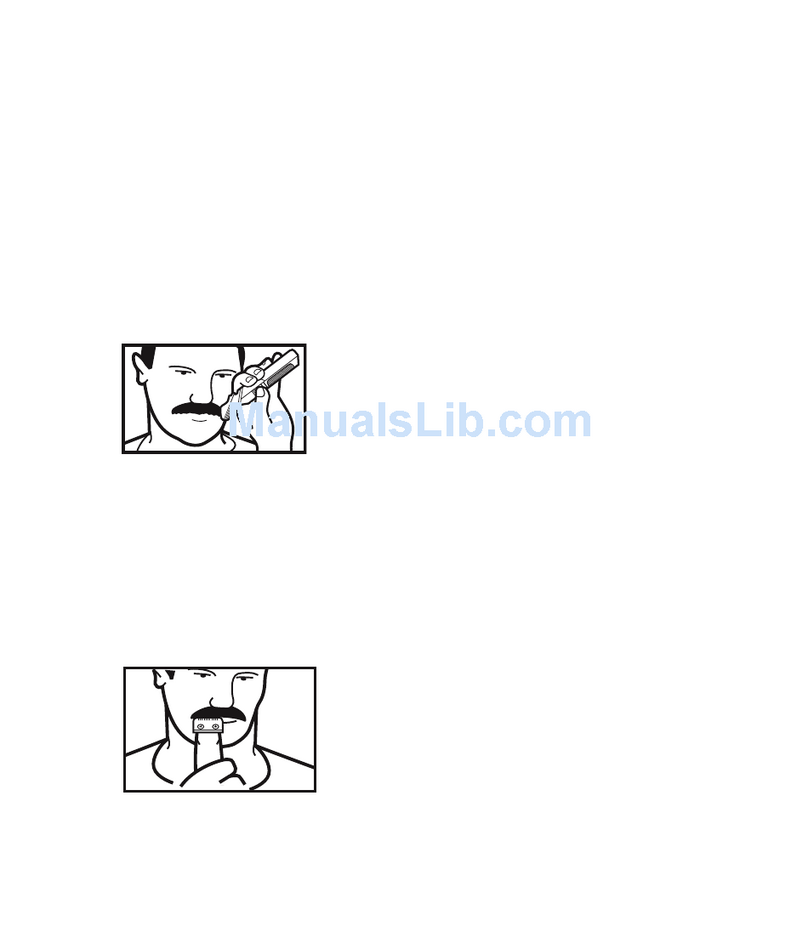
1. Place the trimmer at a slight right angle to the
skin, and trim in the direction of hair growth.
2. Continue trimming in the direction of growth.
Be careful not to apply excess pressure to the
blade.This may damage the blade, and can
result in injury to the skin during trimming.
3. Pull the skin firmly with one hand during the
trimming process to ensure the closest possible
shave.
REPLACING THE BATTERY:
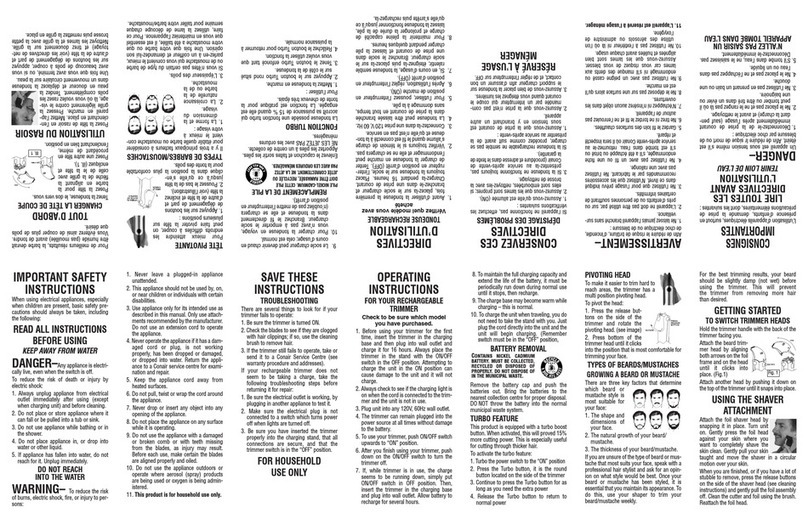
To replace battery, remove lower housing,
remove/replace battery and re-assemble to
cover housing. Dispose of battery properly
after use. Do not incinerate.
1. Be sure appliance is off and remove the
protective cap. Hold the upper part of the
trimmer firmly and pull off battery cover.
(Handle tube).
Fig.2
L
S
ON
Modèle
TSLT3C
tondeuse 2 en un
Guide d’utilisation
DIRECTIVES
D’UTILISATION
AVANT L’UTILISATION :
Avant la première utilisation, faites un essai
sur un petit coin du bras ou de la jambe. S’il y
a réaction allergique ou signes dde sensibilité,
cessez de l’utiliser. N’utilisez pas la tondeuse sur
les zones cutanées ultra sensibles ou irritées.
Tenez-la hors de la portée des enfants.
UTILISATION DE LA TONDEUSE
La tondeuse vient aussi avec deux lames. La plus
grande s’utilise pour les poils du corps et les
sourcils; la petite pour le découpage.
Elle vient aussi avec un peigne qui aide à
exécuter des coupes uniformes quand vous ne
voulez tailler qu’une partie des poils. Le peigne a
deux côtés : un à dents longues pour le poils du
corps, l’autre à dents courtes pour les sourcils.
Aligner l’indicateur avec le L sur le peigne laisse
les poils plus longs et l’aligner avec le S laisse les
poils plus courts.
Pour utiliser le peigne, assurez-
vous que la tondeuse est éteinte
puis glissez le peigne sur les
lames. Assurez-vous que les
dents du peigne pointent dans
la même direction que les lames
et que le haut du peigne est égal
avec le haut de la tondeue (ill. 1)
Pour couper les poils
complètement, utilisez la
tondeuse sans peigne.
Pour utiliser la tondeuse, poussez l’interrupteur
vers les lames. Une fois la coupe terminée,
poussez l’interrupteur vers le bas.
Pour ranger la tondeuse, placez le
protecteur du peigne sur les lames,
alignant le triangle du peigne avec
l’indicateur sur le manche de la
tondeuse (ill. 2) . Glissez alors le
capuchon sur le peigne de façon à
ce que le triangle sur le capuchon
s’aligne avec celui qui se trouve sur le
manche de la tondeuse (ill. 3).
CoNSEILS PouR LA CouPE
1. Placez la tondeuse à angle droit par rapport à
la peau et coupez dans le sens de la croissance
des poils.
2. Continuez de couper dans le sens de la
croissance des poils. N’appuyez pas trop
fortement sinon vous pourriez endommager
les lames et vous blesser.
3. Étirez la peu fermement d’une main tout en
utilisant la tondeuse afin d’obtenir un rasage de
près.
CHANGER LA PILE
Pour remplacer la pile, retirer la partie
inférieure du manche puis enlever/remplacer
la pile. Remettre la partie inférieure du
manche. Jeter la pile de façon appropriée. Ne
pas la jeter au feu.
1. Assurex-vous que la tondeuse est éteine
et enlevez le protecteur.Tenez la partie
supérieure de la tondeuse fermement et
tirez le couvercle du logement de la pile
(manche).
ill.2
L
S
ON
ill.1
S L
L
S
Dents courtes
Dents longuez
Fig.1
S L
L
S
Short Tooth
Long Tooth
ill.3
Protecteur Manche
Fig.3
Protecteur Manche

2. Insert 1 “AAA” battery.To avoid trimmer
damage pay close attention, making sure
that the battery is inserted in the correct
direction(+ / - poles). If you expect that
the trimmer will go unused for some time,
please remove the battery.
3. Slide the on/off switch into the notch
in the battery cover when closing the
trimmer.
* For best performance, “AAA” Alkaline
batteries are recommended.
CARE AND MAINTENANCE:
Do not use water to clean, and do not use
the trimmer in a damp room. Do not use
harsh cleansing products. Instead, use mild
cleaning agents to care for the trimmer.
1. Make sure the trimmer is in the off
position.
2. To remove the blade, press the blade
release button away from the trimmer
blade.
3. Carefully remove the blade from the
trimmer.
4. Use a small brush located inside the lower
housing to wipe away any hair or dust.
Never remove foreign matter with a sharp
object.
5. After cleaning, replace the blade. Make
sure unit is still in the off position when
replacing blade. Cover blade with
protective cap for storage.
GET To kNow YouR TRIMMER
ON
ONON
SWITCH
3.00
TRAVEL
ONON
SWITCH
3.00
TRAVEL
Smaller Trimmer Blade
Large Trimmer Blade
Power Switch
Power Switch
Blade Release Button
Attachment
Comb
Protective Cap
LIMITED TWO-YEAR WARRANTY
Conair will repair or replace (at our option) your
unit free of charge for 24 months from the date
of purchase if the appliance is defective in
workmanship or materials.
To obtain service under this warranty, return the
defective product to the service centre listed
below, together with your purchase receipt and
$5.50 for postage and handling.
In the absence of a purchase receipt, the
warranty period shall be 24 months from the
date of manufacture.
ANY IMPLIED WARRANTIES, OBLIGATIONS, OR
LIABILITIES, INCLUDING BUT NOT LIMITED TO
THE IMPLIED WARRANTY OF
MERCHANTABILITY AND FITNESS FOR A
PARTICULAR PURPOSE, SHALL BE LIMITED IN
DURATION TO THE 24-MONTH DURATION OF
THIS WRITTEN, LIMITED WARRANTY.
IN NO EVENT SHALL CONAIR BE LIABLE FOR
ANY SPECIAL, INCIDENTAL, OR
CONSEQUENTIAL DAMAGES FOR BREACH OF
THIS OR ANY OTHER WARRANTY, EXPRESS OR
IMPLIED, WHATSOEVER.
This warranty gives you specic legal rights, and
you may also have other rights which vary from
province to province.
Service Centre
Conair Consumer
Products Inc.
100 Conair Parkway,
Woodbridge, ON L4H 0L2
Travel Smart®is a
trademark of Conair
Consumer Products Inc.
Customer Service
1-800-472-7606
www.travel-smart.ca
Travel Smart®, a division
of Conair Consumer
Products Inc.
100 Conair Parkway,
Woodbridge, ON L4H 0L2
© 2008 Conair Consumer
Products Inc.
IB-8575
08CN252
Service après-vente
Conair Consumer
Products Inc.
100 Conair Parkway,
Woodbridge, ON L4H 0L2
Travel Smart®est une marque
déposée de Conair
Consumer Products Inc.
Service après-vente :
1-800-472-7606
www.travel-smart.ca
Travel Smart®est une division
de Conair Consumer
Products Inc.
100 Conair Parkway,
Woodbridge, ON L4H 0L2
© 2008 Conair Consumer
Products Inc.
GARANTIE LIMITÉE DE DEUX ANS
Conair réparera ou remplacera (à sa discrétion)
votre appareil sans frais, si au cours des 24 mois
suivant la date d’achat, il afche un vice de matière
ou de fabrication.
Pour un service au titre de la garantie, renvoyez le
produit défectueux au service après-vente
ci-dessous, accompagné du bon de caisse et d’un
chèque ou mandat-carte de $ 5,50 pour couvrir les
frais de poste et d'administration. En l’absence du
bon de caisse, la période de garantie sera de 24
mois à compter de la date de manufacture.
TOUTE GARANTIE, OBLIGATION OU
RESPONSABILITÉ IMPLICITE, Y COMPRIS, MAIS
SANS Y ÊTRE LIMITÉ, LA GARANTIE IMPLICITE
DE BONNE VENTE ET D’APTITUDE À PRODUIRE
UNE TÂCHE PARTICULIÈRE, SERA LIMITÉE À LA
PÉRIODE DE 24 MOIS DE CETTE GARANTIE
ÉCRITE.
EN AUCUN CAS PEUT-ONT TENIR CONAIR
RESPONSABLE DE QUELQUE DOMMAGE FORTUIT,
INDIRECT OU SPÉCIAL, QUE CE SOIT POUR BRIS
DE CETTE GARANTIE OU DE TOUT AUTRE,
EXPRESSE OU IMPLICITE.
Cette garantie vous accorde des droits particuliers
et vous pouvez également bénécier d’autres
droits qui varient d’un province à l’autre.
LES PIèCES DE voTRE ToNDEuSE
ON
ONON
SWITCH
3.00
TRAVEL
ONON
SWITCH
3.00
TRAVEL
Petite lame
Grande lame
Interrupteur
Brosse de nettoyage
Bouton d’ouverture
Peigne
accessoire
Couvercle
IB-8575
08CN252
2. Posez une pile AAA, prenant soin de
respecter la polarité (+et -) dans le
logement. Enlevez la pile si vous prévoyez
ne pas utiliser la tondeuse pour une
longue période.
3. Glissez l’interrupteur dans la fente du
manche et refermez la tondeuse.
* Pour une meilleure performance, n’utilisez
que des piles AAA alcalines.
SoINS ET ENTRETIEN
Ne nettoye pas la tondeuse avec de l’eau
et ne l’utilisez pas dans une pièce humide.
N’utilisez pas de produits de nettoyage
puissants mais plutôt un agent doux.
1. Assurez-vous que la tondeuse est éteine.
2. Pour enlever le lame, poussez le bouton
de dégagement de la lame, à l’opposé de
la lame.
3. Séparez la lame soigneusement de la
tondeuse
4. Utilisez la petite brosse dans la partie
inférieure du boîtier, pour nettoyer les
poils et les saletés. N’enlevez jamais de
matières étrangères à l’aide d’un objet
tranchant.
5. Une fois le nettoyage terminé, remettez
la lame. Assurez-vous que la tondeuse est
toujours éteinte avant de remettre la lame.
Recouvrez la lame avec le protecteur pour
le rangement.
Table of contents
Other Conair Electric Shaver manuals

Conair
Conair CleanHead HG300C Guide

Conair
Conair HC241WCHC User manual

Conair
Conair HC221 Guide

Conair
Conair NT1RC User manual

Conair
Conair LT8651CSC User manual

Conair
Conair MN253WCSC User manual

Conair
Conair 20 PIECE HC409WC Guide

Conair
Conair MT140NBC User manual

Conair
Conair HC318R Guide

Conair
Conair GMT183WCSC User manual

Conair
Conair MN252CSC User manual

Conair
Conair MN160WCHCSC User manual

Conair
Conair i-stubble GMT900RC User manual

Conair
Conair Gold Linez GMT180MRCS User manual

Conair
Conair LTGS20RCSC User manual

Conair
Conair MN160RWBC User manual

Conair
Conair 27 PIECE HC275WC Guide

Conair
Conair Custom Cut HCT560 Guide

Conair
Conair GMT900 User manual

Conair
Conair The Chopper HCT420CSV Guide