manuals.online logo
Brands
  1. Home
  2. •
  3. Brands
  4. •
  5. Conceptronic
  6. •
  7. Enclosure
  8. •
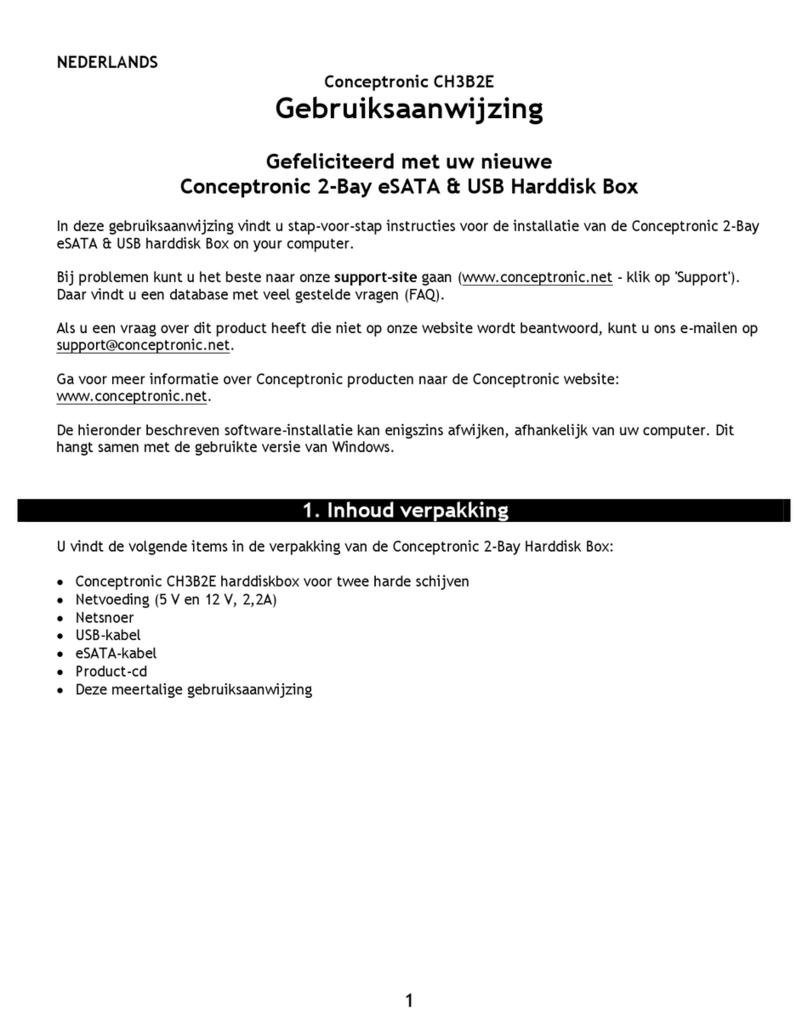
  9. Conceptronic CH3B2E User guide

Conceptronic CH3B2E User guide

Copyright
®
2009 by Conceptronic – All rights reserved
www.conceptronic.net
Page 1 of 10
BASIC GUIDE FOR SETTING CH3B2E
Unit assembly
First step needed it’s install hard drives in your CH3B2E enclosure, to do it you can follow installation guide
that it’s included in product box If you want you can also download it from following link:
http://download conceptronic net/GRABNGO/CH3B2E/CH3B2E_Assembly_A4_Reverse_Pages pdf
Getting Started
Once hard drives are connected to CH3B2E you can proceed to connect power supply and data cable, you can
select if you want connect through USB or eSATA to your computer
NOTE When you have connected the CH3B2E to your computer with eSATA, it is possible that the unit will
only show 1 active harddisk LED This is caused by your eSATA controller, which cannot handle multiple SATA
harddisks on 1 connection To solve this issue, there are multiple solutions:
A Connect the CH3B2E to your computer by USB
B Configure the CH3B2E to 1 of the other harddisk configurations
C Replace your eSATA controller by an eSATA controller which supports multiple SATA
harddisks on 1 connection
Copyright
®
2009 by Conceptronic – All rights reserved
www.conceptronic.net
Page 2 of 10
Formatting hard drives
If you have plug two disks correctly formatted in CH3B2E the device will automatically display both HDD in
your computer
If you have plug two HDD without partition you will need format both HDD to make them visible by the
operating system
Format HDD under Windows Vista are described in following steps When formatting in a different version of
Windows the steps below can vary
• Click on “Start” button and select “All Programs”, “Accessories”, “Run”
• Enter command “diskmgmt.msc” (without the quotes) and click “OK” to run the command
Disk Management tool of Windows will appear on your screen
Copyright
®
2009 by Conceptronic – All rights reserved
www.conceptronic.net
Page 3 of 10
• Select your new harddisk configuration from the bottom section of the list
• Right click your new harddisk configuration and select “New Simple Volume”
Copyright
®
2009 by Conceptronic – All rights reserved
www.conceptronic.net
Page 4 of 10
• The Format Wizard will appear on your screen Click “Next” to continue
• Select size for your new harddisk configuration By default, the maximum size is specified If you want to
create multiple volumes on your harddisk configuration, reduce the size to the required size of your first
volume If you want to create 1 volume, keep the maximum size Click “Next” to continue
• Select which drive letter you want to assign to the new volume By default, the first available drive letter is
shown Click “Next” to continue
• Select your format options You can change the file system, change the volume label and choose for
“Perform a quick format” Click “Next” to continue
Copyright
®
2009 by Conceptronic – All rights reserved
www.conceptronic.net
Page 5 of 10
Note Partitions bigger than 32GB can only be formatted with the NTFS file system when using the
Windows Disk Management
• You will see a summary of the selected commands Select “Finish” to close the Format Wizard and
start formatting your harddisk configuration
When the format is completed, the harddisk configuration will be shown in the Disk Management as
“Healthy”
You can now use the formatted harddisk configuration
Follow same steps for the other hard disk
Hard drives will be visible on your PC and the device will be configured by default in JBOD
JBOD The harddisks inside the unit are configured as single disks You will have 2 volumes For example if
you have two 1TB hard drives your PC display two 1TB hard drives
Copyright
®
2009 by Conceptronic – All rights reserved
www.conceptronic.net
Page 6 of 10
If you want configure your device with other settings, such as SAFE (RAID 1), BIG, SAFE33, SAFE50, FAST
(RAID 0) perform the following steps
If you want configured your CH3B2E in JBOD mode you have finished with the configuration and you can use
now the device
Steelvine Software Installation
Steelvine is included in the product CD or you can download from following link:
http://download conceptronic net/GRABNGO/CH3B2E/CH3B2E_SW_v5 1 24 zip
It is recommended that you restart your computer once the software is installed
Verify that your CH3B2E is properly connected to the power supply and through one of two data connections,
USB or eSATA
When the installation of the ‘Steelvine Manager’ is complete, you can view and/or change the harddisk
configuration of your CH3B2E
You can open the ‘Steelvine Manager’ by selecting the shortcut from your Start Menu, or by doubleclicking
on the system tray icon
When the software is started, the main software window is shown on your desktop and the connected
CH3B2E unit(s) will be listed in the left part of the window, indicated with the serial number of the unit.
If you run Steelvine software and you get this message:
It’s possible that device need more time to load Click OK to close software and wait two or three minutes,
after which the software running again Steelvine
If the device has successfully loaded you get the following screen:
Copyright
®
2009 by Conceptronic – All rights reserved
www.conceptronic.net
Page 7 of 10
If you run the software and you can’t see CH3B2E hard drives you can force detection clicking on File → Scan
Drives
Click on the icon "Box Set" and enter password “admin” (without quotes)
Copyright
®
2009 by Conceptronic – All rights reserved
www.conceptronic.net
Page 8 of 10
At this point it is necessary to make a disk configuration
There are several modes: SAFE (RAID 1), BIG, SAFE33, SAFE50, FAST (RAID 0)
Copyright
®
2009 by Conceptronic – All rights reserved
www.conceptronic.net
Page 9 of 10
The following explains each of them
SAFE (RAID 1) The harddisks inside the unit are configured as a mirror configuration
You will have 1 volume with the size of the smallest HDD The other HDD will be a duplication of the 1st
harddisk
BIG The harddisks inside the unit are configured as 1 drive with a total storage capacity of both HDD's
SAFE33 The harddisks inside the unit are partially configured as mirror configuration (33%)
The remaining capacity is configured as BIG volume
SAFE50 The harddisks inside the unit are partially configured as mirror configuration (50%)
The remaining capacity is configured as BIG volume
FAST (RAID 0) The harddisks inside the unit are configured as 1 drive with a total storage capacity of 2 times
the size of the smallest HDD
Usual configurations used by users are RAID 1 and JBOD In the following steps we explain you how to
configure a RAID 1, JBOD configuration has been explained above
Select SAFE RAID 1 in configuration menu:
Copyright
®
2009 by Conceptronic – All rights reserved
www.conceptronic.net
Page 10 of 10
A message it’s shown to inform us that disks data will be erased Click on YES
Click Apply and the process of creating the units will begin
This process may take several minutes
Once finished the process of setting your unit will be configured in RAID 1 and visible on your PC

Other manuals for CH3B2E

1

Other Conceptronic Enclosure manuals

Conceptronic CHD3SU User manual

Conceptronic

Conceptronic CHD3SU User manual

Conceptronic HDE02B User manual

Conceptronic

Conceptronic HDE02B User manual

Conceptronic CHD2MUSB3B User manual

Conceptronic

Conceptronic CHD2MUSB3B User manual

Conceptronic CHD2MUW User manual

Conceptronic

Conceptronic CHD2MUW User manual

Conceptronic CH3B2E User manual

Conceptronic

Conceptronic CH3B2E User manual

Conceptronic HDE01G User manual

Conceptronic

Conceptronic HDE01G User manual

Conceptronic CHD3DUW User manual

Conceptronic

Conceptronic CHD3DUW User manual

Conceptronic CHD3DUSB3 User manual

Conceptronic

Conceptronic CHD3DUSB3 User manual

Conceptronic StreamVault CSVW25DC User manual

Conceptronic

Conceptronic StreamVault CSVW25DC User manual

Conceptronic CH3ENAS User manual

Conceptronic

Conceptronic CH3ENAS User manual

Conceptronic CHD3SU User manual

Conceptronic

Conceptronic CHD3SU User manual

Conceptronic CHD3UL User manual

Conceptronic

Conceptronic CHD3UL User manual

Conceptronic DANTE04B User manual

Conceptronic

Conceptronic DANTE04B User manual

Conceptronic DDE03G User manual

Conceptronic

Conceptronic DDE03G User manual

Conceptronic Grab'n'GO CHD3UL Version 2.0 User manual

Conceptronic

Conceptronic Grab'n'GO CHD3UL Version 2.0 User manual

Popular Enclosure manuals by other brands

Sony VGP-XL1B2 - Vaio Digital Living System Media... Specifications

Sony

Sony VGP-XL1B2 - Vaio Digital Living System Media... Specifications

turck DeviceNet RM-89 user manual

turck

turck DeviceNet RM-89 user manual

Lindy 42792 installation guide

Lindy

Lindy 42792 installation guide

Ultra Products Mid-Tower Case Gladiator Specifications

Ultra Products

Ultra Products Mid-Tower Case Gladiator Specifications

Icy Dock MB662U3-2S R1 user manual

Icy Dock

Icy Dock MB662U3-2S R1 user manual

Fantec DB-F8U3e user manual

Fantec

Fantec DB-F8U3e user manual

Ugo Marapi S120 user manual

Ugo

Ugo Marapi S120 user manual

Rosewill NEUTRON user manual

Rosewill

Rosewill NEUTRON user manual

Bartec GWR Series Instructions for use

Bartec

Bartec GWR Series Instructions for use

welland SunBright ME-340J Quick install guide

welland

welland SunBright ME-340J Quick install guide

Lindy 43095 user manual

Lindy

Lindy 43095 user manual

SilentiumPC Armis AR5 quick start guide

SilentiumPC

SilentiumPC Armis AR5 quick start guide

Pulsar 7/TRP20/PAR Assembly instructions

Pulsar

Pulsar 7/TRP20/PAR Assembly instructions

AZZA Pyramid CSAZ-804V user manual

AZZA

AZZA Pyramid CSAZ-804V user manual

Intermatic Flexiguard WP3100C manual

Intermatic

Intermatic Flexiguard WP3100C manual

Great Lakes GL840N12-2442-SB installation instructions

Great Lakes

Great Lakes GL840N12-2442-SB installation instructions

Supermicro SC846E1-R710B user manual

Supermicro

Supermicro SC846E1-R710B user manual

Martin Audio AS118 Specification sheet

Martin Audio

Martin Audio AS118 Specification sheet

manuals.online logo
manuals.online logoBrands
  • About & Mission
  • Contact us
  • Privacy Policy
  • Terms and Conditions

Copyright 2025 Manuals.Online. All Rights Reserved.