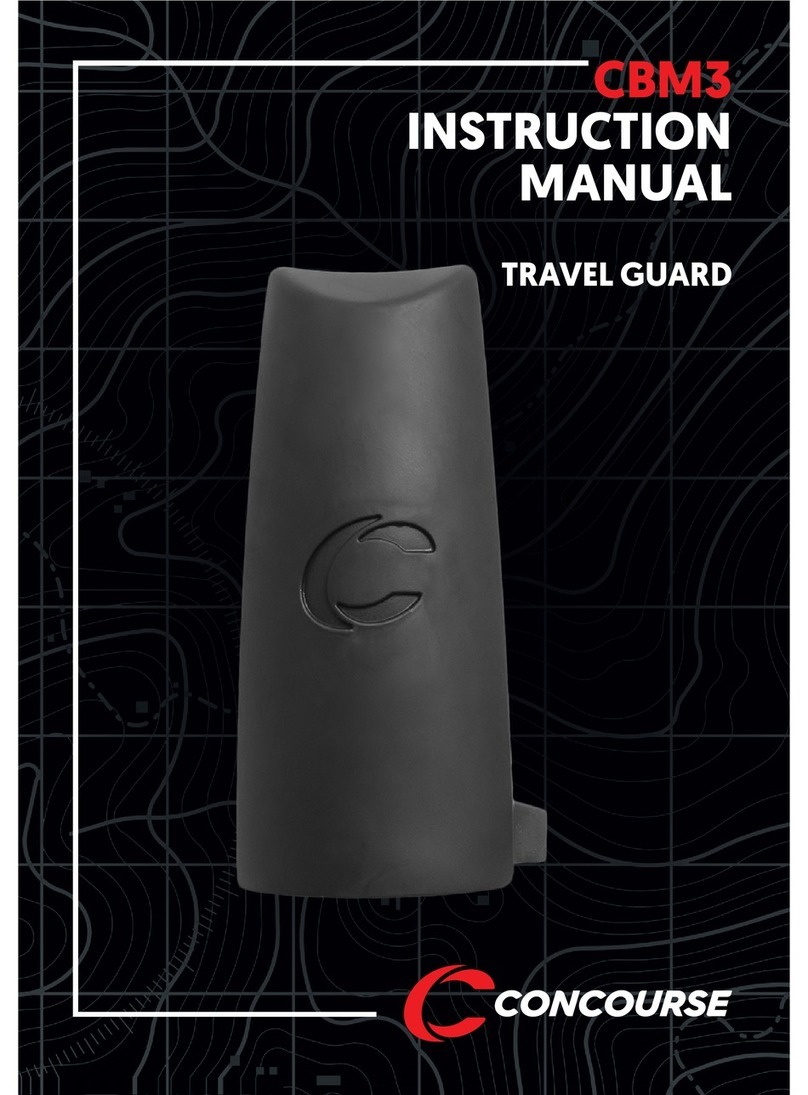
Concourse CBM3 BUGGY User manual

CBM3 BUGGY
4TH WHEEL FITTING INSTRUCTIONS
1300 650 059 | concoursegolf.comVersion 1.2

THANK YOU FOR YOUR PURCHASE OF THE CBM3 4TH WHEEL
We recommend you familiarise yourself with these instructions and follow the steps outlined to
ensure your 4th wheel is secured properly and functions the way it is intended.

STEP 1
Before fitting the 4th wheel remove
your CBM3 Buggy from your bag.
Unfold the buggy and place on a
stable work bench (or table) with the
underside facing upwards as shown.
Take the Mounting Block and align it
with the middle of the main frame of
the CBM3 as indicated. You will see
two nuts that attach the buggy legs
to the main frame to help locate the
correct position.
Place the Mounting Block in this
position. It should slot in place easily
with the sides of the Mounting Block
covering the buggy leg nuts as
indicated.
FITTING INSTRUCTIONS
Enclosed in your package you should find the following:-
- Wheel and arm that attaches to your CBM3
- Mounting Block which needs to be attached to the underside of the CBM3
- Metal Securing Straps for the Mounting Block
- Allen Key
- Securing screws, nuts and washers
FITTING THE MOUNTING BLOCK
1300 650 059 | concoursegolf.com Version 1.2
CONTENTS:
2 X screws (long & medium)
2 X hexagonal nuts
2 X flat washer
2 X spring washer
4 X small screws (Allen Key head)
1 X Allen Key
MOUNTING
BLOCK COVERS
BUGGY LEG NUTS
TOP
MOUNT HERE

SECURING THE MOUNTING BLOCK
STEP 2
Now take a Metal Securing Strap
and place it around the top of the
Mounting Block and main frame. You
will see two points where screws
secure the Metal Securing Strap with
the Mounting Block.
Take two of the small screws and the
Allen Key and attach the strap to the
Mounting Block.
Repeat this step with the 2nd Metal
Securing Strap at the bottom of the
Mounting Block so it will be secured
top and bottom.
Once each of the Metal Securing
Straps are in position tighten each of
the 4 screws so they are firmly held.
1300 650 059 | concoursegolf.com Version 1.2

SECURING TO THE MAIN FRAME
STEP 3
Turn your CBM3 over so you can
see the ends of the Metal Securing
Straps.
Take the longer threaded screw to
secure the top Metal Securing Strap.
Using the flat washer, then spring
washer in front of the hexagonal nut,
secure the strap as indicated. Ensure
both washers are on the side of the
hexagonal nut so it does not loosen
when tightened.
Now repeat this process with the 2nd
Metal Securing Strap at the bottom
using the medium length threaded
screw.
Once both are in place, ensure they
are tightened firmly and both flat and
spring washers are between the end
of the Metal Straps and hexagonal
nut.
The straps should grip the
main frame tighly so there is no
movement.
Now that the Mounting Block is
secured, fold down the buggy frame
and re-attach to your golf bag with
the buggy still folded flat (closed
position).
1300 650 059 | concoursegolf.com Version 1.2
SHORTER
SCREW
AT BOTTOM
LONGER
SCREW
AT TOP
WASHER SEQUENCE

ATTACHING / REMOVING THE 4TH WHEEL
Note: When preparing to play, we
recommend that you attach the
4th wheel as the last step in setting
up before use. When stowing the
buggy after use, we recommend you
remove the 4th wheel as the very
first step before removing all other
wheels and folding the buggy flat.
STEP 4
Ensure your bag is properly attached
to the buggy, then unfold the buggy
so the handle locks in place and
buggy legs are extended exposing
the Mounting Block.
Before attaching the 4th wheel, fit the
front and side wheels of the buggy.
Now take the 4th wheel and ensure
the lever is in the open position as
shown.
Postion the 4th wheel in place with
the Mounting Block ensuring the
lever faces upwards as shown (at the
top of the block).
It is important when doing this that
the edge (tooth) of the 4th wheel’s
mount slips underneath the edge of
the Mounting Block before the lever
is locked.
Once flush with the Mounting
Block and pushed upwards so the
leading edge of the mount is tucked
underneath, turn the fastening lever
to secure the 4th wheel in position.
You are now ready to play.
To remove the 4th wheel when it
is not required, first open the lever
to release the wheel from gripping
the mount. Before you pull at the
4th wheel, slide it down to release
the edge (tooth) from the Mounting
Block (see inset).
Once the 4th wheel is detached, you
can proceed with removing the side
and front wheels then stowing the
buggy flat.
If you require any assitance fitting
or removing your 4th wheel please
contact our customer service team
on 1300 650 059.
1300 650 059 | concoursegolf.com Version 1.2
EDGE (TOOTH)
SLIDE UP TO LOCK
SLIDE DOWN TO UNLOCK
LOCKED
OPEN
1300 650 059 | concoursegolf.com Version 1.2

For customer support or product enquiries, please contact Concourse Golf.
1300 650 059concoursegolf.cominfo@concoursegolf.com
Table of contents
Other Concourse Golf Trolley manuals

Concourse
Concourse SMART WHEELS Operator's manual

Concourse
Concourse CBM3 buggy Use and care manual

Concourse
Concourse TRAVEL GUARD CBM3 User manual

Concourse
Concourse CBM2 Use and care manual

Concourse
Concourse Vogue Operator's manual

Concourse
Concourse SMART WHEELS Operator's manual

Concourse
Concourse CBM3 User manual

Concourse
Concourse VOGUE PUSH BUGGY Operator's manual