Condux CableGlider LW Instruction Manual

USER’S GUIDE & SAFETY MANUAL
CableGlider® LW Cable Puller

2

3
Important Safety Notice
WARNING: When using electric tools, basic safety precautions should always be
followed to reduce the risk of fire, and personal injury, including the following:
Read and understand all procedure and safety instructions before using the Condux
CableGlider Cable Puller. Observe all safety information on this page and note specific
safety requirements as explained by procedures called out in this manual. Failure to follow
these instructions could result in serious personal injury or death.
ADVERTENCIA
Favor de leer y comprender todas las instucciones de operaciÓn y seguridad antes de usar
la máquina. Si Ud. No comprende las instrucciones favor de consultarle a su jefe.
Save this user’s guide for future reference
If you have questions on:
Safety – Operations – Applications
Call 1-800-533-2077
WARNING: Electrical equipment is
hazardous. Train personnel to use
basic safety precautions. Misuse can
result in serious personal injury or
death
!CAUTION: Wear
personnel protective
equipment: hard hat, safety
glasses, safety shoes, and
leather work gloves
!WARNING: Read all instructions
before using a Condux CableGlider
Cable Puller. Observe all safety
information on this page, and note
specific safety requirements as
explained by procedures called out
in this manual, Failure to follow
these instructions could result in
serious personnel injury or death.
Save this user’s guide for future
reference
Favor de leer y comprender
todas las instrucciones de
operacion y seguridad antes
de usar la maquina. Si Ud.
No comprende las
instrucciones favor de
consultarie a su jefe.

4
Table of Contents
General Information……………………………………….5
Safe Operating Practices………………………………..6
Puller Assembly Instructions…………………………..10
Operating Instructions…………………………………..12
Appendices…………………………………………………..14
LW Cableglider Assembly……………………………….14
LW Cableglider Wiring Diagram………………………16
LW Cableglider Accessories…………………………….17
LW Cableglider Accessories…………………………….18
Warranty Information…………………………………….22
2
4
3
5
1
6

5
General Information
General Product Use
A. Condux CableGlider LW Cable Puller is built to provide reliable performance to
improve the efficiency of your cable pulling operations. Our puller is designed to be
portable and self-contained, with sheaves and adapters included.
B. Each model includes a wheeled canvas-carrying bag and includes the following: fork
and drill motor.
C. The Condux LW Cable Puller provides up to 3,000 pounds of pulling force. It
operates on 115V at 30 feet per minute. The frame is made of high quality tubular
steel.
NOTE: While the cable puller itself can be used with a variety of rope diameters,
Condux recommends using ½” diameter rope
Operator Qualifications
A. Operator must know the required safety directives to run the product that are pertinent
to the country where it is being used.
B. Operator in charge of the product and installation project must be appropriately
dressed, avoiding large clothes, hanging jewelry or whatever might become entangled
in the moving parts
C. Operator must also wear the necessary protective equipment such as gloves, boots,
helmet, etc.
D. Operator must carefully follow all advisements contained in the instruction manual or
on the machine
Operator must have work area kept clean of obstacles that might inhibit a safe working area.
Maintenance Qualification
A. Periodically inspect product for wear and tear.
B. Authorized and trained personnel must do all maintenance operations. Trained
personnel are defined as people who have received qualified training from the using
company or from the manufacturer
1

6
Safe Operating Practices
Important Safety Instructions
Electrical Requirement
1. This puller should be grounded while in use to protect the operator from electric shock
The power pack is equipped with a 3-conductor cord and 3-prong grounding type plug to
fit the proper grounding type receptacle. The green conductor in the cord is the grounding
wire. Never connect the green wire to a live terminal. If necessary, an adapter is available
for connecting 3-prong plugs to 2-prong receptacles. The adapter’s green-colored lug
must be connected to a permanent ground, such as a properly grounded outlet box.
Extension Cords
2. Use only 3-wire extension cords that have 3-prong grounding-type plugs and 3-pole
receptacles that accept the pullers plug.
Outdoor Use Extension Cords
3. If used outdoors, the extension cord must be marked with the suffix W-A following the
cord type designation (e.g., STJW-A).
4. Use an extension cord with the proper wire size for the length of the cord. An undersized
cord will cause a drop in line voltage, resulting in loss of power and overheating (See
Chart below).
5. Position the cord that it will be clear of any rotating parts and will not be a trip hazard to
the operator.
Don’t Abuse Electrical Cord
6. Never lift or carry the puller by the cord, and never yank the cord to disconnect it from
the receptacle. Keep the cord away from heat, oil, and sharp edges
Total Amps 0-2.0 2.1-3.4 3.5-5.0 5.1-7.0 7.1-12.0 12.1-16.0 16.1-20.0
Ext. Cord Length Wire Size
25 ft.(8 m) 18 18 18 18 16 14 12
50 ft. (15 m) 18 18 18 16 14 12 10
75 ft. (23 m) 18 18 16 14 12 10 8
100 ft. (30 m) 18 16 14 12 10 8 8
150 ft. (46 m) 16 14 12 12 8 8 6
200 ft. (61 m) 16 14 12 10 8 6 4
300 ft. (91 m) 14 12 10 8 6 4 4
400 ft. (122 m) 12 10 8644 2
500 ft. (152 m) 12 10 8642 2
600 ft. (183 m) 10 86422 1
800 ft. (244 m) 10 86421 0
1000 ft. (305 m) 864210 0
2

7
7. Do not use the puller if the switch is malfunctioning. Have it replaced by an authorized
service center.
Disconnect Tools
8. Always disconnect the power when not in use and before installing, removing, or
servicing the puller.
Keep Work Area Clean
9. Cluttered areas invite injuries.
Consider Work Area Environment
10. Do not use the puller in wet or damp locations, and do not expose it to rain
11. Keep the work area well-lit
12. Do not use the puller in the presence of flammable liquids or gases.
Guard Against Electric Shock
13. Guard against shock, while operating the puller, by preventing bodily contact with
grounded surfaces (e.g., metal pipes)
Keep Children Away
14. Do not let anyone but the operator touch the puller or the extension cord; all visitors
should be kept a safe distance away from the work area.
Store Idle Tools
15. When not in use, the puller should be stored in a dry, secure area-out of the reach of
children.
Don’t Force Tool
16. Use the puller only for its designed use; do not force the puller to perform beyond its
capabilities.
Dress Properly
17. Do not wear loose clothing or jewelry; they can become caught in moving parts.
Use Safety Glasses
18. Work gloves, non-skid safety boots, safety glasses, and a hard hat should always be worn.
19. Operators with long hair, should contain their hair beneath their hard hat.
Don’t Overreach
20. Keep proper footing an balance at all times.

8
Maintain Puller with Care
21. Follow instructions for lubricating and changing accessories. Inspect the puller’s cord
periodically, and if damaged, have it replaced by an authorized service center. Inspect
extension cords periodically, and if damaged, replace them. Keep the puller dry, clean
and free from oil and grease.
Stay Alert
22. Watch what you are doing, Use common sense. Do not operate the puller when you are
tired.
Check for Damaged Parts
23. Before further use of the puller, any damaged part should be carefully inspected to
determine that it will operate properly and perform its intended function. Check for
proper alignment of moving parts and that there is no binding. Ensure all mounting
hardware is securely fastened. Any damaged part should be properly repaired or replaced
by an authorized service center.
Avoid Unintentional Starting
24. Do not carry the puller it is plugged in, and be sure the switch is off before plugging in
the power cord.
Secure Work
25. Secure the conduit to its associated structure before pulling any cable through it.
Puller Operation:
Condux Cable Pullers are designed for safe operation, but these safety precautions should be
practiced:
1. Stay clear of the area directly behind the puller while in operation
2. Use only 10 gauge 3 wire extension cords.
3. Always thread the pull line over or under all of the sheaves
Rope Guidelines:
Table of Contents
SAVE THESE INSTRUCTIONS

9
Four Safety Rules When Working With Rope
1. RIGHT ROPE FOR THE JOB: Use adequate size rope recommended to accommodate
your pulling load.
2. CORRECT HANDLING AND USAGE: Observe the recommended working load.
Make sure all pulleys, fairleads, etc. are proper size and free of grit and rust. Avoid knots
or severe bending that will reduce rope strength. Store rope in accordance with
manufacturer’s recommendations.
3. DOWNGRADE OR DISCARD: When rope has been subjected to forces or conditions
that reduce its strength, it should immediately be downgraded (used in less demanding or
less critical applications) or discarded. It is both poor economics and unsafe to use rope
beyond its normal lifetime.
4. STAY CLEAR OF ROPE: Never allow anyone to stand in line or within 30 degrees on
either side of the rope under tension.
WARNING: Rope under tension may break.
Stand at least 30 degrees to either side
What to Look for When Inspecting Rope
1. RUST: Contact on surfaces with rust will cause a significant loss of strength in a short
time. Discoloration is the key.
2. DIRT & GRIT: Using the rope in mud, sand, or dirt will allow particles into the
construction, causing the strength of the rope to deteriorate rapidly. What to look for:
caked on mud, grease with sand and dirt, or sand in outer construction.
3. CUT OR PULLED STRANDS: (braid no braid) When any of the jacket strands are cut,
rope should be downgraded. Careful attention should be given to pulled strands and all
strands should be worked back into the rope. If in doubt, downgrade rope to a less
demanding application.
4. WORN STRANDS: When the fibers show extreme wear in any given area, rope should
be replaced or downgraded.
5. HARDNESS OR STIFFNESS: When rope is very hard or stiff it usually indicates the
rope has been overloaded or subjected to intense heat. Rope should be downgraded or
discarded.
6. NYLON ROPE: Nylon suffers approximately 15% strength loss when wet. This factor
should be considered when selecting rope.
7. DOWNGRADING: A rope’s history is important. Anytime the rope has been subjected
to sustained loads, shock loads, or loads three times the recommended working load, the
rope should be downgraded or discarded.
10
Puller Assembly Instructions
1. Remove puller components from the carrying case.
2. Place Power Unit into the Base
Plate and secure with Clevis
Pin (See Figure 1)
Figure 1
Sheave Extension
Power Unit
Square Extension Fork
Base
3

11
3. Remove Lock Pins from
square adapter and slide over
Mounting Tube on Power
Unit. Reinstall Lock Pins.
(See Figure 2)
Figure 2
4. Slide Sheave Extension into
Square Adapter. Reinstall
Lock Pin. (See Figure 3).
Sheave Extension can be
adjusted to desired height
during puller set-up.
Figure 3
5. Remove Hitch Pin from
Extension Head Bracket and
slide Fork over Sheave
Bracket and replace Hitch Pin
(See Figure 4)
Figure 4
6. Puller is completely assembled.

12
Operating Instructions
1. Select an adapter that corresponds to conduit size and fit it into the retaining fork.
2. Screw thumbscrew on retaining fork into adapter. (See Figures 5 & 6)
Figure 5 Figure 6
3. Position and adjust cable puller for desired application.
4. Thread pull line through adapter and across all of the sheaves.
WARNING: Inferior rope may break. Ensure the rope is rated for the load.
Failure to do so could result in serious personnel injury or death.
5. Manually tension the pull line and wrap it counter clockwise around the
capstan. Each wrap will yield approximately 20% more pulling power.
WARNING: The rope is under tension and could break. Stand at least 30° to
either side of the rope. Recoil force could cause serious personal injury or
death.
6. Re-adjust the puller if necessary to assure maximum stability against pulling torque.
4

13
7. Plug cable puller into 110-120V 15 amp standard outlet.
WARNING: Electrical equipment is very hazardous in wet areas.
Properly ground puller, wear insulated footwear and gloves, keep the
operator zone dry, and keep cords in good condition. Failure to do so
could result in serious personal injury or death.
CAUTION: Inadequate size extension cords may fail. As the distance
from the supply outlet increases, heavier gauge extension cords are
required. The accompanying table, Figure 3, is based on limiting the line
voltage drop to five volts at 150% of the rated amperes. Inadequate size
results in voltage drop, loss of power, and possible motor damage.
Other precautions to protect the cord: keep cords away from excessive heat, sharp edges,
and the puller itself; and keep the cord out of damp or wet areas. Also, repair or replace
damaged extension cords before using.
Total Amps 0-2.0 2.1-3.4 3.5-5.0 5.1-7.0 7.1-12.0 12.1-16.0 16.1-20.0
Ext. Cord Length Wire Size
25 ft.(8 m) 18 18 18 18 16 14 12
50 ft. (15 m) 18 18 18 16 14 12 10
75 ft. (23 m) 18 18 16 14 12 10 8
100 ft. (30 m) 18 16 14 12 10 8 8
150 ft. (46 m) 16 14 12 12 8 8 6
200 ft. (61 m) 16 14 12 10 8 6 4
300 ft. (91 m) 14 12 10 8 6 4 4
400 ft. (122 m) 12 10 8644 2
500 ft. (152 m) 12 10 8642 2
600 ft. (183 m) 10 8 6422 1
800 ft. (244 m) 10 8 6421 0
1000 ft. (305 m) 8 6 4210 0
CAUTION: Excessive voltage and/or voltage boosters will overwork the
motor. Ensure the outlet voltage matches the motor’s nameplate voltage.
Excessive voltage could result in motor failure.
8. To begin operation, grab rope, keeping tension on the rope throughout the pull, step on
foot pedal to start puller.

14
Appendices
LW CableGlider Assembly
5

15
LW CableGlider BOM
ITEM PART NO. DESCRIPTION QTY
1 02001900 FLATWSHR,FENDER .375 X 1.50 1
2 02004500 LOCKWSHR 0.37 REGULAR ST CZ 9
3 02203901 PIN,HAIR .62 SHAFT-.15 DIA 1
8 02288429 CAPSRW 0.31-18X0.75 HHSTGR5 CZ 8
9 02288686 CAPSRW 0.50-13X2.50 HHSTGR5 CZ 1
10 02289016 PIN, .375 DIA - 2.250 LG QUICK 2
11 02289407 PIN,QUICK RELEASE - 0.50 X 5.50 1
12 02289408 PIN,HITCH - 3/4 X 7.00 1
13 02289410 PIN,CLEVIS - 0.625 X 3.50 1
14 02289411 LOCKWSHR 0.31 REGULAR ST CZ 8
16 08678205 FORK,RETAINING - 3000# CG 1
17 08678208 EXTENSION,SHEAVE WELD 3000# CG 1
18 08678211 TUBE,FRONT - WELDMENT 1
19 08678215 MOUNT,FRONT EXTENSION WELDMENT 1
20 08678216 MOUNT,BASE EXTENSION WELDMENT 1
21 08678218 PLATE,MOTOR MOUNTING BRACKET 2
22 08678221 BASE, WELDMENT 1
23 08678225 MOTOR,DRIVE W/ FT SWITCH 3000# CG 1
24 08678229 GEARBOX,REDUCTION - CHANGE CFACE 1
25 08678315 CAPSTAN,SHAFT ASSEMBLY 3000#CG 1
27 08678232 POST,MOTOR MOUNTING-3000# CG 1
28 08678233 SHEAVE,NYLON 3.50 X 6.00 1
41 12004700 CAPSRW 0.37-16X0.75 HHSTGR5 CZ 9

16
LW CableGlider Wiring Diagram

17
LW CableGlider Accessories
Internal Adapter External Adapter
Duct Adpaters
Part Number Description
08678240 External Adapter, 1.00" Conduit
08678245 External Adapter, 1.25" Conduit
08678250 External Adapter, 1.50" Conduit
08678255 External Adapter, 2.00" Conduit
08678260 External Adapter, 2.50" Conduit
08678265 External Adapter, 3.00" Conduit
08678270 External Adapter, 3.50" Conduit
08678275 External Adapter, 4.00" Conduit
08678276 Internal Adapter, 1.00" Conduit
08678277 Internal Adapter, 1.25" Conduit
08678278 Internal Adapter, 1.50" Conduit
08678279 Internal Adapter, 2.00" Conduit
08678280 Internal Adapter, 2.50" Conduit
08678281 Internal Adapter, 3.00" Conduit
08678282 Internal Adapter, 3.50" Conduit
08678283 Internal Adapter, 4.00" Conduit

18
Replacing Fork Thumbscrew:
1. Remove thumbscrew with a tap and hammer. (See Figure 7)
2. Insert new thumbscrew (See Figure 8)
3. Place lockwasher on thumbscrew (See Figure 9), use a 5/16” socket to push lockwasher
onto the thumbscrew (See Figure 10). Thumbscrew needs to be pushed till it is resting on
the inside lip of the fork.
Replacement Part Numbers
Figure 7 Figure 8
Figure 9 Figure 10
Qty
Part No. Description Required
02289412 Thumbscrew 1
02289439 Push Nut 1

19
NOTES:

20
NOTES:
Table of contents
Other Condux Industrial Equipment manuals

Condux
Condux CableGlider Instruction Manual

Condux
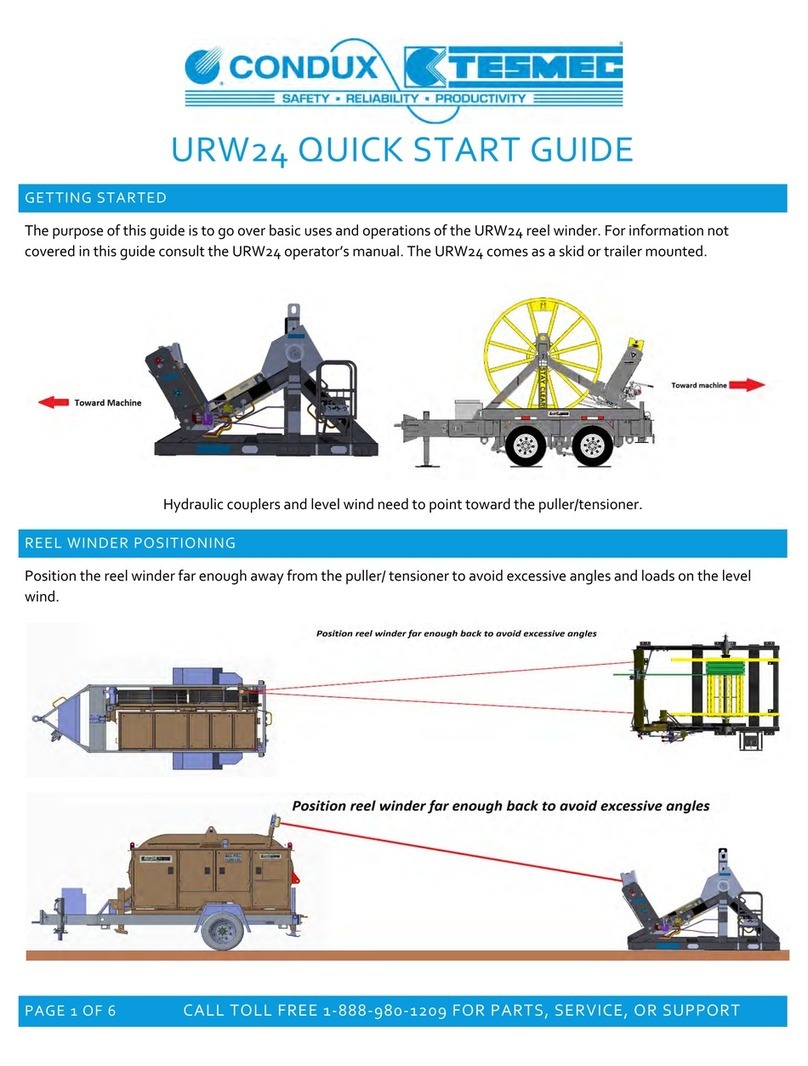
Condux TESMEC URW24 User manual

Condux
Condux APS75 Instruction Manual

Condux
Condux 08097100 Instruction Manual

Condux
Condux Fiber Optic Cable Puller Trailer Instruction Manual

Condux
Condux TESMEC PE1250 User manual

Condux
Condux TESMEC PT1150 User manual

Condux
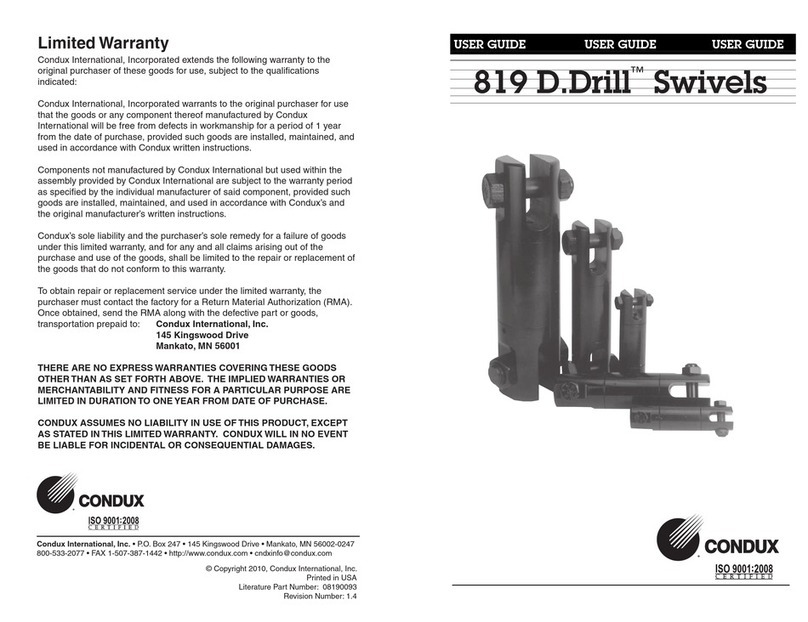
Condux 819 D.Drill Swivels User manual