manuals.online logo
Brands
  1. Home
  2. •
  3. Brands
  4. •
  5. Conrad
  6. •
  7. Computer Hardware
  8. •
  9. Conrad 97 25 22 User manual

Conrad 97 25 22 User manual

2-Port-Seriell PCI-Express-Karte Version 09/09
Best.-Nr. 97 25 22 °
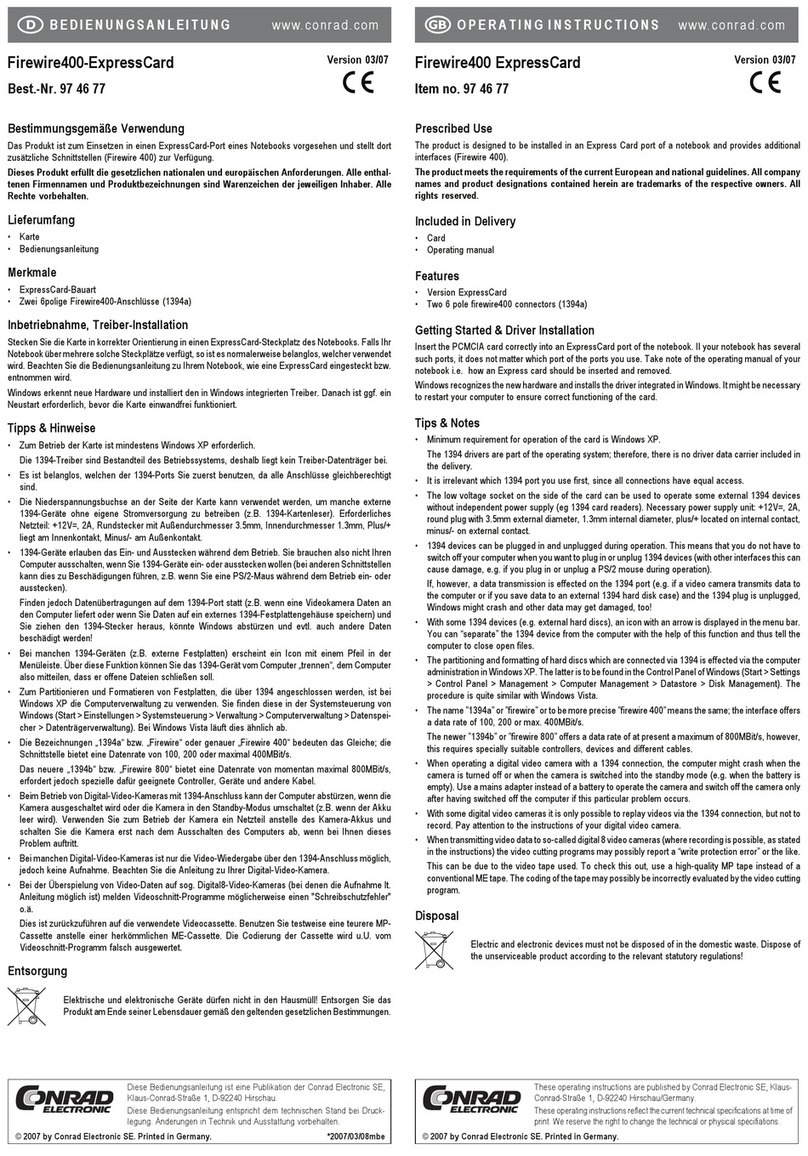
Bestimmungsgemäße Verwendung
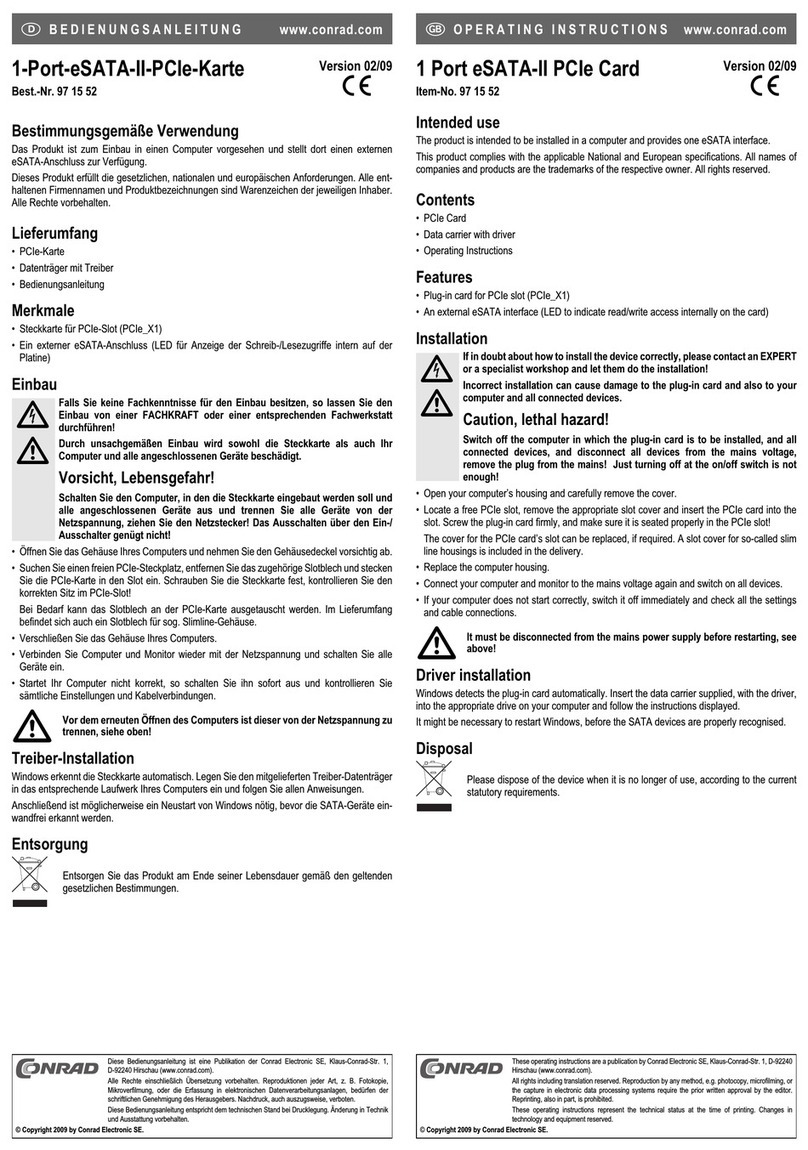
Das Produkt ist zum Einbau in einen Computer mit PCI-Express-Steckplatz vorgesehen und stellt dort
zusätzliche Schnittstellen zur Verfügung (RS232).
Dieses Produkt erfüllt die gesetzlichen, nationalen und europäischen Anforderungen. Alle enthaltenen
Firmennamen und Produktbezeichnungen sind Warenzeichen der jeweiligen Inhaber. Alle Rechte vor-
behalten.
Lieferumfang
• PCI-Express-Karte
• 2x Low-Profile-Slotblech
• Bedienungsanleitung
Merkmale
• Für PCI-Express-Steckplatz
• 2x RS232-Ports
• Mittels den beiliegenden kurzen Low-Profile-Slotblechen auch in speziellen flachen PC-Gehäusen
verwendbar
Einbau
Falls Sie keine Fachkenntnisse für den Einbau besitzen, so lassen Sie den Einbau
von einer FACHKRAFT oder einer entsprechenden Fachwerkstatt durchführen!
Durch unsachgemäßen Einbau wird sowohl die Steckkarte als auch Ihr Computer
und alle angeschlossenen Geräte beschädigt.
Vorsicht, Lebensgefahr!
Schalten Sie den Computer, in den die Steckkarte eingebaut werden soll und alle
angeschlossenen Geräte aus und trennen Sie alle Geräte von der Netzspannung,
ziehen Sie den Netzstecker! Das Ausschalten über den Ein-/ Ausschalter genügt
nicht!
• Öffnen Sie das Gehäuse Ihres Computers und nehmen Sie den Gehäusedeckel vorsichtig ab.
• Suchen Sie einen freien PCI-Express-Steckplatz, entfernen Sie das zugehörige Slotblech und ste-
cken Sie die Steckkarte vollständig in den Steckplatz ein. Schrauben Sie die Steckkarte fest.
Um die Steckkarte in einem flachen Computergehäuse einzubauen, liegen zwei Low-Profile-
Slotbleche bei. Entfernen Sie das lange Slotblech von der Steckkarte und montieren Sie danach die
beiden Low-Profile-Slotbleche an der Steckkarte und dem zweiten 9poligen SubD-Anschluss.
• Verschließen Sie das Gehäuse Ihres Computers.
• Verbinden Sie Ihren Computer und Monitor wieder mit der Netzspannung und schalten Sie alle
Geräte ein.
• Startet Ihr Computer nicht korrekt, so schalten Sie ihn sofort wieder aus und kontrollieren Sie sämt-
liche Einstellungen und Kabelverbindungen.
Vor dem erneuten Öffnen des Computers ist dieser wieder von der Netzspannung zu
trennen, siehe oben!
Treiberinstallation
Windows erkennt nach dem Start neue Hardware. Legen Sie die mitgelieferte CD in das entsprechen-
de Laufwerk Ihres Computers ein.
Zum Zeitpunkt der Erstellung dieser Bedienungsanleitung war der erforderliche Treiber im Verzeichnis
„Moschip \ MCS9901“ zu finden (und dort im jeweiligen Unterverzeichnis für das von Ihnen verwende-
te Betriebssystem, z.B. Windows Vista).
Danach ist ggf. ein Neustart erforderlich, bevor die RS232-Ports einwandfrei funktionieren.
Tipps und Hinweise
• Schließen Sie RS232-Geräte nur dann an, wenn der Computer und die RS232-Geräte ausgeschal-
tet sind. Andernfalls kann es in Einzelfällen dazu kommen, dass sowohl RS232-Gerät als auch die
Steckkarte beschädigt werden!
• Die Schnittstellenbezeichnung (z.B. COM3) wird von Windows automatisch vergeben.
Entsorgung
Entsorgen Sie das Produkt am Ende seiner Lebensdauer gemäß den geltenden
gesetzlichen Bestimmungen.
Ꮨ

쮕BEDIENUNGSANLEITUNG www.conrad.com
2-Port Serial PCI Express Card Version 09/09
Item-No. 97 25 22 °
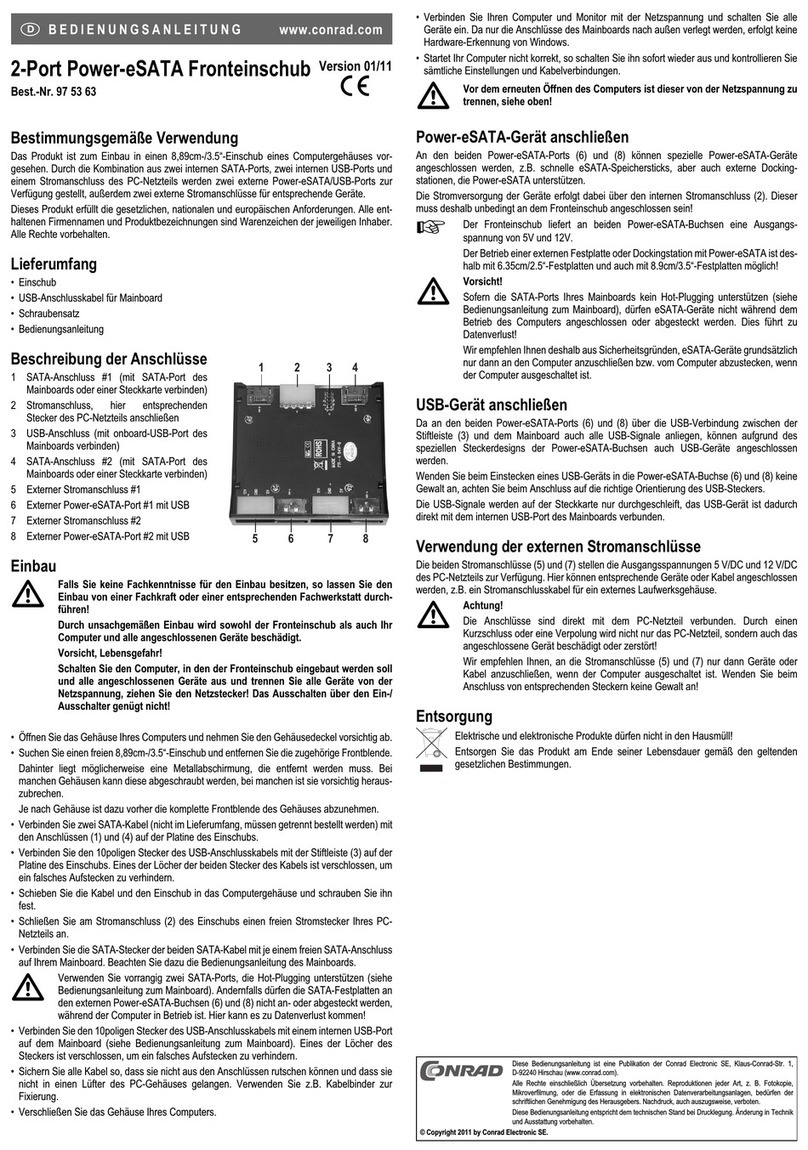
Intended Use
The product is intended to be installed into a computer with a PCI Express slot in order to provide addi-
tional interfaces (RS232).
This product complies with the applicable National and European requirements. All names of compa-
nies and products are the trademarks of the respective owner. All rights reserved.
Package Contents
• PCI Express card
• 2x Low profile slot bracket
• Operating Instructions
Features
• For PCI Express slot
• 2x RS232-Ports
• Due to the low profile slot brackets, the product can also be used for special, low PC housings
Installation
When in doubt about how to install the device correctly, please contact an EXPERT
or a specialist workshop and let them carry out the installation!
Incorrect installation can cause damage to the plug-in card and also to your com-
puter and all connected devices.
Caution, Danger!
Switch off the computer in which the plug-in card is to be installed, and all connect-
ed devices, and disconnect all devices from the mains voltage, remove the plug
from the mains! Just turning off at the on/off switch is not enough!
• Open your computer’s housing and carefully remove the cover.
• Locate a free PCI Express slot, remove the corresponding slot cover and insert the card into the slot.
Screw the plug-in card firmly in place.
To install the plug-in card in a flat computer housing, two low-profile slot brackets are provided.
Remove the long slot bracket from the plug-in card and then mount the two low-profile slot brackets
on the plug-in card and the second 9-pin SUB-D connector.
• Replace the computer housing.
• Reconnect your computer and monitor to the mains voltage and switch on all the devices.
• If your computer does not start correctly, switch it off again immediately and check all the settings
and cable connections.
Before opening the PC again, disconnect the PC from the mains voltage, see above!
Driver Installation
After loading, Windows will recognise the new hardware. Place the provided CD into an appropriate
drive on your computer.
At the time of creation of this manual the required driver was to be found in the folder
„Moschip\MCS9901“ (in the respective operating system folder, such as, for example, Windows Vista).
It might be necessary to restart your computer, before the RS232 ports work faultlessly.
Tips and Instructions
• Only connect RS232 devices when the computer and the RS232 devices are switched off.
Otherwise, in some cases, the RS232 device as well as the plug-in card might be damaged!
• The interface name (e.g. COM3) is assigned automatically by Windows.
Disposal
Please dispose of the device when it is no longer of use, according to the current statu-
tory requirements.
Ꮨ

OPERATING INSTRUCTIONS www.conrad.com
Diese Bedienungsanleitung ist eine Publikation der Conrad Electronic SE, Klaus-Conrad-Str. 1,
D-92240 Hirschau (www.conrad.com).
Alle Rechte einschließlich Übersetzung vorbehalten. Reproduktionen jeder Art, z. B. Fotokopie,
Mikroverfilmung, oder die Erfassung in elektronischen Datenverarbeitungsanlagen, bedürfen der
schriftlichen Genehmigung des Herausgebers. Nachdruck, auch auszugsweise, verboten.
Diese Bedienungsanleitung entspricht dem technischen Stand bei Drucklegung. Änderung in Technik
und Ausstattung vorbehalten.
© Copyright 2009 by Conrad Electronic SE.
These operating instructions are a publication by Conrad Electronic SE, Klaus-Conrad-Str. 1, D-92240
Hirschau (www.conrad.com).
All rights including translation reserved. Reproduction by any method, e.g. photocopy, microfilming, or
the capture in electronic data processing systems require the prior written approval by the editor.
Reprinting, also in part, is prohibited.
These operating instructions represent the technical status at the time of printing. Changes in
technology and equipment reserved.
© Copyright 2009 by Conrad Electronic SE.
Carte Express PCI 2 ports série Version 09/09
N° de commande 97 25 22 °
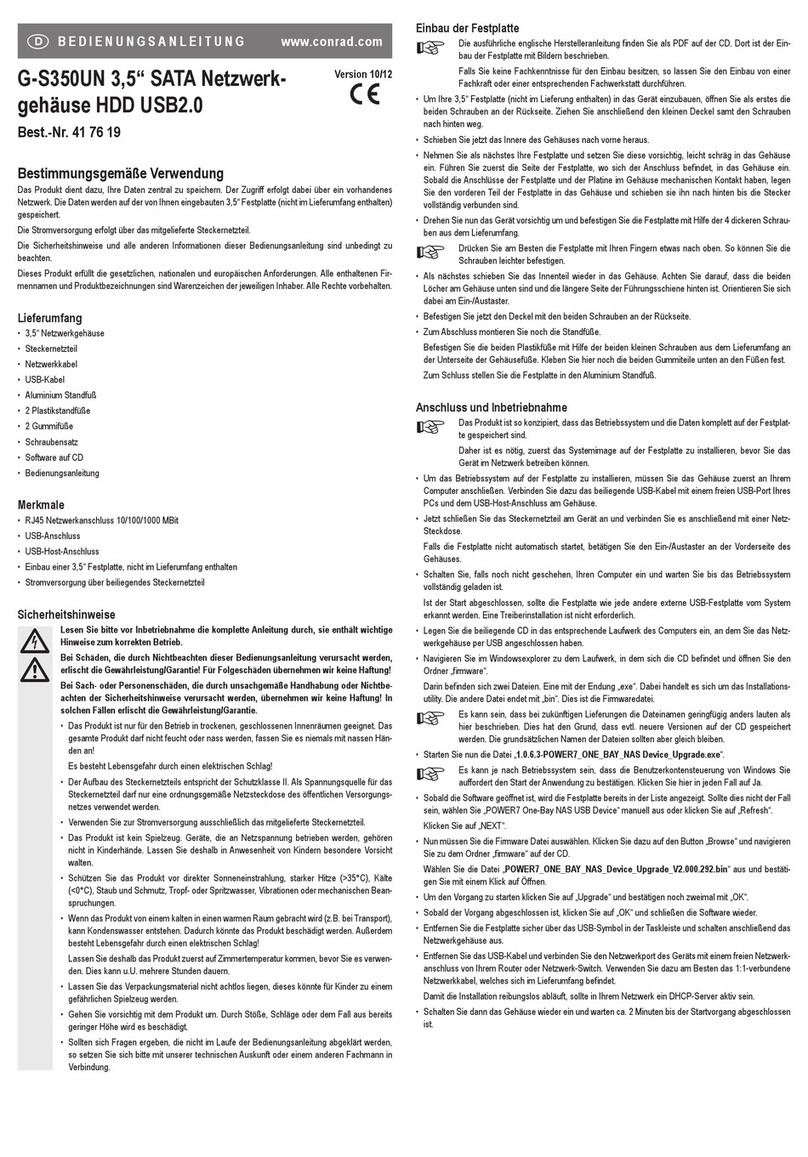
Utilisation conforme
Le produit est prévu pour être monté dans un ordinateur muni d’un emplacement Express PCI et y met
à disposition des interfaces supplémentaires (RS232).
Cet appareil satisfait aux exigences légales nationales et européennes. Tous les noms d’entreprises
et les appellations d’appareils figurant dans ce mode d’emploi sont des marques déposées des pro-
priétaires correspondants. Tous droits réservés.
Étendue de la fourniture
• Carte Express PCI
• 2x connecteurs d’extension Low-Profile
• Instructions d’utilisation
Caractéristiques
• Pour emplacement Express PCI
• 2x ports RS232
• Grâce aux connecteurs d’extension courts Low-Profile fournis, l’appareil est également utilisable
dans des boîtiers de PC spéciaux plats
Montage
Dans la mesure où vous ne disposez pas des connaissances spécialisées néces-
saires pour le montage, veuillez confier cette opération à un SPÉCIALISTE ou à un
atelier spécialisé !
Un montage incorrect est non seulement susceptible d’endommager la carte d’ex-
tension, mais également l’ordinateur, ainsi que tous les périphériques connectés.
Attention, Danger de mort !
Éteindre l’ordinateur devant accueillir la carte d’extension ainsi que tous les appa-
reils raccordés puis les débrancher du réseau en débranchant les fiches d’alimen-
tation ! Il ne suffit pas d’éteindre à l’aide de l’interrupteur marche/arrêt !
• Ouvrir le boîtier de l’ordinateur et retirer le couvercle du boîtier avec précaution.
• Chercher un emplacement PCI Express libre, enlever le connecteur d’extension correspondant et
introduire la carte dans l’emplacement. Visser la carte d’extension à fond.
Pour monter la carte enfichable dans un boîtier d’ordinateur plat, utiliser les deux connecteurs d’ex-
tension Low-Profile fournis. Enlever le connecteur d’extension long de la carte enfichable et monter
les deux connecteurs Low-Profile sur la carte et sur la deuxième connexion SubD à 9 pôles.
• Refermer ensuite le boîtier de l’ordinateur.
• Relier de nouveau l’ordinateur et le moniteur à la tension d’alimentation et allumer tous les appareils
connectés.
• Si l’ordinateur ne démarre pas correctement, l’arrêter immédiatement et contrôler tous les réglages
et toutes les connexions par câble.
Avant d’ouvrir à nouveau l’ordinateur, débrancher la fiche d’alimentation, voir plus
haut !
Installation du pilote
Après redémarrage, Windows détecte le nouveau matériel. Insérer le CD joint dans le lecteur corres-
pondant de l’ordinateur.
Au moment de la rédaction de ce manuel d’utilisation, le pilote se trouvait dans le répertoire „ Moschip
\ MCS9901 „ (et là, dans le sous-répertoire correspondant au système d’exploitation utilisé, par ex.
Windows Vista).
Il est possible qu’un nouveau démarrage soit nécessaire avant que les ports RS232 ne fonctionnent
correctement.
Conseils et consignes
• Connecter les appareils RS232 uniquement à l’adaptateur, quand l’ordinateur et les appareils RS232
sont éteints. Sinon, dans des cas isolés, vous risquez d’endommager non seulement l’appareil
RS232, mais aussi l’adaptateur !
• La désignation de l’interface (par ex. COM3) est affectée automatiquement par Windows.
Élimination
Il convient de procéder à l’élimination de l’appareil au terme de sa durée de vie confor-
mément aux prescriptions légales en vigueur.
Ꮨ

MODE D’EMPLOI www.conrad.com
2-Seriële poort PCI-Express-kaart Versie 09/09
Bestnr. 97 25 22 °
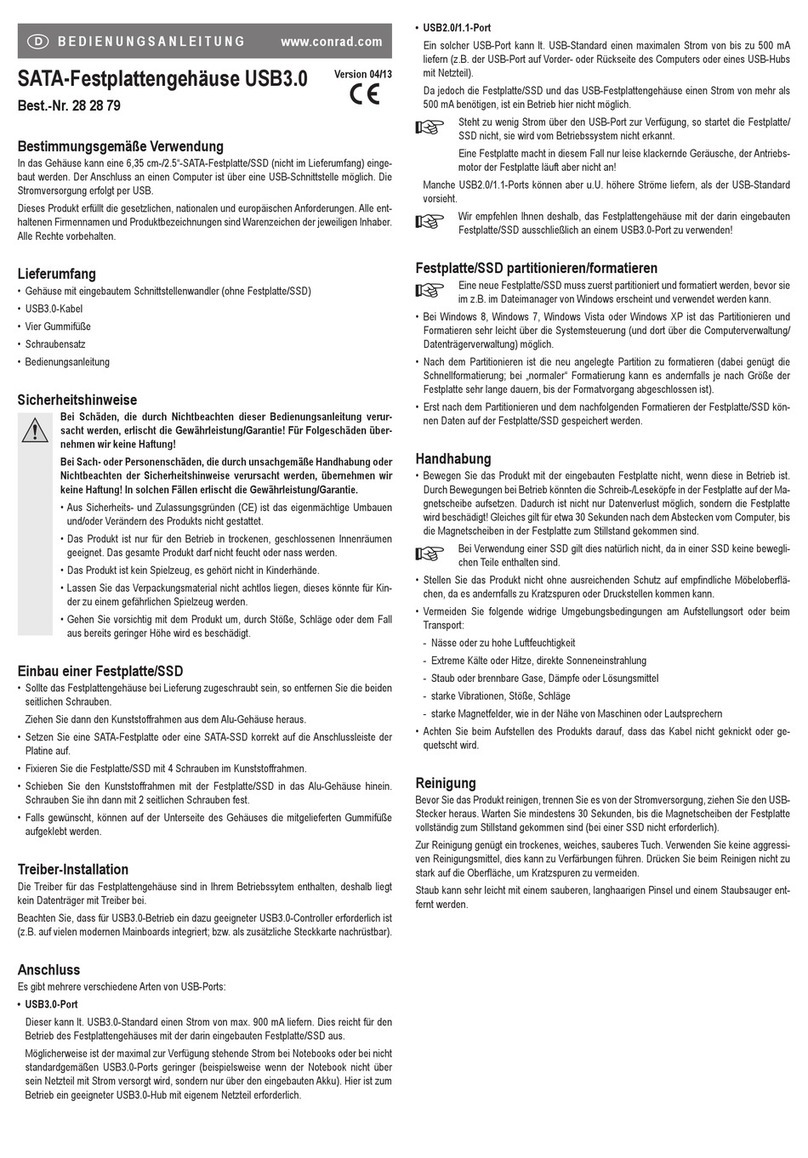
Beoogd gebruik
Het product is geschikt voor de inbouw in een computer met PCI-Express-slot en stelt extra interfaces
ter beschikking (RS232).
Dit product voldoet aan de voorwaarden van de nationale en Europese wetgeving. Alle voorkomende
bedrijfsnamen en productaanduidingen zijn handelsmerken van de betreffende eigenaren. Alle rech-
ten voorbehouden.
Omvang van de levering
• PCI-Express-kaart
• 2x Low-profile-slotplaatje
• Gebruiksaanwijzing
Kenmerken
• Voor PCI-Express-slot
• 2x RS232-poorten
• Kan met behulp van het meegeleverde low-profile-slotplaatjes ook in speciale vlakke PC-behuizin-
gen worden gebruikt
Installatie
Indien u geen vakkennis bezit voor de inbouw, laat deze dan over aan een VAKMAN
of een gekwalificeerde computerdienst!
Door een onjuiste inbouw worden zowel de kaart als de computer en alle aange-
sloten apparatuur beschadigd.
Voorzichtig, levensgevaar!
Schakel de computer waarin de kaart geïnstalleerd dient te worden en alle aange-
sloten apparaten uit, koppel de apparaten los van de netspanning en haal de stek-
ker uit het stopcontact! Uitschakelen via de aan-/uitschakelaar is niet voldoende!
• Open de behuizing van uw computer en haal het deksel van de behuizing voorzichtig weg.
• Zoek een vrij PCI-Express-slot, verwijder het bijbehorende slotplaatje en steek de insteekkaart vol-
ledig in het slot. Schroef de insteekkaart vast.
Om de insteekkaart in een vlakke computerbehuizing te installeren zijn twee low-profile-slotplaat-
jes meegeleverd. Verwijder het lange slotplaatje van de insteekkaart en monteer vervolgens de
beide low-profil-slotplaatjes op de kaart en de tweede 9-polige SubD-aansluiting.
• Sluit de computerbehuizing.
• Verbind uw computer en monitor weer met de netspanning en schakel alle apparaten in.
• Start uw computer niet correct op, schakel hem dan direct uit en controleer alle instellingen en
kabelverbindingen.
Indien u de computer opnieuw wilt openen, dient u deze weer van de netspanning los
te koppelen, zie boven!
Installatie van het stuurprogramma
Windows herkent na de start nieuwe hardware. Plaats de meegeleverde CD in het betreffende station
van uw computer.
Op het moment van het opstellen van deze gebruiksaanwijzing was het vereiste stuurprogramma in de
map „Moschip \ MCS9901“ te vinden (en daar in de respectievelijke submap voor het door u gebruik-
te besturingssysteem, bijv. Windows Vista).
Daarna moet Windows eventueel herstart worden voordat de RS232-poort correct werkt.
Tips en adviezen
• Sluit alleen RS232-apparatuur aan, wanneer de computer en de RS232-apparatuur uitgeschakeld
zijn. Anders zou zowel de RS232-apparatuur als de kaart kunnen worden beschadigd!
• De interfaceomschrijving (bijv. COM3) wordt door Windows automatisch vergeven.
Verwijdering
Verwijder het product aan het einde van zijn levensduur volgens de geldende wette-
lijke bepalingen.
Ꮨ

GEBRUIKSAANWIJZING www.conrad.com
Ce mode d'emploi est une publication de la société Conrad Electronic SE, Klaus-Conrad-Str. 1,
D-92240 Hirschau (www.conrad.com).
Tous droits réservés, y compris de traduction. Toute reproduction, quelle qu'elle soit (p. ex. photoco-
pie, microfilm, saisie dans des installations de traitement de données) nécessite une autorisation écri-
te de l'éditeur. Il est interdit de le réimprimer, même par extraits.
Ce mode d'emploi correspond au niveau technique du moment de la mise sous presse. Sous réserve
de modifications techniques et de l'équipement.
© Copyright 2009 by Conrad Electronic SE.
Deze gebruiksaanwijzing is een publicatie van de firma Conrad Electronic SE, Klaus-Conrad-Str. 1,
D-92240 Hirschau (www.conrad.com).
Alle rechten, vertaling inbegrepen, voorbehouden. Reproducties van welke aard dan ook, bijvoorbeeld
fotokopie, microverfilming of de registratie in elektronische gegevensverwerkingsapparatuur, vereisen
de schriftelijke toestemming van de uitgever. Nadruk, ook van uittreksels, verboden.
Deze gebruiksaanwijzing voldoet aan de technische stand bij het in druk bezorgen. Wijziging van
techniek en uitrusting voorbehouden.
© Copyright 2009 by Conrad Electronic SE. 01_0909_01/HK

Other Conrad Computer Hardware manuals

Conrad DVD-Creator USB2.0 User manual

Conrad

Conrad DVD-Creator USB2.0 User manual

Conrad 97 19 46 User manual

Conrad

Conrad 97 19 46 User manual

Conrad 98 91 20 User manual

Conrad

Conrad 98 91 20 User manual

Conrad 28 28 79 User manual

Conrad

Conrad 28 28 79 User manual

Conrad Akasa 974991 User manual

Conrad

Conrad Akasa 974991 User manual

Conrad 97 53 63 User manual

Conrad

Conrad 97 53 63 User manual

Conrad J5CREATE JUA230 User manual

Conrad

Conrad J5CREATE JUA230 User manual

Conrad 99 10 96 User manual

Conrad

Conrad 99 10 96 User manual

Conrad 97 19 45 User manual

Conrad

Conrad 97 19 45 User manual

Conrad 97 61 63 User manual

Conrad

Conrad 97 61 63 User manual

Conrad 974677 User manual

Conrad

Conrad 974677 User manual

Conrad 98 64 58 User manual

Conrad

Conrad 98 64 58 User manual

Conrad 416328 User manual

Conrad

Conrad 416328 User manual

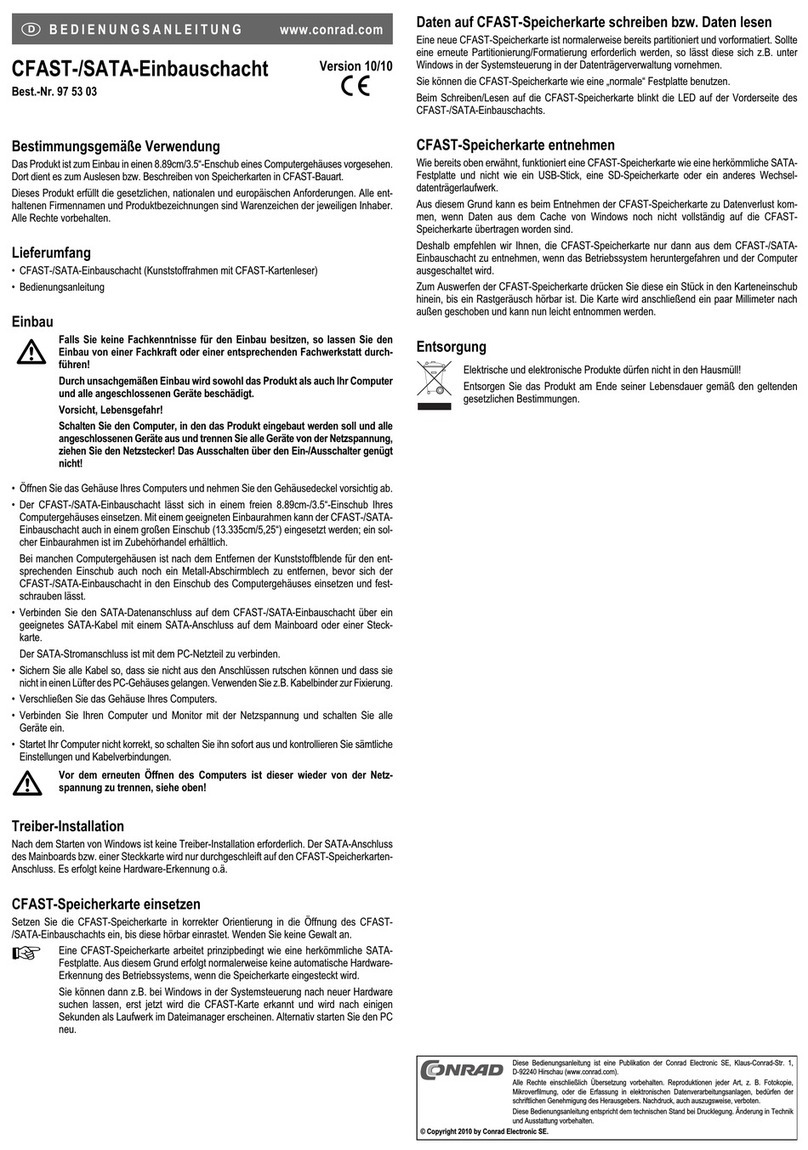
Conrad 97 25 42 User manual

Conrad

Conrad 97 25 42 User manual

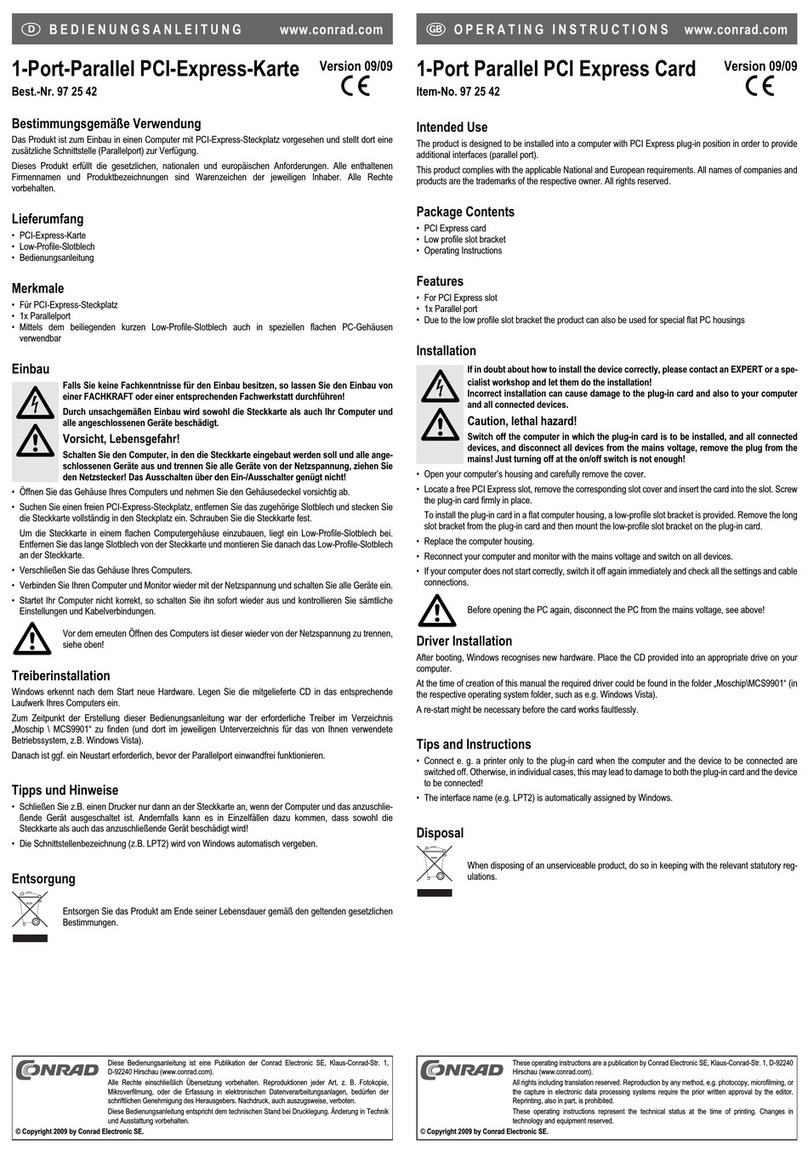
Conrad 971552 User manual

Conrad

Conrad 971552 User manual

Conrad 41 76 19 User manual

Conrad

Conrad 41 76 19 User manual

Conrad 97 53 03 User manual

Conrad

Conrad 97 53 03 User manual

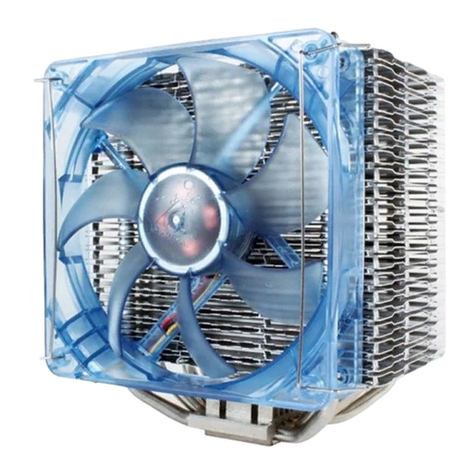
Conrad AKASA AK-FN066-BK User manual

Conrad

Conrad AKASA AK-FN066-BK User manual

Conrad 97 61 75 User manual

Conrad

Conrad 97 61 75 User manual

Conrad Akasa 974991 User manual

Conrad

Conrad Akasa 974991 User manual

Conrad 413422 User manual

Conrad

Conrad 413422 User manual

Conrad GlacialTech Alaska User manual

Conrad

Conrad GlacialTech Alaska User manual

Conrad 413415 User manual

Conrad

Conrad 413415 User manual

Popular Computer Hardware manuals by other brands

Symmetricom bc635PCI-V2 user guide

Symmetricom

Symmetricom bc635PCI-V2 user guide

Alesis GT Reference manual

Alesis

Alesis GT Reference manual

OSS OSS-BP-419 installation guide

OSS

OSS OSS-BP-419 installation guide

Cypress Semiconductor CY62158E Specification sheet

Cypress Semiconductor

Cypress Semiconductor CY62158E Specification sheet

US Robotics USR997901A troubleshooting guide

US Robotics

US Robotics USR997901A troubleshooting guide

Thermaltake UX100 quick start guide

Thermaltake

Thermaltake UX100 quick start guide

TouchNetix aXiom AX80A EVK quick start guide

TouchNetix

TouchNetix aXiom AX80A EVK quick start guide

Cypress EZ-Color CY3263-ColorLock quick start

Cypress

Cypress EZ-Color CY3263-ColorLock quick start

Cypress Semiconductor CY8C24123 Specification sheet

Cypress Semiconductor

Cypress Semiconductor CY8C24123 Specification sheet

Silica Seriz II quick start guide

Silica

Silica Seriz II quick start guide

Matrox ATC RG-200DL user guide

Matrox

Matrox ATC RG-200DL user guide

Renesas Emulator System SH7362 user manual

Renesas

Renesas Emulator System SH7362 user manual

Foxlink OPTIMA 2 BT user manual

Foxlink

Foxlink OPTIMA 2 BT user manual

Philips P89LPC906 user manual

Philips

Philips P89LPC906 user manual

SightLine ICD-4000-OEM manual

SightLine

SightLine ICD-4000-OEM manual

mikroElektronika 7seg click quick start guide

mikroElektronika

mikroElektronika 7seg click quick start guide

Pickering 40-738 user manual

Pickering

Pickering 40-738 user manual

Texas Instruments TMS320DM357 Getting started guide

Texas Instruments

Texas Instruments TMS320DM357 Getting started guide

manuals.online logo
manuals.online logoBrands
  • About & Mission
  • Contact us
  • Privacy Policy
  • Terms and Conditions

Copyright 2025 Manuals.Online. All Rights Reserved.