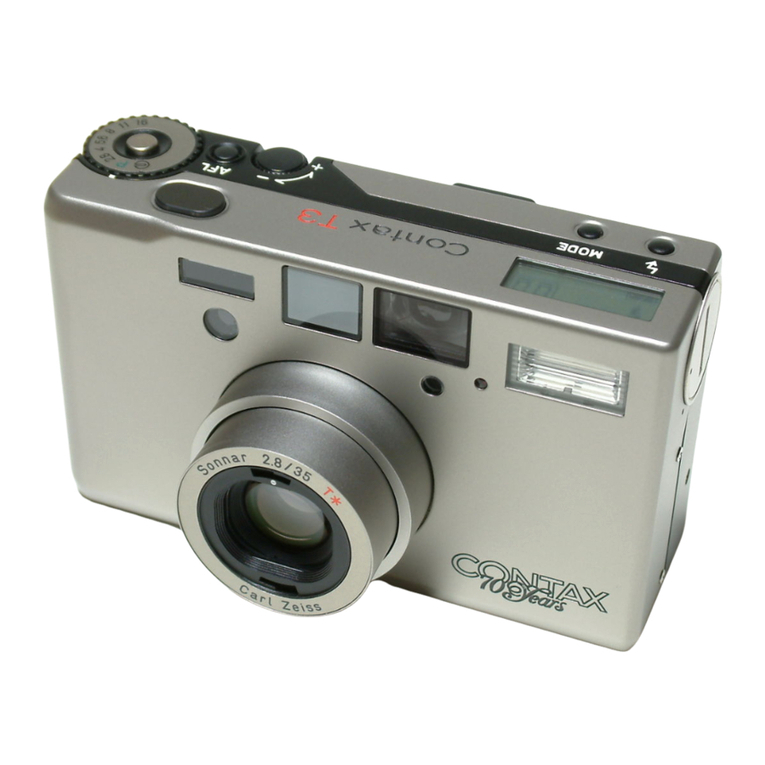
Contax T3 User manual

CONTAX
11

Thank
you
for
purchasing
this
Contax
product.
The
Contax
T3
has
been
designed
according
to
the
basic
philosophy
of
providing
the
user
with
pleasure
in
handling,
and
use,
as
well
as
the
production
of
fine
photographs.
Simple
enough
for
casual
use,
it
provides
the
controls
needed
for
doing
justice
to
those
special
occasions.
The
Contax
T3
is
a
35mm
lens-shutter
camera
equipped
with
both
automatic
and
manual
focusing
controls,
programmed
automatic
and
aperture-priority
automatic
exposure
modes,
long-time
exposure
mode,
exposure
compensation
and
a
focus-
lock
feature.
Before
using
this
camera,
please
read
the
instructions
thoroughly
to
gain
a
correct
understanding
of
camera
features.
In
addition
to
its
standard
features,
this
camera
is
equipped
with
“Custom
Functions”
which
may
be
set
manually
if
desired.
See
page
47
for
further
details.
Cus
tom
Functions
are
indicated
in
the
text
by
the
mark.
2


0
)
(]>
(D
®
ft
±
•
^
®
(6)
(2)
/
500
\
I
■
'25
1
\
30
r
\
UT/'
J-
-<D
The
Picture
Area
Frame
©,
Close-up
Parallax
Frame
®
and
Focus
frame
@
are
always
visible
in
the
viewfinder,
but
other
indicators
appear
only
under
the
conditions
indicated
below,
and
automatically
disappear
after
8
sec
to
save
battery
power:
1)
When
the
camera
is
turned
ON.
2)
With
the
camera
is
turned
on,
whenever
the
shutter
reiease
button
Is
depressed
halfway.
(Also,
when
the
“
i
"
or
“AFL”
buttons
are
depressed).
®
Picture
area
frame
These
marks
indicate
the
outer
borders
of
the
image
that
will
be
recorded
on
film
under
normal
conditions,
(p.
24)
(2)
Close-up
Parallax
Frame
These
marks
indicate
the
outer
borders
of
the
image
that
will
be
recorded
on
film
when
shooting
at
very
close
distances
(approx.
0.8
m
-
0.35
m).
When
shooting
close-ups,
be
sure
the
subject
fits
within
these
marks.
(D
Close-up
(macro)
indicator
“
ft
”
Lights;
When
camera-to-subject
distance
is
between
approx.
0.8
m
and
0.35
m.
Blinks:
When
camera-to-subject
distance
is
too
close
(outside
of
focusing
range).

@
Focus
Frame
Indicates
the
part
of
the
viewfinder
used
by
the
autofocus.
(p.
24)
(D
Exposure
compensation
indicator
“
±
”
Lights
when
exposure
compensation
is
set
(p.
38).
d)
Focusing
indicator
(indicates
focusing
status)
<Autofocus>
Lighted:
Subject
in
focus
Blinks
quickly
(4
times/sec):
Out
of
focus
Blinks
slowly
(once/sec):
Focus
locked
via
AFL
button
<Manual
Focus>
Blinks
slowly
(once/sec):
Focusing
distance
set
manually
@
Flash
indicator
“
^
”
Lighted:
Flash
will
fire
Blinks
quickly
(4
times/sec):
Outside
the
range
of
the
built-in
flash
(image
will
be
under-exposed)
Blinks
slowly
(once/sec):
Flash
is
recharging
d)
Shutter
speed
Indicates
the
current
shutter
speed,
as
follows:
-
%Ku(t«r^ed
500
blinking
Over-exposure
1/1200
sec
500
lighted
i
1
/350
sec
500
and
125
lighted
i
1/180
sec
125
lighted
<
1/90
sec
125
and
30
lighted
i
1/45
sec
30
lighted
(
1/20
sec
LT
lighted
i
16
sec
LT
blinking
Long
Time
exposure
mode
(p.
42)
9

(For
purposes
of
explanation
all
indicators
are
shown
here;
the
actual
display
contents
differ
depending
on
photographic
conditions.)
(D
Flash
Mode
(p,
1
6
,
26)
Automatic
Flash
Mode;
”
Red-Eye
Reduction
Flash
Mode:
“
%
”
No-Flash
Mode:
”
Fill-in
flash
Mode:
“
^
”
Night
Portrait
Flash
Mode:
“
t
®
°
”
®
Display
of
battery
capacity
(P.
13)
O
Mode
Indicators
and
Settings
(p.
38-46)
Exposure
compensation
mode:
“
g|
”
or
“
g
”
and
compensation
value
Selftimer
mode:
“
^
”
and
timer
setting
Long-time
mode;
“LT”
and
shutter
setting
Focus
setting
mode:
“
P,f
”
or
“MF,”
and
setting
distance
®
Exposure
counter
(also
displays
remaining
time
for
selftimer
and
long-time
exposure).
®
Custom
function
mode;
“CF”
and
setting
item
(Example:
“
J
”)
(p.
47)
10

I

■
J
Open
battery
compartment
cover
Using
the
hand
strap
adjuster
as
shown,
turn
the
battery
compartment
cover
counter¬
clockwise,
so
that
its
mark
is
aligned
with
the
mark
on
the
camera
body.
2
Insert
new
battery
Be
sure
the
battery
poles
are
oriented
correctly
as
indicated
inside
the
battery
compartment.
A
single
3V
lithium
battery
(type
CR2)
is
required.
O
Close
the
battery
^
compartment
by
aligning
the
mark
on
the
cover
with
the
mark
on
the
camera
body
and
rotating
the
cover
clockwise.
<Battery
Check>
After
inserting
a
new
battery,
operate
the
camera
once;
the
battery
charge
indicator
“
should
appear
in
the
display

Display
of
battery
capacity
'
llBattery
is
full
IS^
battery
will
'shortly
{BlinkingJj,
as
soon
as
possible
(Bl'r
King):
cm
Battery
is
eipty
<Battery
Replacement>
The
battery
should
be
replaced
when
the
battery
charge
indicator
“
csi
”
blinks
in
the
display
panel.
Turn
off
the
camera
before
replacing
the
battery.
•
Photographs
can
still
be
taken
even
when
the
remaining
battery
power
indicator
“
cai"
begins
to
blink,
but
the
battery
should
nonetheless
be
changed
as
soon
as
possible.
If
the
remaining
battery
power
falls
below
a
certain
point,
the
“
(zzi
”
mark
on
the
display
panel
will
blink
and
the
camera
will
not
operate.
•
Due
to
individual
manufacturing
characteristics,
some
batteries
may
cause
the
battery
power
indicator
“
cai
”
to
blink
temporarily
after
the
battery
is
changed.
If
this
occurs
immediately
after
changing
a
battery,
turn
the
power
switch
OFF
and
then
ON
again;
if
the
full
battery
power
indicator
“
iMl
”
appears
when
the
camera
is
turned
on
again,
the
battery
can
be
used
without
problems.
13

*
’-.-/i'
v''-.'=\--'
■
.
■
'
.
:'-
n
Shutter
Helease
Button
i
,
H--',:-'
!
■
Halfway
Fully
Halfway
dapreseed
Fully
depressea
The
shutter
release
button
is
designed
to
be
pressed
in
two
stages,
the
“halfway
depressed”
position,
and
the
“fully
depressed”
position.
In
the
two
positions,
the
shutter
release
button
operates
as
follows:
Halfway
depressed:
Lens
is
focused
and
light
on
subject
is
metered.
Fully
depressed:
Lens
is
extended
to
focusing
position,
shutter
released,
picture
taken
and
the
film
is
wound
to
next
frame.
^
To
prevent
camera
shake,
press
the
shutter
release
button
gently
with
the
pad
of
your
index
finger.
Be
sure
to
oserve
how
to
hold
the
camera
correctly
as
well
(see
p.
15).
If
desired,
the
camera
may
be
set
so
that
the
lens
will
extend
to
the
focus
position
when
the
shutter
release
button
is
in
the
halfway
depressed
position
(p.
47).
14

3.
How
to
Hold
the
Cameia
Correctly.
rizontat
posrtion
sW«
iBCtBli
rcii
<•
iiiC;lliMir4«]iiC(i«i«>5iH[»]iiBiiisaff«iii{sl'jsli'ilsUlsllsfJ
riTln
liiSliflli
lit

(t-Nsase
button:
The
Main
Switch/Aperture
Dial
is
used
to
turn
the
camera
ON/OFF,
and
for
setting
the
aperture
value
when
using
the
aperture-priority
automatic
exposure
mode.
When
the
main
switch
is
turned
from
“
©
”
to
“P”,
the
camera
is
turned
ON
and
ready
for
use
in
the
programmed
automatic
exposure
mode
(p.
23,
35).
By
holding
the
dial
lock-release
button
depressed
and
turning
the
dial
to
one
of
the
aperture
values
in
the
range
“2.8-
16,”
the
camera
will
be
set
for
aperture-priority
automatic
exposure
(p.
36).
Example
display
during
aitomatio
flash
mode.
The
flash
mode
button
is
used
to
select
the
flash
mode.
After
the
camera
is
switched
ON,
each
time
you
press
the
flash
mode
button
the
flash
mode
is
changed
in
the
order
shown
below;
the
corresponding
mode
is
indicated
on
the
display
(p.
26).
©
Automatic
Flash
mode
''u
™
”
®
Red-eye-reduction
Flash
mode
M
L
AUTO
>1
>
«®>
@
No-flash
mode
”
®
Fill-in
Flash
mode
“
^
”
®
Night
Portrait
Flash
Mode
•
The
default
flash
mode
(the
mode
set
automatically
when
the
camera
is
turned
on)
can
be
changed
if
desired
P-

Using
the
mode
button
and
mode
dial
allows
the
use
of
a
wide
variety
of
photographic
techniques.
For
details,
see
p.
38-46.
The
mode
button
is
used
to
switch
between
the
modes
shown
in
the
accompanying
table,
and
the
mode
dial
is
used
to
change
the
set
values
in
each
mode.
Setting
Contents
Compensation
value:
-2EV
-
+2EV
S)
or
B
Exposure
compensation
(p.
38)
CD
Selftimer
(p.
40)
Delay
time:
10
sec
or
2
sec
@
LT
Long-time
exposure
(p.
42)
Shutter
time:
1-180
sec
@
S
F
or
MF
Focus
mode
select
and
distance
set.
Distance:
0.4m-infinity,
AF
17

Use
DX-coded
35mm
film.
The
film
speed
is
automatically
set
by
the
camera.
•
Non-DX-coded
film
is
automatically
set
to
ISO
100.
1
Open
the
camera
back.
-*•
Open
the
camera
back
by
pushing
down
the
camera
back
release
knob.
•
Load
and
unload
film
away
from
direct
sunlight.
2
Insert
a
new
film
Insert
the
cartridge
diagonally
as
shown
in
the
illustration.
•
Take
care
not
to
handle
the
DX
contacts
excessively,
or
allow
them
to
become
soiled.
18

V’*.
'
.r'*.
I
«
O
Pull
out
the
film
leader
from
the
cartridge
until
it
reaches
the
orange
colored
“
“•
”
(film
leader
mark),
and
lay
the
film
leader
on
top
of
the
take-
up
spool.
When
pulling
out
the
film
leader,
do
not
puli
out
too
much
so
that
the
film
buckles.
•
If
you
accidentally
pull
out
too
much
film,
adjust
the
length
before
continuing.
A
Close
the
camera
back
securely.
When
the
camera
back
is
closed,
the
film
automatically
advances
to
the
first
frame
and
stops
with
the
expos,jre
counter
at
“01”.
If
the
exposure
counter
displays
a
blinking
“00",
the
film
is
not
advancing
properly;
the
shutter
will
not
operate
in
this
condition.
Open
the
camera
back
and
load
the
film
correctly.
19

When
the
final
frame
of
a
roll
has
been
exposed,
the
camera
automatically
rewinds
the
film
into
the
cartridge.
During
rewinding,
the
exposure
counter
displays
decreasing
numbers
until
rewind
is
complete,
at
which
point
the
motor
stops
and
the
exposure
counter
shows
a
blinking
“00”.
When
rewind
is
compiete,
open
the
camera
back
and
remove
the
film
cartridge.
Never
attempt
to
open
the
camera
back
until
rewinding
is
complete.
•
After
film
is
rewound,
the
camera
will
not
operate
again
until
the
camera
back
is
opened.
•
To
manually
rewind
film
mid-way
through
a
roil,
use
the
tip
of
the
adjuster
on
the
accessory
strap
(or
other
pointed
object)
to
depress
the
rewind
button
“R”.
(Do
not
use
an
awl,
needle,
or
other
very
sharp
instrument).
^3^
If
desired,
the
camera
can
be
set
to
leave
the
film
leader
outside
the
film
cartridge
after
rewind
is
completed
(p.
47).
20

<Aperture>
The
aperture
in
the
lens
controls
the
amount
of
light
going
through
the
lens
by
becoming
smaller
or
larger.
The
size
of
the
opening
is
called
aperture
value.
The
larger
the
aperture
value
the
smaller
the
opening.
<Shutter
speed>
By
varying
the
amount
of
time
it
remains
open,
the
camera’s
shutter
controls
the
amount
of
light
reaching
the
film.
The
length
of
time
the
shutter
remains
open
is
called
the
shutter
speed.
<Exposure>
“Exposure”
means
to
expose
the
film
to
light.
The
amount
of
light
allowed
to
strike
the
film
is
controlled
by
the
combination
of
aperture
and
shutter
speed.
<Film
speed>
(ISO
value)
The
film
speed
refers
to
a
given
film’s
sensitivity
to
light,
measured
according
to
numerical
values
established
by
the
International
Standards
Organization
(ISO).
The
smaller
the
ISO
value,
the
lower
the
film's
sensitivity
to
light.
The
larger
the
ISO
value,
the
higher
the
film’s
sensitivity
to
light
(the
film
is
sensitive
to
lower
levels
of
light).
<Depth-of-field>
In
general,
when
the
lens
is
focused
on
a
given
subject,
not
only
the
subject
itself,
but
a
certain
area
in
front
of
and
behind
the
subject
will
also
be
in
focus.The
range
between
the
nearest
and
the
farthest
point
that
is
sharp
is
the
“depth-of-field.”
The
depth-of-
field
on
any
given
lens
will
change
in
the
following
way:
®
As
the
aperture
is
closed,
the
depth-of-field
becomes
larger,
and
as
the
aperture
is
opened,
the
depth-of-field
becomes
smaller.
(D
The
depth
of
field
becomes
larger
as
distance
to
the
subject
increases,
smaller
at
closer
distances.
@
The
depth
of
field
is
larger
behind
than
in
front
of
the
subject
in
focus.
21

22

Turn
the
main
switch
from
“G
”
to
“P”.
The
camera
is
turned
on,
the
lens
barrier
automatically
opens,
and
the
lens
extends
to
its
shooting
position.
The
camera
automatically
defaults
to
the
following
modes:
1.
Focusing
-
♦
automatic
focus
The
camera
lens
automatically
focuses
whenever
the
shutter
release
button
is
depressed
halfway.
2.
Exposure
-
►
Programmed
automatic
exposure
“P”
The
camera
automatically
selects
the
optimum
combination
of
shutter
speed
and
aperture
for
the
ambient
lighting
conditions.
This
mode
is
ideal
for
snapshots.
3.
F
lash
mode
-
►
automatic
flash
mode
“
J
''“
™
”
in
this
mode,
the
flash
fires
automatically
when
shooting
in
dark
or
strongly
backlit
situations.
When
the
shutter
release
button
is
depressed
halfway,
the
viewfinder
display
will
show
the
“
^
’’
mark
if
the
flash
is
going
to
fire.
•
Whenever
you
do
not
intend
to
use
the
camera
immediately,
turn
off
the
main
switch
to
prevent
accidental
tripping
of
the
shutter.
23

"I
Point
the
viewfinder’s
focus
frame
at
the
subject
and
depress
the
shutter
haifway.
The
camera
will
focus,
and
when
the
subject
is
in
focus,
the
mark
will
appear
inside
the
viewfinder,
together
with
the
automatically
selected
shutter
speed.
•
lfthe“kt’’
mark
lights,
compose
your
subject
inside
the
close-up
parallax
frame
before
shooting
(P-
8).
O
Gentiy
press
the
^
shutter
reiease
button
the
rest
of
the
way
to
take
the
photograph.
This
camera
focuses
by
means
of
an
external,
passive-type
multi-autofocus.
As
a
result,
the
subject
should
remain
in
focus
even
if
it
leaves
the
focusing
frame
slightly.
2
^
Other manuals for T3
1
Table of contents
Other Contax Digital Camera manuals
Contax
Contax RTS III User manual
Contax
Contax S2 User manual
Contax
Contax Contax NX User manual
Contax
Contax 137 MD Quartz User manual
Contax
Contax G2 User manual

Contax
Contax AX User manual
Contax
Contax 167MT User manual

Contax
Contax Tvs III User manual
Contax
Contax I4R User manual
Contax
Contax TVS DIGITAL - User manual
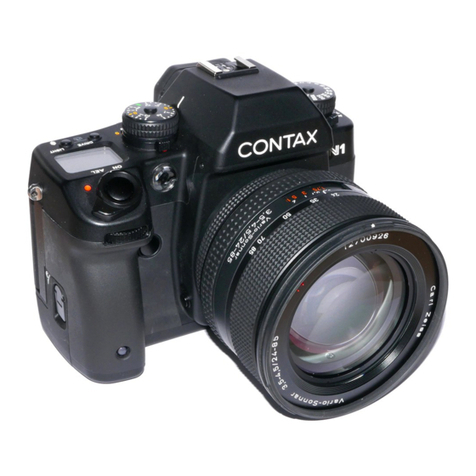
Contax
Contax N1 User manual

Contax
Contax TVS DIGITAL - User manual

Contax
Contax G2 User manual
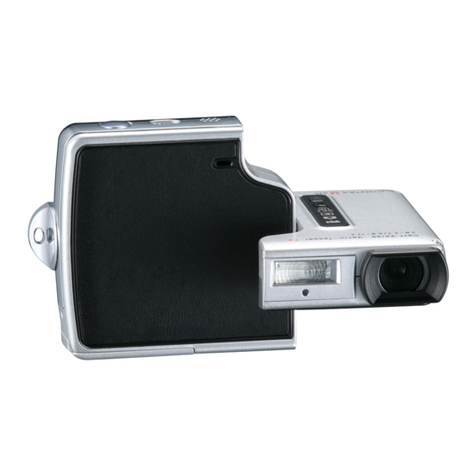
Contax
Contax U4R User manual
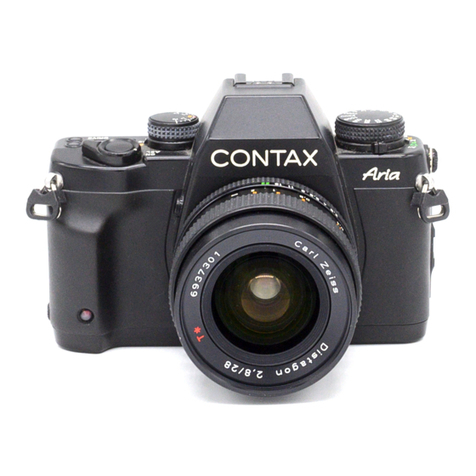
Contax
Contax Aria User manual
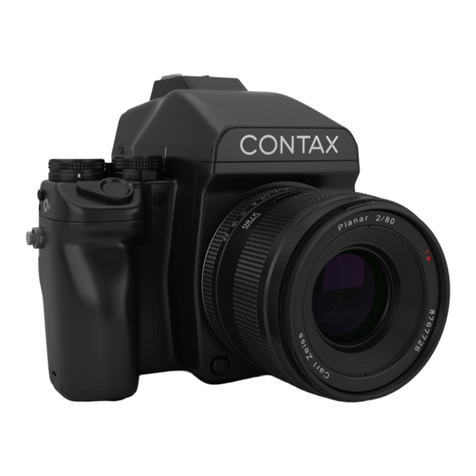
Contax
Contax 645 User manual
Contax
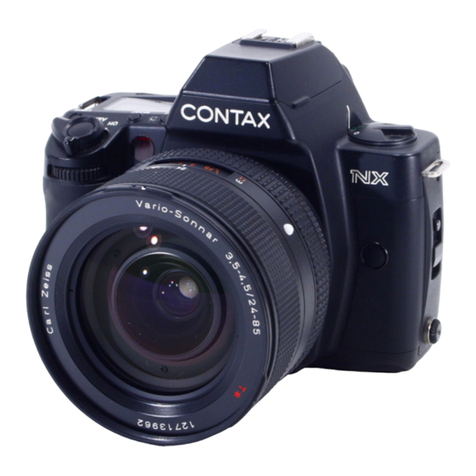
Contax Contax NX User manual

Contax
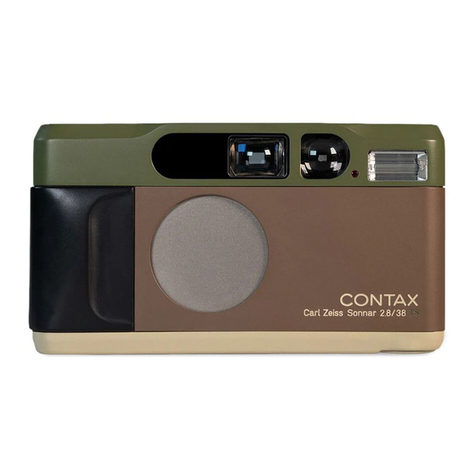
Contax TVS DIGITAL - User manual
Contax
Contax MAD User manual

Contax
Contax 159MM User manual


