code Type (A)
Sensivity
(s)
Tripping delay
Communications
3ED21G ELR-3A
0,03-0,1-0,3-0,5-1-3
by direct setting
5-10-30 by SETUP
INS-SEL-0,02-0,1-0,2-0,3-0,4-0,5-0,75-1
by direct setting
3-5-10 by SETUP
Not available
(see version
ELR-3As)
3 E D 3 0 x
Code
Power supply
230 V c.a.
110 V c.a.
G
E
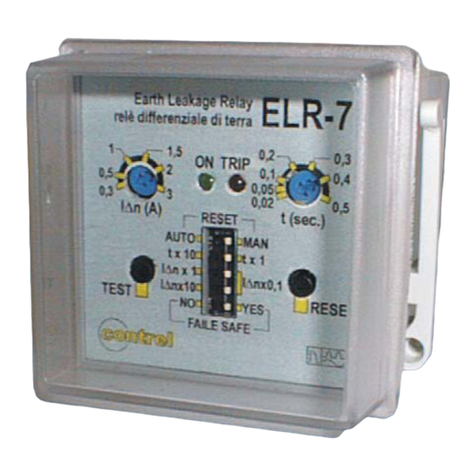
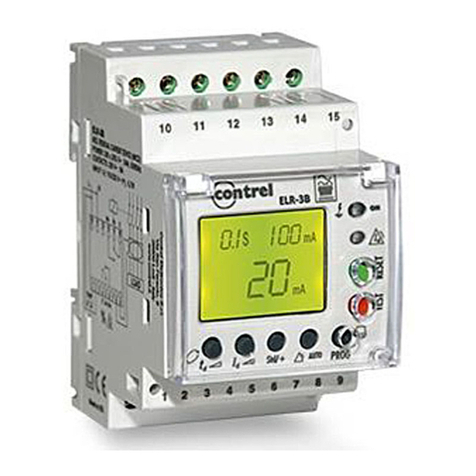
ELR-3A Electronic Earth-leakage Protection Relay
For instance ELR-3A 110 V a.c...supplied by 3ED30E
RGU - 10 C
24/ 48 V c.a/a.c
24/120 V c.c/d.c
T
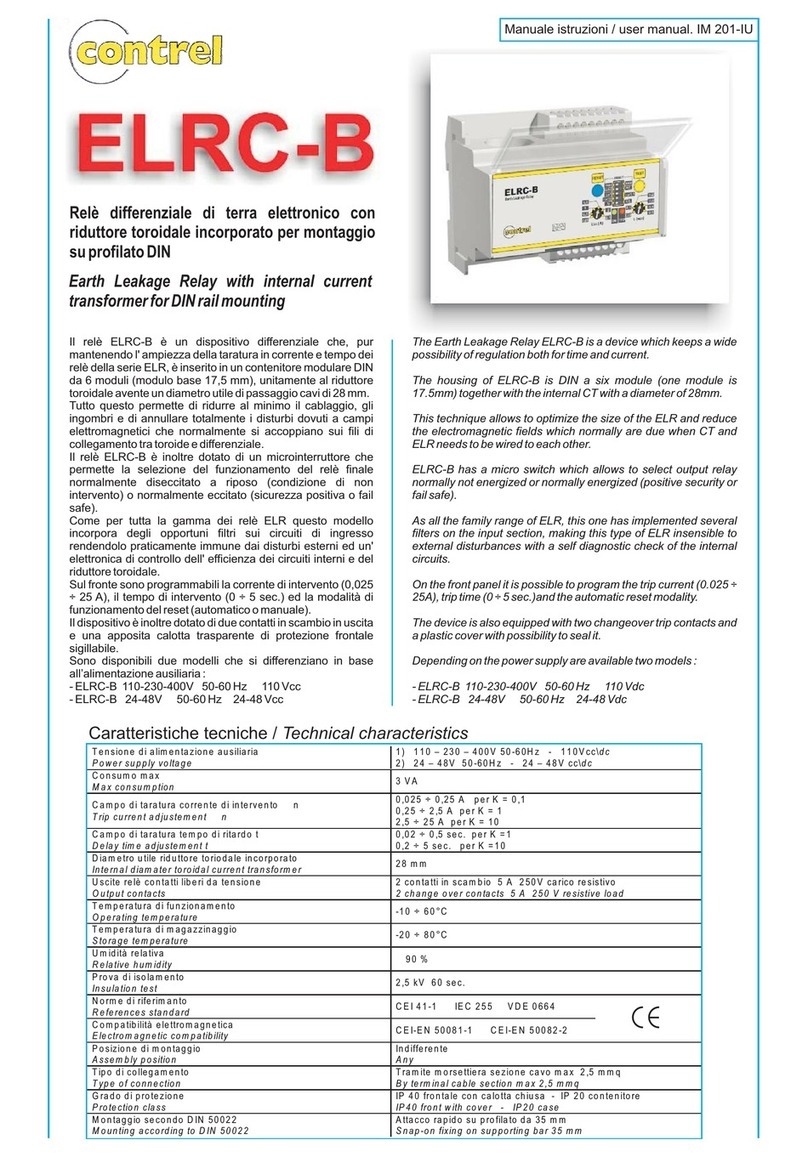
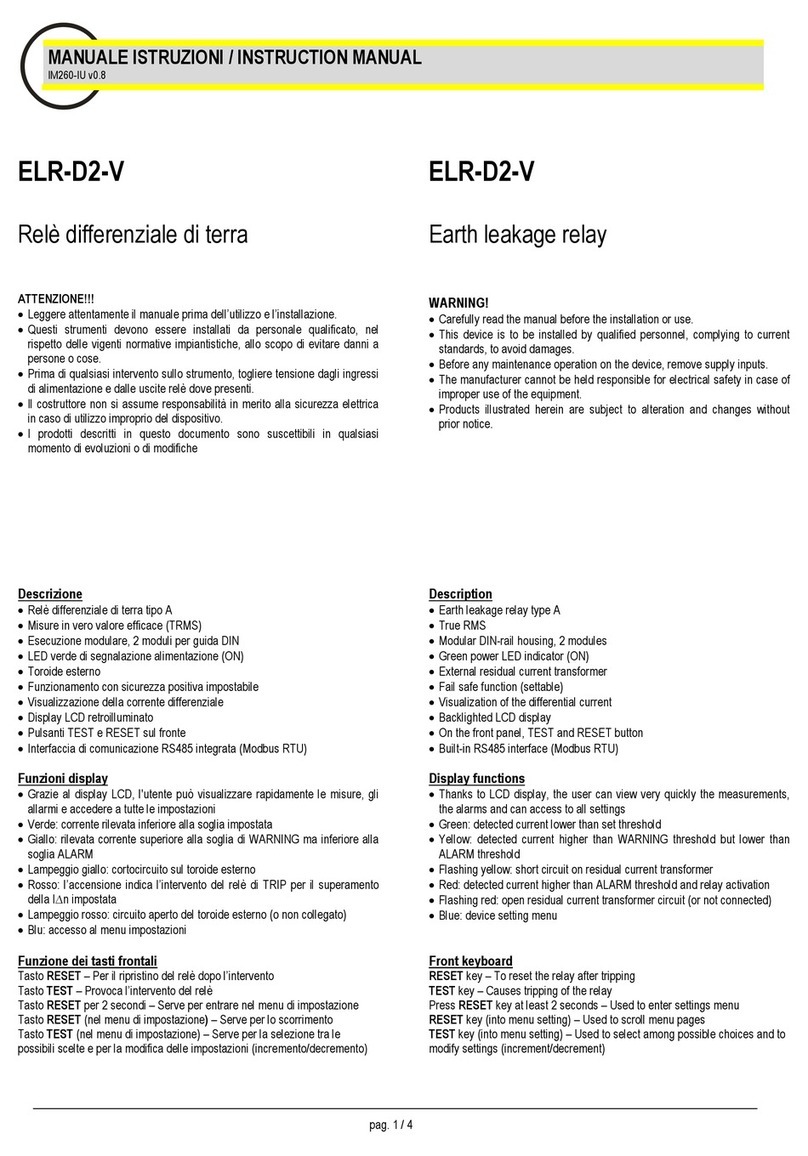
GENERAL DESCRIPTION
45
52,5 43,5
85
67,9
DIN 46277 (EN 50022) Weight :168 gr
Fixed by rail
Rated current: 6 Ac.a
Rated voltage : 230 Vc.a
1-2 External Input Trip/ Reclose Optocoupled
3 Not used
4 Pre-alarm output relay common
5 Pre-alarm output relay, NC
6 Pre-alarm output relay, NA
7 Not used
8 Input Current sensor 1S2
9 Input Current sensor 1S1
10 Supply 230 Va.c (Phase or Neutral)
11 Supply 230 Va.c (Neutral or Phase)
12 Not used
13 Tripping output relay NO
14 Tripping output relay NC
15 Tripping output relay COMMON
Rated current: 6Ac.a.
Rated voltage: 230 Va.c
TERMINAL DESCRIPTION FEATURES
- Device with 2 independent, programmable relays, one main relay one prealarm.
- It has 2 outputs. Main trip relay and prealarm signal relay.
- It has 1 potential free input for external ON/OFF.
- Mounting in DIN rail 46277 (EN 50022) or PANEL 72x72 by means accesories (3EDA03)
- Associated to a CT-1/... Series external, toroidal current transformer.
- It verifies connection with external transformer CT-1/... by inductive tests.
- Leakage detection and measurement is via calculating its true effective value (TRMS).
- Displays setting values and instant current different to its associated units
PRELIMINARY CONSIDERATIONS
CHECKS ON RECEPTION
On receving the instrument, check the following points:
- The unit’s specifications are the same as those on your order.
- Check that the device has not suffered any damage during transport.
You can download more information from CONTREL website, www.contrel.it
SAFETY PRECAUTIONS
The staff using or handling the unit must follow the common safety measures and
warnings included in the instruction manual.
The ELR-3A unit has been specifically designed for its installation in a electric board,
enclosure to a DIN rail or mounted in panel by means of accessories. It has a flashing
green led (ON) when it is operation and, therefore, it shows that there is voltage and
current in the electronic circuit. The user must make sure that the equipment is not
connected to the power supply at all the times, even when the LED is not flashing.
Likewise, the power supply circuit must have a built-in circuit breaker or equivalent
device to disconnect the unit from the power.supply network.
INSTALLATION AND START-UP
The user must take into account and observe the informations and warnings included in
this instruction manual to guarantee the correct operation of the equipment and comply
whit the safety specifications. The equipment must not turned on until is fully installed in
the electrical panel.
¡IMPORTANTE!
IMPORTANT!
The unit´s protections systems might not be effective if the unit is used for
purpose other than those specifications by the manufacturer.
Disconnect the equipment from the power supply when the unit´ssafety protection
systems are not working or there are signs of a problem (in case of visible damage). In this
case, contact a qualified technical service or with our own technical service .
DIN rail installation. Through the CBT must pass all live conductors supplyng electrical
energy to loads or part of the installation which requires it to earth leakage protection with
this device. In single-phase installation (phase and neutral, L and N), three phase - 3
wires (three phases, L1, L2 and L3) or three phases - 4 wires (L1, L2, L3 and N). All
connections should be inside the electrical board. Please note that with the connected
equipment, terminals and opening covers or removing elements, can give access to
dangerous parts to touch. The equipment must not be used until it has completely
finished installation. The unit must be connected to a power supply circuit protected by
fuses in line with the range and power consumption. In turn, the supply circuit must be
provided with a circuit breaker or equivalent device to disconnect the equipment from the
2
mains. During the wiring cable is advisable a section permitted between 1 - 1.5 mm . A
recommended torque of 0.5-0.6 N.m. Cable Stripping Tools length 7 mm.
contrel
contrel
ELR-3A
TECHNICAL FEATURES
- Tipo Relay type: Electronic class A. High frequency current filtering.
- Reclosing type: Manual via RESET button or by cutting power supply.
- Rated power supply voltage: 230 (± 20%) 50/60 Hz, 6 VA
110 (± 20%) 50/60Hz, 6 VA
24-48 V a.c. / 24-120 V d.c., 6 VA, ± 20%, 4 W
- Operating temperature: 10...+50ºC
- Relative humidity: 5%...95% RH (Non-condensing)
- Maximum operating altitude: 2000m
- IP Protection:
Assembled equipment (front): IP 41
Non assembled equipment (sides and rear cove): IP 20
- Connections:
Permissible cable section: 0,127-2,8082 mm
Recommended tightening torque 0.5-0.6 Nm
Length of cable to strip: 7mm
Recommended screwdrivers: Bar 0.4 x 2.5 x 80 mm, length 160mm
Switch Output contact features: 13-14-15 and 4-5-6
Rated current/Maximum instant current: 6/10 A a.c.
Rated voltage/Maximum switching voltage: 230/275 V a.c.
Rated load in AC1: 2500 V·A
Contacts protected by varistor (max. Operating voltage): 275 Va.c.
Rated load in Ac1: 1-2
Input Opto-coupled
Maximum voltage: 230 V a.c.+20%; 0,7 W
- Safety: CAT III (EN61010)
STANDARD
Meet with standard IEC62020 and IEC60947-2 Annex- M. .
Instruction Manual IM2145-U v0.8
Pag. 1/3
IM2145-U v0.8
