If you have any problems or questions, contact our U.S.-based Technical
Support at 1-888-400-4072, Monday-Friday, 7 AM-6 PM MDT.
For the most up-to-date product support, accessories, electronic (PDF)
format manuals and more, visit https://dealer.control4.com/support.
• No user serviceable parts in this unit.
Si vous avez des problèmes ou des questions, veuillez communiquer avec notre
service à la clientèle aux États-Unis au 1-888-400-4072, du lundi au
vendredi, de 7 h à 18 h, heure normale des Rocheuses (HNR).
Pour le soutien relatif aux produits le plus à jour, les accessoires, les manuels en format
électronique (PDF) et plus encore, visitez le site https://dealer.control4.com/support.
• Aucune des pièces de ce dispositif ne peut être réparée par l’utilisateur.
Si tiene problemas o dudas, comuníquese con nuestro Centro de
atención al cliente con sede en EE. UU. al 1-888-400-4072 de lunes a
viernes, de 7 a.m. a 6 p.m., hora estándar de montaña (MST).
Para recibir el soporte técnico más actualizado sobre productos, accesorios, manuales
en formato digital (PDF), entre otros, visite https://dealer.control4.com/support.
• Esta unidad no contiene piezas que el usuario pueda reparar.
MANUAL • MANUEL • MANUAL
46730
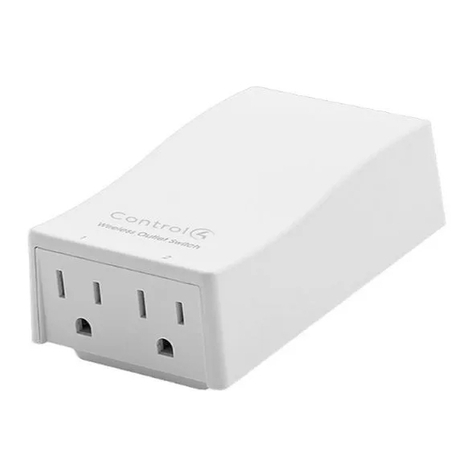
C4-V-OSW120
Plug-In
Outlet Switch
RIESGO DE INCENDIO
RIESGO DE DESCARGA ELÉCTRICA
RIESGO DE QUEMADURAS
PARA REDUCIR EL RIESGO DE DESCARGA
ELÉCTRICA, ESTE PRODUCTO CUENTA
CON UNA CLAVIJA DE TIPO CONEXIÓN
A TIERRA (TIENE UNA TERCERA
PATILLA).ESTA CLAVIJA SÓLO PODRÁ
CONECTARSE A UN TOMACORRIENTE
DE TIPO CONEXIÓN A TIERRA. SI NO SE
PUEDE CONECTAR LA CLAVIJA A LA TOMA,
CONSULTE CON UN TÉCNICO ELÉCTRICO
CALIFICADO PARA INSTALAR LA TOMA
APROPIADA. POR NINGÚN MOTIVO
MODIFIQUE LA CLAVIJA.
CONTROL DE EQUIPOS
ELECTRODOMÉSTICOS
PRECAUCIÓN: A FIN DE DISMINUIR EL
RIESGO DE RECALENTAMIENTO Y DE
POSIBLES DAÑOS EN LOS DEMÁS EQUIPOS
• NO SUPERE LOS VALORES NOMINALES
ELÉCTRICOS
• NO USAR PARA CONTROLAR
DISPOSITIVOS
RISK OF FIRE
RISK OF ELECTRICAL SHOCK
RISK OF BURNS
TO REDUCE THE RISK OF ELECTRIC SHOCK,
THIS PRODUCT HAS A GROUNDING PLUG
THAT HAS A THIRD (GROUNDING) PIN. THIS
PLUG WILL ONLY FIT INTO A GROUNDING
TYPE POWER OUTLET. IF THE PLUG
DOES NOT FIT INTO OUTLET, CONTACT A
QUALIFIED ELECTRICIAN TO INSTALL THE
PROPER OUTLET. DO NOT CHANGE THE
PLUG IN ANY WAY.
CONTROLLING APPLIANCES
CAUTION: TO REDUCE THE RISK OF
OVERHEATING AND POSSIBLE DAMAGE TO
OTHER EQUIPMENT
• DO NOT EXCEED RATINGS
•DO NOT USE TO CONTROL ANY DEVICE
WHERE UNINTENDED OPERATION COULD
CAUSE UNSAFE CONDITIONS (HEAT LAMP,
SUN LAMP, ETC.)
RISQUE D’INCENDIE
RISQUE DE CHOC ÉLECTRIQUE
RISQUE DE BRÛLURES
POUR RÉDUIRE LES RISQUES DE CHOCS
ÉLECTRIQUES, CE PRODUIT COMPREND
UNE FICHE MISE À LA TERRE CONSTITUÉE
D’UNE TROISIÈME BROCHE (MISE À LA
TERRE). CETTE FICHE NE PEUT ÊTRE
INSÉRÉE QUE DANS UNE PRISE DE
COURANT À LA TERRE. SI LA FICHE NE
PEUT ÊTRE INSÉRÉE DANS LA PRISE,
COMMUNIQUEZ AVEC UN ÉLECTRICIEN
QUALIFIÉ QUI INSTALLERA UNE PRISE
ADÉQUATE. NE CHANGEZ PAS LA PRISE DE
QUELQUE MANIÈRE QUE CE SOIT.
COMMANDE DES APPAREILS
ATTENTION: POUR RÉDUIRE LE RISQUE
DE SURCHAUFFE ET DE DOMMAGES
POSSIBLES À D’AUTRES APPAREILS
• NE PAS DÉPASSER LES
CARACTÉRISTIQUES NOMINALES
• NE PAS UTILISER POUR COMMANDER
DES APPAREILS POUR LESQUELS
UN FONCTIONNEMENT IMPRÉVU
POURRAIT ENTRAÎNER DES CONDITIONS
DANGEREUSES (LAMPE À RAYONS
INFRAROUGES, LAMPE SOLAIRE, ETC.)
AVERTISSEMENT
WARNING ADVERTENCIA
NOT FOR USE WITH MEDICAL OR
LIFE-SUPPORT EQUIPMENT
ZIGBEE ENABLED DEVICES SHOULD
NEVER BE USED TO SUPPLY POWER TO,
OR CONTROL THE ON/OFF STATUS OF
MEDICAL OR LIFE-SUPPORT EQUIPMENT.
NE PAS UTILISER AVEC UN ÉQUIPEMENT
MÉDICAL OU DE SURVIE
LES DISPOSITIFS COMPATIBLES
AVEC LA TECHNOLOGIE ZIGBEE NE
DEVRAIENT JAMAIS ÊTRE UTILISÉS
POUR ALIMENTER OU COMMANDER
LA MISE EN MARCHE OU L’ARRÊT DE
L’ÉQUIPEMENT MÉDICAL OU DE SURVIE.
SE PROHÍBE SU EMPLEO EN
EQUIPO MÉDICO O EQUIPO
PARA EL MANTENIMIENTO DE
LAS FUNCIONES VITALES
LOS DISPOSITIVOS ZIGBEE NUNCA
SE DEBEN USAR PARA SUMINISTRAR
ENERGÍA ELÉCTRICA AL EQUIPO MÉDICO
O AL EQUIPO PARA EL MANTENIMIENTO
DE FUNCIONES VITALES, NI PARA
CONTROLAR EL ESTADO DE ENCENDIDO
O APAGADO DE DICHOS EQUIPOS.
Fr
Cet appareil est conforme au paragraphe15 des normes FCC et au CNR pour les
appareils exempts de licence d’Industrie Canada. Son utilisation est sujette aux
deux conditions suivantes: 1) cet appareil ne doit pas occasionner de brouillage
préjudiciable et 2) cet appareil doit accepter toutes les interférences reçues, notamment
les interférences qui peuvent provoquer un fonctionnement non désiré.
NOTE DE LA FCC: Le fabricant n’est pas responsable des interférences sur les fréquences
radioélectriques ou télévisuelles pouvant être causées par des modifications non autorisées de
ce matériel. De telles modifications peuvent annuler le droit de l’utilisateur à utiliser cet appareil.
REMARQUE: Cet appareil a été testé et certifié conforme aux limites relatives aux appareils
numériques de catégorie B définies dans le paragraphe15 des normes FCC. Ces limites ont
été définies afin de fournir une protection raisonnable contre le brouillage préjudiciable
en milieu résidentiel. Cet appareil produit, utilise et peut émettre des ondes de fréquence
radio et, s’il n’est pas installé et utilisé conformément aux instructions, il peut provoquer un
brouillage préjudiciable aux communications radio. Il n’existe toutefois aucune garantie que des
interférences ne se produiront pas au sein d’une installation donnée. Si cet appareil occasionne
un brouillage préjudiciable à la réception radiophonique ou télévisuelle, il suffit d’allumer
et d’éteindre l’appareil pour déterminer sa responsabilité. Nous encourageons l’utilisateur à
essayer de corriger ces interférences en appliquant une ou plusieurs des mesures suivantes:
— Réorienter ou déplacer l’antenne de réception.
— Augmenter la distance entre l’appareil et le récepteur.
— Brancher l’appareil à une prise secteur différente de celle du récepteur.
— Consulter le revendeur ou un technicien spécialisé en postes radio ou téléviseurs.
Remarque importante: Pour se conformer aux exigences de conformité de la FCC concernant
l’exposition aux RF, aucune modification apportée à l’antenne ou au dispositif n’est autorisée. Toute
modification apportée à l’antenne ou au dispositif pourrait faire en sorte que le dispositif dépasse
les exigences d’exposition aux RF et pourrait annuler le droit de l’utilisateur à utiliser ce dispositif.
En
This device complies with Part 15 of the FCC and Industry Canada license-exempt RSS standards.
Operation is subject to the following two conditions:
(1) this device may not cause harmful interference, and (2) this device must accept any
interference received, including interference that may cause undesired operation.
FCC NOTE: The manufacturer is not responsible for any radio or TV interference
caused by unauthorized modifications to this equipment. Such modifications
could void the user’s authority to operate the equipment.
NOTE: This equipment has been tested and found to comply with the limits for a Class B digital device,
pursuant to Part 15 of the FCC Rules. These limits are designed to provide reasonable protection
against harmful interference in a residential installation. This equipment generates, uses and can
radiate radio frequency energy, and if not installed and used in accordance with the instructions, may
cause harmful interference to radio communications. However, there is no guarantee interference
will not occur in a particular installation. If this equipment does cause harmful interference to radio
or television reception, which can be determined by turning the equipment off and on, the user
is encouraged to try to correct the interference by one or more of the following measures:
— Reorient or relocate the receiving antenna.
— Increase the separation between the equipment and receiver.
— Connect the equipment into an outlet on a circuit different from to which the
receiver is connected.
— Consult the dealer or an experienced radio/TV technician for help.
Important note: To comply with the FCC RF exposure compliance requirements, no change to the
antenna or the device is permitted. Any change to the antenna or the device could result in the
device exceeding the RF exposure requirements and void user’s authority to operate the device.
Es
Este dispositivo cumple con las Especificaciones del apartado 15 de las normas de la FCC y con las
especificaciones de las normas radioeléctricas (RSS) del Ministerio de Industria de Canadá aplicables
a aparatos exentos de licencia. El funcionamiento está sujeto a las siguientes dos condiciones: (1)
este dispositivo no debe provocar interferencia perjudicial, y (2) este dispositivo debe aceptar
toda interferencia que reciba, incluso la que pudiera causar un funcionamiento no deseado.
NOTA DE LA FCC: El fabricante no se hace responsable de ninguna interferencia de radio
o TV ocasionada por modificaciones no autorizadas efectuadas a este equipo. Dichas
modificaciones podrían anular la autoridad del usuario para utilizar el equipo.
NOTA: Este equipo ha sido probado y cumple con los límites para aparatos digitales de Clase B,
de conformidad con el apartado 15 de las normas de la FCC. Estos límites están diseñados para
proveer protección razonable contra interferencias perjudiciales en una instalación residencial. Este
equipo genera, usa y puede irradiar energía de radiofrecuencias y, si no se instala y usa según las
instrucciones, puede provocar interferencia perjudicial a las radiocomunicaciones. No obstante, no
hay garantías de que no ocurrirá interferencia en una instalación en particular. Si este equipo provoca
interferencia perjudicial a la recepción de radio o televisión, lo que puede determinarse encendiendo
y apagando el equipo, se recomienda que el usuario intente corregir la
interferencia por medio de la implementación de una o más de las siguientes medidas:
— Reorientar o reubicar la antena receptora.
— Incrementar la separación entre el equipo y el receptor.
— Conectar el equipo a un tomacorriente de un circuito diferente
del circuito al que está conectado el receptor.
— Consultar al distribuidor o a un técnico con experiencia en radio/televisión para
solicitar asistencia.
Nota importante: Para cumplir con los requisitos de cumplimiento de exposición de
radiofrecuencia de la FCC, no se permiten cambios a la antena o el dispositivo. Cualquier
cambio a la antena o dispositivo podría hacer que el dispositivo supere los requerimientos de
exposición de radiofrecuencia y anular la autoridad del usuario para operar el dispositivo.
Responsible Party - US Contact Information | Parte responsable - Información de contacto de los
Estados Unidos | Partie responsable - Coordonnées des États-Unis
Control4 | Model: C4-V-OSW120/46730
11734 S Election Rd, Draper, UT 84020 | 1-888-400-4070 | www.control4.com
FCC / IC
Purchase additional items at
control4.com.
SPECIFICATIONS (C4-V-OSW120)
— Power: 120V AC, 60 Hz.
— Signal (Frequency): 2.4 GHz
— Total max load for both outlets: 1800W (15A) resistive
load, 600W incandescent, or 1/2 HP motor.
— Range: Up to 325 feet line of sight between the switch and the closest receiver
module. For indoor use, place devices within 15 - 30 feet (4.5 - 9 m) of each other
— Operating temperature range: 32-104° F (0-40° C)
— For indoor use only
— Purpose of control: Operating control
— Construction of control: Direct plug-in type
— Type 1.B action
— Pollution degree: 2
— Impulse voltage: 1500 V
— Not suitable for appliances such as room heaters and window air conditioners.
Only allowed to be plugged into a wall outlet or a single outlet circuit
— Specifications subject to change without notice due
to continuing product improvement
SPÉCIFICATIONS (C4-V-OSW120)
— Tension : 120VCA., 60 Hz
— Signal (fréquence) : 2.4 GHz
— Charge totale maximale pour les deux prises: charge résistive de
1800W (15A), 600W (incandescent), ou moteur de 1/2 HP
— Portée : Distance à vue entre la télécommande et le module de réception
le plus proche allant jusqu’à 325 pi. Pour une utilisation en intérieur, placez
les appareils à moins de 4.5 - 9 m (15 - 30 pieds) l’un de l’autre
— Plage de températures de fonctionnement : de 32 à 104 °F (de 0 à 40 °C)
— Utilisation intérieure uniquement
— Propósito del control: control operativo
— Construcción de control: tipo de complemento directo
— Tipo 1.B acción
— Grado de contaminación: 2
— Tensión de impulso: 1500 V
— No es adecuado para electrodomésticos como calefactores y
aires acondicionados de ventana. Solo se permite enchufarlo
a la toma de corriente o a un circuito de salida única
— En raison d’améliorations continues du produit, les spécifications
peuvent faire l’objet de changements sans préavis
ESPECIFICACIONES (C4-V-OSW120)
— Energía: 120 VCA, 60 Hz
— Señal (frecuencia): 2.4 GHz
— Carga máxima total para ambos tomacorrientes: 1800W (15A) de
carga resistive, 600W incandescente, o motor de 1/2 HP
— Alcance: Hasta 325 pies (100m) en línea de visibilidad directa entre el control
inalámbrico y el módulo receptor Zigbee más cercano. Para uso en interiores, coloque
dispositivos a una distancia de 15 a 30 pies (aproximadamente 5 a 9 m) entre sí.
— Para uso en interiores exclusivamente
— But du contrôle: Contrôle de fonctionnement
— Construction du contrôle: type enfichable direct
— Action de type 1.B
— Degré de pollution: 2
— Tension d'impulsion: 1500 V
— Ne convient pas aux appareils tels que les appareils de chauffage
et les climatiseurs de fenêtre. Ne peut être branché que dans
une prise murale ou dans un circuit à une seule prise.
— Las especificaciones están sujetas a cambios sin previo aviso por
las constantes mejoras a que se someten los productos
All brand names shown are trademarks of their respective owners.
Tous les noms de marque illustrés sont des marques de commerce de leurs propriétaires respectifs
Todas las marcas que aparecen aquí son marcas registradas de sus respectivos dueños.
MADE IN CHINA/FABRIQUÉ EN CHINE/HECHO EN CHINA
DISTRIBUTED BY CONTROL4, 11734 S ELECTION RD DRAPER, UT 84020
46730 | C4-V-OSW120 | 200-00645-A | 2019-12-12 DH
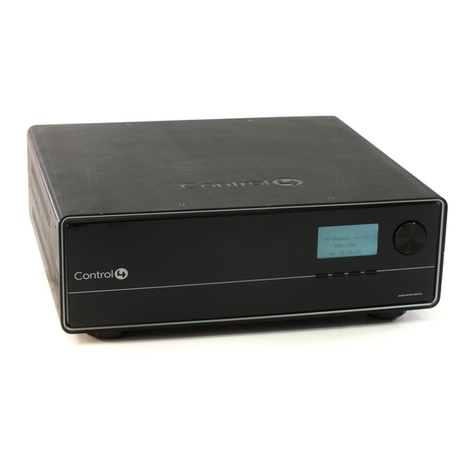
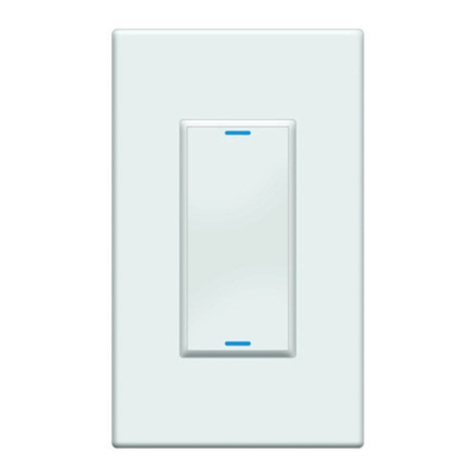
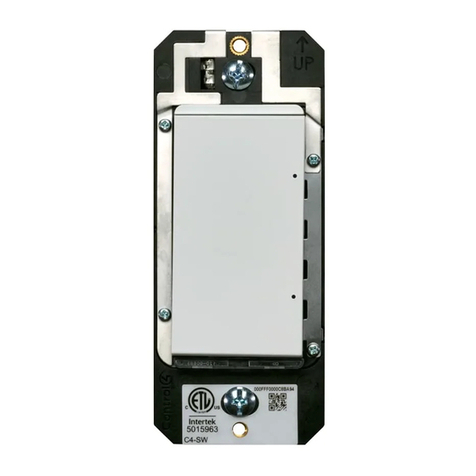
Essential Forward
Phase Dimmer
Plug-In
Outlet Dimmer
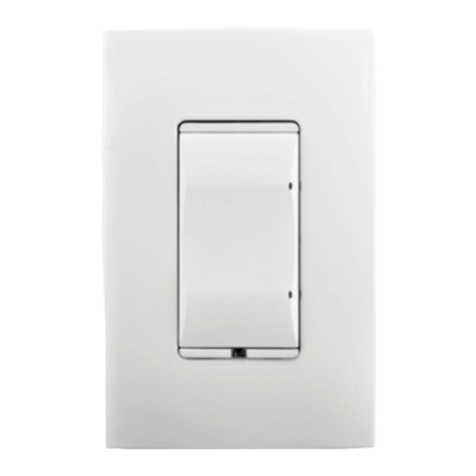
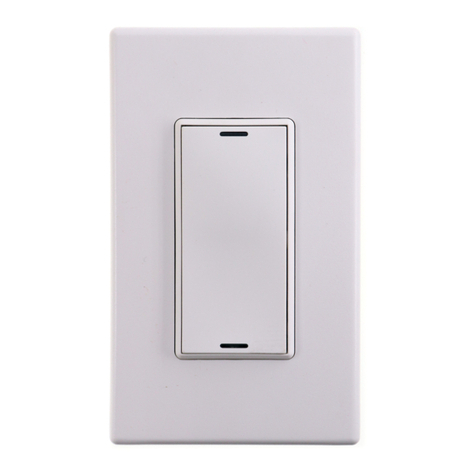
Essential Auxiliary
Keypad
Plug-In
Outlet Switch
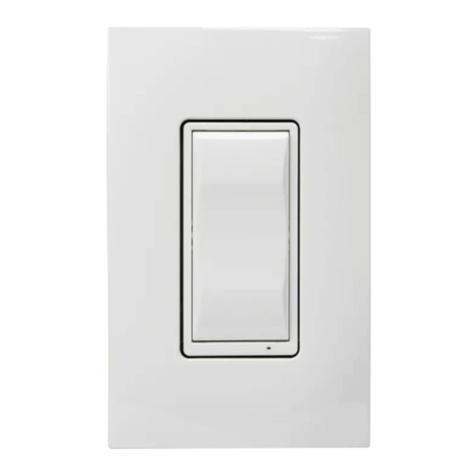
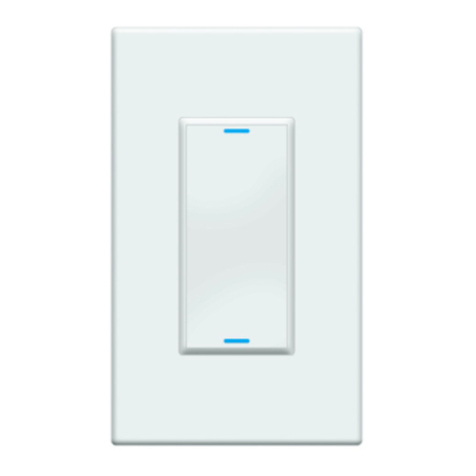
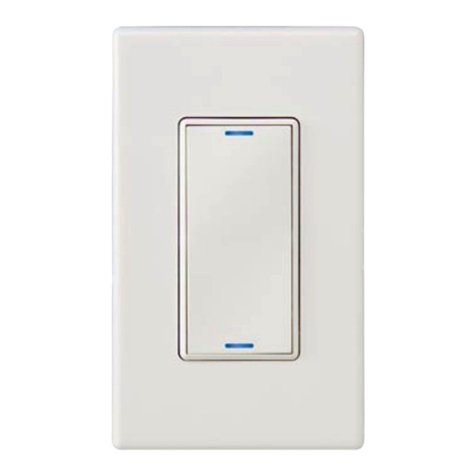
Essential Switch
WARRANTY/GARANTIE/GARANTÍA
https://www.control4.com/legal/warranty/
ctrl4.co/c4-v-osw120-ig
MOST RECENT VERSION
Copyright © 2020, Control4 Corporation. All rights reserved. Control4, Pakedge, Triad
and their logos are registered trademarks or trademarks of Control4 Corporation in the
United States and/or other countries. 4Store, 4Sight, Control4 My Home, Mockupancy,
and BakPak are also registered trademarks or trademarks of Control4 Corporation.
Other names and brands may be claimed as the property of their respective owners. All
specifications subject to change without notice.
