Traceable
®
is a registered trademark of Control Company ©2008 Control Company. 92-4110-00 Re . 2 051908
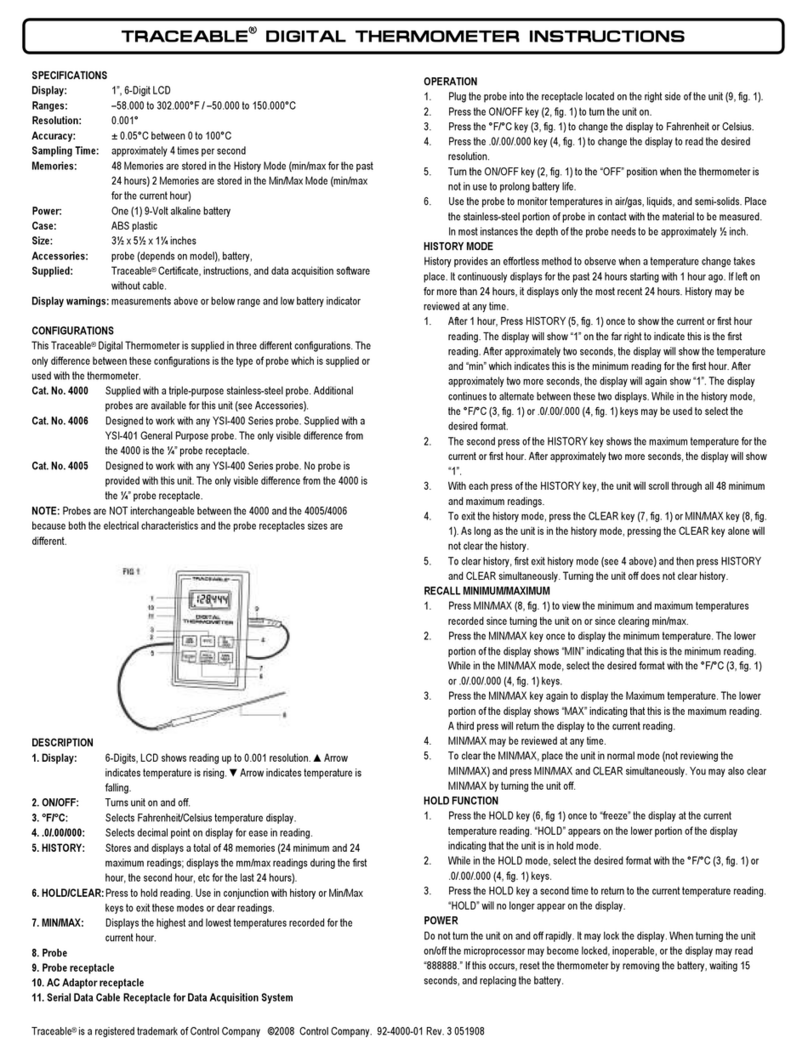
SPECIFICATIONS
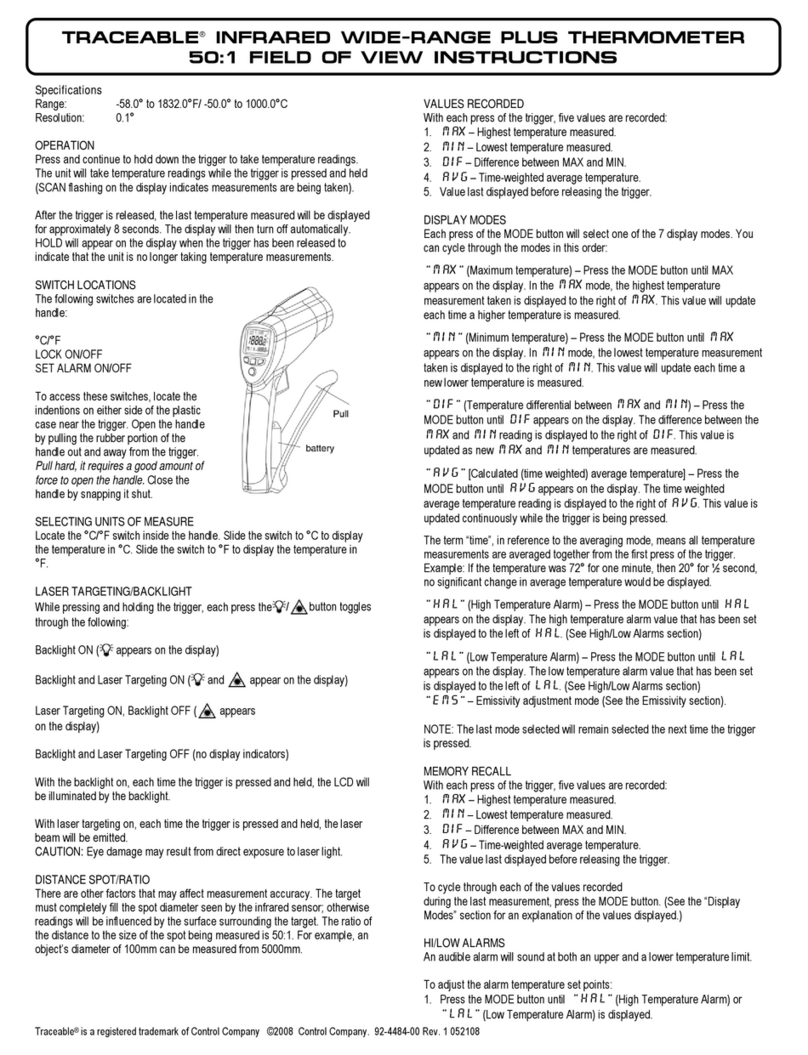
Temperature Range: –58 to 500°F (–50 to 260°C)
Resolution: 0.1°
Accuracy: ±1.0°C or 1% of reading
Probe Lengt : 3.5 x 120 mm
Sampling cycle: 2 or 10 sec selectable
FEATURES
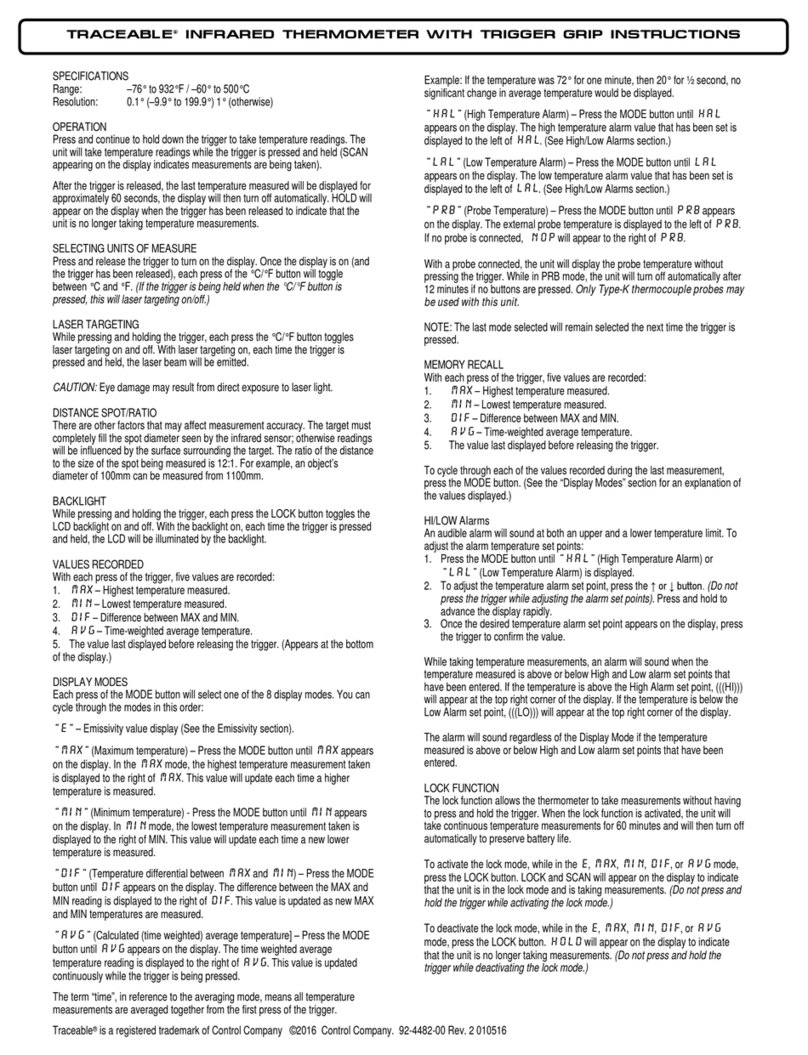
● Traceable
®
Thermometer with metal probe for wide-range temperature
measurement.
● Memory function to recall and display the pre ious maximum and minimum
readings of temperature.
● User-selectable °C or °F temperature units of measure.
● User-selectable normal or fast sampling cycle.
● Traceable
®
Countdown Timer.
● High/Low temperature alarm.
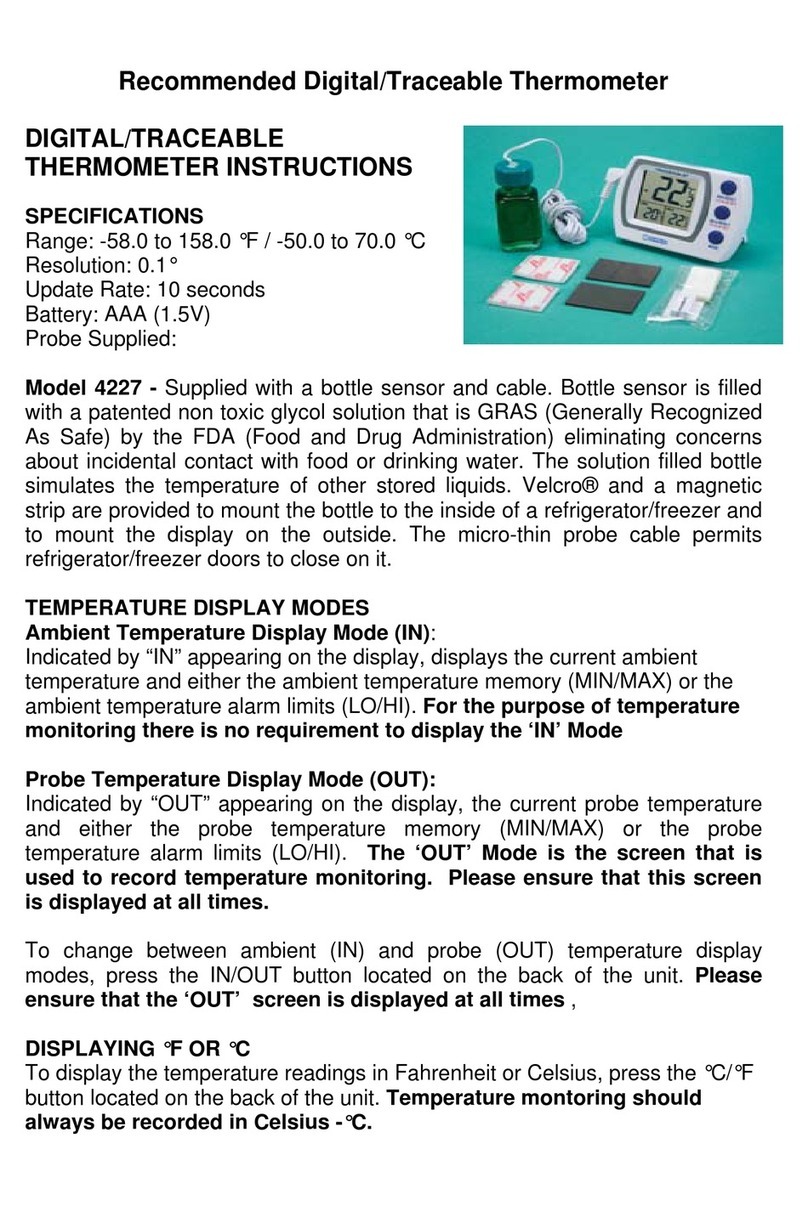
Figure 1 Traceable
®
Universal Thermometer/Timer
QUICK REFERENCE
ON/OFF/ON/FAST button turns thermometer on initially, then allows switching
between normal and fast sampling rates. It also indicates when the High or Low
Temperature Alarm is acti ated.
In Timer mode, this button resets the timer (see A in Figure 1).
OFF/AUTO button acti ates the Auto Off mode when pressed once and turns the unit
off with a second press. In Auto Off mode, an AUTO indicator appears on the display
and the unit will automatically shut off after 6 to 7 minutes if no buttons are pressed
(see B in Figure 1).
HI/HR button allows iewing and setting the High Temperature Alarm while in
Thermometer mode. While in Timer mode, it ad ances the Hour setting for countdown
timing (see C in Figure 1).
LO/MIN button allows iewing and setting the Low Temperature Alarm while in
Thermometer mode. While in Timer mode, it ad ances the Minute setting for
countdown timing (see C in Figure 1).
MEM button alternates between the maximum, minimum, and current temperature
readings with each press. MAX and MIN indicators will appear on the display (see D in
figure 1).
MODE button switches the unit between Thermometer and Timer modes (see E in
Figure 1).
START/STOP button starts and stops the timer while the unit is in Timer mode
(see F
in Figure 1).
°C/°F button alternates between Celsius and Fahrenheit temperature readings (see G
in Figure 1).
TEMPERATURE MEASUREMENT
1. Plug steel probe into socket located on top of unit before turning unit on
(see Figure 1).
2. Press ON button once to acti ate unit.
3. Select the desired unit of measure, degrees Celsius or degrees Fahrenheit, by
pressing °C/°F button.
4. Set High and Low Temperature Alarms if desired (see Setting High/Low
Temperature Alarm sections).
5. Place steel portion of probe in contact with material to be measured.
WARNING: Do NOT fully insert entire steel probe into material being tested. This
may cause permanent damage to probe. Only insert between 40 to 50 mm from tip of
probe to material being tested.
6. Press and hold the ON/FAST button to acti ate the fast sampling cycle (2 sec) if
desired. The sampling cycle will return to normal (10 sec) after releasing
ON/FAST button.
Note: The battery is exhausted much more quickly with the fast sampling cycle
acti ated.
RECALL MINIMUM/MAXIMUM TEMPERATURE MEMORY
This unit automatically records the minimum and maximum temperature readings
reached.
While in Thermometer mode, press the MEM button as necessary to cycle through
maximum (MAX indicator will appear), minimum (MIN indicator will appear), and
current temperature recordings.
RESET MINIMUM/MAXIMUM TEMPERATURE MEMORY
You may wish to clear the temperature memories in order to record new
minimum/maximum temperatures during a specified time period.
1. Press the MEM button until either the maximum or minimum recording appears on
display. A MAX or MIN indicator will appear on display.
2. Once the desired maximum or minimum recording appears on display, press and
hold ON/FAST button for approximately 1 second. The current temperature
reading will become the new stored record.
Note: Resetting a memory will result in the current temperature being displayed in the
maximum or minimum memory display.
THERMOMETER ALARM FUNCTION
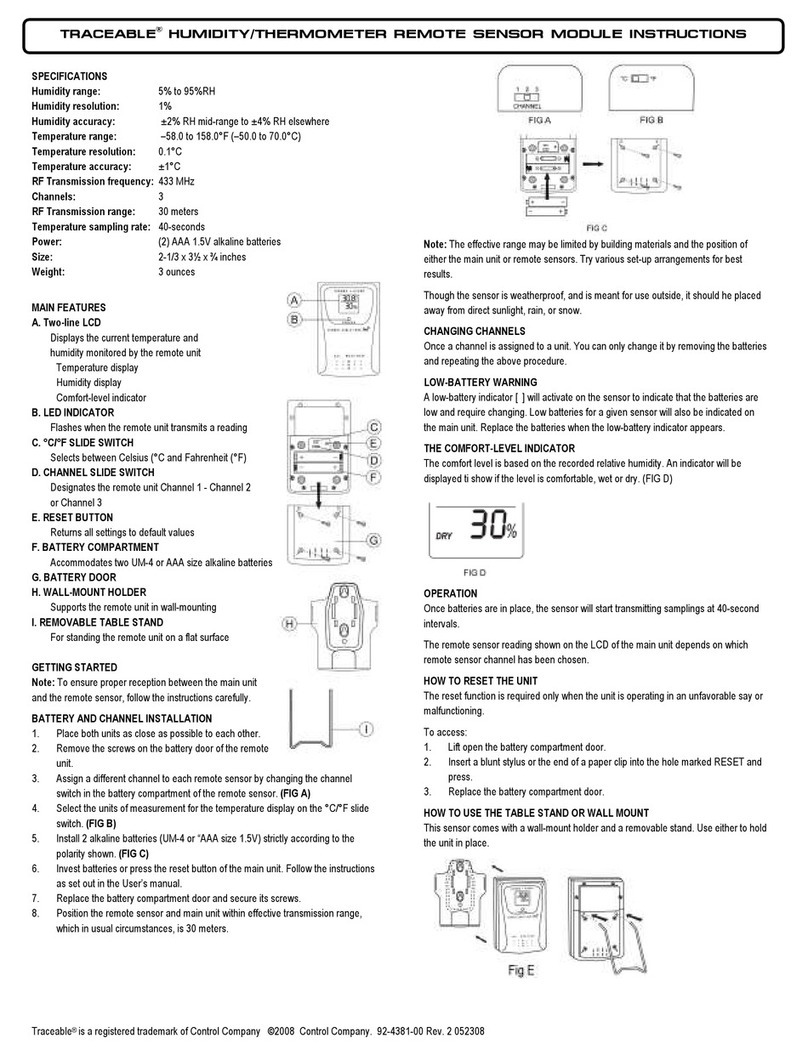
This unit is equipped with a High and Low Temperature Alarm that will sound when the
current temperature reaches the alarm setting. The selecting range is from –58 to
500°F (–50 to 260°C).
Setting Hig Temperature Alarm
1. While in Temperature mode, press HI button to acti ate the Thermometer Alarm
mode and iew the current High Temperature Alarm setting (HI indicator will appear
on display).
2. Continue pressing HI button until desired alarm setting is displayed. For rapid
ad ancement (10 degree increments), press and hold HI button.
Note: Set the temperature alarm again after any change to the temperature unit of
measure.
Setting Low Temperature Alarm
1. While in Temperature mode, press LO button to acti ate the Thermometer Alarm
mode and iew the current Low Temperature Alarm setting (LO indicator will
appear on display).
2. Continue pressing LO button until desired alarm setting is displayed. For rapid
ad ancement (10 degree increments), press and hold LO button.
Note: Set the temperature alarm again after any change to the temperature unit of
measure.
Deactivating T ermometer Alarm Feature
The Thermometer Alarm feature may be deacti ated while in Thermometer Alarm
mode by pressing the ON button until "___" appears on the display to indicate the
alarm is deacti ated. If the display shows a reading, the alarm is acti ated.
COUNTDOWN TIMER FUNCTION
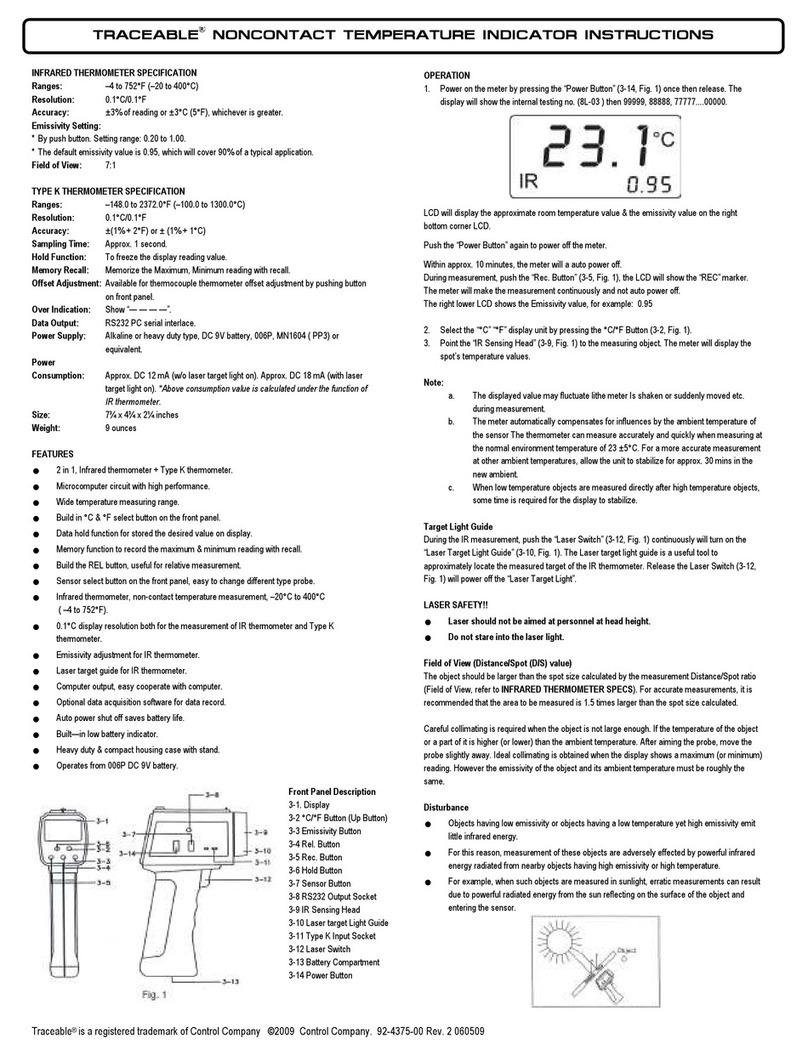
This thermometer features a Countdown Timer that may be programmed up to 99
hours, 59 minutes. Once acti ated, and the timer reaches 0 hours, 0 minutes, the
alarm sounds and the TIMER indicator begins flashing.
1. Press the MODE button until the TIMER indicator appears on the display to
erify the unit is in Timer mode.
TRACEABLE
UNIVERSAL
THERMOMETER WITH ALARM
INSTRUCTIONS
