manuals.online logo
Brands
  1. Home
  2. •
  3. Brands
  4. •
  5. Converters.TV
  6. •
  7. Switch
  8. •
  9. Converters.TV 15429 User manual

Converters.TV 15429 User manual

UHD 4x2 4K2K Switch with 6G
capability - ID# 15429
Operatio Ma ual
I troductio
This 6G UHD 4 by 2 HDMI Matrix allows the customer to route up to four
6G HDMI input signals to any of two 6G HDMI outputs This unit
supports 4K@60Hz (YUV 4:4:4), 48-bit Deep Color, HDR (High Dynamic
Range), HD audio formats and other features defined by the HDMI 2 0
specification Five pre-defined internal EDIDs and two external EDID
options are available for EDID management The unit provides intuitive
front panel controls as well as RS-232, telnet, WebGUI and IR remote
control options
Features
• HDMI 2 0 and DVI 1 0 compliant
• HDCP 1 4 and 2 2 compliant
• Supports the matrix routing of four 6G HDMI inputs to two 6G
HDMI outputs
• Supports HDTV resolutions up to 4K UHD
(3840x2160@24/25/30/50/60 & 4096x2160@24/25/30/50/60Hz)
• Maximum data rate up to 6Gbps with Deep Color support up to
48-bit at 1080p
•Supports pass-through of HD audio formats including LPCM,
Dolby Digital, DTS, Dolby Digital Plus, Dolby TrueHD, Dolby
Atmos and DTS-HD Master Audio
•Supports EDID management via five pre-defined internal EDIDs
and two external EDID options
•Multiple control interfaces including RS-232, telnet, WebGUI and
IR remote
Applicatio s
• Entertainment Room & Home Theater
• Show Room & Demo Room
• Class room & Lecture Hall Presentations
• Public Commercial Display
System Requireme ts
• HDMI source equipment such as media players, video game
consoles or set-top boxes
• HDMI receiving equipment such as HDTVs, monitors or audio
amplifiers
• The use of “Premium High Speed HDMI” cables is highly
recommended
Operati g Fu ctio s
a d Co trols Fro t Pa el
1. IR window:
Accepts IR signals from the included IR remote for control of this unit
only
2. POWER:
Press this button to power on the unit or place it into stand-by mode
Note:
Ethernet and RS-232 remain active while the unit is in stand-by mode
3. Power indicator:
This LED will illuminate GREEN to indicate the unit is on and receiving
power When the unit is in stand-by mode the LED will illuminate RED
4. HDMI Out routing buttons “ ” & “B”:
Press either of these buttons to sequentially switch through the available
inputs for the associated output
5. HDMI In indicator “1&2&3&4”:
The LED in each column will illuminate GREEN to indicate which source
is currently selected for each output
6. HDMI In:
Connect to HDMI source equipment such as a media player, game
console or set-top box DVI sources are also supported with the use of
an HDMI to DVI adapter
Rear Pa el
1. HDMI In :
Connect to HDMI source equipment such as a media player, game
console or set-top box DVI sources are also supported with the use of
an HDMI to DVI adapter
2. HDMI Out:
Connect to HDMI TVs, monitors or amplifiers for digital video and audio
output DVI sources are also supported with the use of an HDMI to DVI
adapter
3. SERVICE:
This slot (USB 2 0) is reserved for firmware update use only
Please plug in a USB thumb drive containing the new firmware to
update the unit
4. CONTROL:
Connect directly, or through a network switch, to your PC/laptop to
control the unit via telnet/WebGUI
5. RS-232:
Connect directly to your PC/laptop to send RS-232 commands to control
the unit
6. IR IN:
Connect to the provided IR Extender to extend the IR control range of
the unit Ensure that the remote being used is within direct line-of-sight
of the IR Extender
7. DC 5V:
Plug the 5V DC power adapter into the unit and connect it to an AC wall
outlet for power
Remote Co trol
1. POWER:
Press Power key to turn on the
device or set to standby mode
2. OUTPUT 1~ 4 & B1~B4:
Press these buttons
to change the routing of output A/B
WebGUI
Install the IP Discovery Tool:
1 Please obtain the Device Discovery software from your authorized
dealer and save it in a directory where you can easily find it
Note: The unit’s default IP address is 192 168 1 50
2 Connect the unit and your PC/Laptop to the same active network
and execute the Device Discovery software Click on “Find
Devices on Network” and a list of devices connected to the local
network will show up indicating their current IP address
3 By clicking on one of the listed devices you will be presented with
the network details of that particular device If you choose, you can alter
the static IP network settings for the device, or switch the unit into DHCP
mode to automatically obtain proper network settings from a local DHCP
server To switch to DHCP mode, please select DHCP from the IP mode
drop-down, then click “Save” followed by “Reboot”
4 Once you are satisfied with the network settings, you may use them to
connect via telnet or WebGUI The network information window provides
a convenient link to launch the WebGUI directly
WebGUI Co trol
Page
All functions, including power, input selection, EDID management,
HDCP management, Ethernet settings, and reset/firmware functions,
are presented on a single web page to allow for intuitive operation
The individual functions will be introduced in the following sections
Power O /Off
The unit can be powered on or off (stand-by mode) from this tab
Routi g
This tab allows for the selection of the input source for each output
Four HDMI inputs and two HDMI outputs are available for selection
Source Detect
When a live input source is one of the 4 HDMI inputs the corresponding
input in this tab will display “ON” If no source is detected on that
input, it will display “OFF”
Status
This tab displays the currently selected HDMI input sources for each
output and the unit’s firmware version It also provides a way to reset
or reboot the unit
1) To perform a factory reset on the unit, please click the “RESET”
button
2)To reboot the unit, please click the “REBOOT” button
EDID
This tab controls EDID management for the unit All inputs can share
the same assigned EDID, or each input can have a discrete EDID
assigned to it
1) Selecting the “ALL” mode will send the selected EDID to all inputs
2) Selecting the “APPOINT” mode allows each input to have a
different EDID assigned to it
3) The available EDID options include SINK A/SINK B (EDID is passed
from one of the currently connected displays), 8/2D/PCM/720p,
8/2D/PCM/1080p, 8/2D/PCM2/4K 3G, 8/2D/PCM2/4K Y420 and
8/2D/PCM/4K 6G
HDCP Co trol
This tab allows for the HDCP mode to be switched between “Standard”
and “Apple” mode “Apple” mode allows for the display of non-HDCP
required content from Apple devices on non-HDCP displays This
setting can be assigned individually to each input
Firmware Update
This tab provides a way to update the firmware of the unit
1) BROWSE: Click the “BROWSE” button to select the firmware
update bin file which is located on your local PC
2) UPDATE: Click the “UPDATE” button to begin the firmware update
process
HDMI Out A I fo & HDMI Out B I fo
These tabs present the information detected from displays connected
to HDMI outputs A & B, including type, manufacturer name, native
resolution, color depth, 3D support, 4K support and audio format
support
NAMING
This tab allows for the renaming of the four HDMI input ports and the
two HDMI output ports Please click the “SAVE” button to store the
changes
Network Setti g
This tab provides control over the unit’s network settings The IP mode
can be set to DHCP for automatic IP configuration, if your local network
supports it, or it can be placed into STATIC mode When in STATIC
mode the IP address, netmask and gateway can be defined manually
The HTTP and telnet ports can also be changed from their defaults
here
Tel et Co trol
Before attempting to use telnet control, please ensure that both the
unit and the PC/Laptop are connected to the same active networks
To access Telnet in Windows 7, click on the “Start” menu and type
“cmd” in the search field, then press “Enter”
Under Windows XP go to the “Start” menu, click on “Run”, type “cmd”
then press “Enter”
Under Mac OS X, go to Go→Applications→Utilities→Terminal
See below for reference
Once in the CLI (Command Line Interface) type “telnet” followed by the
IP address of the unit and “23”, then hit “Enter”
This will connect us to the unit we wish to control Type “help” to list the
available commands
RS-232
Comma d
Command Description Parameter
HELP/?List available commands NONE
P0 POWER OFF NONE
P1 POWER ON NONE
INN ME SET/SHOW LL INPUT
N MEIN
N ME [1~4] [8 char]
OUTN ME SET/SHOW HDMI
OUTPUT NAME
OUTN ME [ /B] [8
char]
SET/SHOW OUT
SOURCE
[1~4]
B SET/SHOW OUTB
SOURCE
B [1~4]
OUT SET/SHOW OUT /B
SOURCE
OUT [1~4]
SOURCEDET SHOW INPUT
INFORM TION NONE
NONE
SINKINFO SHOW OUTPUT
INFORM TION
NONE
HDCPIN SET/SHOW INPUT
HDCP STATUS
HDCPIN [1~4]
[0:STANDARD/1:
APPLE]
EDIDMODE SET/SHOW EDID
MODE TYPE
EDIDMODE
[0:APPOINT/1:ALL]
EDID LL SET/SHOW EDID LL
CONTENT
EDIDALL [0~6]
0=OUTPUT A
1=OUTPUT B
2=8/2D/PCM/720P
3=8/2D/PCM/1080P
4=8/2D/PCM/4K2K_30
5=8/2D/PCM/4K2K_
Y420
6=8/2D/PCM/4K2K_60
EDIDIN SET/SHOW EDID
INPUT CONTENT
EDIDIN [1~4] [0~6]
F DEF ULT SET ALL
CONFIGURATIONS TO
FACTORY DEFAULT
NONE
REBOOT REBOOT DEVICE NONE
VER DISPL Y FIRMW RE
VERSION
NONE
IPCONFIG DISPLAY THE
CURRENT IPCONFIG
NONE
SIP DDR SET ETHERNET IP
DDRESS
SIPADDR X X X X
(X:0~255)
SNETM SK SET ETHERNET
NETM SK
SNETMASK X X X X
(X:0~255)
SG TEW Y SET ETHERNET
G TEW Y
SGATEWAY X X X X
(X:0~255)
HTTPPORT SET HTTP PORT
NUMBER
HTTPPORT N
(N=0~65535)
TELNETPORT SET TELNET PORT
NUMBER
TELNETPORT N
(N=0~65535)
IPMODE SET IP MODE IPMODE N (N=0-
STATIC, 1-DHCP)
SETM C Write MAC Address to
eeprom
NONE
RE DM C Read MAC Address NONE
from eeprom
UPD TE UPDATE Firmware
<MCU/VS/ZVS>
HDCPDOWN(N) N=1 YES
Note:
Commands will not be executed unless followed by a carriage return
Commands are not case-sensitive
IR Cable Pi
Assig me t
D-sub 9 Pi
Defi itio
Pin Define TX / RX
1 N/C
2 TxD/RxD
3 RxD/TxD
4 N/C
5 GND
6 N/C
7 N/C
8 N/C
9 N/C
Baud Rate: 115200bps
Data bit: 8 bits
Parity: None
Flow Control: None
Stop Bit: 1
Specificatio s
Video Bandwidth 600MHz/6Gbps
Input Ports 4 x HDMI, 1 x IR In
Output Ports 2 x HDMI
Others 1 x Control, 1 x Service, 1 x RS232
Supported Resolutions 480i to 4K2K@24/50/60
HDMI Sampling Rate 32kHz ~ 192 kHz
IR Frequency 38kHz
Baud Rate 19200 bps
Power Supply 5V/2 6A DC (US/EU standards, CE/FCC/
UL certified)
Chassis Material Metal
Silkscreen Color Black
Weight 796g
Dimensions 240mm (W) x 43mm (H) x 104mm (D)
Power Consumption 7 106W (1 10W at standby mode)
Support Timi g
Table
HDMI Resolution Supported
480i √
576i √
480p √
576p √
640x480 √
720p @50&60 √
800x600 √
1080i @50&60 √
1080p@24&50&60 √
1024x768 √
1366x768 √
1280x1024 √
1600x1200 √
1920x1200 √
3840x2160p@24&25&30&50&60(YUV444) √
3840x2160p@50&60(YUV420) √
4096x2160p@24&50&60(YUV444) √
4096x2160p@50& 60(YUV420) √
Co ectio
Diagram
USB udio Specifications
USB udio Class USB udio 2.0
Format Support 2CH LPCM : 44.1K, 48K, 88.2K, 96K,
176.4K, 192K, 352.8K, 384K
OS Support Window XP, Vista, 7, 8, 8.1, 10 (32 &
64bit) / OSX 10.6.4 above
HDMI Cable
Le gth
HDMI C BLE LENGTH (M X)
8-bit 1080p 12-bit 1080p
I put Output I put Output
10M 10M 10M 10M
HI SPEED 4K2K C BLE LENGTH (M X)
4K2K HDMI I HDMI Out
3840x2160p24 5m 5m
3840x2160p60 5m 5m

Other Converters.TV Switch manuals

Converters.TV CDPS-UH4H1HFS User manual

Converters.TV

Converters.TV CDPS-UH4H1HFS User manual

Converters.TV 693 User manual

Converters.TV

Converters.TV 693 User manual

Converters.TV 862 User manual

Converters.TV

Converters.TV 862 User manual

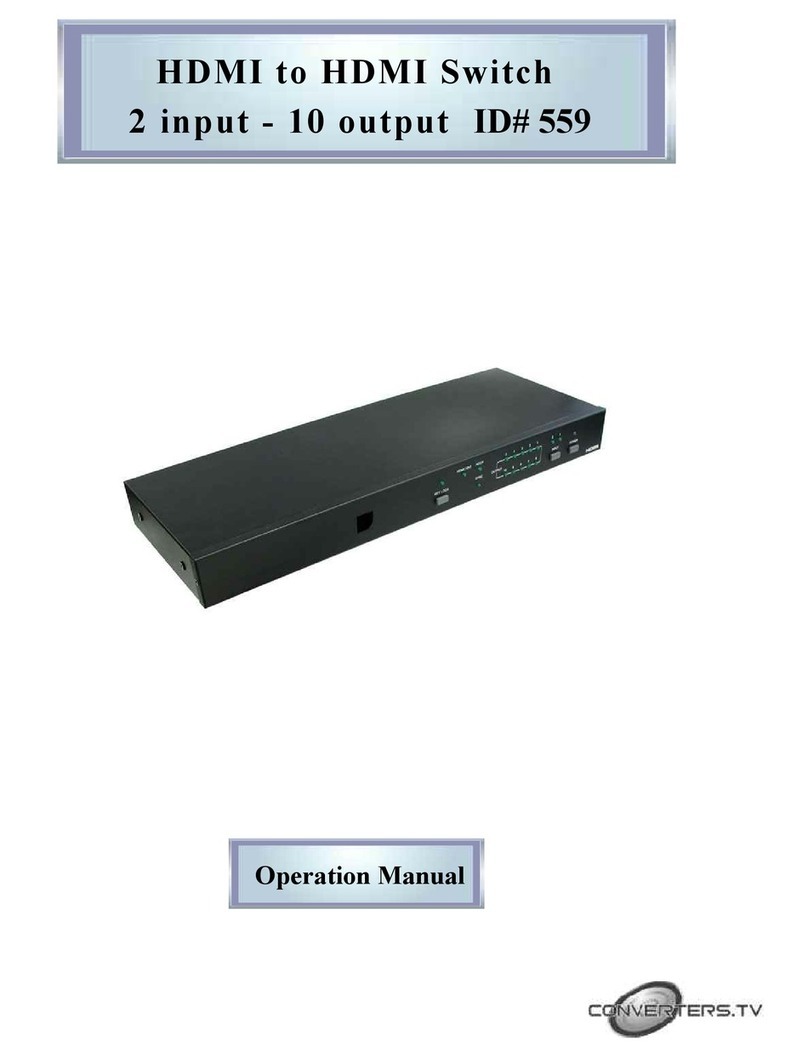
Converters.TV 559 User manual

Converters.TV

Converters.TV 559 User manual

Converters.TV 826 User manual

Converters.TV

Converters.TV 826 User manual

Converters.TV CVSD-41AR User manual

Converters.TV

Converters.TV CVSD-41AR User manual

Converters.TV 15401 User manual

Converters.TV

Converters.TV 15401 User manual

Converters.TV 780 User manual

Converters.TV

Converters.TV 780 User manual

Converters.TV 15376 User manual

Converters.TV

Converters.TV 15376 User manual

Converters.TV 173 User manual

Converters.TV

Converters.TV 173 User manual

Converters.TV 15121 User manual

Converters.TV

Converters.TV 15121 User manual

Converters.TV 15334 User manual

Converters.TV

Converters.TV 15334 User manual

Converters.TV CLUX-31GAME User manual

Converters.TV

Converters.TV CLUX-31GAME User manual

Converters.TV 15131 User manual

Converters.TV

Converters.TV 15131 User manual

Converters.TV 545 User manual

Converters.TV

Converters.TV 545 User manual

Converters.TV 594 User manual

Converters.TV

Converters.TV 594 User manual

Converters.TV 825 User manual

Converters.TV

Converters.TV 825 User manual
Popular Switch manuals by other brands

Qlogic SANbox 5600 Series user guide

Qlogic

Qlogic SANbox 5600 Series user guide

Planet IGS-5225-8T2S2X Quick installation quide

Planet

Planet IGS-5225-8T2S2X Quick installation quide

ExtremeSwitching 3600 Series Troubleshooting

ExtremeSwitching

ExtremeSwitching 3600 Series Troubleshooting

AirLive POE-GSH1816R-250 user manual

AirLive

AirLive POE-GSH1816R-250 user manual

Tripp Lite 0SU70032 quick guide

Tripp Lite

Tripp Lite 0SU70032 quick guide

Planet HPOE-460 user manual

Planet

Planet HPOE-460 user manual

CO/Tech ST300 quick start guide

CO/Tech

CO/Tech ST300 quick start guide

Black Box LGB2002A-R2 Specifications

Black Box

Black Box LGB2002A-R2 Specifications

Green Brook OD100 quick start guide

Green Brook

Green Brook OD100 quick start guide

Planet WGS-5225-8MT Quick installation guide

Planet

Planet WGS-5225-8MT Quick installation guide

Contro l4 C4-SDSW240-N installation guide

Contro l4

Contro l4 C4-SDSW240-N installation guide

Heath Zenith SL-6133 Installation

Heath Zenith

Heath Zenith SL-6133 Installation

Black Box KV6224DPH Quick start guide & user manual

Black Box

Black Box KV6224DPH Quick start guide & user manual

Little Giant RS-5 instruction sheet

Little Giant

Little Giant RS-5 instruction sheet

E-matic PMWS2W manual

E-matic

E-matic PMWS2W manual

Checkpoint 4000 Series Appliances Installing and Removing Appliances Installing and Removing MemoryMemory

Checkpoint

Checkpoint 4000 Series Appliances Installing and Removing Appliances Installing and Removing MemoryMemory

Watchguard ALMKIT-D1 user manual

Watchguard

Watchguard ALMKIT-D1 user manual

3One data SW4485I Quick installation guide

3One data

3One data SW4485I Quick installation guide

manuals.online logo
manuals.online logoBrands
  • About & Mission
  • Contact us
  • Privacy Policy
  • Terms and Conditions

Copyright 2025 Manuals.Online. All Rights Reserved.