
Content
1. Warning
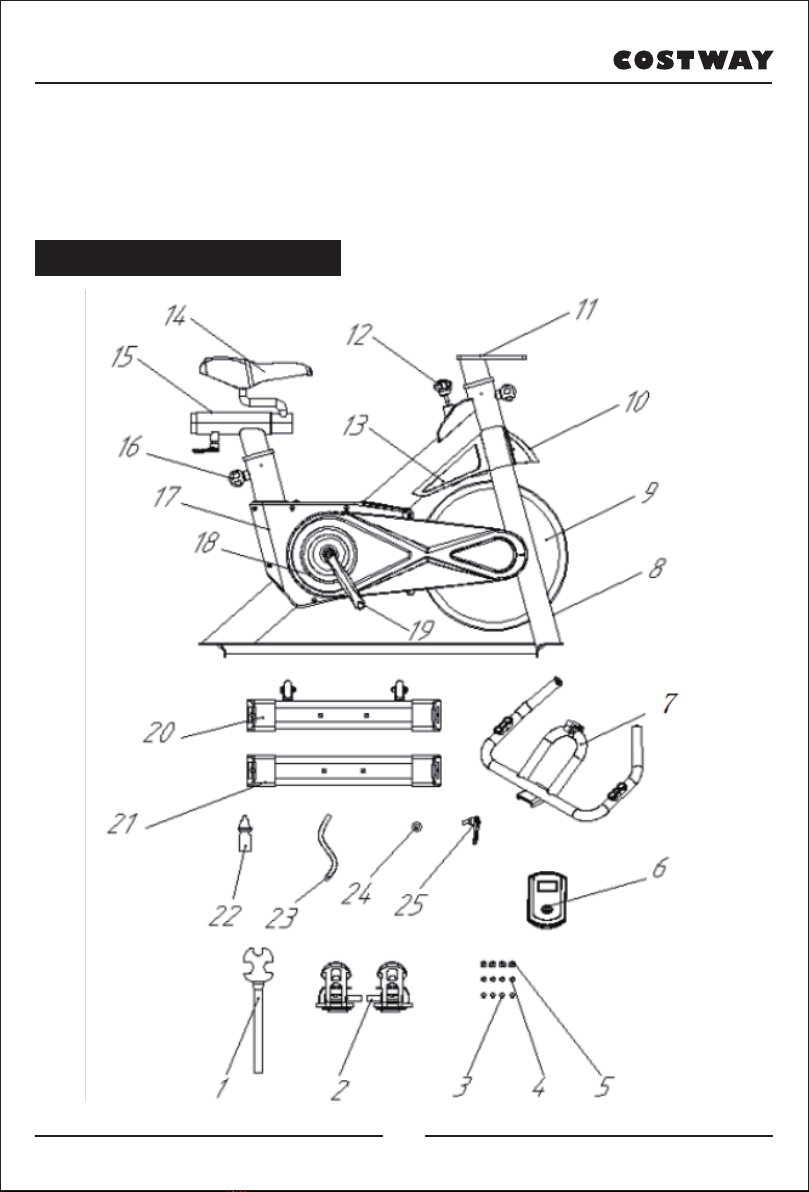
2. Spare Parts Diagram
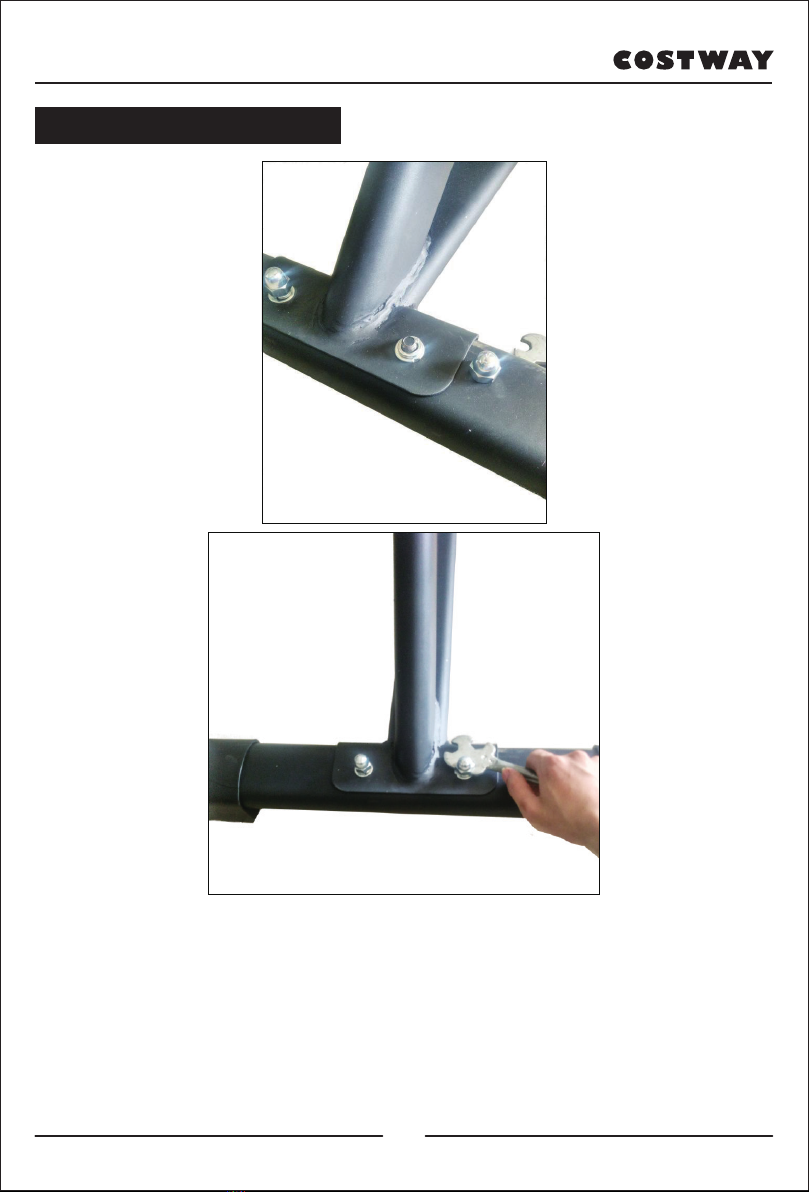
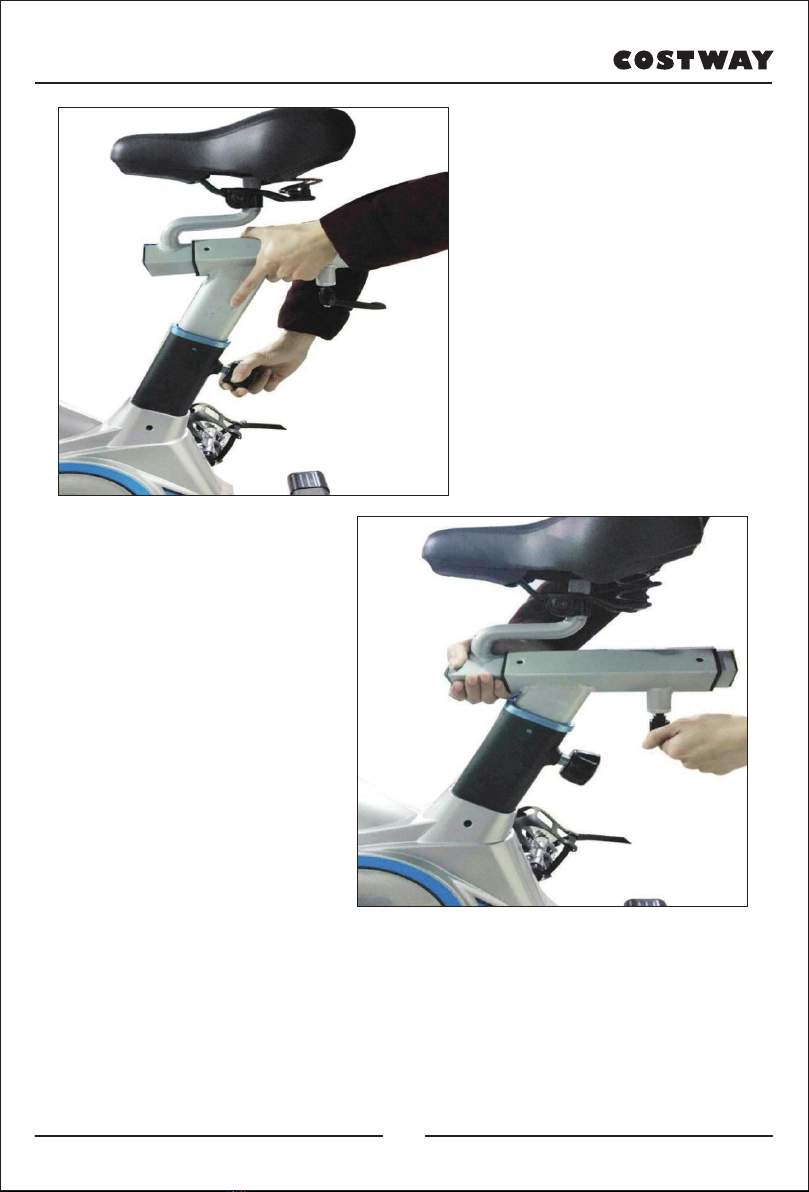
3. Installation Instruction
4. Monitor Operation
5. Maintenance & Troubleshooting
Before you use the bike, please read the instructions carefully to ensure
that you receive the correct information of usage, including the free spare
parts we provided for you.
1). This bike is for home use and the maximum bearing weight is 120 kg.
2). Please use it in strict accordance with the instruction.
3). Please carefully check the machine before first use and check it
according to the principle of installation every 1 to 2 months. Please try to
keep the machine in normal use and use the original accessories.
4). If it does not work well, please contact the customer service.
5). Please keep the machine out of the corrosive cleaner.
6). Please use after the correct installation and careful inspection.
7). Please adjusted the parts to their maximum level before installation.
8). This product is for adults. If children want to use, please make sure they
have a guardian with them.
9). Please don’t do dangerous action and move on this product.
10). Please use this product under the guidance of doctors or fitness
specialists, it will have very good effect.
11). Please make reasonable plans before using the product and use it in
strict accordance with the requirements.
12). The resistance of this product is adjustable. Please select the
appropriate resistance.
13). Please carefully check all the bolts and screw parts to ensure your
safety before use.
1. Warning
03


 Service manual")


