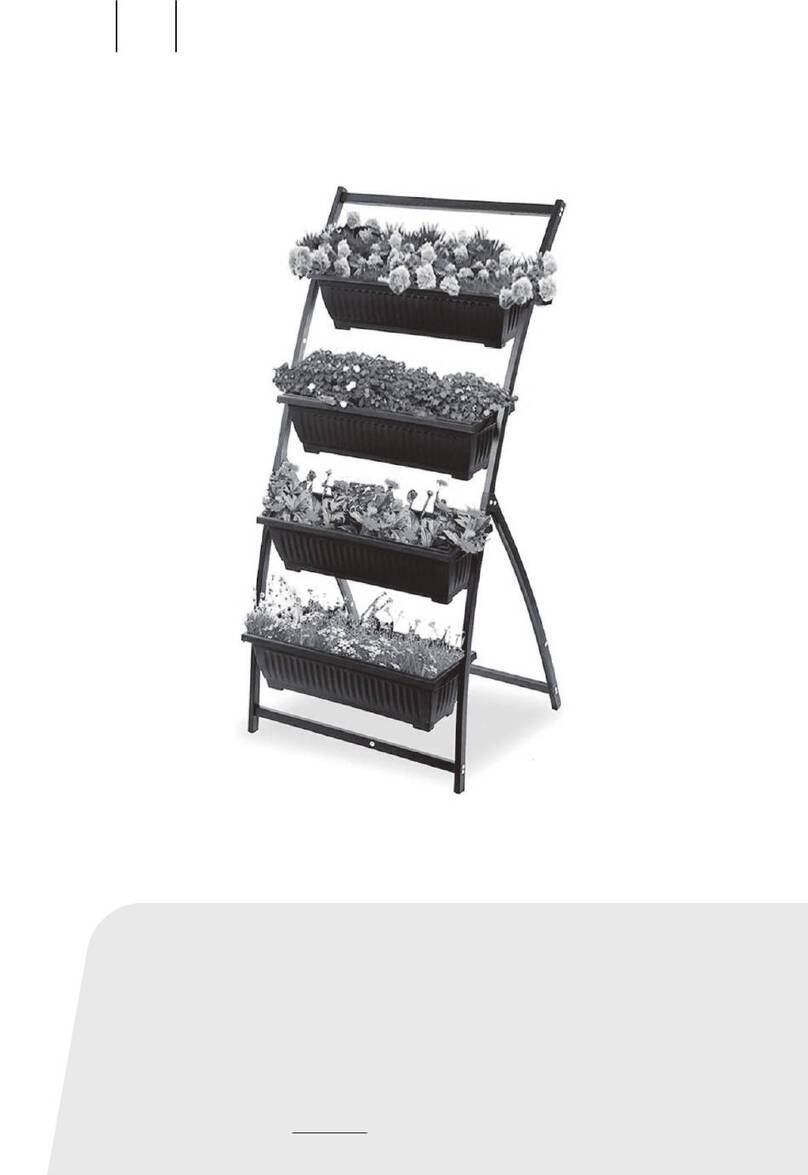
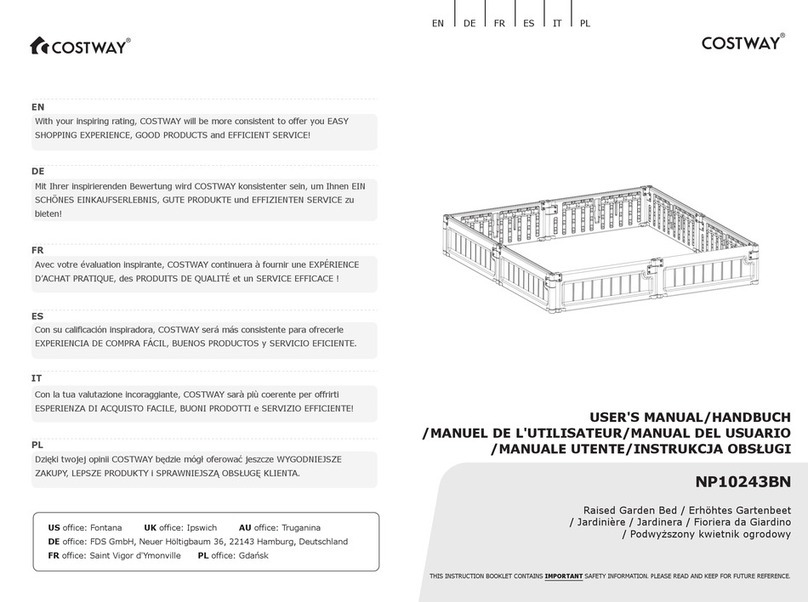
Costway GT3769 User manual

THIS INSTRUCTION BOOKLET CONTAINS IMPORTANT SAFETY INFORMATION. PLEASE READ AND KEEP FOR FUTURE REFERENCE.
USER'S MANUAL/HANDBUCH
/MANUEL DE L'UTILISATEUR/MANUAL DEL USUARIO
/MANUALE UTENTE/INSTRUKCJA OBSŁUGI
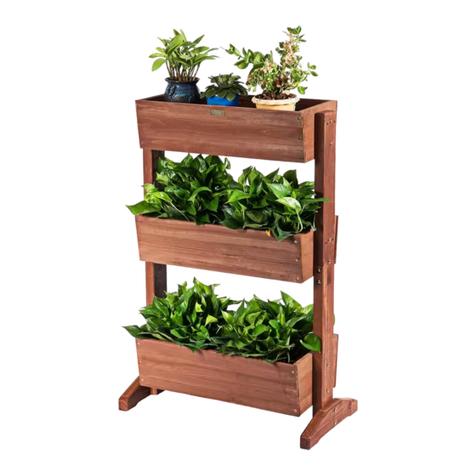
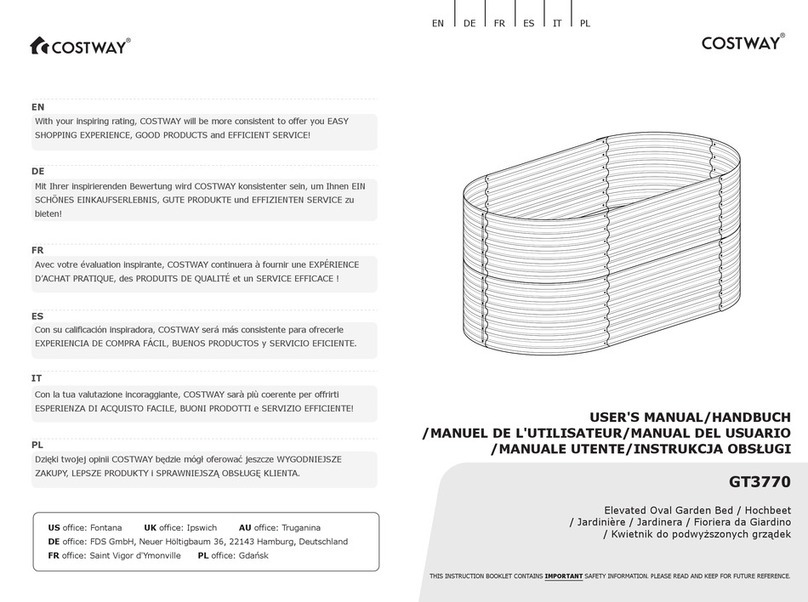
Raised Garden Bed / Hochbett
/ Jardinière / Jardinera / Fioriera da Giardino
/ Kwietnik do podwyższonych grządek
EN
DE
FR
ES
IT
PL
With your inspiring rating, COSTWAY will be more consistent to offer you EASY
SHOPPING EXPERIENCE, GOOD PRODUCTS and EFFICIENT SERVICE!
Mit Ihrer inspirierenden Bewertung wird COSTWAY konsistenter sein, um Ihnen EIN
SCHÖNES EINKAUFSERLEBNIS, GUTE PRODUKTE und EFFIZIENTEN SERVICE zu
bieten!
Avec votre évaluation inspirante, COSTWAY continuera à fournir une EXPÉRIENCE
D’ACHAT PRATIQUE, des PRODUITS DE QUALITÉ et un SERVICE EFFICACE !
Con su calificación inspiradora, COSTWAY será más consistente para ofrecerle
EXPERIENCIA DE COMPRA FÁCIL, BUENOS PRODUCTOS y SERVICIO EFICIENTE.
Con la tua valutazione incoraggiante, COSTWAY sarà più coerente per offrirti ESPE-
RIENZA DI ACQUISTO FACILE, BUONI PRODOTTI e SERVIZIO EFFICIENTE!
Dzięki twojej opinii COSTWAY będzie mógł oferować jeszcze WYGODNIEJSZE
ZAKUPY, LEPSZE PRODUKTY i SPRAWNIEJSZĄ OBSŁUGĘ KLIENTA.
US office: Fontana UK office: Ipswich AU office: Truganina
DE office: FDS GmbH, Neuer Höltigbaum 36, 22143 Hamburg, Deutschland
FR office: Saint Vigor d'Ymonville
PL office: Gdańsk

02 03
NOTICE
Please retain these instructions for future reference.
• Do not stand on or use any part of this item as a step ladder.
• Firmly secure all bolts, screws and knobs before use.
• Reconfirm that all bolts, screws, and knobs are secured every 90 days.
• Be aware that some parts are heavy and have sharp edges.
• If any parts are missing, broken, damaged, or worn, stop using this product until the
product is repaired.
• Do not use this item inconsistently with the instruction, or may damage the item.
HINWEIS
Bitte bewahren Sie diese Anleitung zum späteren Nachschlagen auf.
• Stellen Sie sich nicht auf dieses Gerät und benutzen Sie es nicht als Trittleiter.
• Ziehen Sie alle Bolzen, Schrauben und Knöpfe vor dem Gebrauch fest an.
• Überprüfen Sie alle 90 Tage, ob alle Bolzen, Schrauben und Knöpfe fest sitzen.
• Beachten Sie, dass einige Teile schwer sind und scharfe Kanten haben.
• Wenn Teile fehlen, gebrochen, beschädigt oder abgenutzt sind, verwenden Sie das
Gerät nicht mehr, bis es repariert und/oder durch Originalersatzteile ersetzt wurde.
• Verwenden Sie dieses Gerät nicht in einer Weise, die den Anweisungen des Herstellers
widerspricht.
EN
DE
Remarque
Veuillez conserver ces instructions pour toute référence ultérieure.
● Ne vous tenez pas debout sur ce produit et n’utilisez aucune partie de sur ce produit
comme un escabeau.
● Fixez fermement tous les boulons, vis et boutons avant l’utilisation.
● Vérifiez à nouveau que tous les boulons, vis et boutons sont bien fixés tous les 90
jours.
● Sachez que certaines pièces sont lourdes et ont des bords tranchants.
● Si des pièces sont manquantes, cassées, endommagées ou usées, cessez d'utiliser ce
produit jusqu'à ce que les réparations soient effectuées.
● N'utilisez pas cet article d'une manière incompatible avec les instructions du manuel.
FR
Aviso
Conserve estas instrucciones para futuras consultas.
• No se pare sobre este producto ni utilice ninguna parte de este producto como una
escalera de mano.
• Asegure firmemente todos los pernos, tornillos y perillas antes de usar.
• Vuelva a confirmar que todos los pernos, tornillos y perillas estén asegurados bien cada
90 días.
• Tenga en cuenta que algunas piezas son pesadas y tienen bordes afilados.
• Si alguna pieza falta, está rota, dañada o gastada, deje de usar este producto hasta
que se realicen las reparaciones.
• No utilice este producto de forma incompatible con las instrucciones, ya que podría
dañarlo.
ATTENZIONE
Si prega di conservare queste istruzioni per riferimento futuro.
● Non salire o utilizzare nessuna parte di questo prodotto come una scala.
● Fissare saldamente tutti i bulloni, le viti e le manopole prima dell'uso.
● Riconfermare che tutti i bulloni, le viti e le manopole siano fissati ogni 90 giorni.
● Si prega di notare che alcune parti sono pesanti e hanno bordi taglienti.
● Se alcune parti sono mancanti, rotte, danneggiate o usurate, interrompere l'utilizzo di
questo prodotto fino a quando non vengono eseguite le riparazioni.
● Non utilizzare questo prodotto in modo non conforme alle istruzioni del produttore.
ES
IT
Uwaga
ZACHOWAJ INSTRUKCJE DO PRZYSZŁEGO UŻYTKU.
• Nie stawaj ani nie używaj żadnej części tego przedmiotu jako drabiny.
• Dokładnie dokręć wszystkie śruby, wkręty i pokrętła przed użyciem.
• Potwierdź, że wszystkie śruby, wkręty i pokrętła są dokręcane co 90 dni
• Pamiętaj, że niektóre części są ciężkie i mają ostre krawędzie
• Jeśli brakuje jakichkolwiek części, są one uszkodzone lub zużyte, przestań używać tego
produktu do czasu naprawy
• Nie używaj tego przedmiotu niezgodnie z instrukcją - grozi uszkodzeniem.
PL

TOOL S REQUIRED
ERFORDERLICHES WERKZEUG
OUTILS REQUIS
Herramientas Necesarias
STRUMENTI NECESSARI
WYMAGANE NARZĘDZIA
HARDWARE / ZUBEHÖR / Liste des accessoires /
Lista de Accesorios / ACCESSORI / AKCESORIA
PARTS / TEILE / Liste des pièces / Lista de Piezas / PARTI / CZĘŚCI
04
PHILLIPS
SCREWDRIVER
Cacciavite a stella
ŚRUBOKRĘT KRZYŻAKOWY
KREUZSCHLITZSCHRAUBENDREHER
Tournevis
Destornillador Phillips
SCISSORS
SCHERE
Ciseaux
Tijeras
Forbice
NOŻYCZKI
M6 x 15mm
END PANEL
ENDPLATTE
Panneau d’extrémité
Panel de extremo
PANNELLO
PANEL KOŃCOWY
SIDE PANEL
SEITENPLATTE
Panneau latéral
Panel lateral
PANNELLO LATERALE
PANEL BOCZNY
BRACKET
STABILISIERUNGSPFOSTEN
Support
Soporte
SUPPORTO
WSPORNIK
BRACING ROD
VERSTÄRKUNGSSTANGEN
Tige
Varilla
ASTA DI RINFORZO
PRĘT USZCZELNIAJĄCY
M6 WINGNUT
FLÜGELMUTTER
Écrou à oreilles
Tuerca de mariposa
DADO AD ALETTE
NAKRĘTKA MOTYLKOWA
STAKE
ERDNAGEL
Pointe
Estaca
PICCHETTO
KOŁEK
GUMMIPUFFER
Barre en caoutchouc
Barra de goma
BARRA DI GOMMA
GUMOWY ZDERZAK
RUBBER BUMPER
x 80
x 2 x 4 x 4 x 2
x 80 x 4 x 1
1 PERSON
ASSEMBLY
MONTAGE DURCH
1 PERSON
BIS ZU 45
MIN. MONTAGE
Assemblage par
une personne
Assemblage
dure 45 minutes
Montado por
una persona
El montaje tarda
unos 45 minutos.
Richiede una persona
per il montaggio
Il montaggio richiede
circa 45 minuti
1 OSOBA DO
MONTAŻU
MONTAŻ ZAJMUJE
45 MIN
UP To 45 MIN.
ASSEMBLY
05
1
SCREWS
SCHRAUBE
Vis
Tornillo
VITE
WKRĘT

Attach two part C brackets to one part A
end panel with sixteen part 1 screws,
and secure with sixteen part 2 wingnuts.
06 07
2
EN
Befestigen Sie zwei (Teil C)
Stabilisierungspfosten mit sechzehn (Teil
1) Schrauben an einer (Teil A) Endplatte
und sichern Sie sie mit sechzehn (Teil 2)
Flügelmuttern.
Wiederholen Sie den Vorgang, um das
andere Ende zu montieren.
DE
Assemblez deux supports (C) au
panneau d’extrémité (A) à l’aide des
seize vis (N°1), et fixez-les avec les
seize écrous à oreilles (N°2).
Répétez l’étape pour assembler l’autre
extrémité.
FR
Fije dos soportes (C) a un panel de
extremo (A) con dieciséis tornillos (1) y
asegúrelos con dieciséis tuercas de
mariposa (2).
Repita para ensamblar el otro extremo.
ES
Fissare due supporti (C) a un pannello
(A) con sedici viti (N.1) e fissare con
sedici dadi ad alette (N.2).
Ripetere per montare l'altra estremità.
IT
Przymocuj dwa wsporniki części C do
jednego panelu końcowego części A za
pomocą szesnastu śrub części 1 i
zabezpiecz szesnastoma nakrętkami
skrzydełkowymi części 2. Powtórz, aby
złożyć drugi koniec.
PL

Attach two part B side panels to two
part C bracket assemblies with sixteen
part 1 screws, and secure with sixteen
part 2 wingnuts.
Repeat to assemble the other end.
EN
Befestigen Sie zwei (Teil B)
Seitenplatten an zwei (Teil C)
Stabilisierungspfosten mit sechzehn (Teil
1) Schrauben und sichern Sie sie mit
sechzehn (Teil 2) Flügelmuttern.
Wiederholen Sie den Vorgang, um das
andere Ende zu montieren.
DE
Assemblez deux panneaux latéraux (B)
aux deux supports (C) à l’aide des seize
vis (N°1), et fixez-les avec les seize
écrous à oreilles (N°2).
Répétez l’étape pour assembler l’autre
extrémité.
FR
Fije dos paneles laterales (B) a los dos
soportes (C) con dieciséis tornillos (1) y
asegúrelos con dieciséis tuercas de
mariposa (2).
Repita para ensamblar el otro extremo.
ES
Fissare due pannelli laterali (B) a due
supporti (C) con sedici viti (N.1) e
fissare con sedici dadi ad alette (N.2).
Ripetere per montare l'altra estremità.
IT
Przymocuj dwa panele boczne części B
do zespołów wsporników dwóch części C
za pomocą szesnastu śrub części 1 i
zabezpiecz sześcioma nakrętkami
skrzydełkowymi części 2. Powtórz, aby
złożyć drugi koniec.
PL

08 09
3
Overlap the two halves of the garden
bed, then connect with twelve part 1
screws and secure with twelve part 2
wingnuts. Leave the second and sixth
set of connector holes empty.
EN
Überlappen Sie die beiden Hälften des
Gartenbeets, verbinden Sie sie mit zwölf
Schrauben (Teil I) und sichern Sie sie
mit zwölf Flügelmuttern (Teil 2). Lassen
Sie die zweite und sechste Reihe von
Verbindungslöchern frei.
DE
Emboîtez les deux moitiés de la
jardinière, puis fixez-les avec douze vis
(N°1) et douze écrous à oreilles (N°2).
Laissez le deuxième et le sixième
ensemble de trous de connecteur vides.
FR
Ensamble las dos mitades de la
jardinera, luego conéctelas con doce
tornillos (1) y asegúrelas con doce
tuercas de mariposa (2). Deje vacíos el
segundo y el sexto juego de orificios de
conector.
ES
Sovrapporre le due metà della fioriera
da giardino, poi fissare con dodici viti
(N.1) e fissare con dodici dadi ad alette
(N.2). Lasciare vuoti il secondo e il sesto
set di fori del connettore.
IT
Nałóż na siebie dwie połówki kwietnika,
a następnie połącz za pomocą dwunastu
śrub części 1 i zabezpiecz dwunastoma
nakrętkami skrzydełkowymi części 2.
Pozostaw pusty drugi i szósty zestaw
otworów na złącza .
PL
4
Attach the two part D bracing rods with
four part 1 screws and four part 2
wingnuts.
EN
Befestigen Sie die beiden
Verstärkungsstangen (Teil D) mit vier
Schrauben (Teil 1) und vier
Flügelmuttern (Teil 2).
DE
Fixez les deux tiges (D) à l’aide des
quatre vis (N°1) et des quatre écrous à
oreilles (N°2).
FR
Fije las dos varillas (D) con cuatro
tornillos (1) y cuatro tuercas de
mariposa (2).
ES
Fissare le due aste di rinforzo (D) con
quattro viti (N.1) e quattro dadi ad
alette (N.2).
IT
Przymocuj dwa pręty usztywniające z
części D za pomocą czterech śrub z
części 1 i czterech nakrętek
PL

10 11
5
Secure the brackets with four part 3
ground stakes, one stake per bracket.
EN
Befestigen Sie die Halterungen mit vier
Erdnägeln (Teil 3), einem Erdnagel pro
Stabilisierungspfosten.
DE
Fixez les supports (C) avec quatre
pointes de sol (N°3).
FR
Fije los soportes con cuatro estacas de
tierra (3), una estaca para un soporte.
ES
Fissare i supporti con quattro picchetti di
terra (N.3), un picchetto per un
supporto.
IT
Zamocuj wsporniki za pomocą czterech
kołków gruntowych, po jednym na
wspornik.
PL
6
Cut the part 4 rubber bumper into four
pieces equal to the length/width of the
garden bed,then place them on the top
edges.
EN
Schneiden Sie den Gummipuffer (Teil 4)
in vier Stücke, die der Länge/Breite des
Gartenbeetes entsprechen, und legen
Sie sie auf die oberen Kanten.
DE
Coupez la barre en caoutchouc (N°4) en
quatre morceaux correspondants aux
panneaux d’extrémité/panneaux
latéraux, puis placez-les sur les bords
supérieurs des panneaux.
FR
Corte la barra de goma (4) en cuatro
piezas iguales al largo/ancho de la
jardinera, luego colóquelas en los
bordes superiores.
ES
Tagliare la barra di gomma (N.4) in
quattro pezzi uguali alla
lunghezza/larghezza della fioriera da
giardino poi posizionarli sui bordi
superiori.
IT
Przetnij gumowy zderzak z części 4 na
cztery części równe długości/szerokości
kwietnika, a następnie umieść je na
górnych krawędziach.
PL
Other Costway Lawn And Garden Equipment manuals

Costway
Costway GT3449 User manual

Costway
Costway GT4211 User manual

Costway
Costway GT3431 User manual

Costway
Costway OP70494 User manual

Costway
Costway NP10182 User manual

Costway
Costway GT4115 User manual

Costway
Costway GT4028 User manual

Costway
Costway GT4076 User manual

Costway
Costway PW10019 User manual

Costway
Costway HZ10112CF User manual

Costway
Costway GT3429 User manual

Costway
Costway NP10912 User manual

Costway
Costway HW65286-T User manual

Costway
Costway GT3499US User manual

Costway
Costway GT3904 User manual

Costway
Costway GT3436 User manual

Costway
Costway HZ10019NA User manual

Costway
Costway OP70321 User manual

Costway
Costway OP70329-23 User manual

Costway
Costway GT3277 User manual