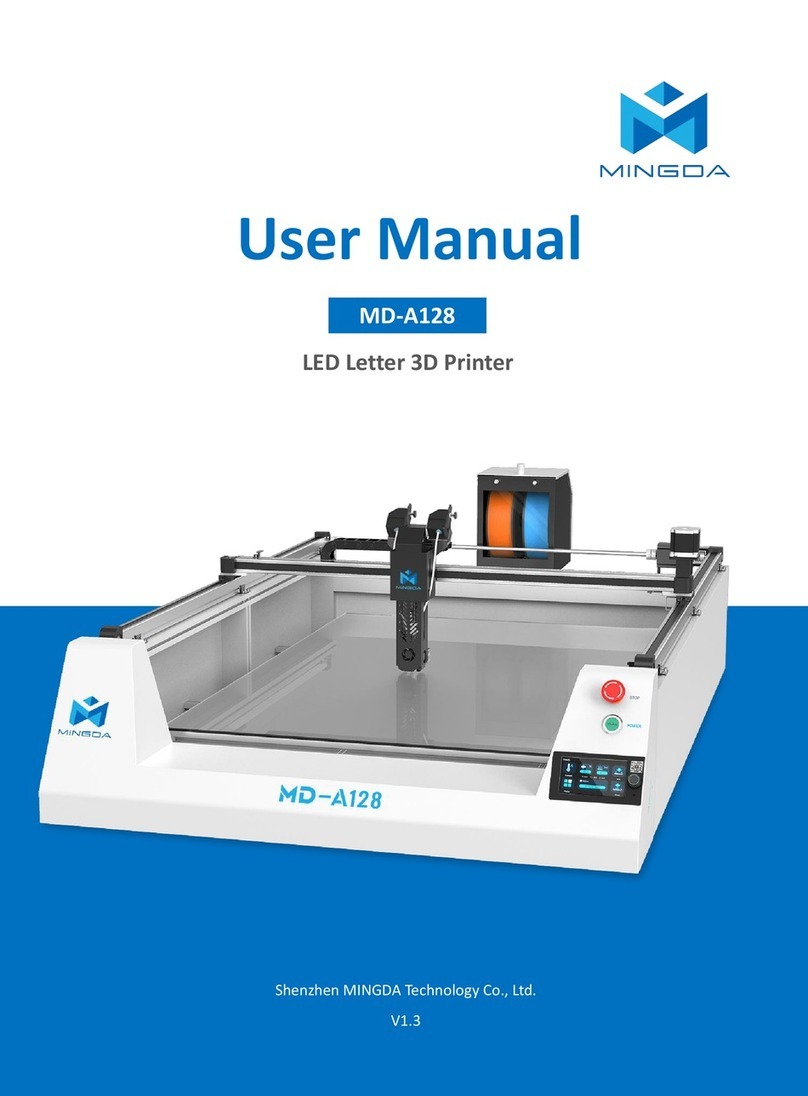
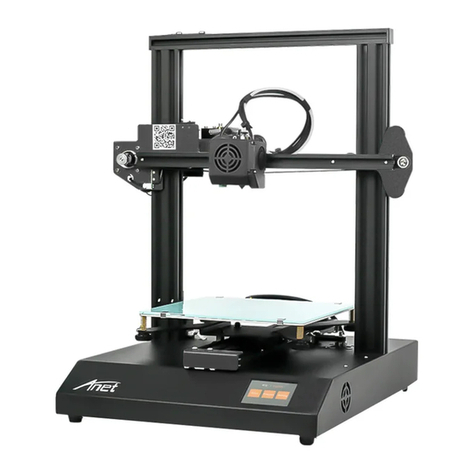
CreatBot DS User manual

U
S
S
ER
V
M
A
V
1.
0
A
N
U
0
U
AL

S
a
a
fety
G
C
s
H
m
a
C
h
•
•
t
•
C
k
C
C
o
I
t
r
c
G
ROUNDC
O
C
AUTION:
M
tatic‐electr
H
EATWAR
N
m
ovingpar
t
a
luminium
b
C
AUTION:
D
h
avetodo
s
•
Ensureth
a
•
Ensurefil
a
angles.
•
Monitory
o
C
AUTION:T
k
eepventil
a
C
AUTION:I
n
C
OMPLIAN
C
o
fFCC,CE,I
t
complies
w
easonable
p
c
ompatibilit
O
NNECTIO
N
M
akesuret
h
icitysoast
o
N
ING:Creat
t
sthatcan
c
b
lockorth
e
onotleav
e
s
o,dofollo
w
a
tthefirstl
a
a
mentwou
n
o
urprintp
e
h
emeltfila
a
tioninthe
n
caseofe
m
C
E:YourCr
e
C
,C‐Ticka
n
w
iththerul
p
rotection
a
y,mechani
c
N
h
epowerg
r
odamage
e
Bot3DPri
n
c
auseinjur
y
e
buildplat
e
e
theprinte
r
w
thesegui
d
ayerofthe
n
donthes
p
e
riodically.
mentwill
e
workplace
m
ergencyd
i
e
atBothas
b
n
dROHS.
esandlimi
t
a
gainsthar
m
calstructu
r
r
ounded,if
e
lectronics
y
tergenera
t
y
.PleaseN
e
e
afterpreh
r
attended
f
d
ance:
printispr
o
p
ooltokee
e
mitthepla
.
sconnectp
b
eenteste
d
t
sofEMC,
M
m
totheh
u
r
eandche
m
not,mayc
a
y
stem.
t
eshighte
m
e
verTouch
t
eatingorp
r
f
oralongt
i
perlyland
o
p
feedings
m
s
ticodour
d
o
wersuppl
y
strictlyby
M
DandRO
u
man,from
m
icalcomp
o
a
usethea
c
m
peratures
t
henozzle,
r
intingtoa
v
i
meduring
o
nthebuil
d
m
oothly,in
d
uringprin
t
yfromwal
l
SGSwitht
h
HS,topro
v
electroma
g
o
nent.
cumulatio
n
andinclud
e
theheated
v
oidscaldi
n
printing.If
y
d
plate.
caseof
t
ing.Please
socket.
h
epermissi
o
ide
g
netic
n
of
e
s
n
g.
y
ou
o
n

Specifications
FormingTech.FusedFilamentFabrication(FFF)
ExtruderNumber1or2
BuildSizeCreatBotDS200*200*250mm
CreatBotDM250*250*300mm
CreatBotDX300*250*300mm
CreatBotDH250*250*450mm
PrecisionX,Y0.01mm,Z0.015mm
LayerResolution0.04mm‐0.4mm
NozzleDiameter0.4mm
Max.TravelSpeed250mm/sec.
Max.PrintSpeed180mm/sec.
Max.ExtruderTemperature270Deg.
Max.HotBedTemperature105Deg.
Max.ExtrudeSpeed100mm/sec
Filament
FilamentTypeABS,PLA,PVA,HIPS,Nylon,Laywood,PET
FilamentDiameter3mm
FilamentTemperature150~270Deg.
HardwareController
MotherBoardArduinoATmega2560R3MicroController
StepperMotorCreatBotMainBoard
GearedMotorX,Yaxis42*48,1.3A;Zaxis42*63,1.5A
PowerInputE42*42,Ratio1:10
PowerOutput110~220V,1.5A
Software24V,10.5A
OperatingSystem
FileFormatXP,Vista,Win7,Win8,Mac,Linux/Unbutu
PrintingSoftwareandSlicerSTL,OBJ,GCode
SoftwareLanguageCreatBot3DSoftware
MachineryEnglish,Deutsch,French,Nederland,Spanish,Polish

Ho
w
The
des
Cre
a
soli
d
Pr
e
Us
e
mo
for
m
Cr
e
Op
e
CA
D
pr
e
Pri
n
sof
t
pr
e
In
t
pri
n
lay
e
te
m
pri
n
Tra
Sa
v
ins
e
pri
n
w
itWorks
CreatBot3
D
i
gnedfiles
a
a
tBotthen
d
object,la
y
e
paringthe
e
a3Dmod
e
delandex
p
m
at3Dmo
d
e
atBot3DS
o
e
ntheCre
a
D
fileintot
h
e
paretheg
c
n
ter.Note
t
t
warepack
a
e
ferred.
t
heCreatB
o
n
tingpara
m
e
rthicknes
s
m
perature,
t
n
ting.
nsfertheG
v
etheGCo
d
e
rtitintot
h
n
ter.
D
Printer
m
a
retranslat
heatsthef
i
y
erbylaye
r
model
e
lingprogr
a
p
ortthefil
e
d
el
o
ftware
a
tBot3DSo
f
h
eCreatBo
t
c
odefilefo
r
t
hatother
M
a
gesmaya
o
t3DSoftw
a
m
etersfory
s
,printing
s
t
henoutpu
t
Codefile
d
efileinto
t
h
eSDcard
r
m
akessolid,
edintoins
t
i
lamentan
d
r
.Thismet
h
a
mtocreat
e
asastlor
o
f
tware.Im
p
t
3DSoftw
a
r
yourCrea
t
M
arlinbase
d
lsobeused
a
re,youca
ourmodel,
s
peedand
n
t
agcodefi
t
heSDcard
,
r
eaderoft
h
three‐dim
e
t
ructionsfo
d
squeezes
i
h
odiscalle
d
a3D
o
bj
p
ortthe
a
reand
t
Bot3D
d
if
nset
suchas
n
ozzle
lefor
,
and
h
e
e
nsionalobj
rtheCreat
B
i
toutthro
u
d
FusedFila
ectsoutof
B
otandre
a
u
ghanozzl
e
mentFabri
c
meltedfila
dbythem
a
e
ontoahe
a
c
ation[FFF
]
ment.You
r
achinevia
S
a
tedsurfac
e
]
.
r
3D
S
Dcard.Th
e
e
tobuilda
e

Pr
e
Be
f
fila
Pri
n
Op
e
th
e
pri
n
e
parethep
r
f
ore3Dpri
n
mentfort
h
n
tit!
e
ratethek
n
e
modelfro
m
n
ter
r
inter
n
ting,youn
h
eprinter.
n
obbeside
m
theSDc
a
eedtoloa
d
theLCDan
a
rdinserte
d
the
d
choose
d
intothe

Unpacking
1PlacetheCreatBot3DPrinteronthefloor.
Leaveenoughavailablespaceforunpacking
2YourCreatBot3DPrinterispackedwith
multiplycarton,cardboard,foamandsealedbag
toensurethemachinetoyourhandsinperfect
status.
3Removethefirstcardboardlayer.Ensurethat
theprinteristherightwayup.Opentheplastic
bag.

4Nowit’stimetotakeoutyourCreatBot3D
Printerfromthebox.Liftitoutbygraspingthe
frame.(notthebeltsorrails)firmlybutgentlyat
theleft①andright②ofthe3DPrinter.
5PlacetheCreatBot3DPrinteronthefloor.
Leaveenoughavailablespaceforunpacking
Caution:BecarefulNOTtogripthebeltorshaft
ofthemotionsystem.
6Removethestretchfilmaroundthe3D
printer.Youcanseealltheaccessories,tools
andfilaments.

7Takealltheaccessoriesout.
8Takingoutthefilaments:
Fortheeaseoftransport,thefilamentsarefixed
tightlybybuildplatesupporter.Takethemout
usingthefollowingthenext3steps:

1) Connectpowercabletoprinter
2) Turnontheprinter.
3) GototheLCDmenu:"Prepare>
Autohome",andthetwoholderswillgoto
thetopofZaxis.
4)TakeoutthetwospoolsofPLAfilamentand
thetwofeedingdevices.

Accessories
Takingoutaccessories,toolboxandfilamentandcheckifbelowthingsareincluded:
1)2xspoolsofPLAfilament,diameter3mm,1kg/spool;
2)1xBuildplatform:ItispackedinthewhiteEPE.
3)1toolbox:includingthenecessarytoolsforinstallationandotheraccessories.
4)2feedingdevices:constitutedbygearmotorandfeederwiththeadvantagesofhighaccuracyandeasyto
operate.

5)3xenclosurecovers:installedon3sides(front,left,right)tokeepthetemperatureconstantinside
printingspace.

SettingUpYourCreatBot3DPrinter
A‐InstalltheHandles
1).Locatethefourholesareonthetopofthe
printer.Theseareusedtomountthehandles.
2).Youwillneedascrewdriver,fourscrewsand
twothetwohandles.
3).Usethescrewdrivertofixthetwoholderson
leftandrightoftheprintertopside.
Note:Pleaseensurethatyouhavetightenedthe
nutsufficiently.Useaspannertoholdthenutin
placewhentightening.
4).Handleinstallationcomplete.

B‐InstalltheBuildPlatform
1).Turnonyourprinter,enter“Prepare>Move
axis>Move1mm>MoveZ”,loweringZaxisa
little(forexample30mm)toavoidcollision
betweennozzleandbuildplatformwhile
installation.
Checktoensurethatthebars(shown)arebothat
bothparalleltoeachotherandat90degreesto
thebackplate
2).Inserttheplatform’sholderintothemiddleof
platform.Slideintheplatformfromthefrontof
themachine.
Note:Theendofplatformwithblackconnection
wireshouldtowardtheprinter

3).Takeoutthenutsandscrewdriverfromthe
toolboxtofixtheplatformandplatformholder
firmly.
Note:Afterinstallingtheplatforminstallation,
pleasetightenthefourblackscrewsalittlebit
moreunderthebuildplatetolowerittoavoid
knockingtheextrudersinnextoperation.
4).Connectthepowerwireanddatacableof
platformwiththeconnectors.
Caution:Makesuretheplugsarefullyconnected.
Otherwisetheplatformmaynotheatormayover
heat.

C‐FeedingDeviceInstallation
1).MountFeedingmotor:usingsmallwrenchto
fixNo.1feedingmotoronposition1.
2).Inserttheendoffeedingtubeintothesocket
offeedingmotorandtightenfirmly.
3).Connectthedatacablewithfeedingdevices.
4).Feedingdeviceinstallationdone.

DFilamentSpoolHolderInstallation
1).Takethetwospoolholdersoutofthetoolbox.
2).Installfilamentspool’sholdersintothetwo
threadedholesattherearofthemachine..

ELubricatetheGuideRails
Theguiderailsmaybedrywhenyoureceive
yourprinter,socheckandlubricatetheguide
railsbeforeyourfirstprint.
Onlyuseahighqualitythinsewingmachineoil
suchasSingerOil(theproductshownhere).
Theuseofincorrectlubricantmaycausethe
bearingstodryupandcease.
1).Thecrossrailshaveballbearingsinsideandonly
requireverylittlelubrication.Lubricatethetwo
crossguiderailswithonlyasmalldaboflubricant.
2).Lubricatethefourguiderailsaroundtheprinter
framework.
Notice:Lubricationisveryimportantforgood
printingperformance,orelseyoumightencounter
printheadstuckproblem.

1.SD‐cardslot
2.Pushandrotatebutton
3.Display
4.Buildplatescrews
5.Buildplate
6.Printhead
7.Filamentguidetube
8.Printerholder
9.Powerswitch

10.PowerSocket
11.Nameplate
12.Spoolholder
13.Materialfeeder
14.USBSocket

LCDMenuStructure
This manual suits for next models
3
Table of contents
Other CreatBot 3D Printer manuals
