manuals.online logo
Brands
  1. Home
  2. •
  3. Brands
  4. •
  5. Cres Cor
  6. •
  7. Convection Oven
  8. •
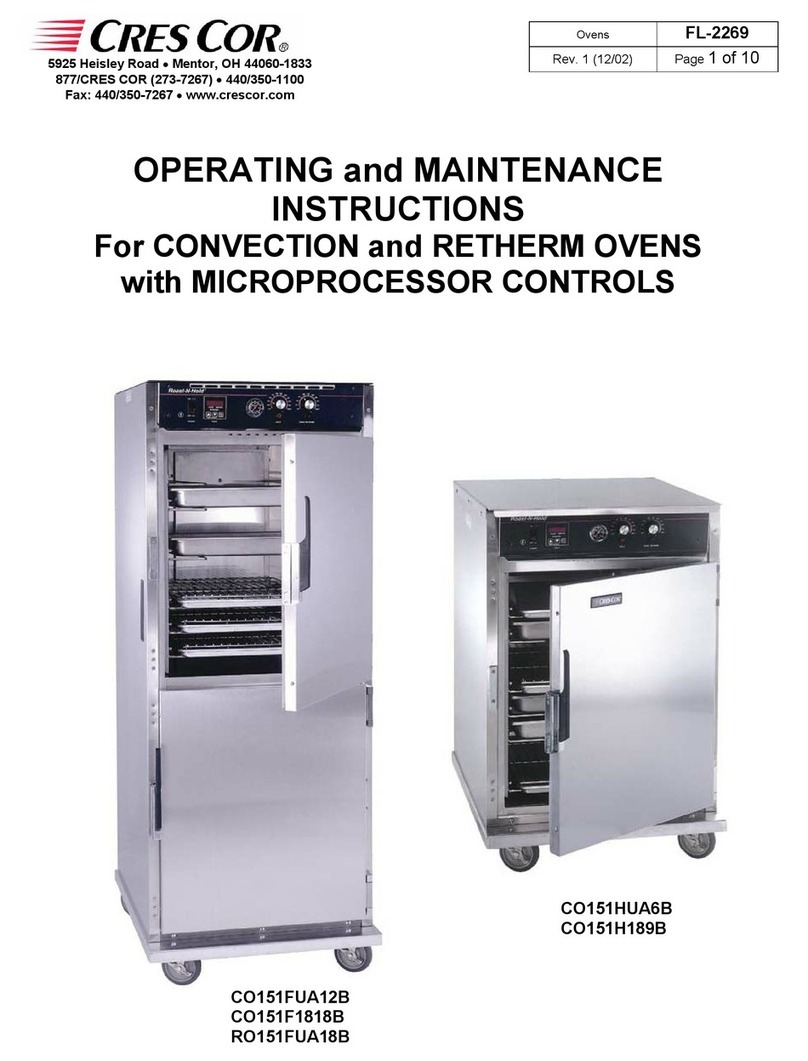
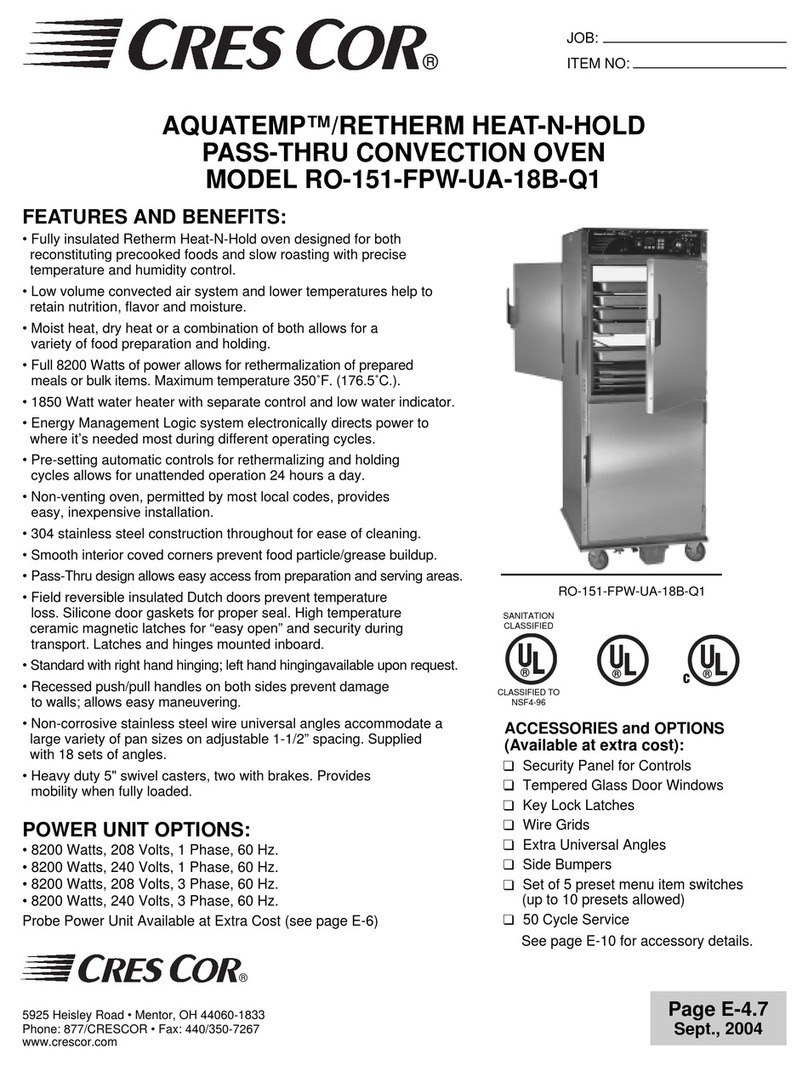
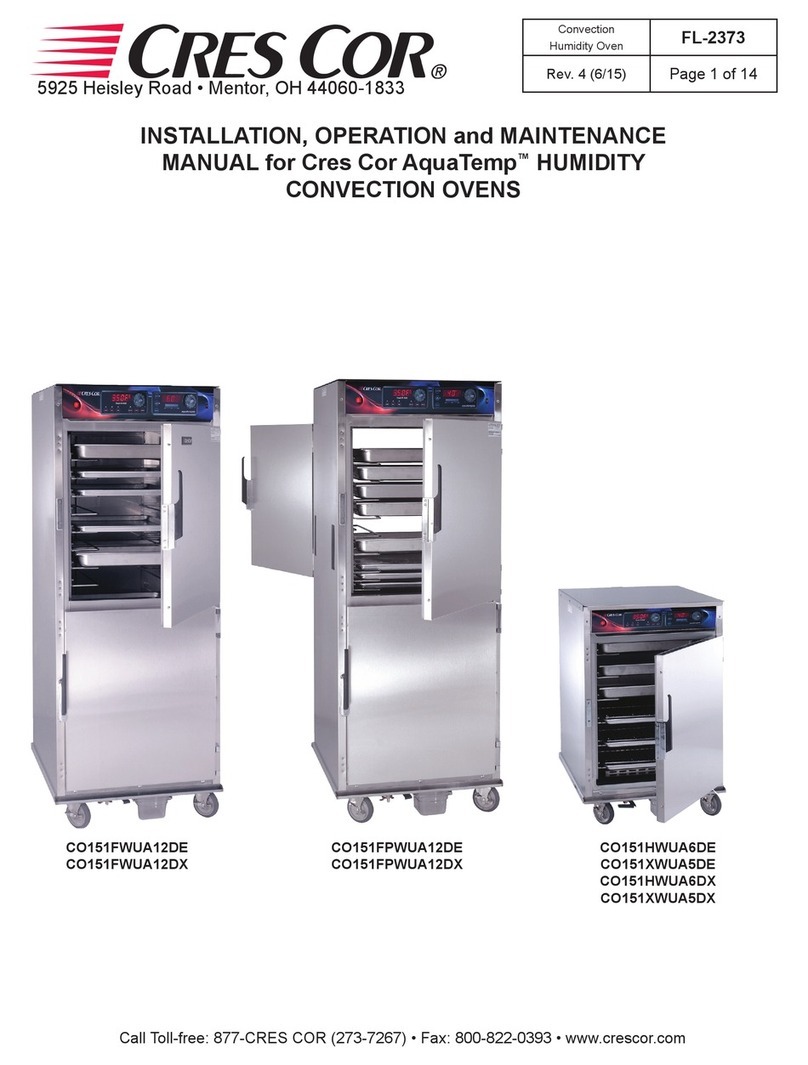
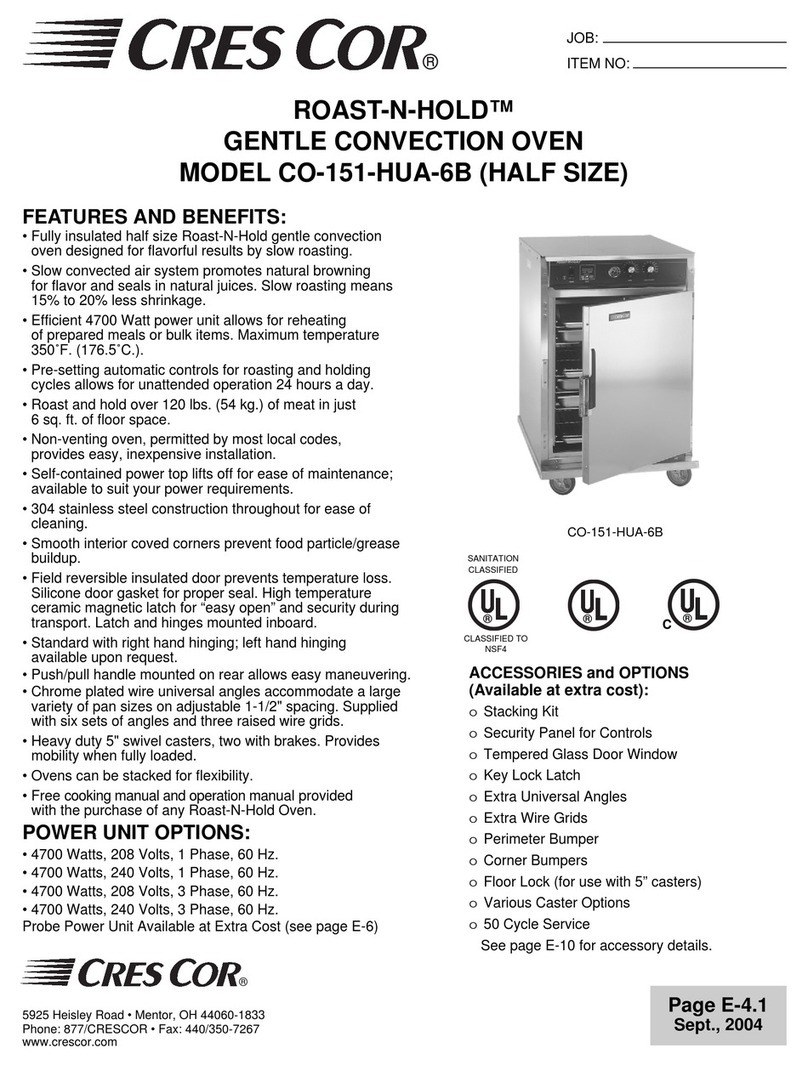
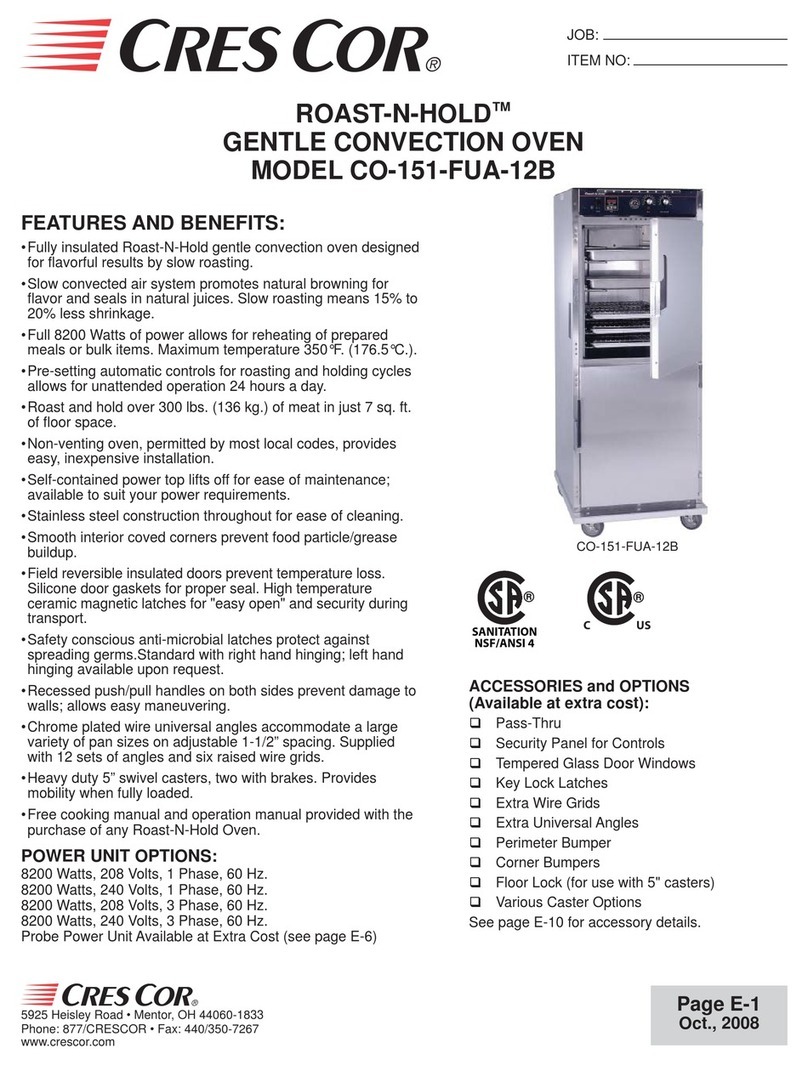
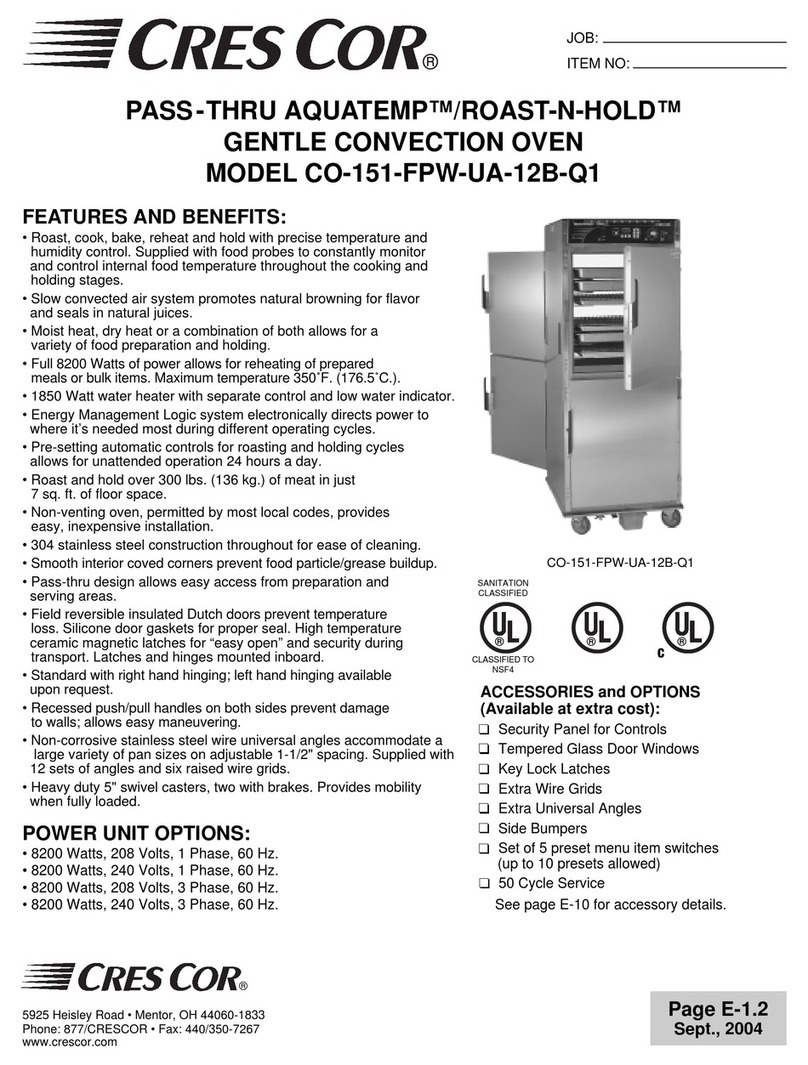
  9. Cres Cor AquaTemp CO-151-FWUA-12DX2081BC User manual

Cres Cor AquaTemp CO-151-FWUA-12DX2081BC User manual

This manual suits for next models

1

Other Cres Cor Convection Oven manuals

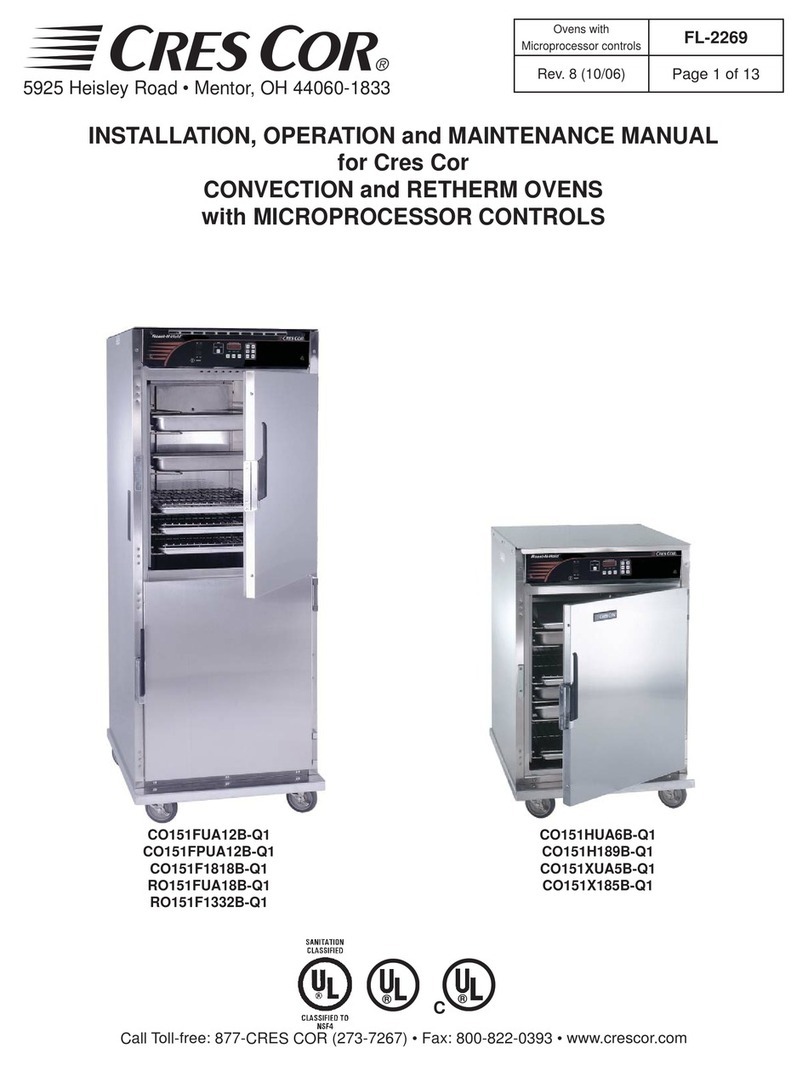
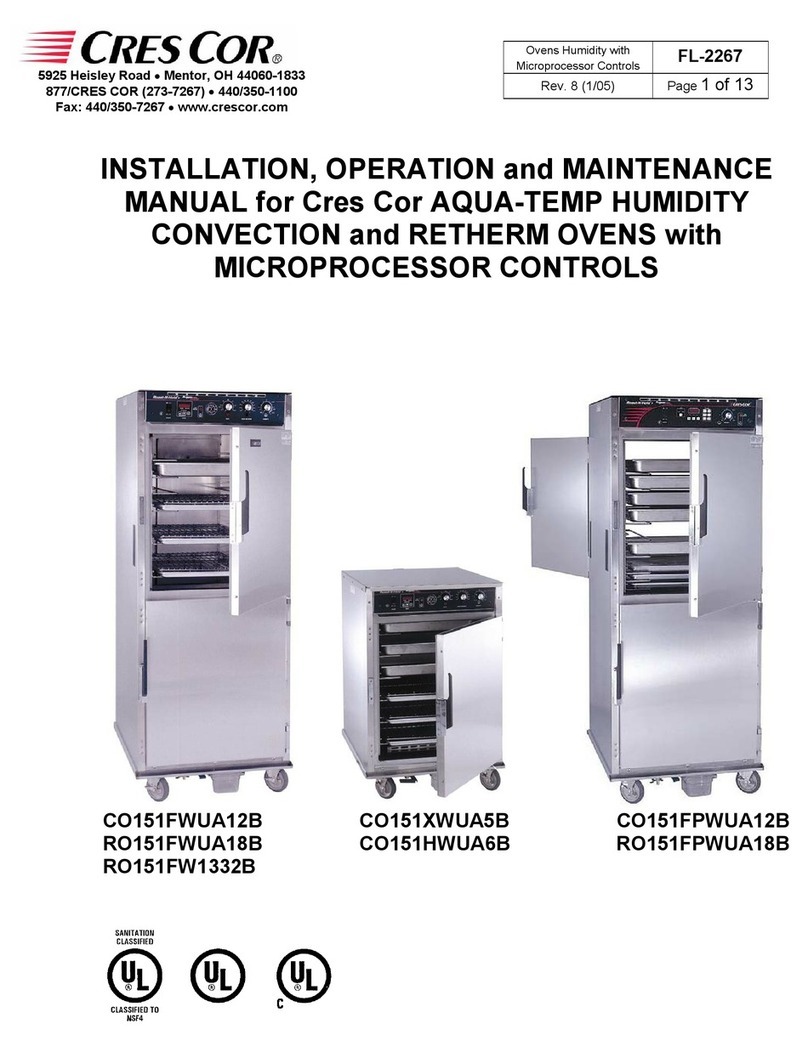
Cres Cor ROAST-N-HOLD CO-151-F-1818B Manual

Cres Cor

Cres Cor ROAST-N-HOLD CO-151-F-1818B Manual

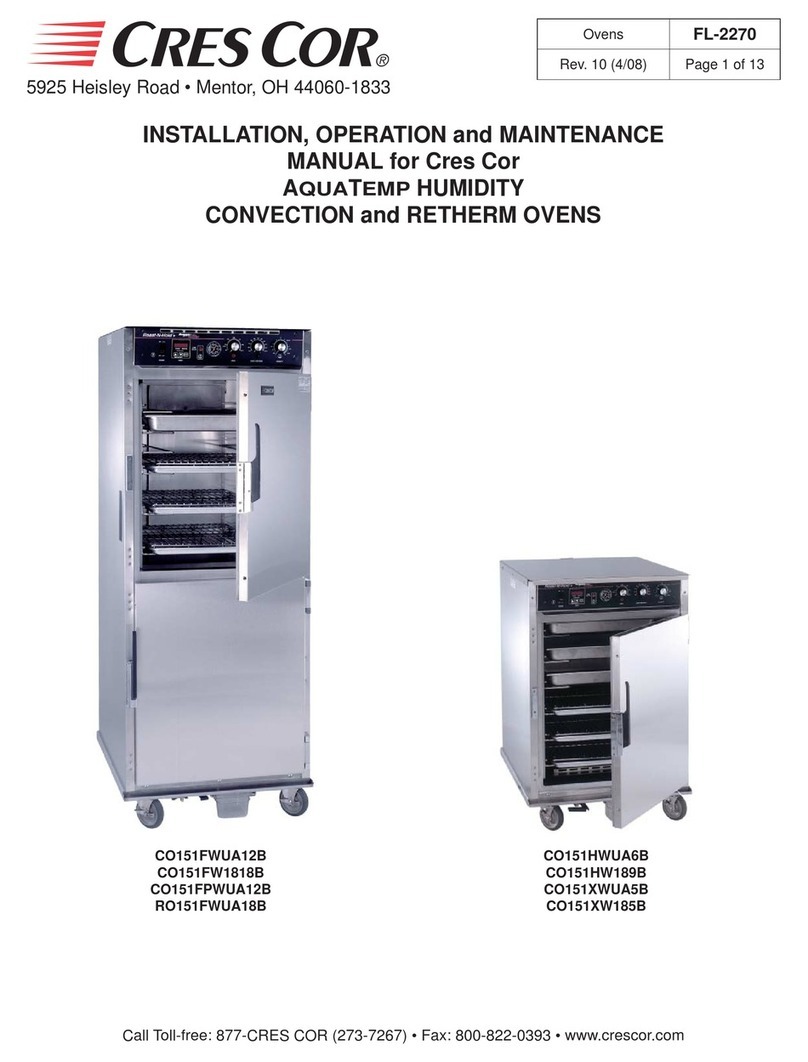
Cres Cor CO151FW1818B User manual

Cres Cor

Cres Cor CO151FW1818B User manual

Cres Cor CO151F1818B-Q1 User manual

Cres Cor

Cres Cor CO151F1818B-Q1 User manual

Cres Cor AQUATEMP RO151FPWUA18B-Q1 User manual

Cres Cor

Cres Cor AQUATEMP RO151FPWUA18B-Q1 User manual

Cres Cor CO151H189B-Q1 User manual

Cres Cor

Cres Cor CO151H189B-Q1 User manual

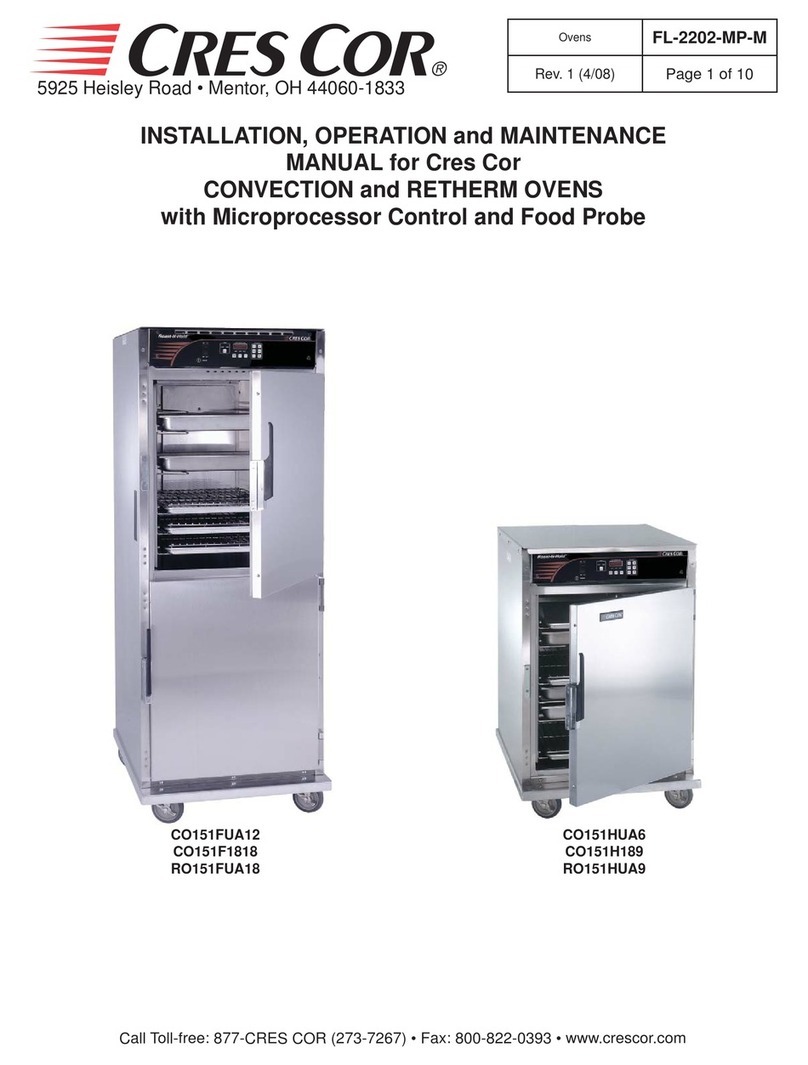
Cres Cor CO151F1818 Installation and operating instructions

Cres Cor

Cres Cor CO151F1818 Installation and operating instructions

Cres Cor Roast-N-Hold CO-151-FUA-12B User manual

Cres Cor

Cres Cor Roast-N-Hold CO-151-FUA-12B User manual

Cres Cor ROAST-N-HOLD CO-151-F-1818B User manual

Cres Cor

Cres Cor ROAST-N-HOLD CO-151-F-1818B User manual

Cres Cor ROAST-N-HOLD CO-151-HUA-6B User manual

Cres Cor

Cres Cor ROAST-N-HOLD CO-151-HUA-6B User manual

Cres Cor CO151FWUA12DE2081 User manual

Cres Cor

Cres Cor CO151FWUA12DE2081 User manual

Cres Cor CO151FPWUA12B User manual

Cres Cor

Cres Cor CO151FPWUA12B User manual

Cres Cor CO-151-HW-UA-6B User manual

Cres Cor

Cres Cor CO-151-HW-UA-6B User manual

Cres Cor AQUATEMP CO151FPWUA12B-Q1 User manual

Cres Cor

Cres Cor AQUATEMP CO151FPWUA12B-Q1 User manual

Popular Convection Oven manuals by other brands

Goldair GOV300 operating instructions

Goldair

Goldair GOV300 operating instructions

Aroma ABT-266SC instruction manual

Aroma

Aroma ABT-266SC instruction manual

Dometic DOTRC11B owner's guide

Dometic

Dometic DOTRC11B owner's guide

Smeg ALFA341VE user manual

Smeg

Smeg ALFA341VE user manual

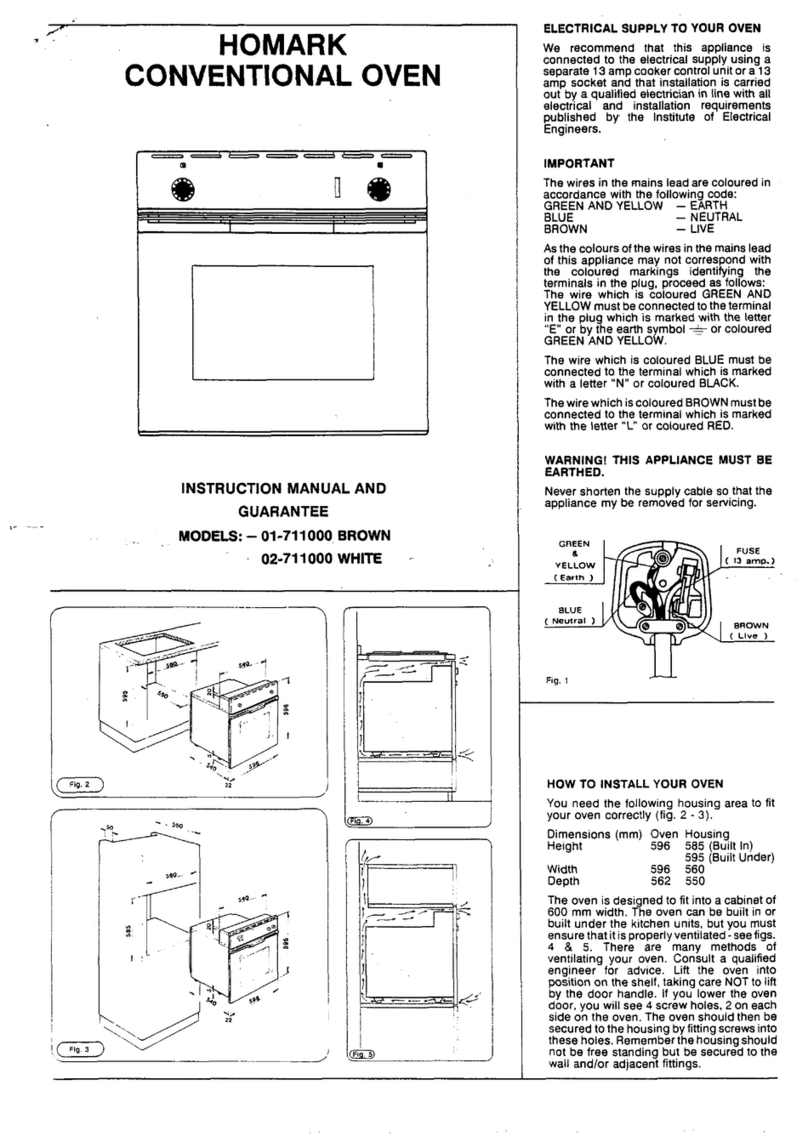
homark 01-711000 Instruction manual and guarantee

homark

homark 01-711000 Instruction manual and guarantee

Vulcan-Hart C4ED Installation and operation manual

Vulcan-Hart

Vulcan-Hart C4ED Installation and operation manual

Jenn-Air SVE47600 use and care manual

Jenn-Air

Jenn-Air SVE47600 use and care manual

Waring WCO500 instructions

Waring

Waring WCO500 instructions

Moffat turbofan E25 Service manual

Moffat

Moffat turbofan E25 Service manual

Deni Quick-n-Easy 10400 Instructions for proper use and care

Deni

Deni Quick-n-Easy 10400 Instructions for proper use and care

Sharp R-980J Operation manual

Sharp

Sharp R-980J Operation manual

Whirlpool OBI M50 Use & care guide

Whirlpool

Whirlpool OBI M50 Use & care guide

Wells WVOC-4HF Operation manual

Wells

Wells WVOC-4HF Operation manual

LG LSWS306ST Service manual

LG

LG LSWS306ST Service manual

Convotherm The MINI OES-6.08 Operator's manual

Convotherm

Convotherm The MINI OES-6.08 Operator's manual

Lang GCSF-ES Installation and operation instructions

Lang

Lang GCSF-ES Installation and operation instructions

Electrolux 6 GN1/1 Short form specification

Electrolux

Electrolux 6 GN1/1 Short form specification

Unox BAKERLUX SPEED.Pro Use and maintenance

Unox

Unox BAKERLUX SPEED.Pro Use and maintenance

manuals.online logo
manuals.online logoBrands
  • About & Mission
  • Contact us
  • Privacy Policy
  • Terms and Conditions

Copyright 2025 Manuals.Online. All Rights Reserved.

5925 Heisley Road • Mentor, OH 44060-1833
Call Toll-free: 877-CRES COR (273-7267) • Fax: 800-822-0393 • www.crescor.com
Convection
Humidity Oven FL-2373-BC
Rev. 1 (8/20) Page 1 of 17
INSTALLATION, OPERATION and MAINTENANCE MANUAL
for Cres Cor AquaTemp™HUMIDITY CONVECTION OVENS
BUC-EE’S PROGRAMMING REVISION J-05
CO-151-FWUA-12DX2081BC CO-151-XWUA-5DXM2081BC
5925 Heisley Road • Mentor, OH 44060-1833
Call Toll-free: 877-CRES COR (273-7267) • Fax: 800-822-0393 • www.crescor.com
Convection
Humidity Oven FL-2373-BC
Rev. 1 (8/20) Page 2 of 17
TABLE OF CONTENTS
SUBJECT PAGE
INSTALLATION INSTRUCTIONS .............................................3
OPERATING INSTRUCTIONS
First Time Operation....................................................3
Quick Start Guide ....................................................4-6
How to Use Control for Cooking & Holding:
Unit Operations......................................................7, 8
Menu Settings and “Recipes” for “-DX” Series Ovens .........................9
How to use Aquatemp Control for Humidity ................................10
MAINTENANCE INSTRUCTIONS
How to Clean the Unit & Maintenance..................................11, 12
Glossary ............................................................13
Oven Replacement Parts ...............................................14
Hot Unit Replacement Parts.............................................15
Wiring Diagram For 208/240 Volt, 1 Phase .................................16
Wiring Diagram for 208/240 Volt, 3 Phase .................................17
WARNING: TO REDUCE THE RISK OF FIRE OR ELECTRIC SHOCK,
DO NOT REMOVE COVER (OR BACK)
NO USER-SERVICEABLE PARTS INSIDE
REPAIR SHOULD BE DONE BY AUTHORIZED SERVICE
PERSONNEL ONLY
RISK OF FIRE OR ELECTRIC SHOCK
DO NOT OPEN
WARNING
5925 Heisley Road • Mentor, OH 44060-1833
Call Toll-free: 877-CRES COR (273-7267) • Fax: 800-822-0393 • www.crescor.com
Convection
Humidity Oven FL-2373-BC
Rev. 1 (8/20) Page 3 of 17
HOW TO INSTALL CABINETS:
1. Remove all packing material from inside and outside of
cabinet.
2. Position cabinet on level oor; install the cabinet
interior (pan slides) if not already installed.
3. Plug power cord into proper wall receptacle.
4. MANUAL FILL: Fill water pan with three (3) gallons
of HOT water (see CAUTION).
5. AUTO FILL: Attach water valve on back bottom of
unit to water supply (see “How to use Automatic ll kit
on page 7).
LOW WATER LIGHT:
MANUAL FILL: When water needs to be added to the
pan, the Low Water Light will stay on and the humidity
function will not work until the pan is relled.
AUTO FILL: If water level is low and water supply is not
connected, an error code will display after a time limit.
(See MENU SETTINGS to turn auto ll on and o)
INSTALLATION INSTRUCTIONS
VENTING YOUR OVEN:
1. The purpose of ventilating hoods is to direct and
capture smoke, grease-laden vapors, heat, odors, or
fumes.
2. Low temperature equipment (maximum temperature
250°F/121°C) does not produce heat, odors, fumes,
grease-laden vapors or smoke and is not required to be
vented.
3. Most jurisdictions consider our low-temperature ovens
(maximum temperature is 350°F/177°C) as low-heat
appliances not requiring vent hoods.
4. Installation must conform with local codes. The
authority having jurisdiction of enforcement of
the codes will have the responsibility for making
interpretations of the rules.
Use of treated water is recommended for
proper operation and to maintain warranty.
It will reduce scaling.
CAUTION
UNIT SPECIFICATIONS: All units use three (3) elements (2670 watts each).
All units are rated 8000 watts. Water units have one (1) immersion element (1850 watts).
MODEL NOS. ELECTRICAL SPECS
(AC SERVICE) ELEC. LOAD POWER SUPPLY REQUIREMENT
ALL 3 PHASE IS 3 WIRE + GROUND
CONVECTION OVENS Volts Ph Hz. Amps Volts Amps Ph Volts NEMA
CO-151-FWUA-12DX2081BC 208 1 60 39 208 50 1 208 6-50P
HALF-SIZE OVENS Are rated at 4700 watts (Three [3] heaters at 1470 watts each)
CO-151-XWUA-5DXM2081BC 208 1 60 24 208 30 1 208 6-30P
5925 Heisley Road • Mentor, OH 44060-1833
Call Toll-free: 877-CRES COR (273-7267) • Fax: 800-822-0393 • www.crescor.com
Convection
Humidity Oven FL-2373-BC
Rev. 1 (8/20) Page 4 of 17
CRES COR :ROAST AND HOLD UNDERCOUNTER OVEN
BUC-EE’S QUICK START GUIDE
Turn power switch on:
CRES COR :ROAST AND HOLD UNDERCOUNTER OVEN
BUC-EE’S QUICK START GUIDE
Turn power switch on:
Buc-ee’s Quick Start Guide
Cres Cor : Roast and Hold Undercounter Oven
1. Turn power switch on:
5925 Heisley Road • Mentor, OH 44060-1833
Call Toll-free: 877-CRES COR (273-7267) • Fax: 800-822-0393 • www.crescor.com
Convection
Humidity Oven FL-2373-BC
Rev. 1 (8/20) Page 5 of 17
Wait for preheat.
Insert meat probe.
Load product.
Wait for preheat.
Insert meat probe.
Load product.
2. Wait for preheat.
3. Insert meat probe. Then, load product.
5925 Heisley Road • Mentor, OH 44060-1833
Call Toll-free: 877-CRES COR (273-7267) • Fax: 800-822-0393 • www.crescor.com
Convection
Humidity Oven FL-2373-BC
Rev. 1 (8/20) Page 6 of 17
Press START to begin cook cycle.
5 long beeps will be heard.
Press CANCEL to start over.
Press START to begin preheating a new cycle.
Press START to begin cook cycle.
5 long beeps will be heard.
Press CANCEL to start over.
Press START to begin preheating a new cycle.
4. Press START to begin cook cycle.
5 long beeps will be heard.
Press CANCEL to start over.
Press START to begin preheating a new cycle.
5925 Heisley Road • Mentor, OH 44060-1833
Call Toll-free: 877-CRES COR (273-7267) • Fax: 800-822-0393 • www.crescor.com
Convection
Humidity Oven FL-2373-BC
Rev. 1 (8/20) Page 7 of 17
OPERATING INSTRUCTIONS
UNIT OPERATION:
1. Press power switch ON
2. Unit will automatically begin preheating recipe 1.
The screen will show PREHEAT and an Indicator light
by the recipe button will be blinking indicating a recipe
is being run.
a. During PREHEAT, the DISPLAY button can be
pressed to allow the user to see the following
values:
i. “A” actual oven temp
ii. “P” probe actual value
iii. rcP## recipe currently being used
NOTE: To select a dierent recipe, press RECIPE button,
scroll to desired recipe, and press “PUSH TO
SET” button to save and enter.
3. To skip the preheat process and begin the cook cycle,
hold START for 3 seconds.
4. If chosen not to skip preheat, wait for unit to heat to
recipe 1 cook temp.
5. After oven has reached temperature, one long beep
will be heard, and PUSH START will be displayed on
screen.
6. Insert meat probe into media and quickly load oven.
7. Press START to begin the cook cycle. Five long beeps
will be heard and the light next to the COOk button
will ash. Indicator lights next to COOK, PROBE, and
RECIPE buttons will be illuminated.
NOTE: The cook cycle will keep the oven at cook temp
setpoint until probe temp setpoint has been
reached.
8. Control will constantly display probe actual temp “P”
9. Pressing DISPLAY button will allow user to see the
following values:
a. “t” time of current cycle
b. “s” probe setpoint
c. “A” actual oven temp
d. “H” probe max temp
e. “L” probe min temp
f. rcP## recipe currently being used
NOTE: Probe min and max temps are reset if CANCEL
button is pressed, unit is turned o, or when a
new cook cycle has started.
10.When probe temp setpoint has been reached, unit will
switch from cook mode to hold mode.
a. If cook cycle has taken longer than 2 hours, a
single beep will be heard.
b. If cook cycle has taken less than 2 hours, 5 long
beeps will be heard and “2 Hr” will be displayed
on the screen. Press DISPLAY button to clear
visual alarm.
NOTE: Min and max probe temps will continue to be
tracked through hold mode.
11.Default display for hold mode is the screen alternating
between the two displayed parameters:
a. Hold temp setpoint
b. “t” hold time
5925 Heisley Road • Mentor, OH 44060-1833
Call Toll-free: 877-CRES COR (273-7267) • Fax: 800-822-0393 • www.crescor.com
Convection
Humidity Oven FL-2373-BC
Rev. 1 (8/20) Page 8 of 17
OPERATING INSTRUCTIONS (continued)
12.Pressing DISPLAY button will allow the user to see the
following values:
a. “s” hold temp setpoint
b. “t” hold time
c. “A” actual oven temp
d. “c” time the unit was in the cook cycle
e. “H” probe max temp
f. “L” probe min temp
NOTE: Cycling through all the parameters back to the
default display will make the screen alternate
between hold temp setpoint and time. If desired,
user can leave any above desired display
parameter on the screen and it will remain there
(not revert back to default display).
13.Hold mode will count up indenitely or until power
switch is turned OFF or a new cook cycle is started.
Typically during this time is when the product is
removed from the oven.
a. To begin a new cook cycle, press START. Unit will
begin PREHEAT the previous parameters.
b. To end the hold cycle and allow the oven to idle at
hold temperature, press CANCEL.
NOTE: At any time, press CANCEL to idle the oven at
hold temperature. Editing recipes, getting into the
menu, or starting a new cycle can be done at this
time.
CAUTION:
This trial unit uses prototype software. If the controls
freeze up or something is happening that shouldn’t,
please turn the power switch OFF. Do not re-start oven
for at least 30 seconds. Any fault should be cleared.
5925 Heisley Road • Mentor, OH 44060-1833
Call Toll-free: 877-CRES COR (273-7267) • Fax: 800-822-0393 • www.crescor.com
Convection
Humidity Oven FL-2373-BC
Rev. 1 (8/20) Page 9 of 17
MENU SETTINGS:
Roast and Hold control:
Press and hold both the TIME button and the “push to set”
button for 5 seconds to get into the menu.
There are a variety of menu items which may not pertain
to your machine.
Farenheit or Celsius:
1. Scroll over to “Unit”.
Press the “push to set” button to edit.
2. Select “F” or “C” and press “push to set”
button to enter.
3. Scroll to “End” and “push to set”
to save and exit menu.
Aquatemp control:
Press and hold both the DISPLAY button and the
“push to set” button for 5 seconds to get into the menu.
Auto Fill option:
1. Scroll over to “FILL” and press “push to set”
button to edit.
2. Select “Y” or “N”.
3. Scroll to end.
RECIPES:
The -DX control can hold up to 18 saved recipes.
To save a recipe:
1. Press the RECIPE button.
2. Turn the knob through the menu until you get to “Edit”
and press the knob.
3. Turn the knob to reach the recipe you want to edit.
There are 18 blank recipes to customize and save.
4. Press the knob and enter the cook, hold and time
values.
5. After the entering the nal value, “Edt” will show
again, allowing you to edit another recipe.
6. Press the knob to edit more recipes or turn to “End”
to exit the menu.
OPERATING INSTRUCTIONS (continued)
5925 Heisley Road • Mentor, OH 44060-1833
Call Toll-free: 877-CRES COR (273-7267) • Fax: 800-822-0393 • www.crescor.com
Convection
Humidity Oven FL-2373-BC
Rev. 1 (8/20) Page 10 of 17
HOW TO USE THE AQUATEMP HUMIDTY CONTROL:
* The units of the humidity control are approximate % relative humidity.
The amount of moisture will vary for the same %RH value at dierent
oven temperatures.
* The LOW WATER Light comes on when water pan needs to be relled.
* Press the ON/OFF button to turn it on.
Setting the Humidity:
1. At any time, press the knob and the setpoint %RH will ash.
2. Turn the knob to the value you desire.
3. Press the knob to set the value.
NOTE: These humidity values then are set and switch automatically based
upon which Roast-N-Hold mode it is in.
The DISPLAY BUTTON momentarily shows the approximate relative
humidity in the oven. When water level is low, %RH is not correct, so no
value is displayed and the water heater does not heat.
NOTES:
It is recommended to use treated water to prevent failure of ll valve.
LOW WATER LIGHT:
MANUAL FILL: When water needs to be added to the pan, the Low Water
Light will stay on and the humidity will not work until the pan is relled.
AUTO FILL: If water level is low and water supply is not connected, an
error code will display after a time limit.
(See MENU SETTINGS to turn auto ll on and o)
OPERATING INSTRUCTIONS (continued)