The Crestron® C2N-AMP-6X100 and C2NI-AMP-6X100 are versatile and
cost-effective multiroom audio systems designed for small to
moderate-sized houses, condominiums, and businesses. Its integrated
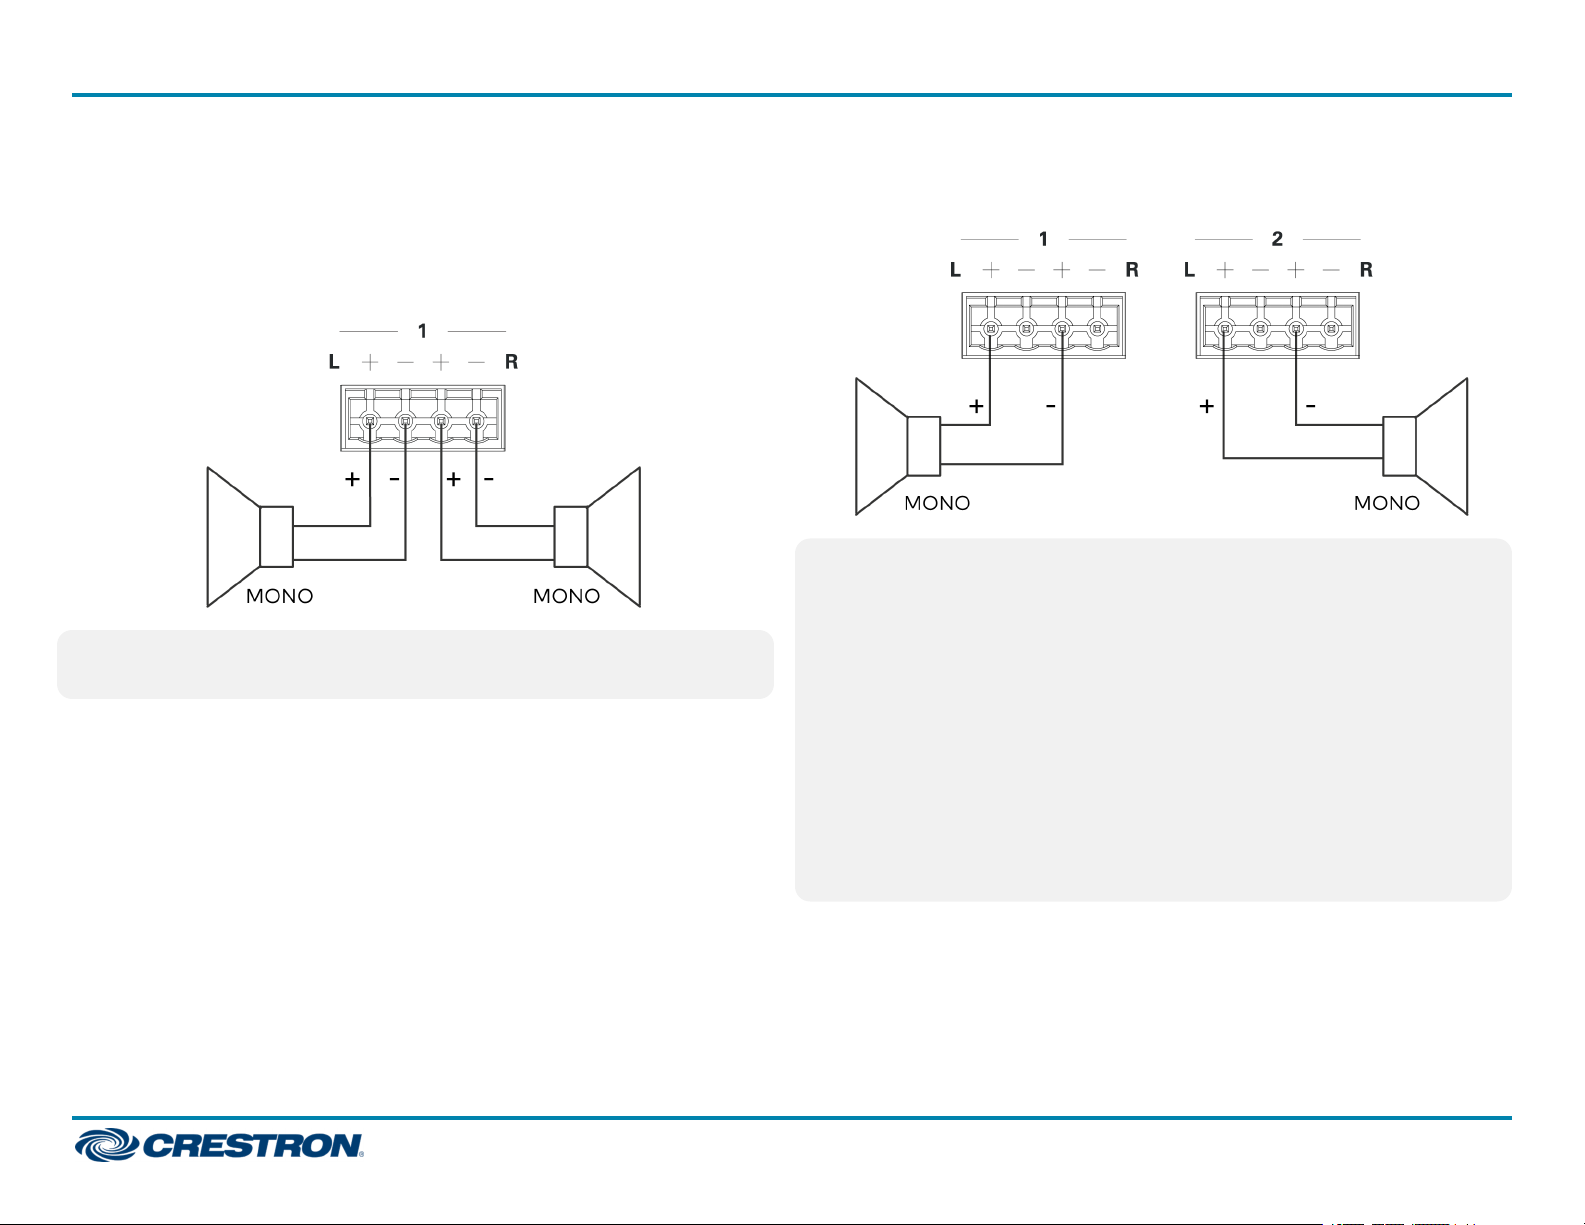
multichannel power amplifier provides ample power for up to six rooms,
which can be expanded with additional C2N-AMP-6X100 units, or by
connecting external amplifiers to the two extra line-level room outputs.
The C2N-AMP-6X100 and C2NI-AMP-6X100 are functionally identical.
For simplicity within this guide, the term “C2N-AMP-6X100 ” is used
except where noted.
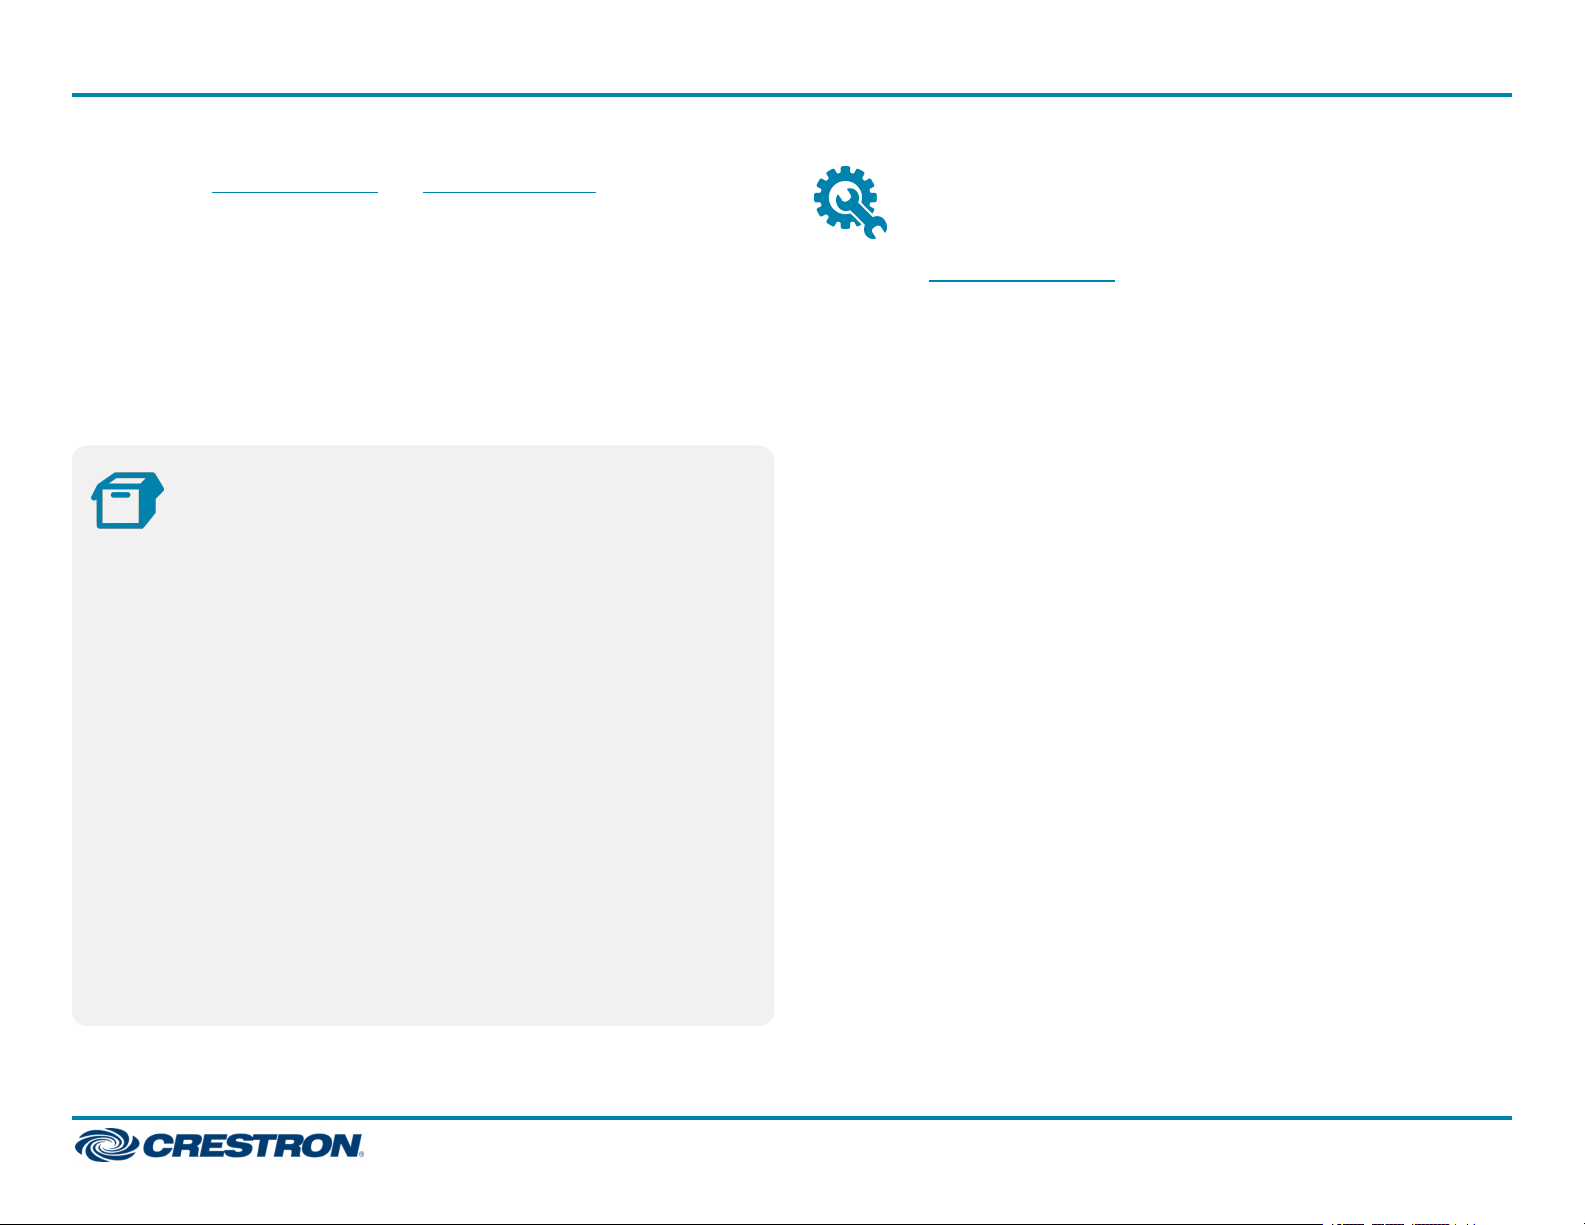
In the Box
1 C2N(I)-AMP-6X100 6-Room + 2 Audio System
Additional Items
2 Bracket, Rack Ear, 2U (2034434)
2 Connector, 4-Pin (2003576)
6 Connector, 4-Pin, Right-Angle (2003584)
1 Label, Custom, Identification (4509950)
1 Label, Filler Strip, Cardstock, 11.9 in. x 0.4 in. (4520506)
1 Label, Filler Strip, Cardstock, 7.9 in. x 0.4 in. (4520508)
6 Screw, 6-32 x 5/16 in., Undercut Head, Phillips (2007223)
C2N-AMP-6X100 Only
1 Power Cord, 6 ft 7 in. (2 m) (2001134)
C2NI-AMP-6X100 Only
1 Power Cord (varies by country)
Install
Refer to the Safety Instructions (Doc. 6607) prior to installation.
The C2N-AMP-6X100 can be placed on a table or installed in a rack.
Place on a Table
Place the C2N-AMP-6X100 on a table or stack on top of another device.
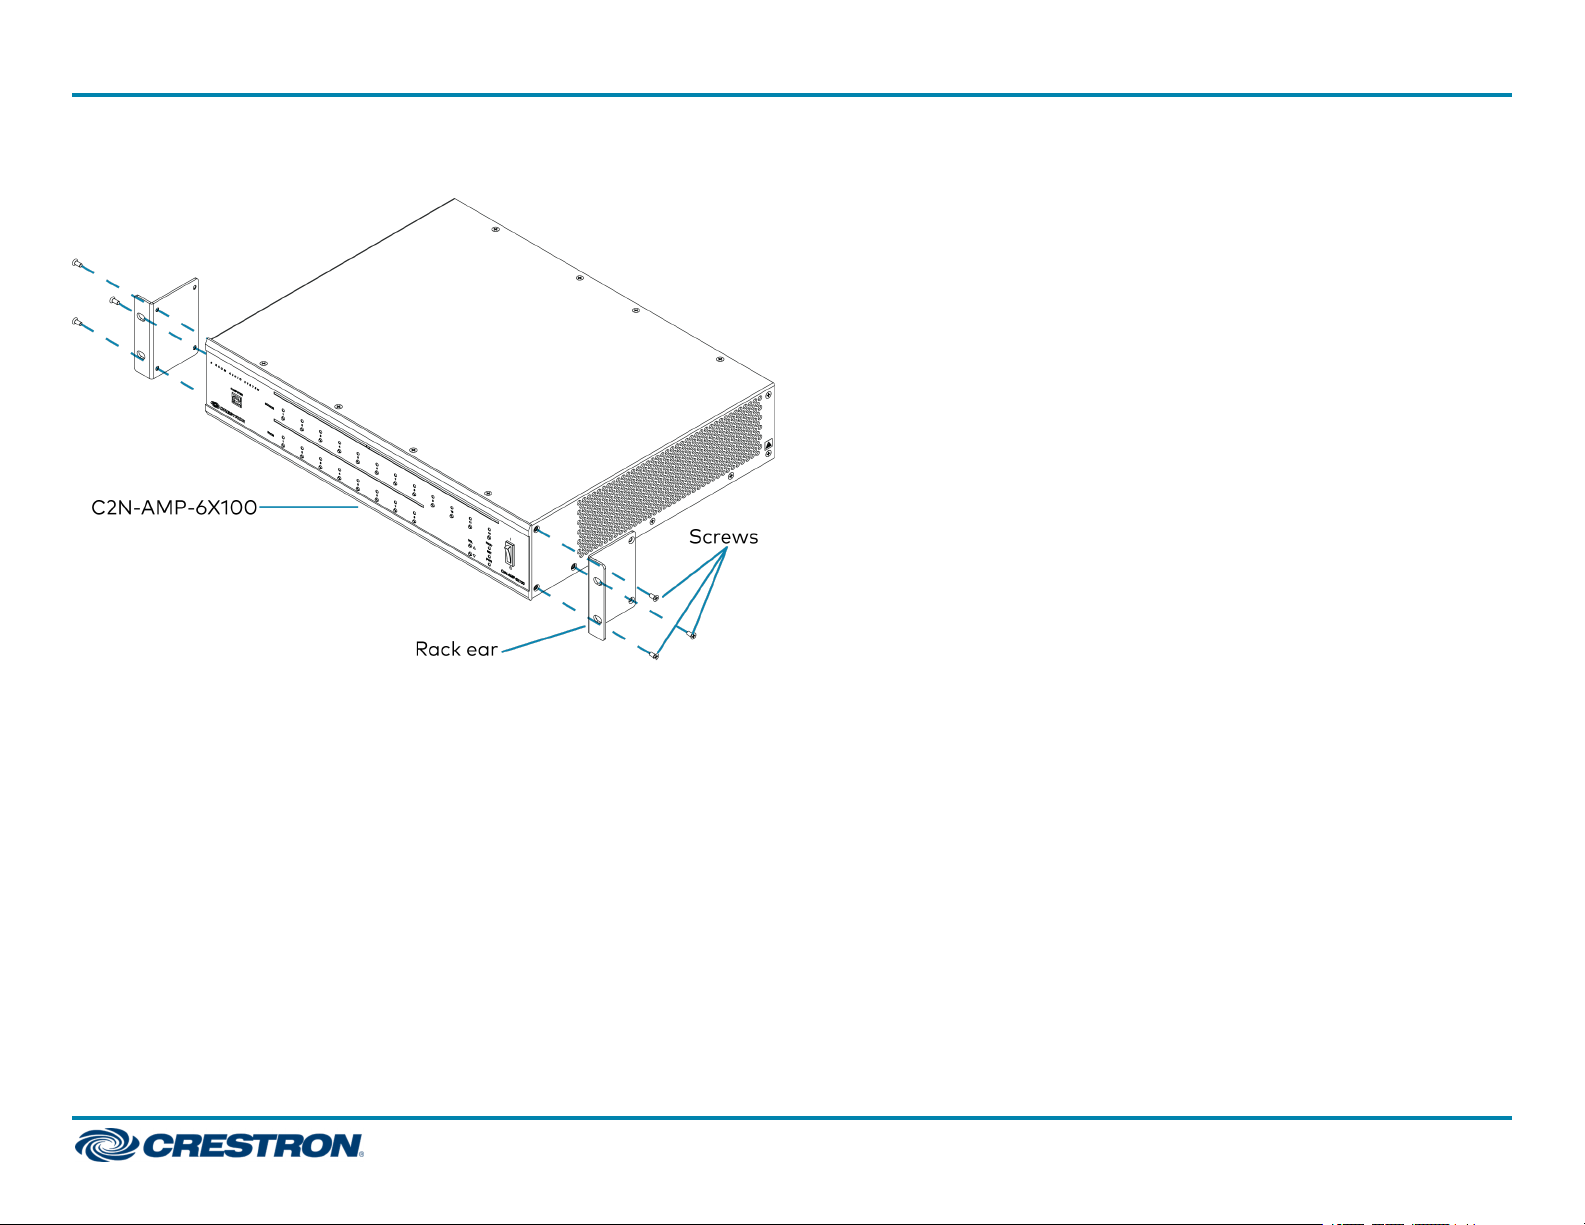
Rack Installation
The C2N-AMP-6X100 occupies 2U of rack space. Use a # 1 Phillips
screwdriver to remove the three screws from the front part of each side
panel. Attach the two included rack ears to the device with the 6 included
screws as shown in the illustration on the following page. Then mount the
device into the rack using four rack mounting screws (not included).
1
C2N-AMP-6X100 and C2NI-AMP-6X100 QuickStart
6-Room + 2 Audio System


-24X8 User manual")


-AMP-4X100 User manual")