Safety and product related information:
•Read and understand all instructions in the operation sec-
tion of this manual before use.
• Observe all warnings and instructions marked on Sprint
Pro, or as prompted by the analyzer and within this manual.
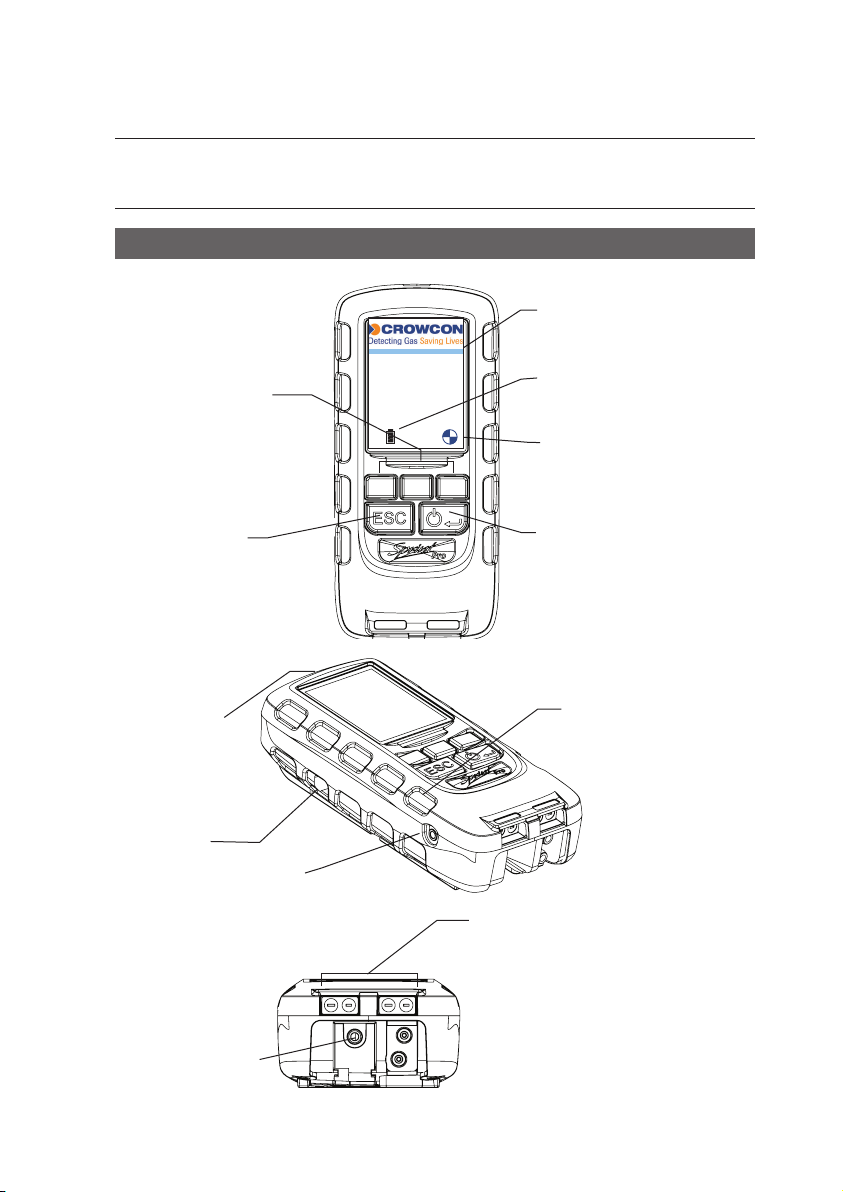
• Sprint Pro must only be operated with the Sprint Pro Flue
Probe assembly and always with the water trap and filters
in place.
• Connect the Flue Probe Assembly to Sprint Pro before
switching on and do not insert probe into flue until after
the zeroing process is complete.
• Sprint Pro water trap must be dried after use and before
Sprint Pro Flue Probe Assembly is returned to carry case.
• Before use ensure Sprint Pro is in good repair and do not
use if damaged or if calibration has expired.
• Sprint Pro passes the requirements of EN50379-1 and
EN50379-3 and has been independently tested by BSI.
• Sprint Pro is designed for use in ambient temperatures in
the range 14°F to 122°F and should not be used outside
this range.
• Sprint Pro contains a re-chargeable Lithium ion battery.
• Sprint Pro’s battery must not be charged at temperatures
below 32°F or above 104°F.
• If Sprint Po is damaged do not use and return to a quali-
fied service center for repair/replacement.
• Service, calibration & repair of Sprint Pro must only be
undertaken by a qualified service center.
• Do not substitute components as this may impair safety
and invalidate warranty.
• Repair of Sprint Pro and gas sensor replacement shall be
carried out by the manufacturer or qualified service center
in accordance with the applicable code of practice.
• If this product is not working properly, read the trouble-
shooting guide or contact the service center.
• Batteries are non-replaceable by the user and must only
be replaced by authorised service centers.
• Sprint Pro battery is rechargeable via a USB-C input con-
nector.
• Sprint Pro must be charged via a USB charger that meets
the specification as detailed in the user manual.
• Sprint Pro is not to be used as a permanent fixed detector.
• Sprint Pro is not designed or tested for continuous use.
• Sprint Pro is not a safety alarm.
• Only use probes, leads and accessories supplied by the
manufacture.
• Do not subject the product to cleaning fluids, such as
those containing high concentrations of acetone and
silicone compounds (such as silicone grease).
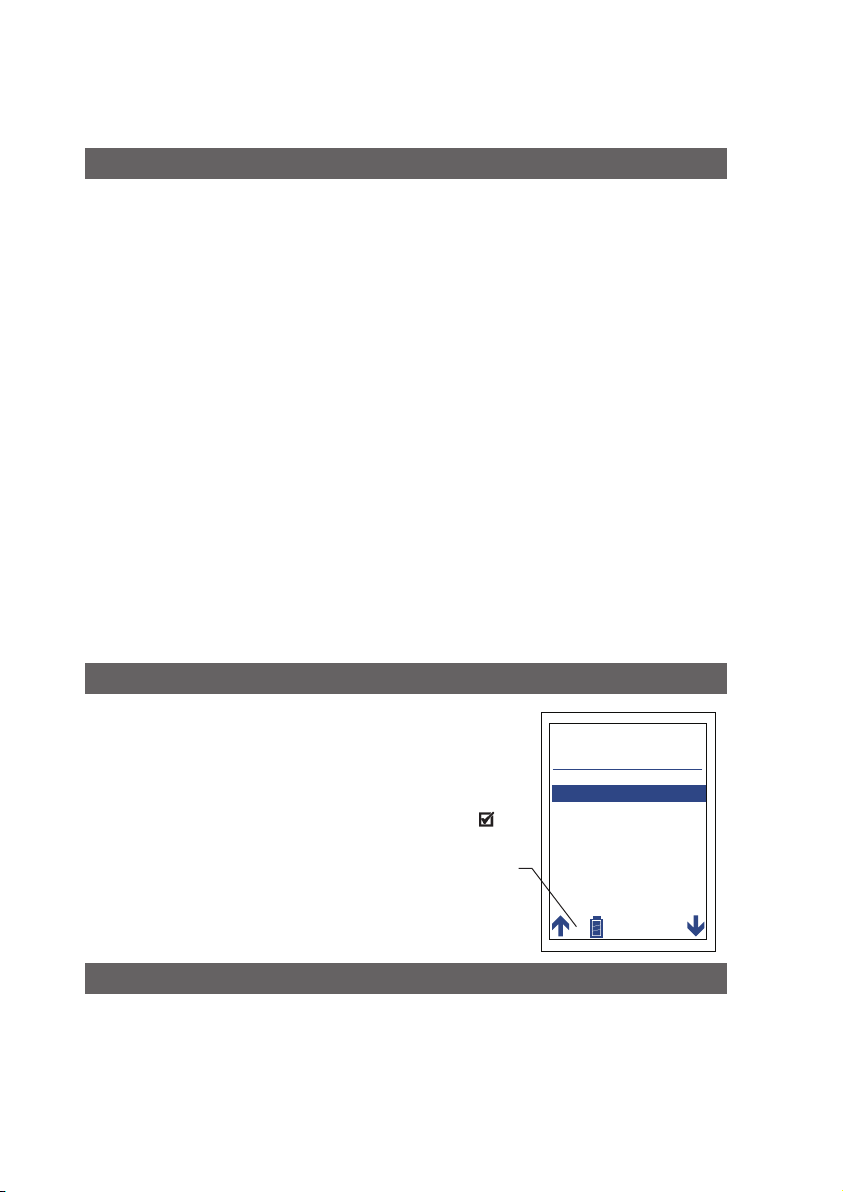
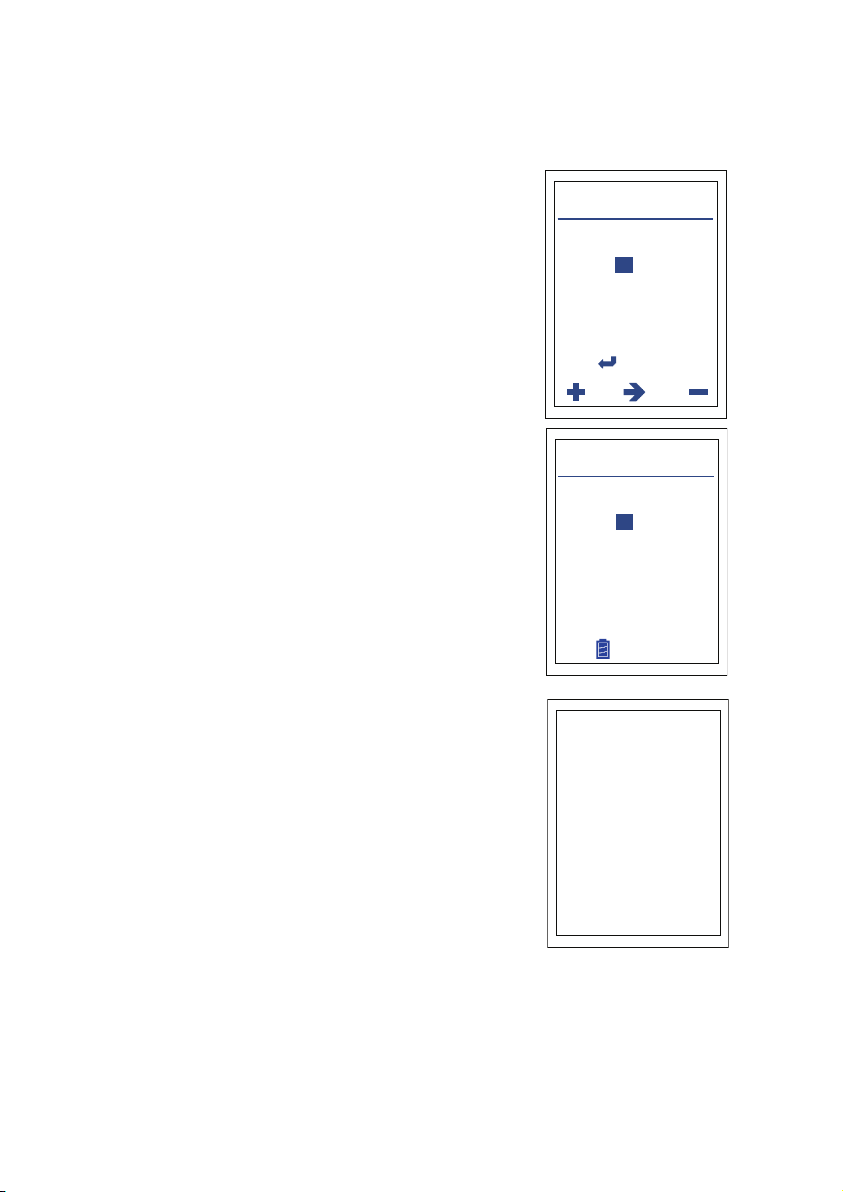
Summary of Screen Icons
Select, pick or action
Up item or entry
Down item or entry
Left field
Right field
Zero pressure
Start timed test
Stop timed test
Restart timed test
Yes, pass or done
No or fail or cancel
Purge or pump running icon
Select temp 1 (flow)
(Differential Temperature Test)
Select temp 2 (return)
(Differential Temperature Test)
Save log
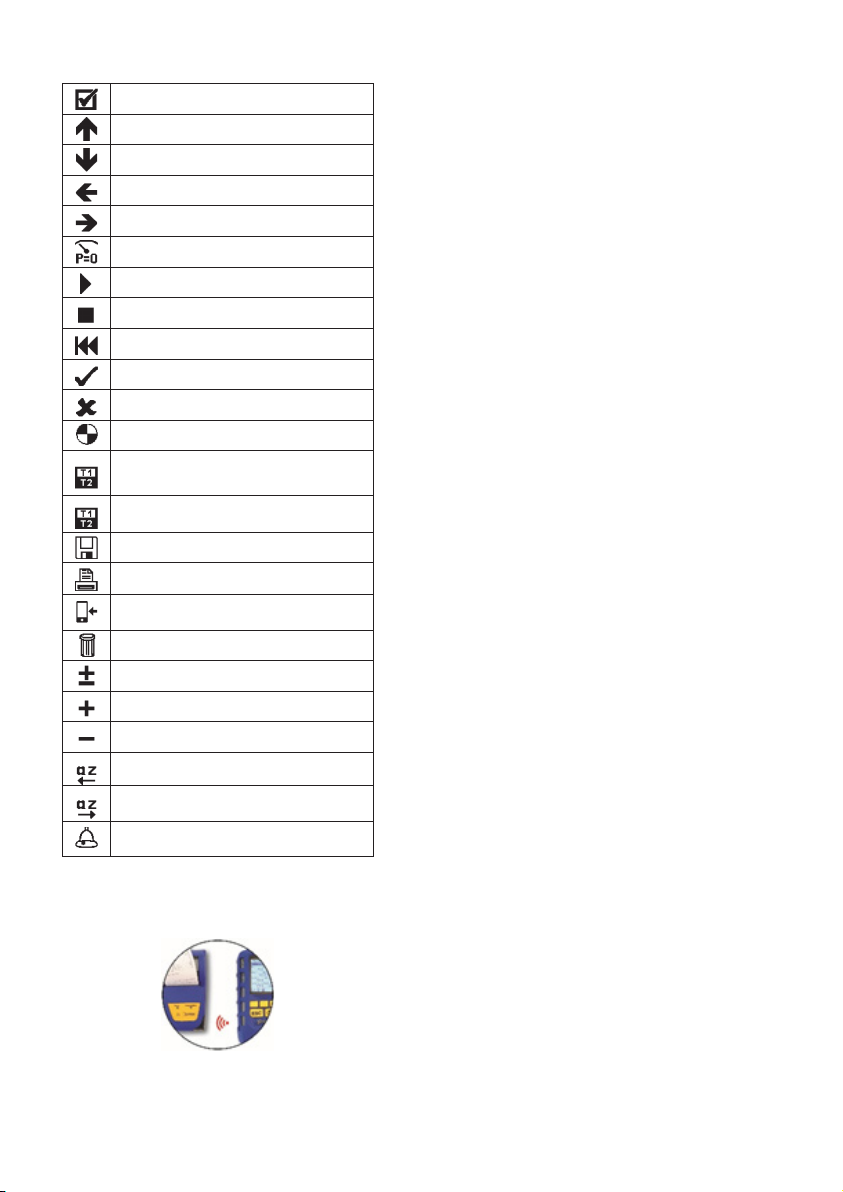
Export report/log to IR Printer
Export report/log to Mobile App
Delete
Edit value
Increase value
Decrease value
Descend through character list
(String edit)
Ascend through character list
(String edit)
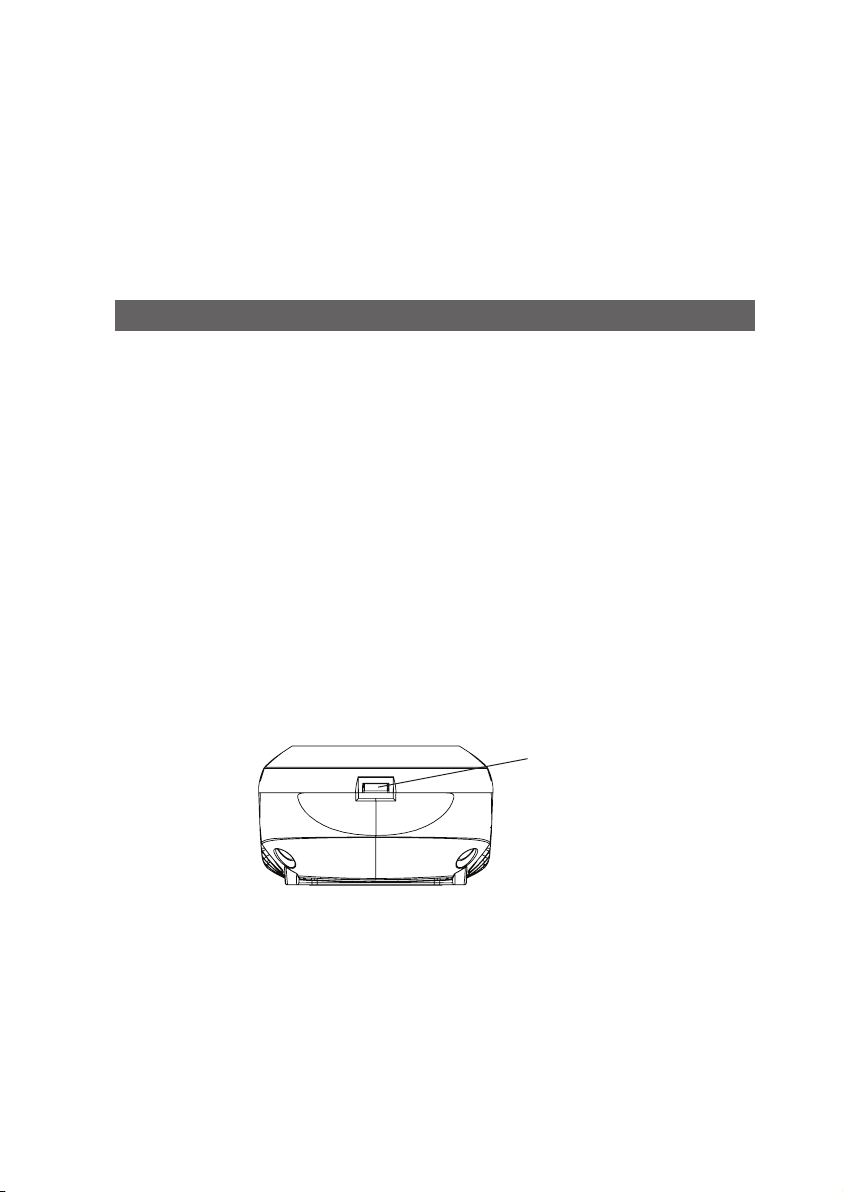
CO Alarm
IR Printer Alignment