manuals.online logo
Brands
  1. Home
  2. •
  3. Brands
  4. •
  5. Croydex
  6. •
  7. Indoor Furnishing
  8. •
  9. Croydex Triple Corner Basket Set User manual

Croydex Triple Corner Basket Set User manual

1
Triple Corner Basket Set
Thank you for purchasing this Croydex product. Please follow the xing and care instructions to
ensure your Triple Corner Basket Set is tted safely and retains its high quality nish.
Please retain this leaet for future reference.
This installation guide applies to the following product:
QM261341- Triple Corner Basket Set with Rust Free Chrome
Home Safety Advice
• Do not strike the product with hard or sharp objects.
• Do not use this product as a grab rail to aid standing up.
• The adhesive pads are suitable for use on most at, nished surfaces, such as gloss paint,
tiles, polished stone, laminates and mildly textured surfaces.
• Do not use on decorative wall paper nishes as these will be damaged on removal.
• Not suitable for unnished materials such as brick, blockwork and loose, aky surfaces.
• Do not overload the shelves - maximum weight per shelf is 1.5kg (3.3lbs) evenly distributed.
• Do not use to store glass or breakable items.
• Do not position pad over uneven grout lines.
Product Care
• To retain the best quality nish, clean product regularly with a soft cloth and mild detergents.
• Do not use abrasive or chemical cleaners as these may damage the product.
• Spray cleaning liquids onto the cloth and not directly onto the product.
WMA 076 R04
A - Middle pole section x 1
B- Top pole section x 1
C- Foot pole section x 1
D- Basket x 3
E- Small Rubber O-ring x 3
F - Large Rubber O-ring x 3
G- Metal Wall bracket x 4
Pack Contents (Not to scale)
ABC
D
G
E
F
2WMA 076 R04
Before Installing
1. Thoroughly clean the mounting surface to remove any dirt, residue or contaminates
that may reduce the adhesive performance.
2. Ensure the mounting surface is thoroughly dry and free from loose, aky material.
Assembly
1. First assemble a wall bracket (G) over the foot pole section (C) so that the end of
the bracket points away from the plastic foot at the end of the pole. See Fig 1.
2. Then place a wall bracket (G) over the top pole section (B) as shown so that the end
of the bracket points towards the plastic foot at the end of the pole. See Fig 2.
3. Slide a large rubber o-ring (F) over the foot pole section (C) followed by a small
rubber o-ring (E). Next slide the tapered section of a basket (D) over the pole
and fully locate onto the two o-rings to retain the basket. Fig 3.
Note. It is important that the o-rings are assembled correctly on the pole in the
order shown or the basket will not fully locate securely onto them.
4. Then, slide a large rubber o-ring (F) onto the middle pole section (A) followed by a
small rubber o-ring (E) making sure that the tapered end of the pole points
towards the ceiling. Then slide a basket (D) onto the pole in the orientation shown
locating the tapered section of the basket onto the o-rings. See Fig 4.
Note. It is important that the o-rings are assembled correctly on the pole in the
order shown or the basket will not fully locate securely onto them.
5. Take the top pole section (B) and slide a basket (D) onto the pole in the orientation
shown in Fig 5. Then slide on a small rubber o-ring (E ) followed by a large rubber
o-ring (F) and slide the tapered section of the basket (D) down the pole and locate
fully onto the o-rings. See Fig 5.
Note. It is important that the o-rings are assembled correctly on the pole in the
order shown or the basket will not fully locate securely onto them.
6. Connect each of the three pole sub-assemblies together, ensuring to t the two
remaining wall brackets on the pole either side of the middle basket in the
orientation shown in Fig 6. (All wall brackets should point upwards as shown)
Fitting guide
1. Plan where the assembled product will be located before removing the protective
backing from the adhesive pads.
Important Note - The adhesive pads can only be used once and cannot
be re-applied.
2. Place the assembled product into its desired location ensuring that all poles are
vertically aligned and that the adhesive pads on the metal wall brackets are all
touching the same wall. Working one at a time from the top bracket down, rotate the
wall bracket around to gain access to the adhesive pad and peel the protective
backing off. Carefully rotate the bracket back around without allowing it to touch the
wall and position the bracket at the desired height on the pole. Firmly press the
bracket against the wall to stick in place. Repeat for the remaining brackets.
Important note - The adhesive pads must be left to cure for 24 hours before
weight is placed on the baskets and the product is used.
3. To adjust the height of each basket whilst the unit is assembled to the wall, support
the pole with one hand and with the other carefully slide the basket upwards, off the
o-rings. Re-position the rubber o-rings at the desired height and relocate the basket
fully back onto the o-rings to secure in place.
Important note - Ensure each basket is fully located over the o-rings to
prevent the basket from working loose and sliding down the pole.
Assembly and Fitting guide
WMA 076 R04
3
Fig 1 Fig 2
Fig 3
C
G
D
E
G
B
C
F
For details of the other items in the Croydex range
please visit our website: www.croydex.com
Croydex Limited, Central Way,
Andover, Hampshire, SP10 5AW, UK
Tel: +44 (0) 1264 365881 Fax: +44 (0) 1264 356437
E-mail: [email protected]
WMA 076 R04
4
Fig 4
Fig 5
Fig 6
A
D
D
TOP POLE SECTION
MIDDLE POLE SECTION
FOOT POLE SECTION
B
E
F
E
F
TAPERED END
5-year Anti-corrosion Guarantee
This product is guaranteed against corrosion for 5 years.
Please retain a copy of your receipt which must be
presented should a guarantee claim be necessary.
This guarantee covers corrosion under normal usage,
when the product is installed, used and cleaned in
accordance with these instructions. This guarantee
does not cover corrosion resulting from damage to the
protective coating due to the use of abrasive sponges or
pads, abrasive cleaners, strong chemical
cleaners or metal polish. In the unlikely event that
corrosion should occur during the guarantee period we will
replace the product.

Other Croydex Indoor Furnishing manuals

Croydex AP400522 User manual

Croydex

Croydex AP400522 User manual

Croydex Boston WS010122 User manual

Croydex

Croydex Boston WS010122 User manual

Croydex MONTANA User manual

Croydex

Croydex MONTANA User manual

Croydex WC257122 User manual

Croydex

Croydex WC257122 User manual

Croydex Arun User manual

Croydex

Croydex Arun User manual

Croydex MM710100E User manual

Croydex

Croydex MM710100E User manual

Croydex Chetsford User manual

Croydex

Croydex Chetsford User manual

Croydex PA155941 Manual

Croydex

Croydex PA155941 Manual

Croydex WC806305 User manual

Croydex

Croydex WC806305 User manual

Croydex SIMPLICITY WC257222 User manual

Croydex

Croydex SIMPLICITY WC257222 User manual

Croydex WC216105 User manual

Croydex

Croydex WC216105 User manual

Croydex Anton WC736005 Installation guide

Croydex

Croydex Anton WC736005 Installation guide

Croydex WS040478 User manual

Croydex

Croydex WS040478 User manual

Croydex WS010522 User manual

Croydex

Croydex WS010522 User manual

Croydex 5012044112446 User manual

Croydex

Croydex 5012044112446 User manual

Croydex WC410122 User manual

Croydex

Croydex WC410122 User manual

Croydex WC450505 Manual

Croydex

Croydex WC450505 Manual

Croydex MM720400E User manual

Croydex

Croydex MM720400E User manual

Croydex WC2800 User manual

Croydex

Croydex WC2800 User manual

Croydex AD149341 Manual

Croydex

Croydex AD149341 Manual

Croydex WC9300 Series User manual

Croydex

Croydex WC9300 Series User manual

Croydex MM720200E User manual

Croydex

Croydex MM720200E User manual

Croydex QA200021 User manual

Croydex

Croydex QA200021 User manual

Croydex AD149641 User manual

Croydex

Croydex AD149641 User manual

Popular Indoor Furnishing manuals by other brands

Furniture of America CM4914S Assembly instructions

Furniture of America

Furniture of America CM4914S Assembly instructions

Novogratz 7029891COMNUK Assembly instructions

Novogratz

Novogratz 7029891COMNUK Assembly instructions

WorkSimpli WS323TIB installation guide

WorkSimpli

WorkSimpli WS323TIB installation guide
Continental Refrigerator PC Series instructions

Continental Refrigerator

Continental Refrigerator PC Series instructions

&Tradition Drip HW58 User instructions

&Tradition

&Tradition Drip HW58 User instructions

FMD Furniture LAURIO 2 Assembly instruction

FMD Furniture

FMD Furniture LAURIO 2 Assembly instruction

MH LONDON MH-BS-928 Assembly instructions

MH LONDON

MH LONDON MH-BS-928 Assembly instructions

Montessori Furniture Wood and Hearts Trees ans Houses Assembly details

Montessori Furniture

Montessori Furniture Wood and Hearts Trees ans Houses Assembly details

Aqualine VEGA VG160 quick start guide
Aqualine
Aqualine VEGA VG160 quick start guide

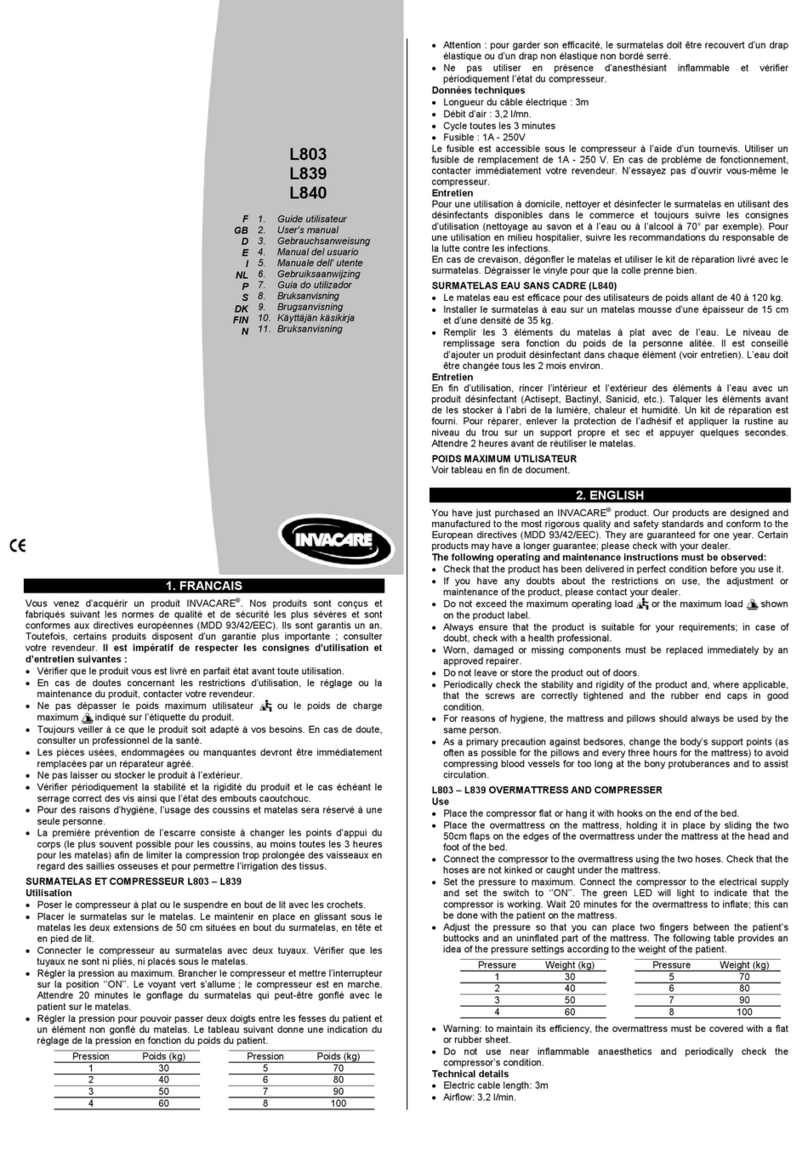
Invacare L839 user manual

Invacare

Invacare L839 user manual

Palace Imports 9201 Assembly guide

Palace Imports

Palace Imports 9201 Assembly guide

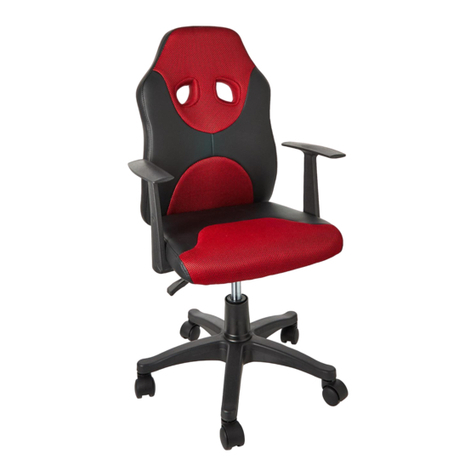
HJH office KID RACER Assembly instructions

HJH office

HJH office KID RACER Assembly instructions

ITC Hemlock PACTL-FFLL Install instructions

ITC

ITC Hemlock PACTL-FFLL Install instructions

Bontempi Casa MATRIX 52.35 manual

Bontempi Casa

Bontempi Casa MATRIX 52.35 manual

Forte DLCS227E2 Assembling Instruction

Forte

Forte DLCS227E2 Assembling Instruction

Lomado VR-02-BMR Assembly instruction

Lomado

Lomado VR-02-BMR Assembly instruction

siena GARDEN Olbia 944.046 Assembly instruction

siena GARDEN

siena GARDEN Olbia 944.046 Assembly instruction

STRUCTUBE IVRY Assembly instructions

STRUCTUBE

STRUCTUBE IVRY Assembly instructions

manuals.online logo
manuals.online logoBrands
  • About & Mission
  • Contact us
  • Privacy Policy
  • Terms and Conditions

Copyright 2025 Manuals.Online. All Rights Reserved.