manuals.online logo
Brands
  1. Home
  2. •
  3. Brands
  4. •
  5. Croydex
  6. •
  7. Indoor Furnishing
  8. •
  9. Croydex Chetsford User manual

Croydex Chetsford User manual

1
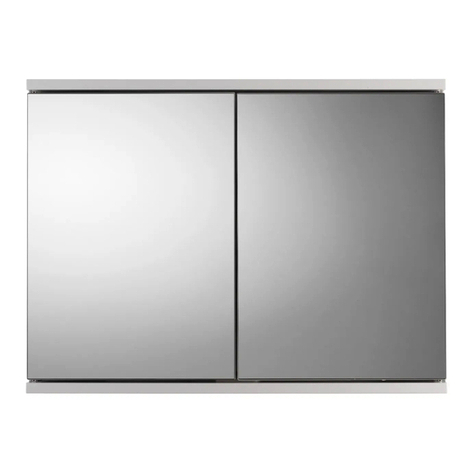
Chetsford Mirror
Thank you for purchasing this Croydex product. Please follow the xing and care instructions to ensure
your mirror is tted safely and retains its high quality nish.
Please retain this leaet for future reference.
This installation guide applies to the following cabinets:
MM010122 - Chetsford Mirror
Tools required - not supplied
Pencil;Tape Measure; Philips Screwdriver; Flat Head Screwdriver; Drill; 8mm Drill Bit
(Ceramic drill bit optional).
KEEP DIY TOOLS OUT OF THE REACH OF CHILDREN
Home Safety Advice
- It is recommended that two people t this product to ensure that it is tted safely.
- Always take care when using power tools, particularly in the bathroom.
- Always check for hidden cables and pipework before drilling and take extreme care if there is any
water in the working area.
- It is advisable to use a residual current circuit breaker (RCCB).
- Always wear suitable eye protection when drilling.
- If the product is to be tted on a ceramic tiled wall, a ceramic drill bit should be used.
- Always ensure that the drill hole passes through the central tiled area rather than through the grouted
area. To prevent damage to the tile, mask the area around the hole with tape before drilling.
- Do not strike the product with hard or sharp objects.
Product Care
To retain the best quality nish, clean product regularly with a soft damp cloth.
Do not use abrasive or chemical cleaners as these will damage the product.
MIR 030 R01
A. Hang ‘N’ Lock Bracket x 1
E. Hang ‘N’ Lock Cam x 2
H. Wall Plugs x 2
F. Countersink Fixing Screws x 2
(Optional)
G. Fixing Screws x 2 (Optional)
B. Hang ‘N’ Lock Bracket x 1 C. Hang ‘N’ Lock Spacer x 1
4 screws are supplied within this xing pack.
Only 2 x screws are required to install the Hang ‘N’ Lock bracket.
Please use either the countersink or dome head xing screws supplied.
D. Hang ‘N’ Lock
Spacer (Small) x 1
MIR 030 R01
2
Assemble the Hang ‘N’ Lock bracket sections making sure all parts are
slotted together tightly. (Note: HNL bracket shown in images is for reference only)
Place the Hang ‘N’ Lock bracket onto the metal mounting plates at the
back of the mirror and measure the dimension ‘A’ – See g.1.
Determine the desired location and orientation of the mirror and then
mark a point at the top edge of the mirror on the wall surface. Using
dimension ‘A’ draw a horizontal reference line below the top mark to
determine the position of the bottom edge of the Hang ‘N’ Lock bracket.
Place the bottom edge of the Hang ‘N’
Lock bracket onto the reference line
and using a pencil, mark the screw hole
positions in each cam recess. Remove
the Hang ‘N’ Lock bracket from the wall
surface prior to drilling.
Marked Screw Position
2
Drill the marked holes to a depth of 45mm.
Insert the wall plugs level with the surface
of the wall. (Note: if you are tting the
product to a tiled surface, insert the wall
plugs below the surface of the tile to avoid
cracking, the tile) Insert 2 x screws (Either
countersink or standard screws can be
used) through the Hang ‘N’ Lock cams and
loosely secure the Hang ‘N’ Lock bracket
to the wall.
With the Hang ‘N’ Lock bracket loosely
attached to the wall, adjust for height
and level by rotating the cams with
a at head screwdriver aligning the
bottom edge of the HNL bracket with
the reference line, then fully tighten the
mounting screws using a philips
screwdriver, to securely x the bracket
into position. Adjust for level if required.
3 4 5
For details of the other items in the Croydex range please visit our website: www.croydex.com
Croydex Ltd, Central Way, Andover, Hants, SP10 5AW, UK
Tel: +44 (0) 1264 365881
Fax: +44 (0) 1264 356437
Email: [email protected]
1
Bottom edge of Hang ‘N’ Lock bracket
Top edge of mirror
‘A’
HNL Bracket image shown for reference only HNL Bracket image shown for reference only
Hang the mirror onto the Hang’N’Lock
bracket and ensure it is securely
attached before releasing.
Image 5 shows the mirror, hanging in
portrait orientation, correctly positioned
on the Hang’N’Lock bracket.

This manual suits for next models

1

Other Croydex Indoor Furnishing manuals
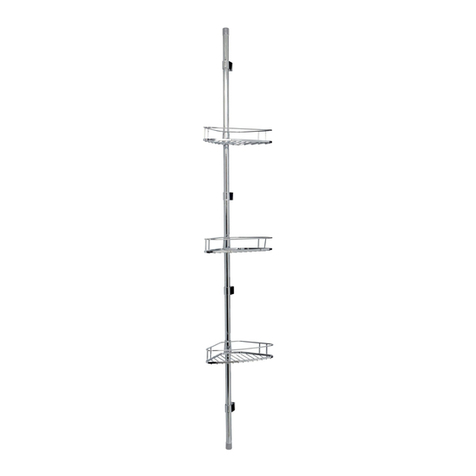
Croydex Triple Corner Basket Set User manual
Croydex

Croydex Triple Corner Basket Set User manual

Croydex AP400522 User manual

Croydex

Croydex AP400522 User manual
Croydex Norton WS010322 User manual

Croydex

Croydex Norton WS010322 User manual
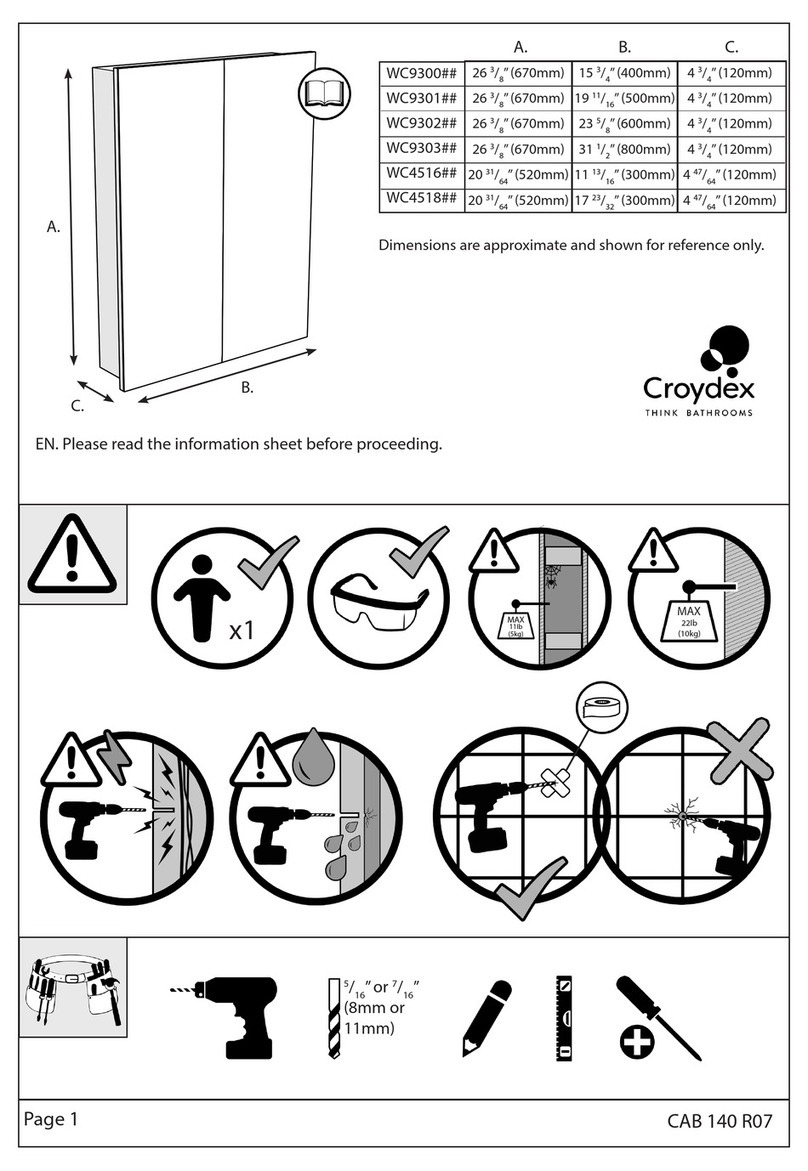
Croydex WC9300 Series User manual

Croydex

Croydex WC9300 Series User manual
Croydex AP130422 User manual

Croydex

Croydex AP130422 User manual
Croydex WC806305 User manual

Croydex

Croydex WC806305 User manual

Croydex WC410122 User manual

Croydex

Croydex WC410122 User manual
Croydex WC450505 Manual

Croydex

Croydex WC450505 Manual

Croydex WS040478 User manual

Croydex

Croydex WS040478 User manual
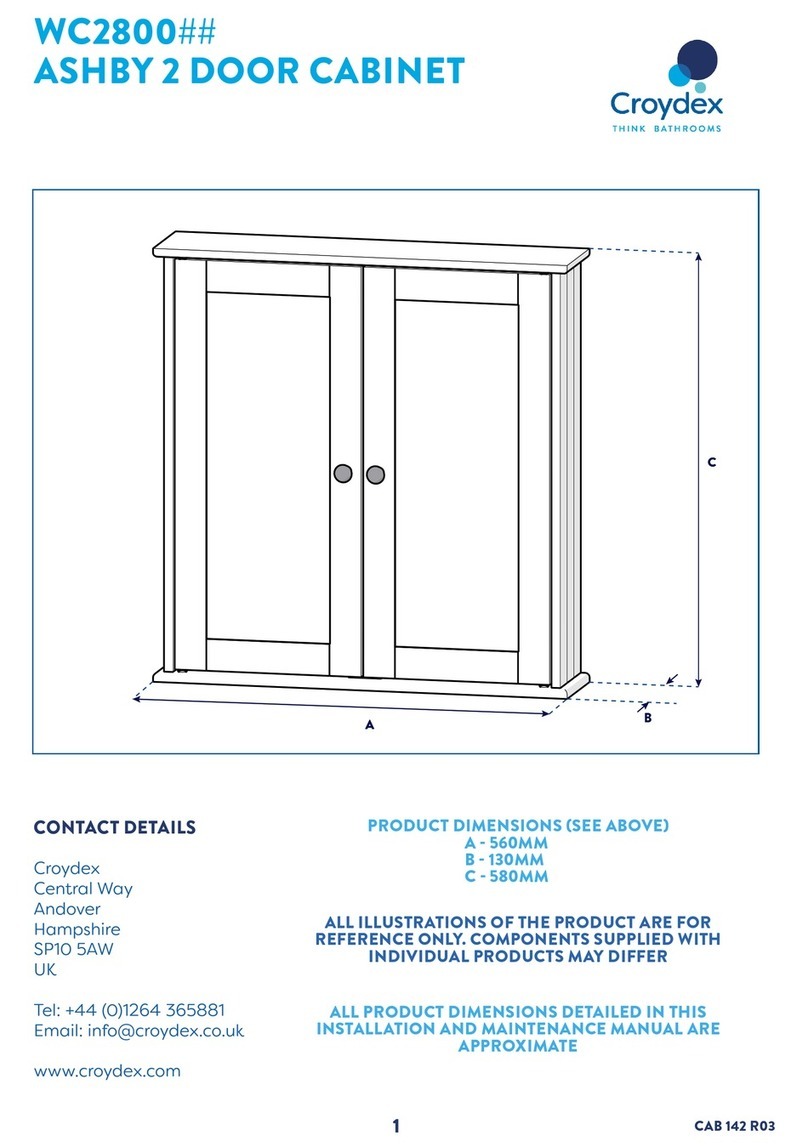
Croydex WC2800 User manual

Croydex

Croydex WC2800 User manual
Croydex 5012044112446 User manual

Croydex

Croydex 5012044112446 User manual

Croydex QA200021 User manual

Croydex

Croydex QA200021 User manual
Croydex MM710100E User manual

Croydex

Croydex MM710100E User manual
Croydex WC257122 User manual

Croydex

Croydex WC257122 User manual
Croydex WC257122 User manual

Croydex

Croydex WC257122 User manual
Croydex MM703000E User manual

Croydex

Croydex MM703000E User manual
Croydex WC9400 Series User manual

Croydex

Croydex WC9400 Series User manual

Croydex Flexi-Fix 1919 User manual

Croydex

Croydex Flexi-Fix 1919 User manual
Croydex WC216105 User manual

Croydex

Croydex WC216105 User manual
Croydex Arun User manual

Croydex

Croydex Arun User manual

Croydex AD149341 Manual

Croydex

Croydex AD149341 Manual

Croydex WC257022 User manual

Croydex

Croydex WC257022 User manual

Croydex SIMPLICITY WC257222 User manual

Croydex

Croydex SIMPLICITY WC257222 User manual

Croydex Boston WS010122 User manual

Croydex

Croydex Boston WS010122 User manual

Popular Indoor Furnishing manuals by other brands

Pitarch 1081 Assembly instructions

Pitarch

Pitarch 1081 Assembly instructions

keilhauer Danforth manual

keilhauer

keilhauer Danforth manual

GRAMMER OFFICE SAIL 7A operating instructions

GRAMMER OFFICE

GRAMMER OFFICE SAIL 7A operating instructions

LIBRARY PEOPLE Flatline E3718 Assembly guide

LIBRARY PEOPLE

LIBRARY PEOPLE Flatline E3718 Assembly guide

Patriot Docks PN10922 Assembly instructions
Patriot Docks

Patriot Docks PN10922 Assembly instructions

Leroy Merlin LINEA Assembly instructions
Leroy Merlin

Leroy Merlin LINEA Assembly instructions

Manutti Torsa instruction manual

Manutti

Manutti Torsa instruction manual

Whittier Wood 5024KFDH Assembly instructions

Whittier Wood

Whittier Wood 5024KFDH Assembly instructions

Furniture of America CM3391PT Assembly instructions
Furniture of America

Furniture of America CM3391PT Assembly instructions

Frontgate Carmel 166379 Assembly instruction

Frontgate

Frontgate Carmel 166379 Assembly instruction

Bestar 92420-2163-2263 Left Assembly Instructions
Bestar

Bestar 92420-2163-2263 Left Assembly Instructions

U-Line H-9752 manual

U-Line

U-Line H-9752 manual

Home Decorators Collection TJ-FTV7222BLU Assembly instructions
Home Decorators Collection

Home Decorators Collection TJ-FTV7222BLU Assembly instructions

Rauch 51440.60 Assembly instructions

Rauch

Rauch 51440.60 Assembly instructions
Ameriwood HOME 3616296WCOM Instruction booklet
Ameriwood HOME

Ameriwood HOME 3616296WCOM Instruction booklet

Sonax TPP-490-B quick start guide

Sonax

Sonax TPP-490-B quick start guide
Finori SH2/016 Assembly instructions

Finori

Finori SH2/016 Assembly instructions
Stryker 4821 Operation & maintenance manual

Stryker

Stryker 4821 Operation & maintenance manual

manuals.online logo
manuals.online logoBrands
  • About & Mission
  • Contact us
  • Privacy Policy
  • Terms and Conditions

Copyright 2025 Manuals.Online. All Rights Reserved.