Important Safety Instructions 1
CAUTION CAUTION
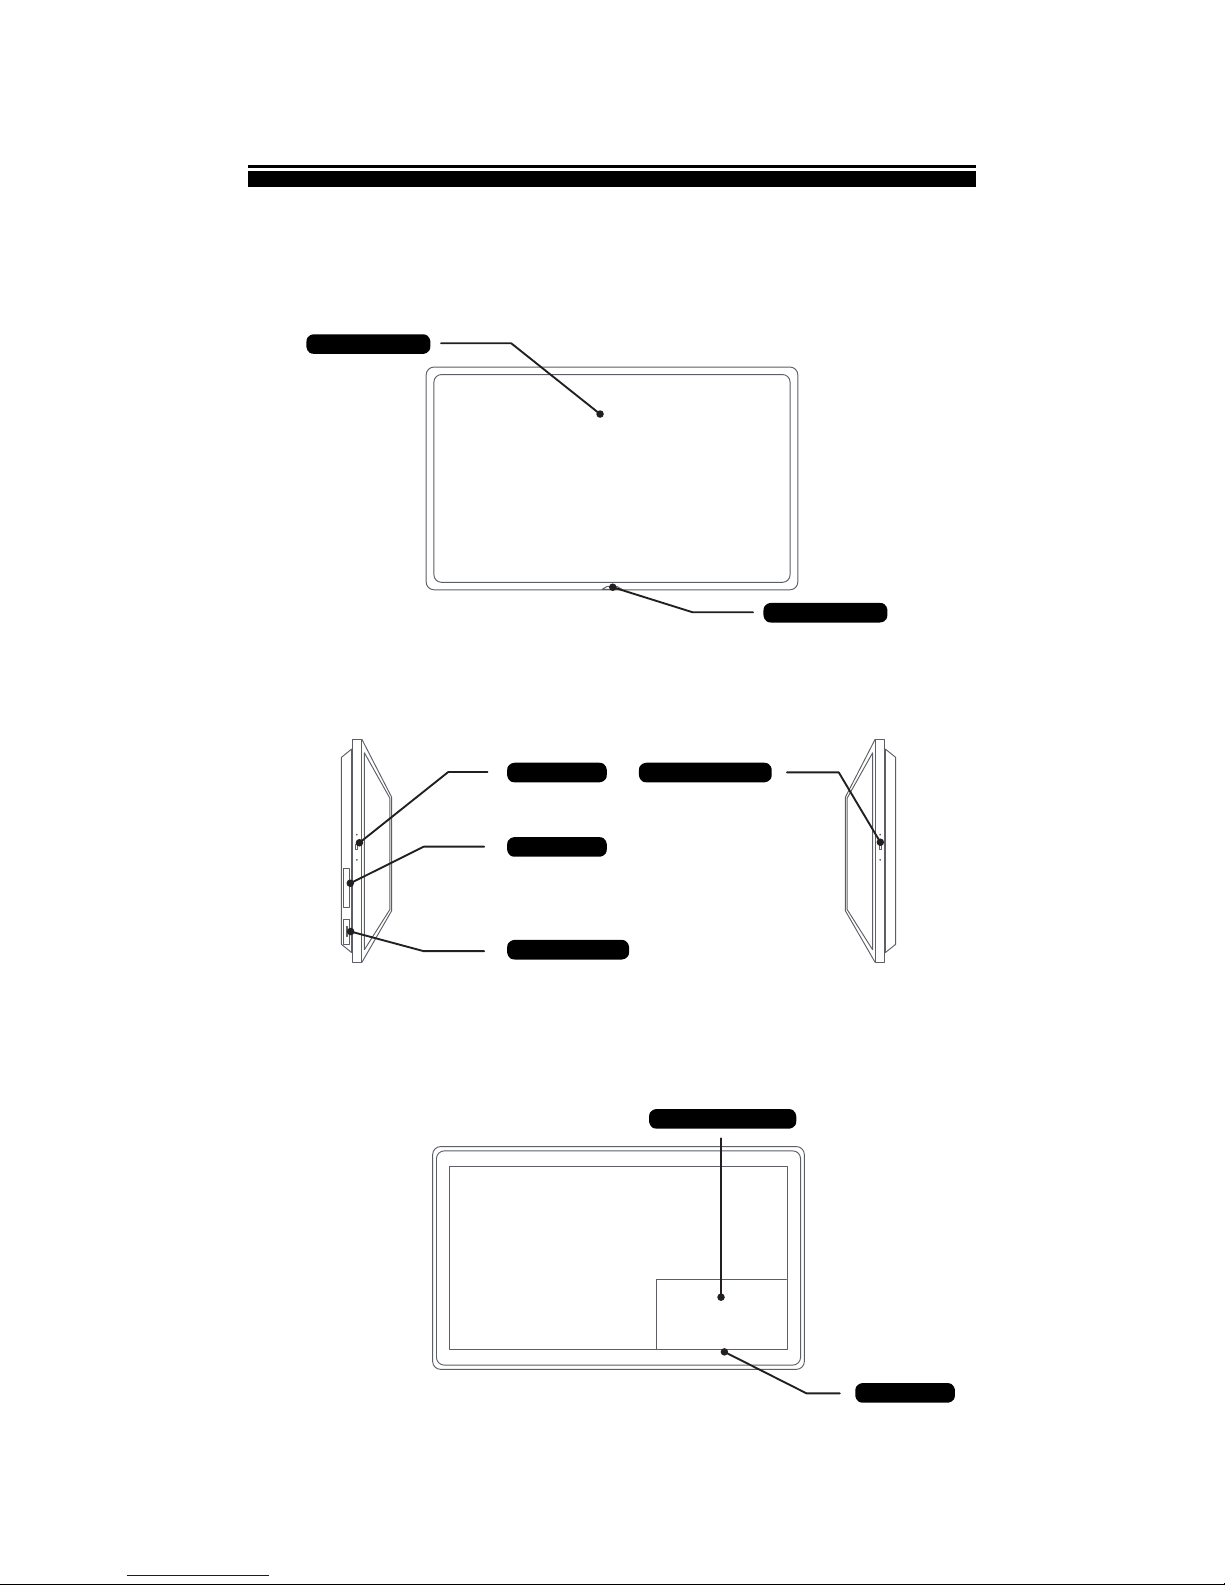
i
i
RISK OF ELECTRIC SHOCK DO NOT OPEN
CAUTION : TO REDUCE THE RISK OF ELECTRIC SHOCK,
DO NOT REMOVE COVER (OR BACK).
THERE ARE NO USER SERVICEABLE PARTS INSIDE.
REFER ALL SERVICING TO QUALIFIED PERSONNEL.
RISK OF EXPLOSION IF BATTERY BY
AN INCORRECT TYPE. DISPOSE OF
USED BATTERIES ACCORDING TO THE
INSTRUCTIONS.