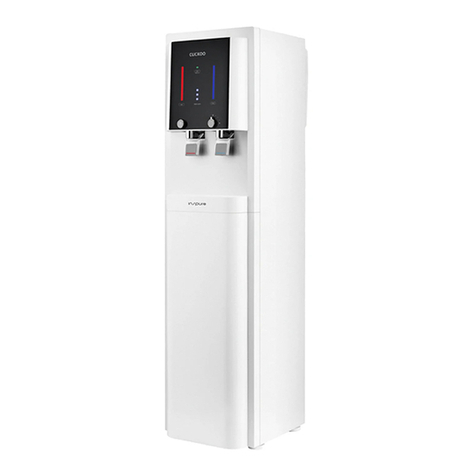
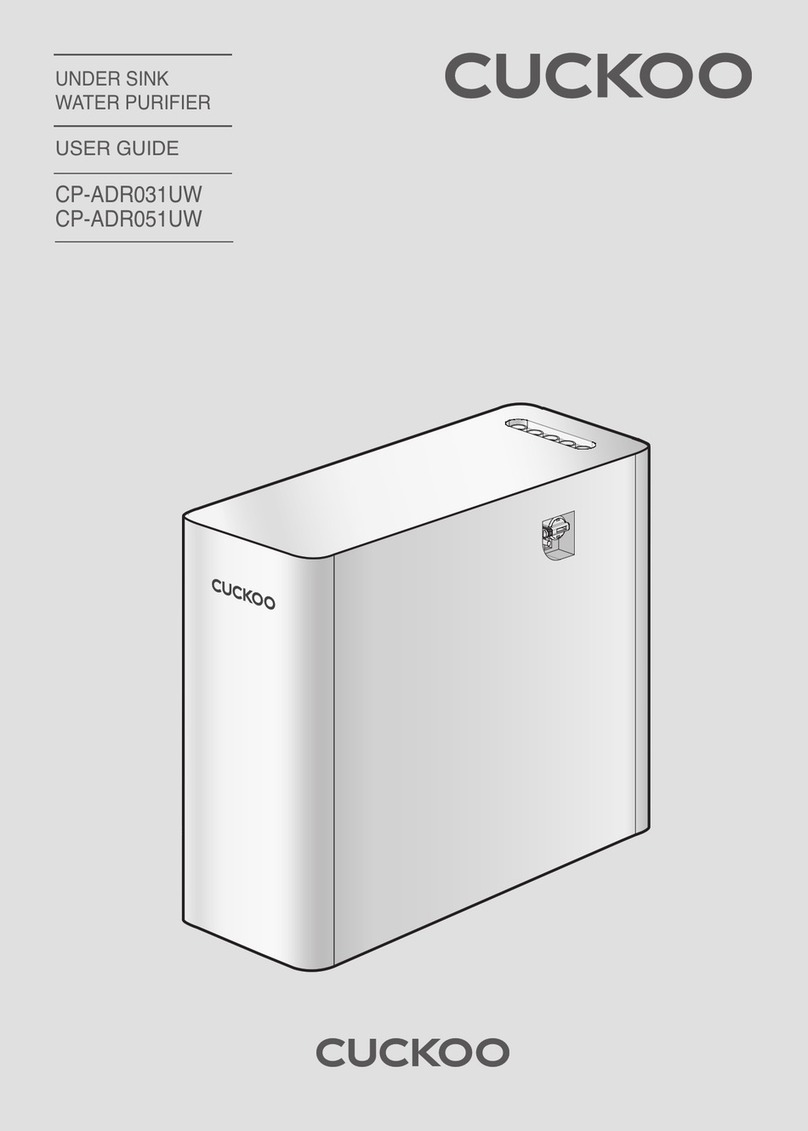
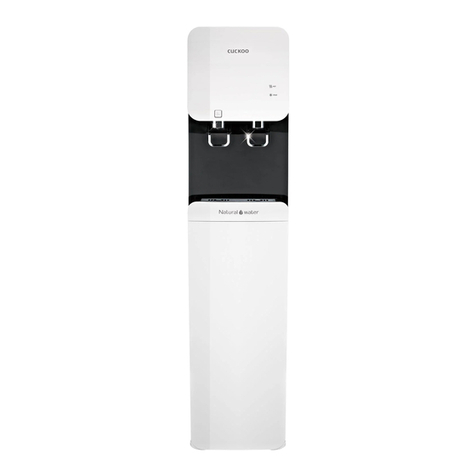
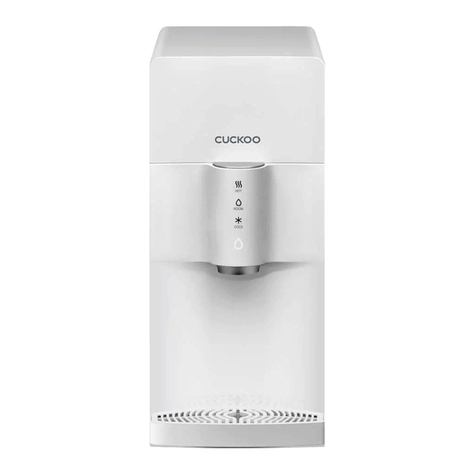
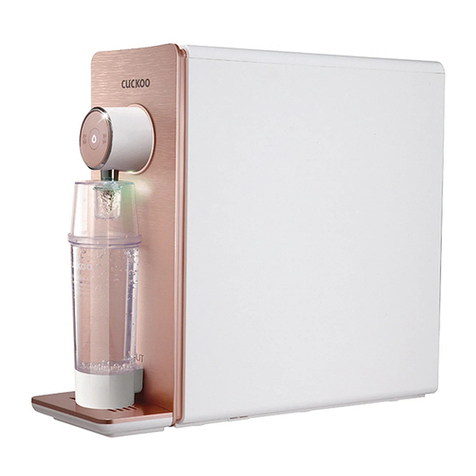
Cuckoo CP-QN1401SW User manual

CP-QN1401SW
WATER
PURIFIER
USER MANUAL

To our customers!
Thank you for choosing Cuckoo Water Purier.
Please keep this User Manual (including the Warranty) for your reference. This
manual will guide you when you have any questions or when the product does not
work properly.
Merits of CUCKOO Water Purifier
4-Step Filtration System
The 4 - step filtration system of CUCKOO Water Purifier makes clean and healthy water.
External Valve (for separate sale)
The external valve allows for an additional connection to the filtered water supply.
Child Lock Button
The child lock button prevents children or others from the burn hazards associated with hot water.
Stainless Steel Water Tank
Using a stainless steel water tank improves the water quality and cleanliness.
Thank you for purchasing CUCKOO Water Purifier.
Please keep this User Manual (including the Warranty) for yourreference. This manual will guide you when you have any questionsduring use or when the product does not work properly.
To our customers!
Economical Eco-Friendly Water Filtration System
The Eco-friendly CUCKOO Nano Positive filter helps filter out contaminants but does not waste any water
during the filtration process.
Individual Power Switches for Hot and Cold Water
Energy efficient design with individual "hot" & "cold" power switches.
Operation Status Indicator
For added convenience, you are able to check the operation status through the operation
status indicator.

Thank you for purchasing CUCKOO Water Purifier.
Please keep this User Manual (including the Warranty) for yourreference. This manual will guide you when you have any questionsduring use or when the product does not work properly.
To our customers!
CONTENTS
Before Use
Warnings for Safe Use
Cautions for Safe Use
Name of Parts/Components Information
Filtration Circuit/ Water Filtration System
Details to Check before Installation
How To Install the Product
Details To Check before Use
How To Use
How To Clean the Cold Water Tank
How To Clean Tray
How To Replace the Filter
Expected Filter Replacement Cycle /
Recommendations / Filter Arrangement
Please check before asking for support
Product Specifications
4 ~ 7
8
9
10
11
12 ~ 13
14 ~ 15
15 ~18
19 ~ 21
22
23 ~ 25
26
27 ~ 28
29
Before Asking for
Support
Service Guide
How to Use

4
• This symbol is to remind you to be cautious about a
potentially dangerous situation under special
circumstances.
• Please read the details carefully and follow the
instructions to avoid dangerous situations.
• This symbol is used to indicate actions that are prohibited.
Potentially dangerous situation that can
cause serious injuries or death if not avoided.
Potentially dangerous situation that can
cause minor injuries if not avoided. • This symbol is used to indicate 'instructed' actions.
Please comply with the 'Warnings for Safe Use' as they are provided to ensure safe and proper use of the
product and prevent accidents and dangerous situations.
The 'Warnings for Safe Use' section is divided into 'Warning' and 'Caution' which are defined as follows.
Do not bend, tie or pull
the power cord
by force.
• This may cause electric
shock or fire due to a short
circuit. Please check the state of
the power cord frequently.
Wipe off any foreign
substance on the power
plug with a dry cloth.
• This may cause electric shock
or fire.
• Please check the state of the power
plug frequently.
• When multiple products are plugged into the same power
outlet or if the product is plugged into an inappropriate power
input, it may cause heating, fire and electric shock.
Please check the condition of the power outlet frequently.
• If there is a foreign substance or water on the power plug,
please wipe it clean before plugging it into the socket.
• Use only an extension cord of 10A or higher.
Stop the use and contact
Customer Service when
the power cord or plug is
damaged or the power
outlet is loose.
• If the sheath of the power cord is peeled off or bent due to
negligence, it may cause fire or electric shock. Please check
the state of the power cord, plug and outlet frequently.
• To replace the damaged power cord or plug, please visit
CUCKOO website and contact Customer Service to prevent
dangerous situations.
• We strongly recommend that the damaged parts be repaired
or replaced. Otherwise, this may cause electric shock or fire
due to a short circuit.
About Power Supply
Warning
Caution
Warning Do not
Warnings for Safe Use
Use Plug the power plug
into a 120V outlet with at
least a rating of 10A and
power surge protection.
Do not plug multiple
products into the same
power outlet or extension
cord simultaneously.
5

• This may cause electric shock or breakdown.
Please check the state of the power cord frequently.
Please turn off the
product by pressing
the power button.Also,
unplug the product
before inspection,
repair or replacement
of its components.
Make sure the power
cord is not under a
heavy object or near
sharp objects. Please
ensure that it is not
damaged by your pet.
• If the power cord is damaged, it may
cause electric shock or fire.
Please check the state of the power cord frequently.
may cause electric shock or fire.
se check the state of the power cord and plug
is wet, unplug
product and let it
ompletely before
5
When you do not use the
product for a long time, close
the tap water supply valve,
drain the remaining water
from the tank by pressing the
"Out Flow" button and unplug
the power plug.
• This may cause electric shock or fire.
Please check the state of the power cord and plug frequently.
• Before using the product again, please refer to the 'Details to
Check before Use.'
• This
Plea
frequently.
If the power supply
area
the
dry c
use.
• This may cause electric shock or
malfunction. Please check the
state of the power cord and plug
frequently.
In case of water leak or
cleaning, please unplug
the power plug first.
Do not pull the power
cord when unplugging
the product.
• Force applied to the power
cord may cause electric shock
or fire. Please check the state of
the power cord and plug frequently.
About Power Supply
Do not plug or unplug
the power plug with wet
hands.
• Unplugging the power plug with wet
hands may cause electric shock.
• Pulling the power cord by force can damage the cord and
may cause a short circuit or electric shock. Please check
the state of the power cord and plug frequently.
Use 120V power input
only.
• This may cause electric
shock or fire.
• The product will not operate
properly.
• Please check the state of the power
cord and plug frequently.
Warning Do not
Warnings for Safe Use

7
•
This may cause reduced performance.
Make sure the distance
of the tap water supply
tube connecting the
product to the tap
water supply valve is
less than 200 inch.
5m or shorter
This Product is not
intended for use by
people (including children)
who lack physical or mental
abilities, or lack experience
and knowledge to be able to
use the product safely without
supervision or instruction.
•
This may cause color changes.
•
Please check the state of the power
cord frequently.
Avoid direct sunlight and
high temperature.
6
Do not place the product
in an area that falls
below 0℃.
•
This may cause the filter or the
internal components to freeze,
causing malfunction.
If the surrounding temperature falls below
0℃, it may cause the water inside the filter
and / or tubing to freeze, causing malfunction
of the product. Thus, please ensure that the
surrounding temperature does not fall below
0℃.
•
In case that tap water is frozen and cannot be supplied to
the product because of lower than freezing temperature of
the surroundings, please turn off the hot water power for
safety.
Do not place it in a
bumpy or inclined area.
Do not place it on a rug,
cushion or laminated
floor.
•
This may cause malfunction,
unwanted noise or injury. Please
check the state of the product frequently.
•
This fixed type product should be fixed when you use.
Use tap water as the
supplying water,
and install the Tap
water supply valve
to the “ Cold” water pipe.
•
Do not use underground water
or any other water than tap water.
•
The replacement cycle of the filter will vary according
to the region and the amount of water use.
•
Connecting the water supply valve to the hot water
pipe may cause damage to the filter or malfunction of
the product.
Installation Issues
•
This may cause electric shock
or fire.
Do not place the product
in a place with high
moisture or dust.
Do not install the product near the bathroom.
Warning Do not
Do not place it in an
area with potential for
gas leak or near a
heating product.
•
This may cause fire or explosion.
Cold Water
Warnings for Safe Use

Warnings for Safe Use
7
•
This may cause damage to the
product. Please check the state of
the power cord frequently.
Do not disassemble or
modify the product.
•
This
may cause fire or electric shock.
•
Do not allow anyone other than a
professional to disassemble or repair
the product.
•
Visit CUCKOO website and contact
customer service for repair and warranty
service information.
In order to prevent accidents and injury, make
sure that your hands or other parts of the body
do not touch the condenser (radiator) at the
back of the product, as it gets hot during use.
•
This may lead to burns or accidents.
Do not turn on the “Cold” & “Hot” buttons when
the tank is empty.
•
This may cause malfunction of the product.
•
First open the tap water valve to check if the water is cut off.
Do not press the“Cold”&“Hot”buttons when the tank is empty.
Fill the tank fully with water before pressing “Cold”&“Hot”
buttons.
•
If the“Hot”button is pressed when the tank is empty, the
safety product will be turned on automatically to prevent the
heater from running. This will cause lukewarm water to be
extracted. Please contact Cuckoo website or certified
distributor .
Do not place any heating
product, such as a
microwave, electric
oven or toaster, or
flammable materials
such as candles or gas
containers, on top of the
product.
Do not pull the power
cord or the connecting
tube or grab the water
faucet when moving
the product.
•
There is a risk of fire, electric shock or accidents.
•
This may cause fire or damage the
product when it enters into the product.
Do not place any
chemicals, water bottles
or small metal materials
on top of the product.
•
Make sure you do not come
into direct contact with the
hot water as it is extremely
hot with risk of burn. Make
sure seniors and children take
special precautions.
Please be cautious
when using hot water.
For optimal performance,
secure the unit 8" distance
from the wall.
•
It may cause fire or
discolouration of the
product.
Installation and disassembly of the product should be
completed by an approved Cuckoo service partner.
If there is a water leak or
water is collected
around the product,
close the Tap Water
Supply Valve, turn OFF
the Power Supply Button,
pull out the Power Plug,
and then contact your
approved Cuckoo service provider.
•
There is a risk of electric shock.
Warning Caution
Warning Do not
•
This may cause fire.
If you smell burning or see
smoke from the product,
unplug the product
immediately and close the
tap water supply valve.After
that please contact Cuckoo
website or certified distributor.
8 inch 8 inch
use the product safely without
6
below 0℃.
0℃, it may cause the water inside the filter
0℃.

•
This will lead to water leak,
causing product malfunction.
Do not disconnect the
tube at the back of the
product during the
operation.
•
This may damage the product.
Do not clean the
product using benzene
and thinner.
Cautions
for Safe Use
8
Do not use the purified water for a fish tank,
an aquarium etc.
If you have not used the external faucet for an
extended period (longer than a day), it is
recommended to open the spigot to allow the
still water to flow to clean out the water line.
•
The purified water may not be suitable for fish causing to
death.
•
Do not shake or move the
product when the power is on.
The tube could be disconnected,
causing product malfunction or
water leak.
Do not move the
product during
operation.
•
Approximately 10.1L of water will be
drained from the cold water tank.
•
Approximately 4.0L of water (Stand Type) will be drained from
the hot water tank. Approximately 14.1L of water will be drained
when hot water is drained before cold water. Drain cold water
before draining hot water.
After a long discontinued
use, drain out water
completely from the tank,
and fill it with water and
drain it out again before
use.
•
This may allow foreign substances to enter.
Make sure tank cover
inside the product and
the lid cover of the
product are completely
closed before use.
•
•
This may reduce the purification
function or cause bad odor.
Please refer to Page 26 for the filter replacement cycle.
Replace the filter
according to the
replacement cycle.
•
Use of any filter other than a genuine Cuckoo filter may
cause a decrease in water filtration performance, an
abnormal taste of water, water leak, or a malfunction.
Please use only genuine Cuckoo Filter.
Caution Caution
Caution Do not
9

Cautions
for Safe Use
8
Name of Parts / Components Information
9
Name of Parts
Components Information
User Manual Service Card External Valve (Optional)
< Front > < Back >
Tray
Mood Light
Hot Water Indicater
Energy Save Indicater
Cold Water Indicater
“Energy Save” Button
Water Level Indicater
“Cold” Button
“Hot” Button
Select Lever
Cold Water Faucet
Cold Water Lever
Hot Water Lever
Hot Water Faucet
Child Lock Button
Power Cord
Tap Water Input
Hot Water Drain
Drain Water
Output

10
Step 1
Sediment 3.0 Filter
Helps filter out suspended particles and floating
matter as well as residual chlorine and VOCs that
may remain in the water.
Step 2
Pre-Carbon Block 2.0 Filter
Helps filter out residual chlorine and organic
substances.
Step 3
Natural 2.0 Filter Contains properties that helps filter out the
smell of gases and organic material.
Step 4
Nano Positive Filter Helps filter out
general germs, viruses, minute particles,
and some sorts of heavy metal (iron, aluminum).
Filtration Circuit
Filtration System
※
If CUCKOO Filter (genuine) is not used or if the filter is used for a prolonged period, its performance could decrease.
Steps Filter Name Filter Function
External Faucet
(in case the External Valve is installed)
Tap Water (Cold Water)
Hot Water
Hot Water Drain
Sediment
3.0 Filter
Pre-Carbon
Block 2.0 Filter
Natural 2.0
Filter
Nano Positive
Filter
Sedi
ment
3.0
Filter
Pre-
Carbon
Block
2.0
Filter
Natural
2.0
Filter
Nano
Positive
Filter
Step 1 Step 2 Step 3 Step 4
Purified Water Tank
Cold
Water
Tank
Hot
Water
Tank
Filtration Circuit / Water Filtration System
11
▶▶▶▶
below 0 ℃.
▶temperature falls below 0℃, it may cause the
▶▶▶

10
※
11
Details to Check before Installation
Do not place the product in direct sunlight
or near a heating product.
▶This may cause color changes or fire.
1
To allow convenient replacement of the filters,
make sure the product is placed 8 inch away
from the wall and that the distance of the water
supply hose connecting the product to the
water supply valve is less than 200 inch.
▶
Avoid areas with high moisture/humidity,
dust or water splash.
▶This may cause a malfunction.
Avoid areas that are uneven, inclined or
not solid.
▶This may cause fire or a damage to the
product.
Avoid areas where the temperature falls
below 0 ℃.
▶This product is for indoor use. If the surrounding
temperature falls below 0℃, it may cause the
filters and/or the internal components to freeze,
causing breakdown of the product.
Please be careful when moving the product.
▶
Do not tilt the product at an angle over 45°.
Wait at least 30 minutes before plugging the
power cord after moving the product.
Connect the tube to the cold water pipe.
▶
Connecting the hose to the hot water pipe may
cause damage to the filter or breakdown of the
product.
▶Refer to How to Install the Product (Page 12)
for how to connect the tube.
2
3
4
5
Cautions when installing the Product
Cautions on Moving the Product
Cautions on Connecting the Tube
8" 8"
Cold Water
Details to Check before Installation
Allow installation space.

12
How To Install the Product
❶
Turn off cold water supply to the sink
• Look under the sink, locate the cold water shut off valve for the cold water inlet supply to the faucet.
Turn the shut off valve clockwise to close the water flow from cold water inlet water supply to faucet.
❷Release Faucet Pressure
• After closing the cold water supply (no water should be able to flow to the faucet), open the faucet
handle as if to dispense cold water. This will release any existing pressure in the line. Some water
may drip out. Make sure to open the faucet as if dispensing COLD WATER.
• Spin the riser nut counter clockwise to disconnect the faucet feedline from the cold water shut off
valve and cold water inlet source.
❸Disconnect water feed line from under sink cold water inlet to faucet
❹
Attach T-Valve to cold water inlet
• With the cold water inlet remaining closed, screw the T-valve onto the cold water inlet source (same
location that the faucet feedline was removed from). Screw the T-valve on tight with a wrench and
ensure proper connection.
• Connect the riser nut (from faucet feedline) to the open end of the T-valve and tighten with a wrench.
Make sure this connection is secure.
❺Re-Connect the faucet feed line to the newly attached T-valve
❷
External Outlet(Orange)
Tap Water(Blue)
❶
Closed
❸
Open
Tap Water
Supply Valve
Cold Water Pipe
External Valve
(for sale)
External Outlet
Tap Water Input
How To Install the Product
❺
❻❼❽❾❿

❶❷❸❹❺
❷❶❸❺
13
❻
Connect 1/4" Water Line to T-valve
• Attached 1/4" water line to the quick connect adapter on the T-valve, push the 1/4" line fully onto the
quick connect fitting nub. After pressing the water line fully onto the quick connect nub, make sure to
use the locking nut properly to secure the 1/4" water line in place on the quick connect fitting.
❼Connect 1/4" Water Line to Water Purifier
• Locate the "tap water inlet" on the water filtration unit and insert the other end of the 1/4" water line
(same line connected to the T-valve quick connect nub) into the quick connect valve at the back of
the water filtration unit. Ensure you attach to the inlet line and have a secure connection by lightly
tugging on the water line to ensure it remains locked into the fitting at back of the filtration unit.
• Check all water lines to ensure the connections are secure
❽Double Check all connections
❾
Turn on Cold Water Supply
• Open the cold water inlet supply by turning the handle counter clockwise (this is the same valve that
was turned off in step 1). This will allow was to flow though the newly attached T-valve, to the sink
faucet and to the water purifier. Check all water connections to ensure there are no leaks.
• Allow the hot and cold water tanks to fill completely and empty the tanks through the hot/cold
dispense handles on the front of the water purifier. Complete this process three times.
❿Flush Filters
Turn on the Hot/Cold Function
• After flushing the filters, allow the hot and cold tanks to fill completely. Once full, turn on the Hot/Cold
buttons on the back of the machine to activate the hot tank and the cold tanks. It is especially
important the hot tank is full before turning on the hot function.
How To Install the Product

14
Details to Check before Use
▶The product is exclusively use for 120V 60 Hz.
Connect it to the exclusive power outlet.
▶
After checking if the water supply is cut off, connect to
the power supply.
▶Before connecting the power, check if the “Cold” &
“Hot” buttons are turned off.
Connect the power supply.
▶First, open the Tap Water Valve and check if the
water supply is cut off. Then, open the Tap Water
Supply Valve.
2
Open the Tap Water Supply Valve.
▶
If you want to use hot/cold water, press and hold the
hot/cold button for 3 seconds until the unit lights display
the appropriate color (Hot water LED display : Red /
Cold water LED display : Blue)
▶Purified water will be supplied, unless you press any
button.
Press the Hot and Cold buttons to turn them on.
After long discontinued use or upon installation,
completely drain out the tank. Fill it with water and
drain it again before use.
O
AC 120V
pen
Do not turn on the “Cold” & “Hot” buttons without water in the tank. (It may cause
malfunction of the product.)
• Turn on the “Cold” & “Hot” buttons after filling the tank with water up to the limit.
• If you press the power button without water in the tank, the safety feature will activate, so the hot water
heater will not be heated. This will cause lukewarm water to flow. Then, visit CUCKOO website for
more information.
• Frequently check if the water supply is cut off and if the tap water supply valve is closed. Do not turn
on the “Cold” & “Hot” buttons without water in the tank.
Caution
1
4
3
“ ” “ ”
“Hot”
Button “Cold”
Button
Details to Check before Use
▶▶▶
▶

▶▶▶▶▶▶
15
Details to Check before Use
Empty the
tray regularly.
▶You need to regularly replace the filters
to ensure clean water.
▶Refer to page 26 for the filter
replacement cycle.
Replace and manage the Filter
regularly.
▶Before turning on the “Hot” button, make sure the
water supply is available and the tap water supply
valve is open.
How To Get Hot Water
Press the “Hot” button for 3 seconds to turn it on. It
takes about 30 minutes for the heater to heat the water.
(The red lamp will be turned on)
Gently push the Hot Water Lever, and then press the
Child Lock Button.
Lift the Hot Water Lever up at a 90°angle and press the
Child Lock Button for a continuous extraction of hot water.
Do not press the hot water lever while pressing the Child
Lock button. This may create a splash and potential burn.
After the discharge of hot water, slowly return the lever to its
original position.
(If this is done too quickly, you may be burnt by splashing hot water)
The first glass may be lukewarm. This is due to the outflow of cold water and hot water
through the same pipe. After the first glass, hot water will be extracted at a normal temperature.
5
6
3
If you no longer want to get hot water while the hot water operation is activated, press the
“Hot” button for 3 seconds to stop the hot water function.
▶
The hot water Red LED will turn off.
2
1
Details to Check before Use/How To Use

16
▶
Before turning on the“Cold”button, make sure the water
supply is available and the tap water supply valve is open.
Press the“Cold”button for about 3 seconds to turn it on.
It takes 60 minutes for the cooler (condenser) to cool the
water. (The blue lamp will be turned on)
Turn the Select lever towards the
Cold Water.
How to Get Cold Water
The first glass may be lukewarm. This is due to the outflow of cold water and hot water through
the same pipe. After the first glass, cold water will be extracted at a normal temperature.
1
▶
The cold water Blue LED will turn off.
If you no longer want to get cold water while the cold water operation is activated, press the
“Cold” button for 3 seconds to stop the cold water function.
2
4
How to Get Purified (Room Temp.) Water
Turn the Select lever towards the room
water.
1
Gently push the cold Water Lever.
2
Lift the cold water lever up at a 90˚ angle, then
continuous extraction of purified water is available.
Lift the cold water lever up at a 90˚ angle, then
continuous extraction of cold water is available.
3
Gently push the Cold Water Lever.
3
※
Please be cautious that if the Hot water or Cold water button is turned off,
the temperature of purified (room temperature) water could be become a
bit hot or a bit cold.
How to Use
▶※
▶※
▶▶※ [Mood Lamp] On / Off is irrelevant to [Energy Save] function.
※ Please refer to the following [Mood Lamp] on/off set-up method.
▶▶

▶▶
Lift the cold water lever up at a 90˚ angle, then
※
17
[Mood Lamp] On/Off Set-up Method
▶Pressing the [Hot] button and [Mood Lamp] simultaneously activates On/Off Set-up
(Initial Setting : Light)
※
If there is no operation for 7 seconds, it returns to standby mode without saving settings.
▶Press [Energy Save] button to save the change.
※Setting Turn On : Level indicator lamp On and [Mood lamp] On
Setting Turn off : Level indicator lamp Flickering and [Mood lamp] Off
Press the [Hot] button and the [Energy Save] button simultaneously for
2 seconds in the standby mode.
1
▶The [Energy Save] indicator lights up,
and after 1 second all the indicators are dimmed.
▶The power saving function turns off all indicator lights except the [Energy Save]
when the light sensor detects darkness for a certain period of time.
※ [Mood Lamp] On / Off is irrelevant to [Energy Save] function.
※ Please refer to the following [Mood Lamp] on/off set-up method.
▶When the power saving function is activated, the indicator lights up when the
button is pressed. (If there is no button input for a certain period of time,
the indicator becomes dark again.) .
While the [Energy Save] indicator is off,
press the [Energy Save] button.
1
▶The [Energy Save] indicator turns off and all indicator lights are turned on.
When the [Energy Save] light is on, pressing the [Energy Save] button turns off
the power function.
2
How to Use
How to Use Energy Save Function
This function saves energy by reducing the standby power and the brightness of the indicator.
It is a method to set the mood light function during darkness.
Press for 2 seconds Level indicator lamp
and [Mood lamp] On
Level indicator lamp Flickering
and [Mood lamp] Off
<Set up Method> <Setting Turn On> <Setting Turn Off>
“Hot”
Button “Cold”
Button

18
Setting the temperature
▶
Enter the hot and cold water temperature setting mode. [Initial Setting : Level 3]
▶
Press the hot water button to set the temperature. [The higher Level means the higher temperature]
▶Press the [Energy Save] button to save the setting.
※
If there is no operation for 7 seconds, it returns to standby mode without saving settings.
Setting the temperature of hot water: Press the [Energy Save] button for 3 seconds.
1
How To Use External Faucet (Optional)
▶※
If you rub the external valve with a brush or sponge, it may damage the plating of the
valve’s outer surface and may cause the mineral scale to the inside of the external valve.
Move the Lever of the External Valve connected to the
sink down, and then you can use the External Faucet.
Closed
Open
If you have not used the external faucet for an extended period (longer than a day), it is
recommended to open the spigot to allow the still water to flow to clean out the water line.
1
Press for 3 seconds
<Set up Method> <Initial Setting Check>
If you have not used the External Faucet for a long time
with the power connected, the water of the External Valve
may be warm because of the inside heat caused by the
operation of the Heater and the Compressor.
▶
Enter the hot and cold water temperature setting mode. [Initial Setting : Level 3]
▶
Press the cold water button to set the temperature. [The higher Level means the lower temperature]
▶Press the [Energy Save] button to save the setting.
※
If there is no operation for 7 seconds, it returns to standby mode without saving settings.
Setting the temperature of Cold water : Press the [Energy Save] button for 3 seconds.
2
Press for 3 seconds
<Set up Method> <Initial Setting Check>
“Hot”
Button “Cold”
Button “Hot”
Button “Cold”
Button
“Hot”
Button “Cold”
Button “Hot”
Button “Cold”
Button
How to Use
▶▶▶▶▶▶

▶▶▶※
▶※
valve’s outer surface and may cause the mineral scale to the inside of the external valve.
▶▶▶※
How to Clean the Cold Water Tank
First, close the Tap Water Supply Valve.
Press the “Hot” & “Cold” button for 3 seconds to
turn them off.
Unplug the power plug for safety.
▶Drain water into a clean bowl as it will be used to
clean the tank.
▶Make sure that the "hot" and "cold" lights are
turned off.
▶Approximately 10.1L of water will be drained, so use
a bowl in an appropriate size.
Drain the cold water tank through the cold water
faucet.
▶Beware as the hot water is very hot.
▶Approximately 4.0 L of water will come out, so
prepare a bucket of a sufficient size.
▶
If you drain hot water before draining cold water,
approximately 11.6 L of water will come out. Drain cold
water before draining hot water. (After hot water is completely drained,
close the stopper of the Hot Water Drain.)
Connect the hot water drain tube to the hot water
faucet and the hot water drain in order to drain out
all the hot water from the hot water tank.
Closed
3
5
4
2
1
“Hot”
Button “Cold”
Button
19
How to Clean the Cold Water Tank

▶▶▶▶※
How to Clean the Cold Water Tank
▶Requires a phillips head “+” screwdriver.
Remove the lid cover of the product.
▶The upper part of cold water tank is slightly warm
because it contains ambient water and hot water
steam.
Remove the cover from the cold water tank.
▶When you remove the separator and clean the
inside of the tank, please wear gloves to ensure
it is properly sanitized.
Remove separator from the cold water tank by
pulling the separator.
▶
Make sure no foreign substances are left inside the tank.
Wipe out the inside of the Tank with a clean and soft cloth.
▶Completely drain the used water through the cold
water faucet.
▶Remove the hot water drain ball valve (end cap) and
completely drain the water that flowed into the hot
water tank. Then close the cap.
Pour the drained water (refer to Step. 4) into the tank
and wash it.
6
7
8
9
10
Scale may form inside the tank due to minerals melted in
the water. When you use the water purifier infrequently,
drain water through the cold / hot water faucet once every
two to three days. Then you can prevent scale from forming.
(It is best to use the purified water within a short period of time.)
20
How to Clean the Cold Water Tank
Table of contents
Other Cuckoo Water Filtration System manuals
Popular Water Filtration System manuals by other brands

Monzana
Monzana DBWC001 instructions

Aquasana
Aquasana Rhino Well 1 Water with UV owner's manual

Pentair
Pentair PRF-RO Installation and maintenance manual

amiad
amiad TEQUATIC PLUS F-75 Installation, operation and maintenance manual

emaux
emaux SSCnano Installation and operation manual

acerpure
acerpure ZC.X01TG.06J user manual