Warnings for Safety Use
7
www.cuckoo.com.my
•It may cause a damage to the
product. Please check the Power
Cord frequently.
Do not disassemble or
remodel the product.
•It may cause fire or electric shock.
•Do not allow anyone other than
authorized service providers to
disassemble or repair the product.
•Contact Customer Service center for repair and AS service.
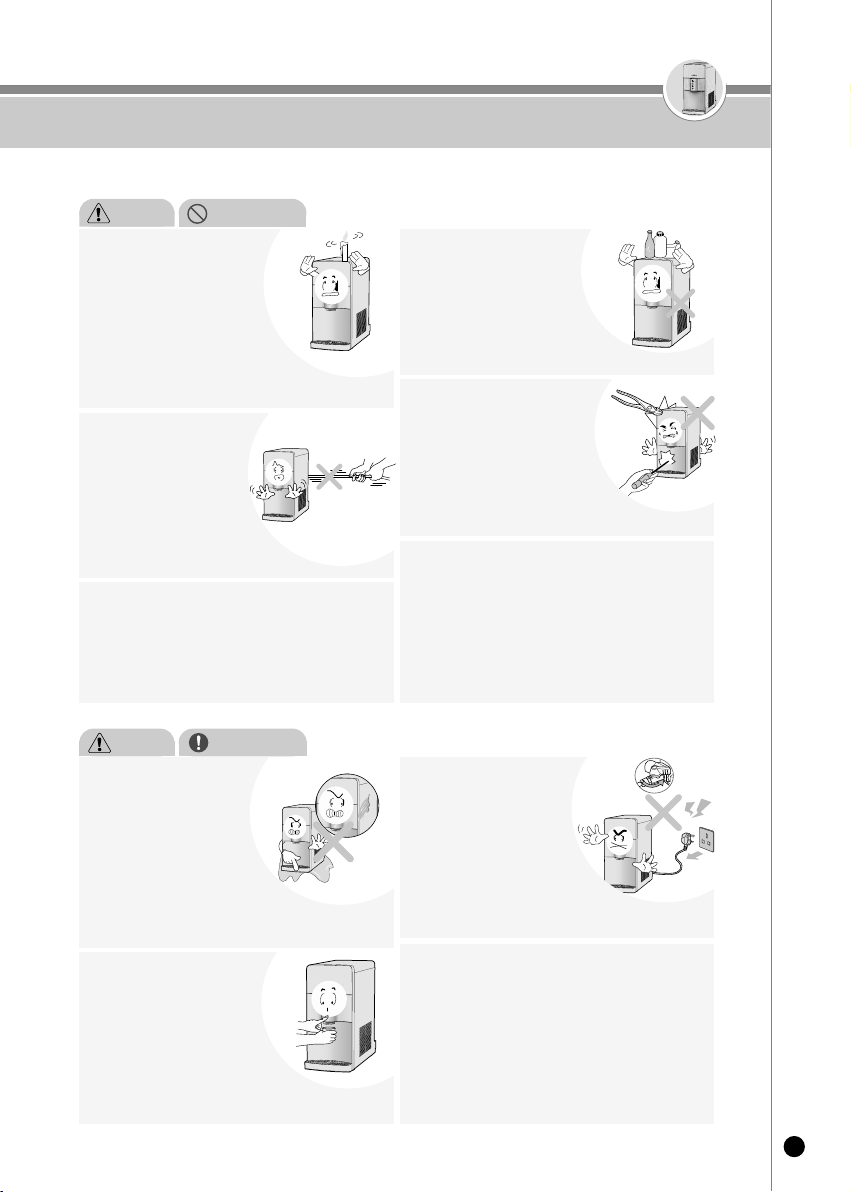
In order to prevent accidents and injury,
make sure that your hands or other parts
of the body do not touch the condenser
(radiator) at the back of the device when
it’s turned on.
•It may cause burns or accidents.
Do not place any product
which generates heat or
flammable such as
microwave, electric oven,
candles or gas containers
on top of the product.
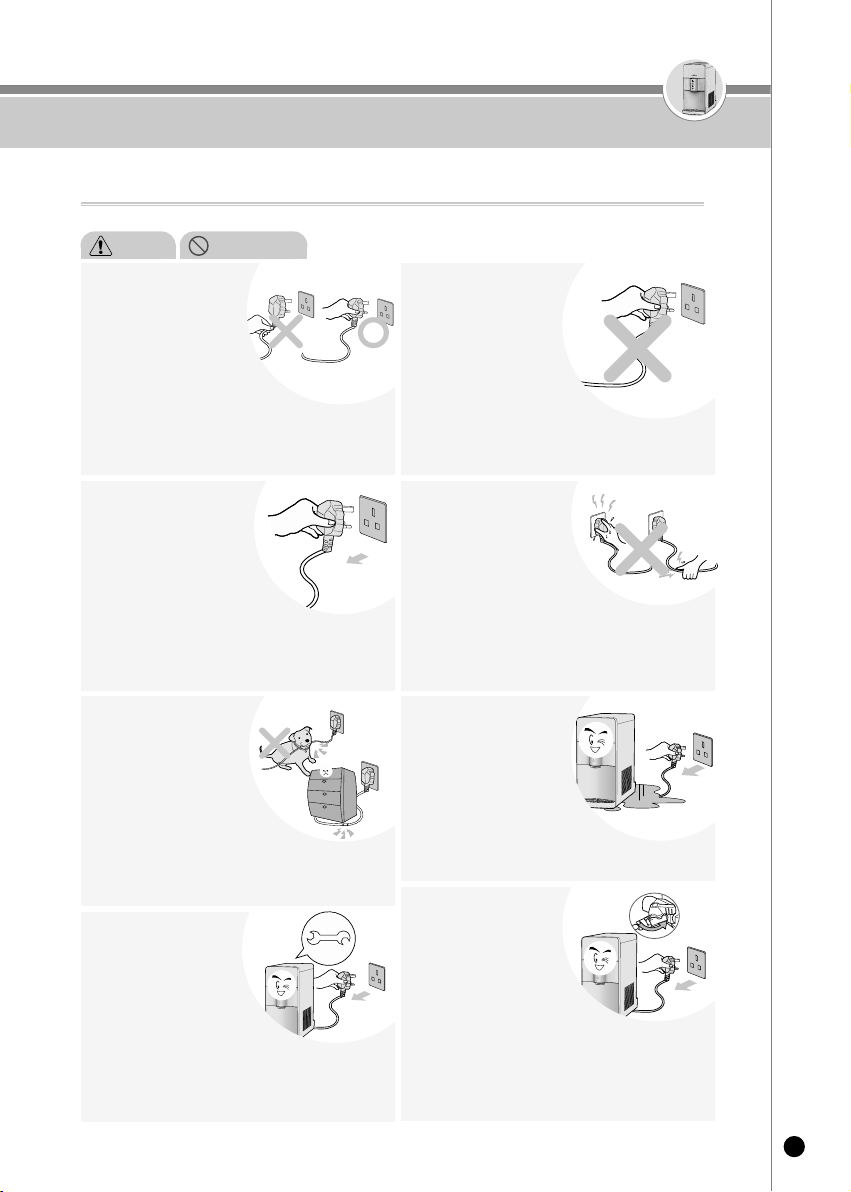
Do not pull the power
cord or hose, nor grab
the faucet when
moving the product.
•There is risk of fire, electric shock or accidents.
•They could fall into the product
and potentially cause fire or
damage the product.
Do not place chemicals,
water bottles or small
metal materials on top
of the product.
•Do not allow hot water to
come in contact with the hands,
and supervision is required when
the appliance is used by children or
the elderly and infirm.
Please be careful when
dispensing the Hot water.
This appliance is not intended for use by
persons (including children) with reduced
physical, sensory or mental capabilities, or lack
of experience and knowledge, unless they have
been given supervision or instruction concerning
use of the appliance by a person responsible for
their safety. Children should be supervised to
ensure that they do not play with the appliance.
If you find that it is
leaking or there is a
pool of water around
the product, close the
water supply valve first,
and then unplug the
product. After that, please
contact our Customer
Service Center .
•This may cause electric shock.
•There is a risk of fire.
•The product should be installed and removed by an
authorized person from Customer Service.
If you smell burning or
see smoke arising from
the device, unplug it
immediately and close
the tap water supply
valve. After that please
contact our Customer
Service
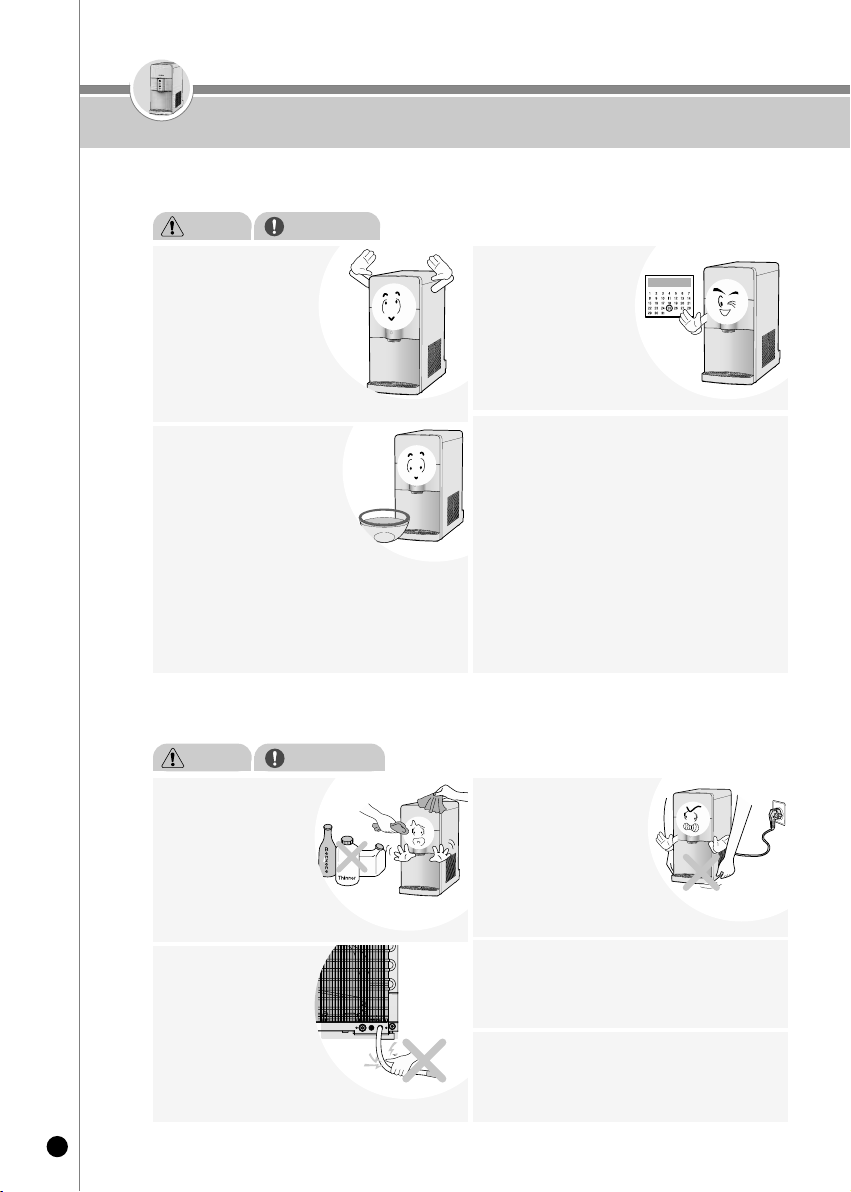
Do not press the “Cold” and “Hot” switches
with the tank empty.
•It mt may cause a malfunction of the product.
Please check the water supply, especially the water
supply valve on a regular basis. Do not press the “Cold”
and “Hot” switches with the tank empty. Fill up the tank
first and then press the “Cold” and “Hot” switches.
•Pressing the “Hot” switch with the tank empty will make
the Child ock activated and the water won’t heat up.
Warnings
Instructions
Warnings
Prohibitions