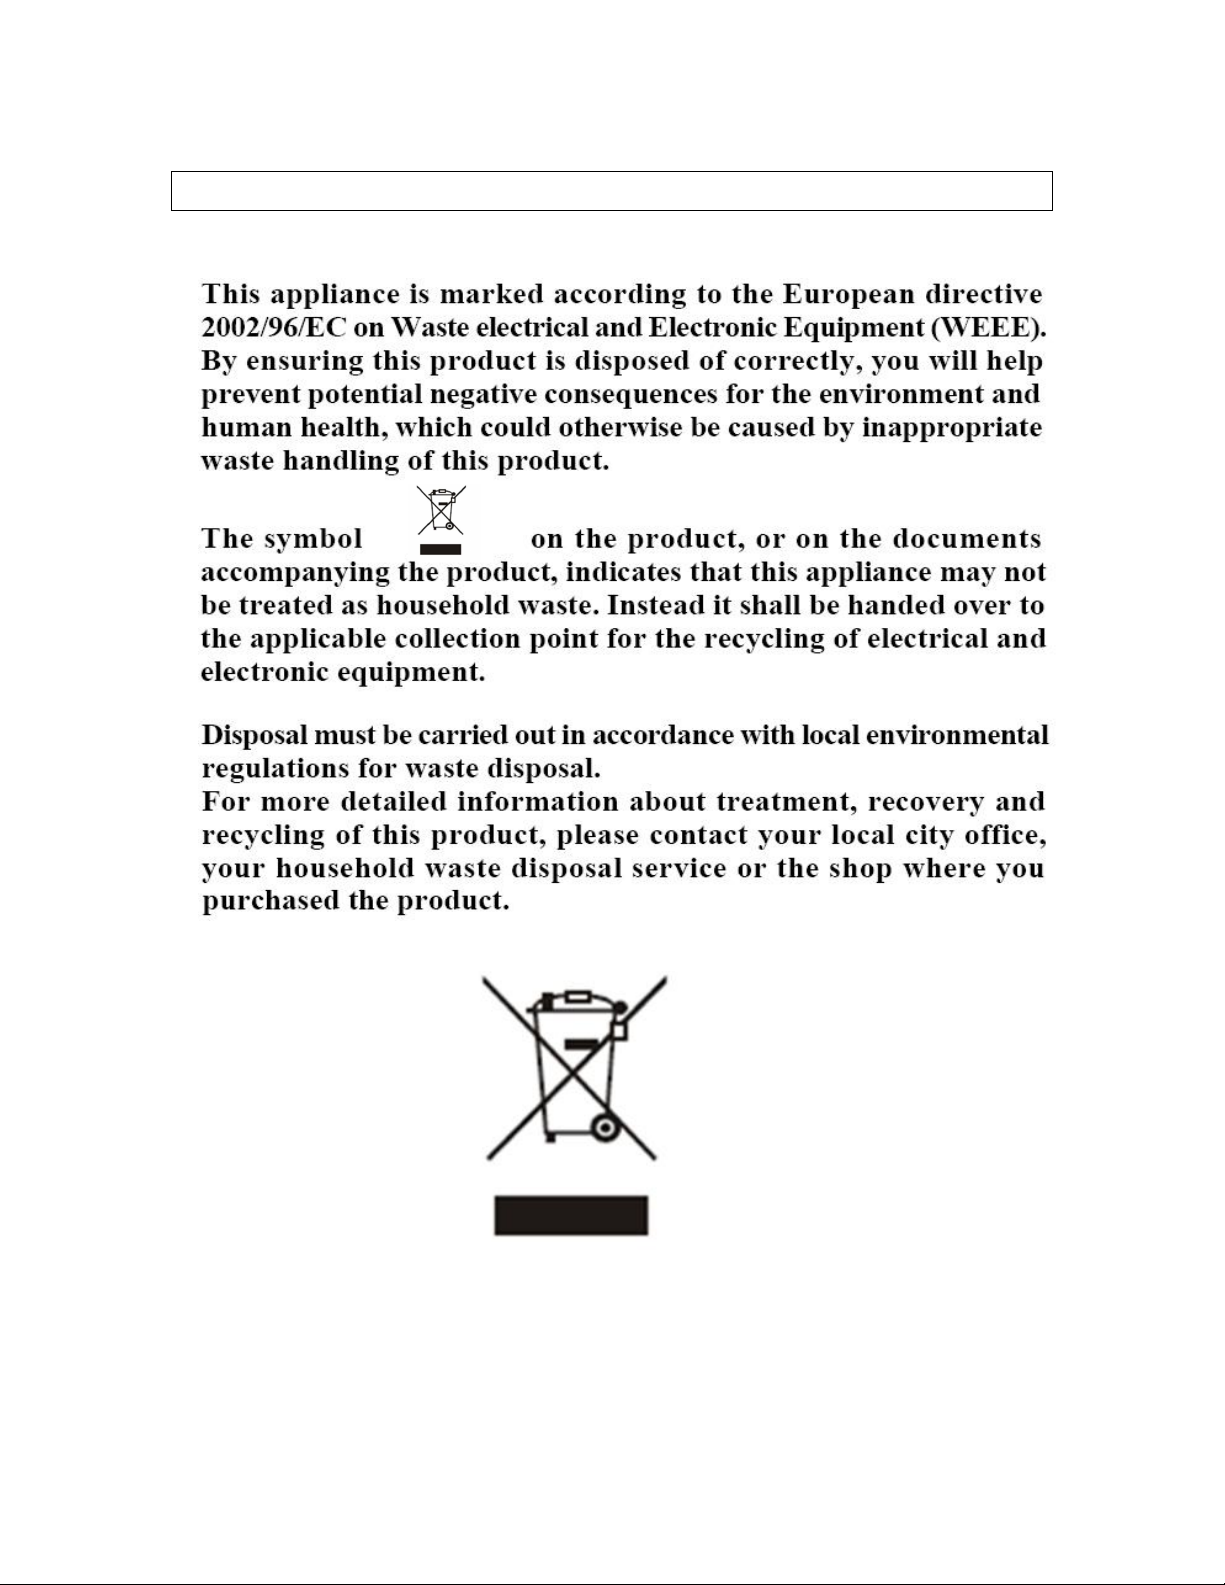
Culina UBEMF73 User manual

User Manual for your
UBEMF73
NOTE:This User Instruction Manual contains important
information, including safety & installation points, which will
enable you to get the most out of your appliance. Please keep it
in a safe place so that it is easily available for future reference; for
you or any person not familiar with the operation of the appliance.

Warning
EN
1、WARNING: The appliance and its accessible parts become hot during use.
Care should be taken to avoid touching heating elements.
2、Children less than 8 years of age shall be kept away unless continuously
supervised.
3、the appliance must not be installed behind a decorative door in order to
avoid
overheating.
FR
1、AVERTISSEMENT : l'appareil et ses parties accessibles peuvent devenir
chauds pendant l'utilisation. Veiller à éviter tout contact avec les éléments de
chauffe.
2、Garder les enfants de moins de 8 ans à l’écart de l’appareil à moins qu’ils
ne soient surveillés en permanence.
3、L’appareil ne doit pas être installé derrière une porte decorative afin
d’éviter toute surchauffe.
PL
1、OSTRZEŻENIE: Urządzenie i jego dostępne części nagrzewają się podczas
użytkowania. Należy zachować ostrożność, aby nie dotykać elementów
grzewczych.
2、Dzieci poniżej 8. roku życia nie powinny zbliżać się do urządzenia bez
nadzoru.
3、Nie wolno instalować urządzenia za drzwiami dekoracyjnymi, może to
powodować przegrzanie.
DE
1、WARNUNG: Das Gerät und dessen zugängliche Teile warden während des
Gebrauchs heiß. Die Heizelemente sollten nicht angefasst werden.
2、Kinder unter 8 Jahren müssen vom Gerät ferngehalten werden, es sei
denn sie werden streng beaufsichtigt.
3、Dieses Gerät darf nicht hinter einer Schranktür installiert werden, um
Überhitzung zu vermeiden.
RUS
1、ПРЕДУПРЕЖДЕНИЕ. Прибор и доступные для прикосновения части
могут сильно нагреваться во время эксплуатации. Соблюдайте
осторожность, чтобы не прикасаться к
нагревательным элементам.
2、Запрещено подпускать к варочной панели детей младше 8 лет, если
они не находятся под постоянным присмотром.
3、Во избежание перегрева запрещается устанавливать прибор за
декоративной дверцей
RO
1、AVERTISMENT: Aparatul şi piesele componente accesibile ale acestuia se
încălzesc în timpul utilizării. Trebuie luate măsuri pentru a nu permite
atingerea elementelor de încălzire.

2、Copiii mai mici de 8 ani pot sta în preajma plitei doar dacă sunt
permanent supravegheați.
3、Dispozitivul nu trebuie instalat în spatele unei uși decorative, pentru a
evita supraîncălzirea.
ES
1、ADVERTENCIA: El aparato y las piezas accesibles se calientan durante el
uso. Se debe tener cuidado para no tocar los elementos de calor.
2、No deje el producto al alcance de niños menores de 8 años, a no ser que
estén supervisados continuamente.
3、No instale el electrodoméstico tras una puerta decorativa, para evitar el
sobrecalentamie.
PT
1、AVISO: O aparelho e as respetivas peças acessíveis fi cam quentes
durante a utilização. Tenha cuidado para não tocar nos elementos quentes.
2、As crianças com idade inferior a 8 anos devem manter-se afastadas,
exceto se receberem supervisão contínua.
3、Para evitar sobreaquecimento, o aparelho não deve ser instalado atrás de
uma porta decorativa.
TR
1、UYARI: Cihaz ve erişilebilir parçaları kullanım sırasında ısınabilir. Isıtıcı
elemanlara dokunmamaya dikkat edilmelidir.
2、Sürekli gözetim altında değillerse, 8 yaşından küçük çocuklar cihazdan
uzak tutulmalıdır.
3、Aşırı ısınmayı önlemek için, cihaz dekoratif kapıların arkasına
kurulmamalıdır.

2
Contents
Environmental note 3
Important safety information 4 - 7
Specifications 8 - 10
Product and aperture dimensions 8
Product specifications 8
Standard accessories 9
Electrical details 9
Cooling fan 9
Control panel 10
Oven programmer/timer display 10
Setting and using the oven programmer/timer 11-15
Selecting manual operation mode 11
Setting clock (the time of day) 11
The oven timer 11
Before first use 11
Setting the minute minder function 12
Setting the duration function 13
Setting the end cook function 14
Setting the start and end time function 15
Selecting a cooking function and temperature 16 - 19
Selecting an oven function 16
Oven functions 16
Thermostat control knob 17
Oven operating light 18
Cooking guidelines 18
Warnings 19
Shelf positions 20
Cleaning and maintenance 21-24
Replacing the oven bulb 22
Removing the oven door for cleaning 23
Removing the inner door glass for cleaning 24
Installation 25 - 28
Electrical connection 25
Installing the oven into the kitchen cabinet 27
Positioning the appliance 27
Ventilation requirements 28
My appliance isn’t working correctly 29 - 31

3
Environmental note
oThe packaging materials that the manufacturer uses are
environmentally friendly and can be recycled.
oPlease discard all packaging material with due regard for the
environment.

4
IMPORTANT SAFETY INFORMATION
Your safety is of the utmost importance to us. Please
make sure that you read this instruction booklet before
attempting to install or use the appliance. If you are
unsure of any of the information contained in this
booklet, please contact the Customer Care Department.
General Information
oThis appliance is designed for domestic household use and can
be built into a standard kitchen cabinet or housing unit.
oIMPORTANT: The adjacent furniture or housing and all
materials used in the installation must be able to withstand a
minimum temperature of 85°C above the ambient temperature
of the room it is located in, whilst in use.
oCertain types of vinyl or laminate kitchen furniture are
particularly prone to heat damage or discolouration at
temperatures below the guidelines given above.
oAny damage caused by the appliance being installed in
contravention of this temperature limit, or by placing adjacent
cabinet materials closer than 4mm to the appliance, will be the
liability of the owner.
oThe use of this appliance for any other purpose or in any other
environment without the express agreement of the manufacturer
will invalidate any warranty or liability claim.
oYour new appliance is guaranteed against electrical or
mechanical defects, subject to certain exclusions that are noted
in the manufacturer’s Conditions Of Guarantee. The foregoing
does not affect your statutory rights.
oRepairs may only be carried out by service engineers that
are approved by the manufacturer.

5
Warning and safety instructions
oThis appliance complies with all current European safety
legislation. The manufacturer does wish to emphasise that this
compliance does not remove the fact that the appliance surfaces
will become hot during use and retain heat after operation.
oThis appliance is not intended for use by persons (including
children) with reduced physical, sensory or mental capabilities,
or lack of experience and knowledge, unless they have been
given supervision or instruction concerning use of the appliance
by a person responsible for their safety.
Child Safety
oWe strongly recommend that babies and young children are
prevented from being near to the appliance and not allowed to
touch the appliance at any time.
oIf it is necessary for younger family members to be in the
kitchen, please ensure that they are kept under close supervision
at all times.
General Safety
oDo not place heavy objects on the oven door or lean on the
oven door when it is open, as this can cause damage to the oven
door hinges.
oDo not leave heated oil or fat unattended, as this is a fire risk.
oDo not place pans or baking trays directly on the base of the
oven cavity, or line it with aluminium foil.
oDo not allow electrical fittings or cables to come into contact
with areas on the appliance that get hot.
oDo not use the appliance to heat the room it is located in or to
dry clothing.
oDo not install the appliance next to curtains or soft furnishings.

6
oDo not attempt to lift or move cooking appliances by using the
oven door or handle, as this may cause damage to the appliance
or result in injury to the person lifting the appliance.
Cleaning
oCleaning of the oven should be carried out on a regular basis.
oGreat care should be taken whilst using this appliance and when
following the cleaning procedure.
oIMPORTANT: The appliance must be disconnected from the
mains before following the cleaning procedure.
Installation
This appliance must be correctly installed by a
suitably qualified person, strictly in accordance
with the manufacturer’s instructions.
oThe manufacturer declines any responsibility for injury or
damage, to person or property, as a result of improper
use or installation of this appliance.
oHeat, steam and moisture will be created during use of the
appliance, take care to avoid injury and ensure that the room is
adequately ventilated. If the appliance is going to be used for
prolonged periods of time, then additional ventilation may be
required.
oPlease consult with your qualified installer if you are in any doubt
about the amount of ventilation that you will require.

7
Declaration of conformity
This appliance complies with the following European Directives:
- 2014/35/EU regarding “low voltage”
- 2014/30/EU regarding “electromagnetic disturbances”
- Regulation (EC) N° 1935/2004 regarding “materials in contact with
food”
oThe above directives comply with 93/68/EEC regarding CE marking.
oThe manufacturer declares that the oven is built using certified
materials and requires the appliance to be installed in accordance
with the standards currently in force. This appliance must be used
by a trained person for domestic purposes only.

8
Specifications
Product Dimensions Aperture Dimensions
Height: 595 mm 600 mm
Width: 595 mm 560 mm
Depth: 530 mm 560 mm (min)
Product specifications
o9 oven functions
oEnergy efficiency class: A
oOven capacity: 73/78
liters
oLED fully programmable timer
oCooling fan
oThermostatically controlled grill
oDouble-glazed removable door
oRemovable inner door glass
oMark resistant coating
oOven light

9
Standard accessories
Accessory Name Picture Quantity
Baking tray 1
Grill
1
1
Handle 1
Screws(ST4x35) 4
Electrical details
Rated Voltage: 220-240 Vac, 50/60 Hz
Supply Connection: 13A
Rated max power : 2.90 kW
Mains Supply Lead: 3 x 1.5mm²
Oven Light Bulb: 25 W/300°C screw type pygmy
Cooling fan
oA tangential cooling fan is fitted inside of this appliance, to make
the internal temperature of the oven stable and the external
surface temperature lower.
oAfter you have finished cooking and switched off the oven, the
cooling fan will continue to run for a period of time afterwards.
The length of time will depend on how long the oven has been
switched on for and at how high a temperature.

10
Control Panel
UBEMF73
1) Oven function selector knob
2) Thermostat control knob
3) Minute minder button
4) Duration button
5) End cook button
6) Manual operation button
7) Minus button
8) Plus button
9) LED display
A) Power indicator light
B) Oven operating light
Oven programmer/timer display
10) Auto function symbol
11) Minute minder symbol
12) Manual operation symbol

11
Setting and using the oven programmer/timer
Selecting manual operation mode
After your appliance is connected to your mains supply for the first
time, the numbers on the timer display will flash. Before you can
select a cooking function or set a temperature,you must set the
appliance into manual operation mode.
oTo select manual operation mode, press the manual operation
button (6) on the control panel.
Setting clock (the time of day)
After setting your oven for manual operation, you should also set the
time of day.
oAfter pressing the manual operation button (6), use the minus
button (7) and plus button (8) to adjust the time that appears in
the display. After getting the display to the correct time, release
the minus and plus buttons. After a few seconds the time will fix
in the display and you will be able to use your oven.
The oven timer
oOnly the minute minder can be used with the defrost oven
function. None of the other timer modes will work with the
defrost function.
Before first use
oTo remove any residue from the oven that may have been left
from the manufacturing process, you should select the fan oven
function and set the thermostat to its maximum temperature
setting.
oIt is perfectly normal for a smell to be produced during this
process.
oYou should make sure that any windows in the room are left
open during this process.

12
oIt is advisable for you not to remain in the room whilst the
burning off process is taking place.
oYou should leave the oven on maximum setting for 30 – 40
minutes.
oAfter the oven cavity has cooled, it should then be cleaned with
warm soapy water, using either a sponge or soft cloth. No
abrasive cleaners should be used.
oOuter parts of the oven should be cleaned with warm soapy
water, using either a sponge or soft cloth. No abrasive cleaners
should be used.
oWe would recommend that an appropriate stainless steel cleaner
and polish is regularly used on the stainless steel surfaces of this
appliance.
Setting the minute minder function
You are able to set the minute minder at any time, regardless of
whether an oven function has been selected. You can set a period of
time using the minute minder function and an alarm will sound when
that period of time has elapsed.
oPress the minute minder button (3), the display will show a
value of 00:00. Set the period of time that you wish the minute
minder to countdown for, by using the minus (7) and plus (8)
buttons.
oOnce the display has got to your desired countdown time, let go
of the minus and plus buttons. The minute minder symbol (11)
will appear on the timer display.
oOnce a countdown time has been set, it is possible to shorten or
lengthen the time by using the minus or plus buttons.
oAn alarm will sound when the countdown time has elapsed. The
alarm can be silenced by pressing the minute minder button.
oImportant: The oven will continue to heat once the alarm has
been silenced. If you have finished cooking, then you should turn
the oven function selector and thermostat control knob to 0.

13
Setting the duration function
This function will allow you to set a countdown time similar to the
minute minder function. However the oven will no longer continue to
heat, once the countdown period has elapsed.
oUse the thermostat control knob (2) to set the temperature that
you require. The manual operation symbol (12) will appear on
the display.
oUse the oven function selector knob (1) to select the mode of
cooking that you require.
oIt is then possible to set the duration of the cooking time that
you require.
oPress the duration button (4) and the display will show a value of
00:00. Set the period of the duration function to countdown for,
by using the minus (7) and plus (8) buttons.
oOnce the display has got to your desired countdown time, let go
of the minus and plus buttons. The countdown will start
immediately and the word AUTO will appear on the timer display.
oOnce a countdown time has been set, it is possible to shorten or
lengthen the time by using the minus or plus buttons.
oAn alarm will sound when the countdown time has elapsed and
the oven will switch off. The word AUTO will flash and the
heating symbol will disappear. The alarm can be silenced by
pressing the duration button.
oYou will need to return the oven to manual operation mode, once
the duration function has been used. To do this you should press
the “manual operation ”button, the word AUTO will disappear
from the display and the manual operation symbol will appear
instead.
oImportant: If you do not turn the thermostat control knob and
oven function selector knob to 0, then the appliance will continue
to operate as soon as you press the manual operation button.

14
Setting the end cook function
This function is similar to the duration function, however instead of
selecting a period of time that you wish the oven to switch off after.
You select the time of day that you wish the oven to switch off at.
oUse the thermostat control knob (2) to set the temperature that
you require. The manual operation symbol (12) will appear on
the display.
oUse the oven function selector knob (1) to select the mode of
cooking that you require.
oPress the end cook button (5) and the display will show a value
of 00:00. Set the time of day that you wish the oven to stop
cooking at by using the minus (7) and plus (8) buttons. The
timer will calculate how long the cooking time will be, based on
the time of day that you have selected and show it on the
display.
oOnce the display has got to the time of day that you want the
oven to stop cooking at, let go of the minus and plus buttons.
The countdown will start immediately and the word AUTO will
appear on the timer display.
oWhen the time is set, it can be modified by pressing the minus
and plus buttons.
oWhen the time of day reaches the end of cooking time that you
set, the oven will switch off and an alarm will sound. The word
AUTO will flash and the heating symbol will disappear. The alarm
can be silenced by pressing the end cook button.
oYou will need to return the oven to manual operation mode, once
the end cook function has been used. To do this you should
press the manual operation button, the word AUTO will
disappear from the display and the manual operation symbol will
appear instead.
oImportant: If you do not turn the thermostat control knob and
oven function selector knob to 0, then the appliance will continue
to operate as soon as you press the “manual operation”button.

15
Setting the start and end time function
This function will allow you to set a time in the future that the oven
switches on at and a time that the oven will switch off at.
oUse the thermostat control knob (2) to set the temperature that
you require. The manual operation symbol (12) will appear on
the display.
oUse the oven function selector knob (1) to select the mode of
cooking that you require.
oPress the duration button (4) and the display will show a value of
00:00. Set the period of time that you wish to cook for, by using
the minus (7) and plus (8) buttons. The word AUTO will appear
on the timer display.
oImmediately press the end cook button (5) and the timer display
will show the value 00:00. Set the time of day that you want the
oven to switch off at, using the minus and plus buttons.
oThe oven will calculate what time it needs to switch on at, so
that your food will cook for the length of time that you selected.
It will automatically switch itself on, once it reaches the time of
day that it has calculated.
oWhen the time of day reaches the end of cooking time that you
set, the oven will switch off and an alarm will sound. The word
AUTO will flash and the heating symbol will disappear. The alarm
can be silenced by pressing the end cook or duration button.
oYou will need to return the oven to manual operation mode, once
the start and end time function has been used. To do this you
should press the manual operation button, the word AUTO will
disappear from the display and the manual operation symbol will
appear instead.
oImportant: If you do not turn the thermostat control knob and
oven function selector knob to 0, then the appliance will continue
to operate as soon as you press the manual operation button.

16
Selecting a cooking function and temperature
IMPORTANT: Make sure that you have sent your oven
into manual operation mode before selecting an oven
function and temperature.
Selecting an oven function
The oven function selector knob should be used to select the particular
mode of cooking that you require. The appliance will utilise different
elements within the oven cavity, depending on the oven function that
you select. When a function is selected, the power indicator light will
come on.
Oven functions
OVEN LIGHT:Separate light control which allows the light to
be switched on, even when the oven is not cooking.
Defrosting:
This function allows all frozen foods to be rapidly and
delicately thawed thanks to the internal fan.
Bottom & Top Elements:
Allows the oven to be heated conventionally.
Fan, bottom and top heaters on:
When you choose this icon, the oven executes the cake
function. Conventional oven with a fan.
Bottom Element:
Oven is heated using only the bottom element.

17
FAN OVEN: This method of cooking uses the circular element
while the heat is distributed by the fan. This results in a
faster and more economical cooking process. The fan oven
allows food to be cooked simultaneously on different shelves,
preventing the transmission of smells and tastes from one
dish onto another.
Combined grill (Grill and top heater):
When this function is activated, the grill heating tube and the
top heater will work at the same time. This function allows
roasting.
Fan and combined grill on:
When you choose this function, the oven activates the
combined grill and fan functions. This function can accelerate
the process of barbecue and make food taste better.
Intensive hot air (Rear heater with fan and bottom
element on):
A crisp underside to pizza bases, quiches and pastry cases
can be achieved by activating the intensive hot air setting.
No need to preheat the oven when using this setting when
cooking from frozen.
Thermostat control knob
oThe oven thermostat control
knob sets the required
temperature of the oven. It
is possible to regulate the
temperature within a range
of 50 - 250°C.
oTurn the control knob
clockwise.

18
Oven operating light
oThis light will come on to
indicate that the oven’s
heating elements are in
operation. The light will turn
off when the temperature set
on the thermostat control
knob has been reached. It will
cycle on and off throughout
the cooking time.
You should not place food inside the cavity, until the
correct cooking temperature has been reached.
Cooking guidelines
oPlease refer to the information given on food packaging for
guidance on cooking temperatures and times. Once familiar with
the performance of your appliance, temperatures and times can be
varied to suit personal preference.
oIf you are using the fan oven function, then you should follow the
information given on the food packaging for this particular mode of
cooking.
oYou should pre-heat the oven and not place food inside of it until
the oven operating light has gone off. You can choose not to pre-
heat when using the fan oven mode; however you should extend
the cooking time given on the food packaging by at least ten
minutes.
oIMPORTANT: You should ALWAYS pre-heat the oven if you are
baking.
Table of contents
Other Culina Oven manuals

Culina
Culina UBETFD605BK User manual

Culina
Culina UB70NPYS User manual

Culina
Culina UBEMF619C User manual

Culina
Culina UBEFMM604BK User manual

Culina
Culina CUL57MMSS User manual

Culina
Culina UBGMMT60SS User manual

Culina
Culina UB70NMFS User manual

Culina
Culina UBEMF610 User manual

Culina
Culina UBEMF606BK User manual

Culina
Culina CUL57PGSS User manual