manuals.online logo
Brands
  1. Home
  2. •
  3. Brands
  4. •
  5. Curt Manufacturing
  6. •
  7. Automobile Accessories
  8. •
  9. Curt Manufacturing 45969-85 User manual

Curt Manufacturing 45969-85 User manual

CURTMFG.COM.AU •NEED ASSISTANCE? •877.287.8 634 •45969-85-INS-RC •PAGE 1
Maintenance
Mild automotive detergent may be used to
clean the product. Do not use dish detergent,
abrasive cleaners, abrasive pads, wire
brushes or other similar products that
may damage the finish.
Apply grease to the zerk located on the back
of the shank assembly prior to each use to
ensure quiet and trouble-free operation.
Weight Capacity
Gross trailer mass 6800 kg
Tongue mass 680 kg
INSTALLATION MANUAL 45969-85
Tools Required
None
Product Photo
Level of Difficulty
Easy
WARNING
Never exceed the vehicle manufacturer's recommended towing capacity. The ratings of
the mount system are intended to represent the capability of the product and in no way
reflect the ratings or capacity of the towing system it is being used with. The consumer
or operator are strongly advised to learn the ratings of the various components of the
towing system and never exceed the limits of the lowest rated component being used.
Use of any pin other than that of the mount system manufacturer
could be a serious safety hazard and will void the warranty.
Check for proper clearance of the trailer coupler to the tongue of the Rebellion™XD when
latched on the ball. Some couplers may require a 1" rise ball to add clearance for maneuvering.
Do not use in rise position.
Never hook up trailer safety chains to the mount system. Ensure the safety
chains operate freely around the mount system and do not become entangled.
DANGER
Cannot be used in the rise position.
Parts List
Item Qty Description
1 1 Adjustable shank
2 1 Trailer ball platform*
3 2 Pin
4 2 Clip
*Trailer ball platform (#45940-85
or #45970-85) not included
NOTICE
Visit www.curtmfg.com.au for a full-color copy of this
instruction manual, as well as helpful videos, guides and much more!
Before you begin installation, read all instructions thoroughly.
Proper tools will improve the quality of installation and reduce the time required.
Periodic inspection of your product should be performed
to ensure all hardware and / or components remain secure.
To help prevent damage to the product or vehicle, refer to the specified
torque specifications when securing hardware during the installation process.
Prior to towing, ensure all fasteners are tight and all structural components are sound. Using
a torque wrench and 3/8" hex drive socket, torque hardware to 45-55 lb-ft. (61.0 - 74.6 Nm.)
Product Registration
CURT Group stands behind our products
with industry-leading warranties. Provide
feedback and help us to improve our
products by registering your purchase at:
curtmfg.com.au/registration
CURTMFG.COM.AU •NEED ASSISTANCE? •877.287.8 634 •45969-85-INS-RC •PAGE 2
Step 2 - Determine Required Ball Height
Determine the proper ball height by leveling the trailer and measuring
from the bottom of the trailer tongue to the ground, see below.
Find the hole closest to that measurement on the adjustable shank (#1).
The trailer ball platform (#2) will be centered on that hole.
WARNING
The Rebellion™XD can only be used in the
drop position. Do not use in the rise position.
TrailerCoupler
Rebellion™XD
Level Ground
Drop
Rise
Vehicle
Receiver
Tube
BALL HEIGHT
Step 3 - Attach the Tongue
Based on the determined ball height, slide the tongue
onto the shank and align with the proper hole locations.
Angle the tongue slightly upwards and press in toward the shank.
Insert a pin (#3) into the top tongue hole first. To pin the bottom
tongue hole, apply downward force to the tongue, and slide
the second pin into place.
Note: The highest mounting position will require the bottom
pin to be installed first with the tongue angled downward.
Then, apply force upwards to install the second pin.
Secure all pins with the included clips (#4).
WARNING
The provided pins are specifically engineered for this system.
If replacement pins are needed, they must be replaced
with original factory mount pins (CURT# 45959).
Before you Begin
The Rebellion™XD has a built-in anti-rattle feature located in the
trailer ball platform channel to keep your towing system quiet. See
the recommended assembly instructions for optimal performance.
Step 1 - Insert into the Trailer Hitch
Begin by installing the shank (#1) into the trailer hitch receiver
and secure it with a hitch pin & clip (sold separately).
ASSEMBLY & SETUP
Parts List
Item Qty Description
1 1 Adjustable shank
2 1 Trailer ball platform*
3 2 Pin
4 2 Clip
*Trailer ball platform (#45940-85 or #45970-85) not included
1
3
2
4
CURTMFG.COM.AU •NEED ASSISTANCE? •877.287.8 634 •45969-85-INS-RC •PAGE 3
Australia's Consumer Law
Our goods come with guarantees that cannot be excluded under Australian consumer law.
You are entitled to a replacement or refund for a major failure and compensation for any other
reasonably foreseeable loss or damage. You are also entitled to have the goods repaired or replaced
if the goods fail to be of acceptable quality and the failure does not amount to a major failure.
Product Warranty Coverage
CURT Products purchased from an authorized CURT dealer or retailer are warranted
to be free from defects in factory workmanship and materials for one (1) year from the
date of installation. The installation date will be determined based on the invoice or receipt
provided to you. This warranty applies only to the original installation, and does not apply
to any products which are re-installed on a different vehicle. This warranty applies only
to products sold to retail purchasers in Australia and New Zealand, and different
warranty policies may apply to retail purchasers in other countries.
Product Registration
You can register your CURT Product online at https://www.curtmfg.com.au/registration.
Although product registration is not necessary to make a claim under
this warranty, it may assist in processing any claim which you may make,
and will also allow you to provide feedback on your CURT product.
Warranty Exclusions
CURT does not provide warranty coverage on claims arising from wear and tear from
(1) normal use; (2) improper product selection, application or maintenance; (3) modifications,
including the attachment of other hardware or components, (4) any improper use, abuse, or failure
to follow the product instructions, or (5) claims which are first made after the one (1) year warranty
period has expired (although you may have statutory rights outside of the warranty period).
Warranty coverage only applies to products purchased from an authorized CURT dealer or retailer.
Remedies for Product Defects
If a warranted defect occurs CURT will repair or replace the product (or correct any software defects),
or refund the purchase price. The cost of delivery and insurance of returning the Products for repairs
or replacement, are your (the customer's) sole responsibility. If you believe you are entitled
to reimbursement for any expenses incurred, please contact CURT at the address below.
Contact Information For CURT Product Warranty Issues
You must make a claim to receive any remedy under this warranty.
To make a claim or inquiry about this warranty, you should contact the dealer
or retailer you purchased the product from. You may also contact us at:
CURT Manufacturing, 6208 Industrial Drive, Eau Claire, Wisconsin USA 54702
+1-877-287-8634, 7am – 7pm (U.S. Central Time)
techsupport@curtgroup.com.au
www.curtmfg.com.au
The remedies provided to you under this warranty are in addition to other
rights and remedies that may be available to you under Australian law.
AUSTRALIA WARRANTY POLICY
Other Curt Manufacturing Automobile Accessories manuals

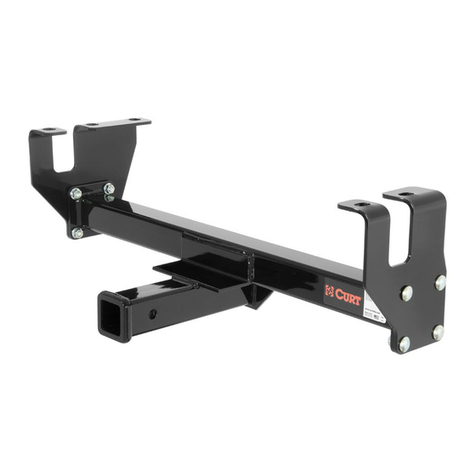
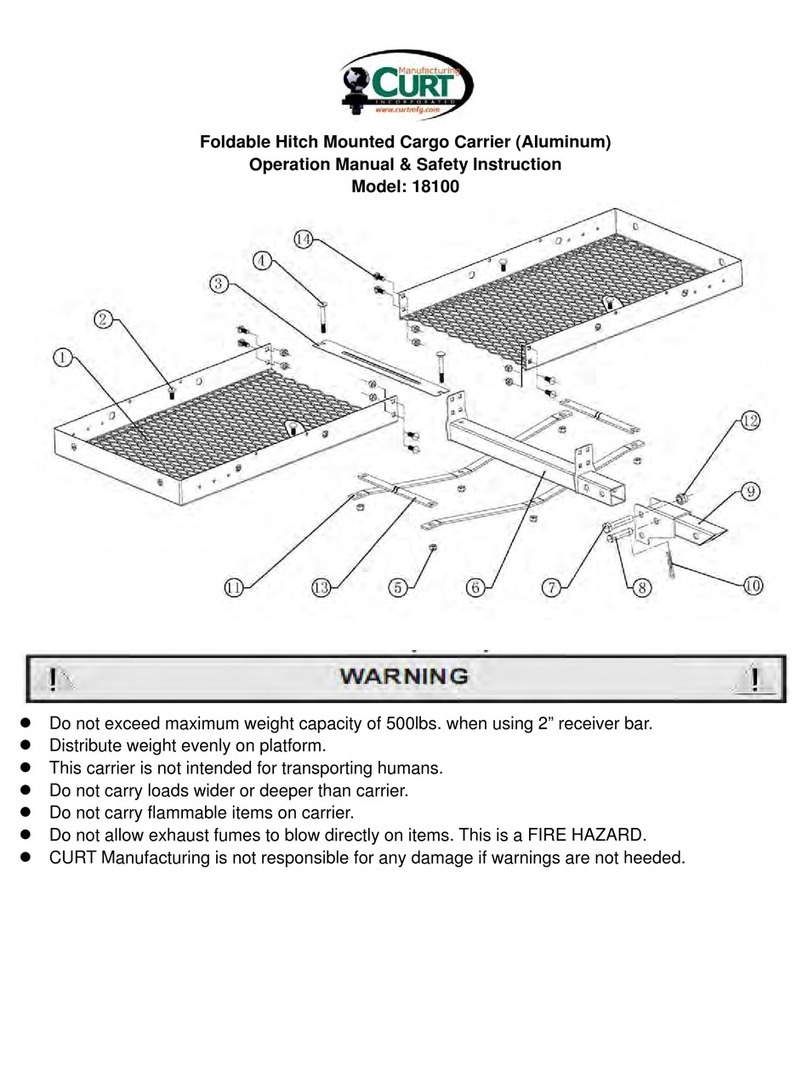
Curt Manufacturing 18100 Operator's manual

Curt Manufacturing

Curt Manufacturing 18100 Operator's manual

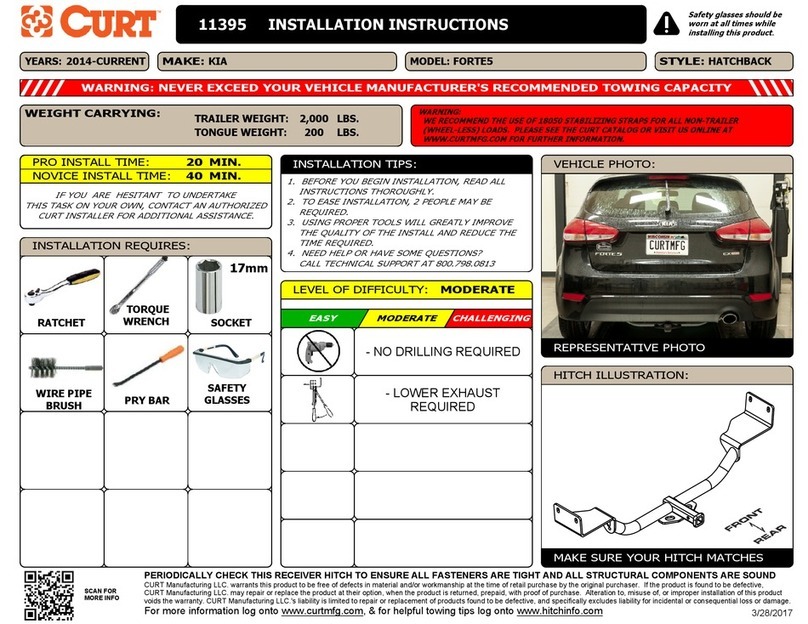
Curt Manufacturing 111395 User manual

Curt Manufacturing

Curt Manufacturing 111395 User manual

Curt Manufacturing 12170 User manual

Curt Manufacturing

Curt Manufacturing 12170 User manual

Curt Manufacturing 13203 User manual

Curt Manufacturing

Curt Manufacturing 13203 User manual

Curt Manufacturing 18153 User manual

Curt Manufacturing

Curt Manufacturing 18153 User manual

Curt Manufacturing 51451 User manual

Curt Manufacturing

Curt Manufacturing 51451 User manual

Curt Manufacturing 18009 User manual

Curt Manufacturing

Curt Manufacturing 18009 User manual

Curt Manufacturing 58987 User manual

Curt Manufacturing

Curt Manufacturing 58987 User manual

Curt Manufacturing 16320 User manual

Curt Manufacturing

Curt Manufacturing 16320 User manual

Curt Manufacturing 18100 User manual

Curt Manufacturing

Curt Manufacturing 18100 User manual

Curt Manufacturing 4501 User manual

Curt Manufacturing

Curt Manufacturing 4501 User manual

Curt Manufacturing 70112 User manual

Curt Manufacturing

Curt Manufacturing 70112 User manual

Curt Manufacturing 51453 User manual

Curt Manufacturing

Curt Manufacturing 51453 User manual

Curt Manufacturing RockerBall 40047 User manual

Curt Manufacturing

Curt Manufacturing RockerBall 40047 User manual

Curt Manufacturing A25 User manual

Curt Manufacturing

Curt Manufacturing A25 User manual

Curt Manufacturing 56165 User manual

Curt Manufacturing

Curt Manufacturing 56165 User manual

Curt Manufacturing 4516 User manual

Curt Manufacturing

Curt Manufacturing 4516 User manual

Curt Manufacturing 56446 User manual

Curt Manufacturing

Curt Manufacturing 56446 User manual

Curt Manufacturing 11419 User manual

Curt Manufacturing

Curt Manufacturing 11419 User manual

Curt Manufacturing 56218 User manual

Curt Manufacturing

Curt Manufacturing 56218 User manual

Curt Manufacturing 58957 User manual

Curt Manufacturing

Curt Manufacturing 58957 User manual

Curt Manufacturing ECHO User manual

Curt Manufacturing

Curt Manufacturing ECHO User manual

Curt Manufacturing 15809 User manual

Curt Manufacturing

Curt Manufacturing 15809 User manual

Curt Manufacturing 55525 User manual

Curt Manufacturing

Curt Manufacturing 55525 User manual

Popular Automobile Accessories manuals by other brands

Peiker Acustic Bluetouch Music operating manual

Peiker Acustic

Peiker Acustic Bluetouch Music operating manual

Cruz Evo Rack Pro P28-158 Assembly instructions

Cruz

Cruz Evo Rack Pro P28-158 Assembly instructions

Prorack Fitting Kit K722 Fitting Instructions for Basic Carrier

Prorack

Prorack Fitting Kit K722 Fitting Instructions for Basic Carrier

SportRack SR1010 installation guide

SportRack

SportRack SR1010 installation guide

CAR-connect 22103012 operating manual

CAR-connect

CAR-connect 22103012 operating manual

Racelogic Speed & Route Profiler manual

Racelogic

Racelogic Speed & Route Profiler manual

Mopar Sun Bonnet manual

Mopar

Mopar Sun Bonnet manual

FenSens FenSens user manual

FenSens

FenSens FenSens user manual

Arkon GPS-DG9208G3 installation instructions

Arkon

Arkon GPS-DG9208G3 installation instructions

Truma S 3004 P operating instructions

Truma

Truma S 3004 P operating instructions

CTEK SMARTPASS 120 user guide

CTEK

CTEK SMARTPASS 120 user guide

Tuff Tonneaus 325 FITTING INSTRUCTION

Tuff Tonneaus

Tuff Tonneaus 325 FITTING INSTRUCTION

travall TDG 1694 FITTING INSTRUCTION

travall

travall TDG 1694 FITTING INSTRUCTION

1UP USA QUIK RACK SINGLE manual

1UP USA

1UP USA QUIK RACK SINGLE manual

Code 3 Pursuit 25 Series installation manual

Code 3

Code 3 Pursuit 25 Series installation manual

Mont Blanc FK208 Fitting instructions

Mont Blanc

Mont Blanc FK208 Fitting instructions

Harbor Freight Tools 95058 Installation and operation instructions

Harbor Freight Tools

Harbor Freight Tools 95058 Installation and operation instructions

Corbin H-RUNE-BAG manual

Corbin

Corbin H-RUNE-BAG manual

manuals.online logo
manuals.online logoBrands
  • About & Mission
  • Contact us
  • Privacy Policy
  • Terms and Conditions

Copyright 2025 Manuals.Online. All Rights Reserved.