manuals.online logo
Brands
  1. Home
  2. •
  3. Brands
  4. •
  5. CyberData
  6. •
  7. Switch
  8. •
  9. CyberData 11171 Manual

CyberData 11171 Manual

The IP Endpoint Company
Installation Quick Reference
VoIP V3 Zone Controller:
4-Port Audio Out
SIP Compliant
011171
Quick Reference 930445B © 2011 CyberData Corporation ALL RIGHTS RESERVED© 2011 CyberData Corporation ALL RIGHTS RESERVED 930445B Quick Reference
Mounting
Contacting CyberData
Drill Hole Size for Anchor Installation: 3/16" (0.1875")
You have the option to use the following mounting template to mark, and then drill two 3/16" (0.1875”) holes for the
plastic ribbed anchors.
To install and mount the V3 Zone Controller:
1. Install the plastic ribbed anchors in the holes, and position the V3 Zone Controller mounting holes over the
anchors.
2. Use the two #6 x 1 1/2" screws to secure the V3 Zone Controller onto the mounting surface.
Sales: (831) 373-2601 ext. 334
Support: 831-373-2601 ext. 333
Web: http://www.cyberdata.net/support/contactsupportvoip.html
RMA Dept: (831) 373-2601 ext. 136
Email: [email protected]
RMA Status: http://www.cyberdata.net/support/rmastatus.html
Warranty and RMA information is available at the following website:
http://www.cyberdata.net/support/warranty/index.html
Corporate Headquarters
CyberData Corporation
3 Justin Court
Monterey, CA 93940, USA
Phone: 831-373-2601
Fax: 831-373-4193
www.CyberData.net
The VoIP V3 Zone Controller with Audio-Out enables access to existing paging speakers through a VoIP phone system.
The interface is designed to use a standard paging amplifier with audio inputs and supports paging up to 15 zone
groups from a VoIP phone.
Getting Started
• Be sure that you have received all the parts described in the Parts List section.
• Download the VoIP V3 Zone Controller Operations Guide from the following website address:
http://www.cyberdata.net/products/voip/legacyanalog/pagingzonev3/docs.html
Parts List
Product Specifications
Regulatory Compliance FCC Class A, UL 60950, CE
Power Requirement PoE or +48VDC
LAN Speed 10/100 Mbps
Protocol SIP compliant
Part Number 011171
Dimensions 6.11”L x 4.05”W x 1.15” H
Weight 1.2 lbs.
(2) #6 Plastic Ribbed Anchors (2) #6 x 1 1/2" Screws
(1) Mounting Template (see the last page)
(1) Mounting Kit
(1) VoIP Zone Controller - 4-Port Audio Out
© 2011 CyberData Corporation ALL RIGHTS RESERVED 930445B Quick Reference Quick Reference 930445B © 2011 CyberData Corporation ALL RIGHTS RESERVED
Verifying Operations and Settings
To restore the V3 Zone Controller’s factory default
settings:
1. Use a paper clip to press and hold the RTFM
switch while all of the indicator LEDs turn off.
See the picture on the right.
2. Continue to press the RTFM switch until after
the indicator LEDs turn back on.
3. Release the RTFM switch. All of the V3 Zone
Controller settings will be restored to the
factory default settings.
4. The unit reboots.
Front View with LEDs
Back View with RTFM Switch
Status
(GREEN LED)
Power Status
(BLUE LED)
Link
(YELLOW LED)
Activity
(GREEN LED)
The round, BLUE Power Status LED on the front of the V3 Zone Controller comes on indicating that the
power is on.
The square, YELLOW Link LED above the Ethernet port indicates that the network connection has been
established. The Link LED changes color to confirm the auto-negotiated connection speed:
•ThisLEDisYELLOW at 10 Mbps.
•ThisLEDisORANGE at 100 Mbps.
The GREEN Status LED comes on after the device is booted and initialized. This LED blinks when a page
is in progress.
The square, GREEN Activity LED blinks when there is network activity.
Paper clip RTFM switch
Typical Zone Controller Setup Using the V3 Zone Controller
Setting Up the VoIP V3 Zone Controller
Generic PoE Switch
12 34 56
IP Phone
IP PBX Server
VoIP V3 Zone Controller 4-Port Audio Out
Analog Amplifiers Paging Speakers
Non PoE (with 48 VDC power supply)
Chassis Ground
Chassis Ground
PoE
To set up the V3 Zone Controller, connect the
device to your network:
Poe
•ForPoE, plug one end of an 802.3af Ethernet
cable into the V3 Zone Controller Ethernet
port. Plug the other end of the Ethernet cable
into your network. See the figure on the left.
Non-Poe
•ForNon-PoE, connect the V3 Zone Controller
to a 48VDC power supply. See the figure on
the left.
Chassis Ground
• If required, connect the earth grounding wire
to the Chassis Ground. See the figure on the
left.
48VDC

Other manuals for 11171

2

Other CyberData Switch manuals

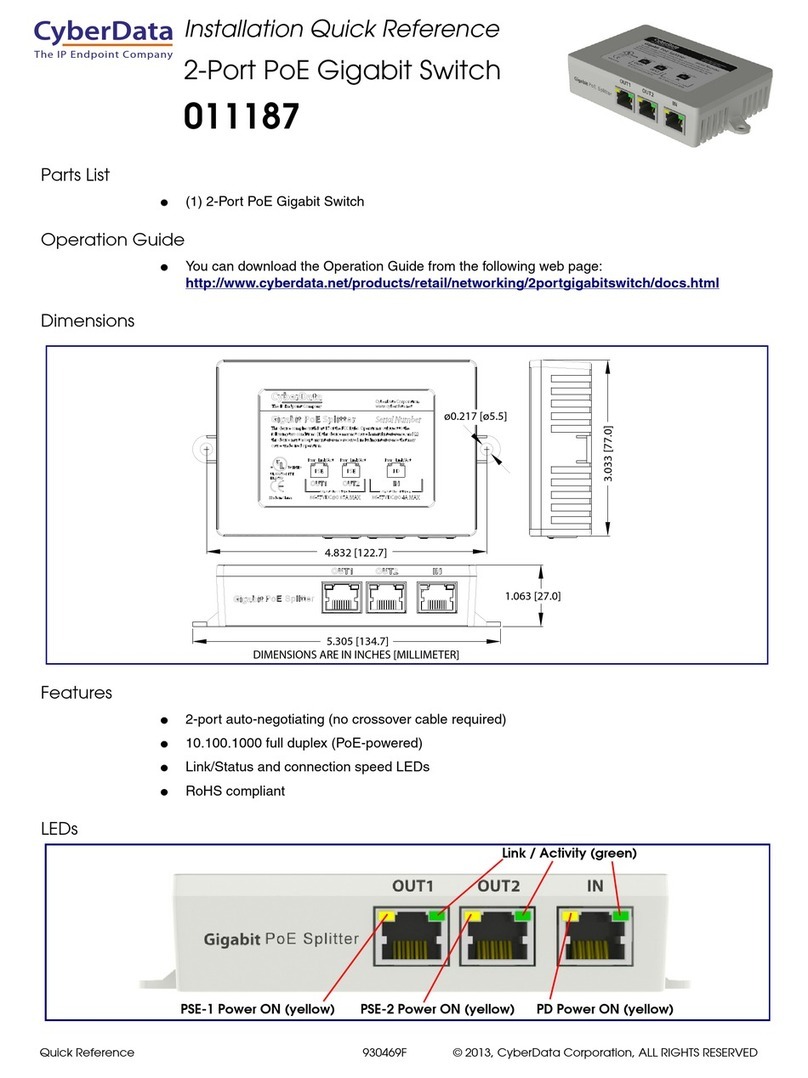
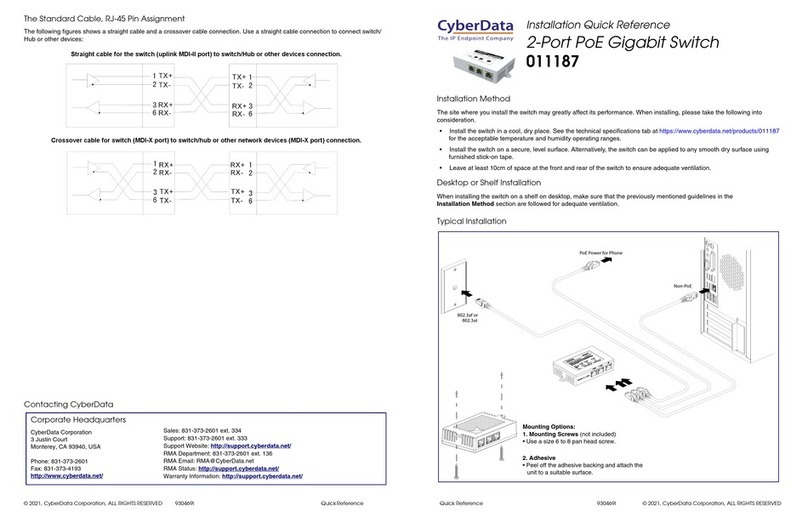
CyberData 11187 Manual

CyberData

CyberData 11187 Manual

CyberData 011236 Manual

CyberData

CyberData 011236 Manual

CyberData KS-1000 User manual

CyberData

CyberData KS-1000 User manual

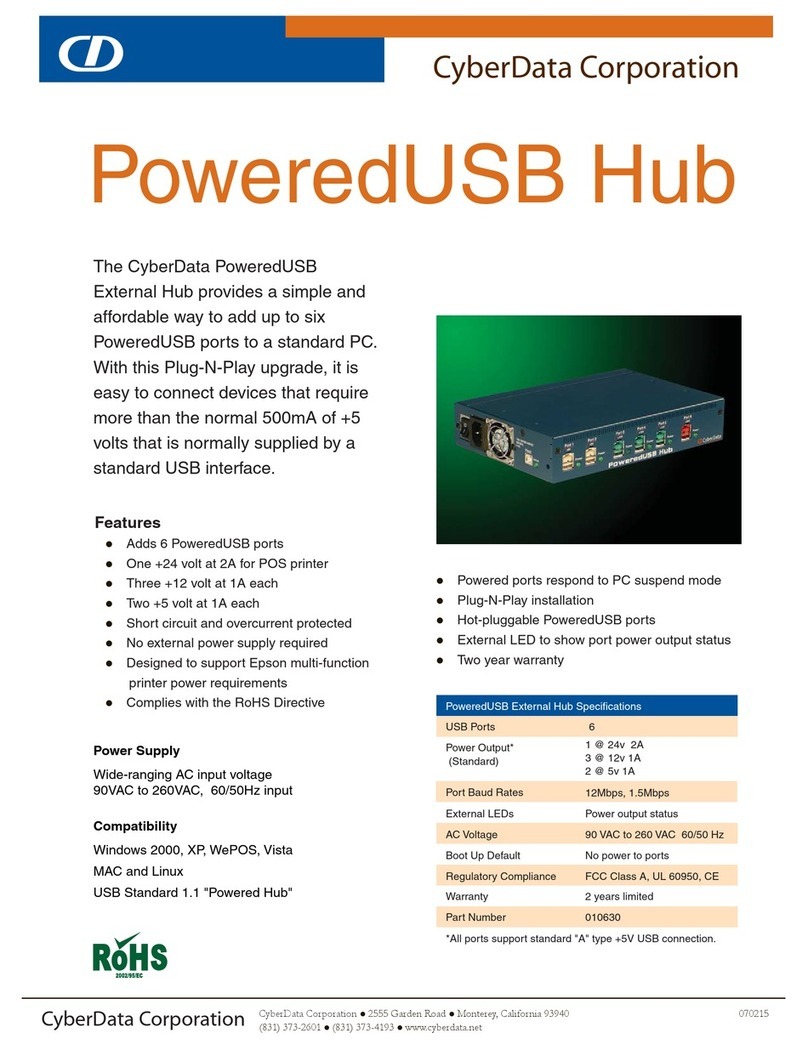
CyberData 10630 User manual

CyberData

CyberData 10630 User manual

CyberData 11187 User manual

CyberData

CyberData 11187 User manual

CyberData 011539 Manual

CyberData

CyberData 011539 Manual

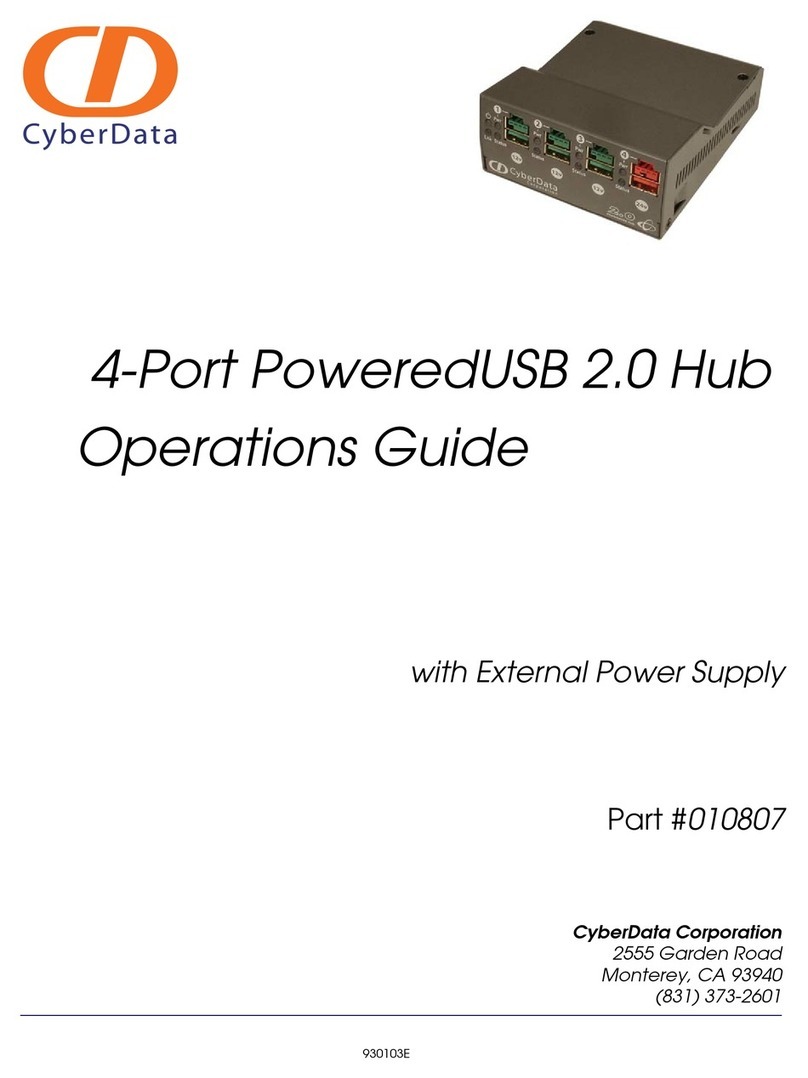
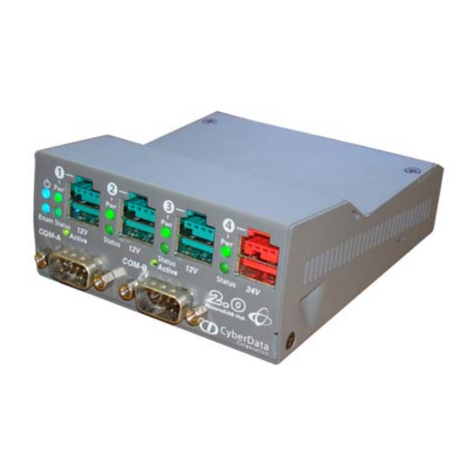
CyberData 10807 User manual

CyberData

CyberData 10807 User manual
CyberData 10807 User manual

CyberData

CyberData 10807 User manual

CyberData 11006 User manual

CyberData

CyberData 11006 User manual

CyberData 011187 Manual

CyberData

CyberData 011187 Manual

CyberData 10630 User manual

CyberData

CyberData 10630 User manual
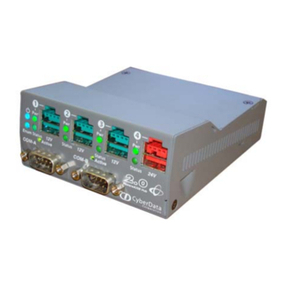
CyberData VoIP Zone Controller Manual

CyberData

CyberData VoIP Zone Controller Manual

CyberData 011539 Manual

CyberData

CyberData 011539 Manual

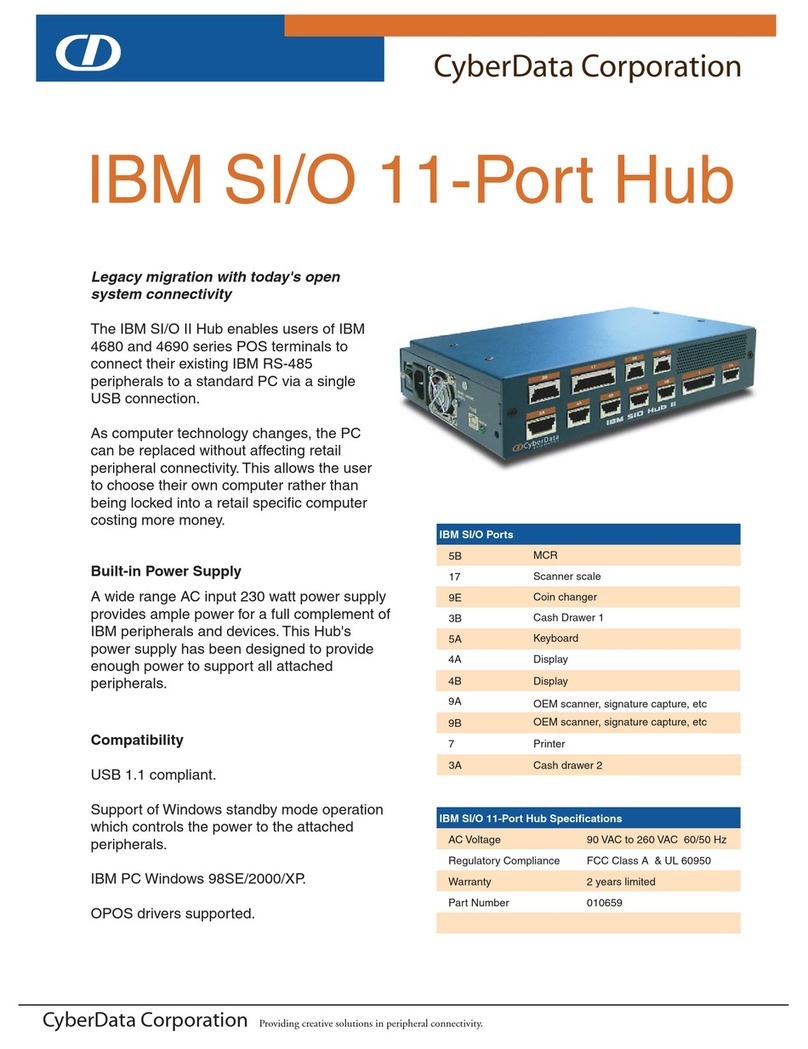
CyberData IBM SI/O User manual

CyberData

CyberData IBM SI/O User manual

CyberData 10845 User manual

CyberData

CyberData 10845 User manual

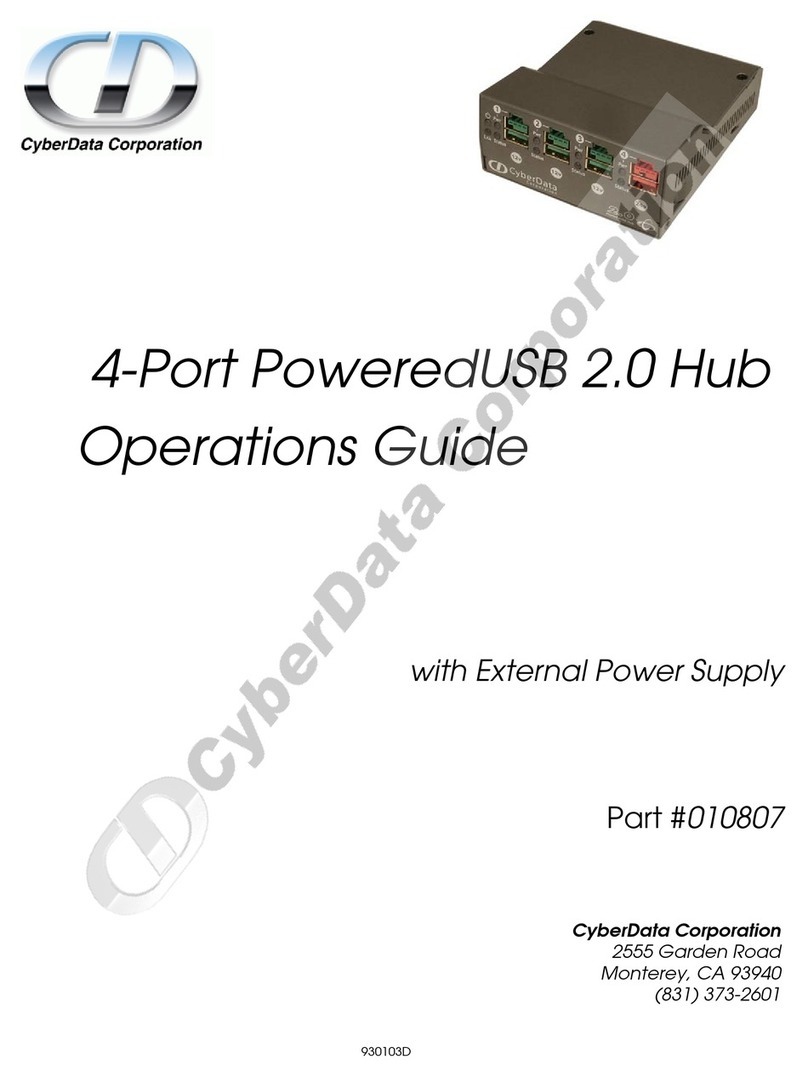
CyberData 4-Port PoweredUSB 2.0 Hub User manual

CyberData

CyberData 4-Port PoweredUSB 2.0 Hub User manual

CyberData 11187 Manual

CyberData

CyberData 11187 Manual

CyberData 011508 Manual

CyberData

CyberData 011508 Manual

CyberData 011528 Manual

CyberData

CyberData 011528 Manual

CyberData 4-Port Powered USB 2.0 Hub 010845 User manual

CyberData

CyberData 4-Port Powered USB 2.0 Hub 010845 User manual

CyberData 10807 User manual

CyberData

CyberData 10807 User manual

CyberData Hub User manual

CyberData

CyberData Hub User manual

CyberData 011539 Manual

CyberData

CyberData 011539 Manual

CyberData External Hub User manual

CyberData

CyberData External Hub User manual
Popular Switch manuals by other brands

Alcatel-Lucent 1830 PSS-16 Maintenance and trouble-clearing user guide

Alcatel-Lucent

Alcatel-Lucent 1830 PSS-16 Maintenance and trouble-clearing user guide

Renesas M30620TL-RPD-E user manual

Renesas

Renesas M30620TL-RPD-E user manual

Intermatic R8815P101C supplementary guide

Intermatic

Intermatic R8815P101C supplementary guide

Weidmuller IE-SW-BL05T-5TX Hardware installation guide

Weidmuller

Weidmuller IE-SW-BL05T-5TX Hardware installation guide

Edge-Core ECS4810-12M installation guide

Edge-Core

Edge-Core ECS4810-12M installation guide

Grizzly G8291 instructions

Grizzly

Grizzly G8291 instructions

HP FlexFabric 7904 Product End-of-Life Disassembly Instructions

HP

HP FlexFabric 7904 Product End-of-Life Disassembly Instructions

Harman Kardon ABH 4000 owner's manual

Harman Kardon

Harman Kardon ABH 4000 owner's manual

Three NR5103e user guide

Three

Three NR5103e user guide

BOSSCO ES-8 owner's manual

BOSSCO

BOSSCO ES-8 owner's manual

trafag 8864 instructions

trafag

trafag 8864 instructions

Profile 010200153 manual

Profile

Profile 010200153 manual

Honeywell XP-4051 installation instructions

Honeywell

Honeywell XP-4051 installation instructions

Cisco 2900 - Catalyst Expansion Module Mounting instructions

Cisco

Cisco 2900 - Catalyst Expansion Module Mounting instructions

Asus GX-D1241 quick start guide

Asus

Asus GX-D1241 quick start guide

HP Enterprise OfficeConnect 1405 v3 Series Quick setup guide

HP

HP Enterprise OfficeConnect 1405 v3 Series Quick setup guide

Renesas mPD98410 user manual

Renesas

Renesas mPD98410 user manual

Honeywell CENTRAL HUB user manual

Honeywell

Honeywell CENTRAL HUB user manual

manuals.online logo
manuals.online logoBrands
  • About & Mission
  • Contact us
  • Privacy Policy
  • Terms and Conditions

Copyright 2025 Manuals.Online. All Rights Reserved.