D-Link DAP-1610 User manual
Other D-Link Extender manuals

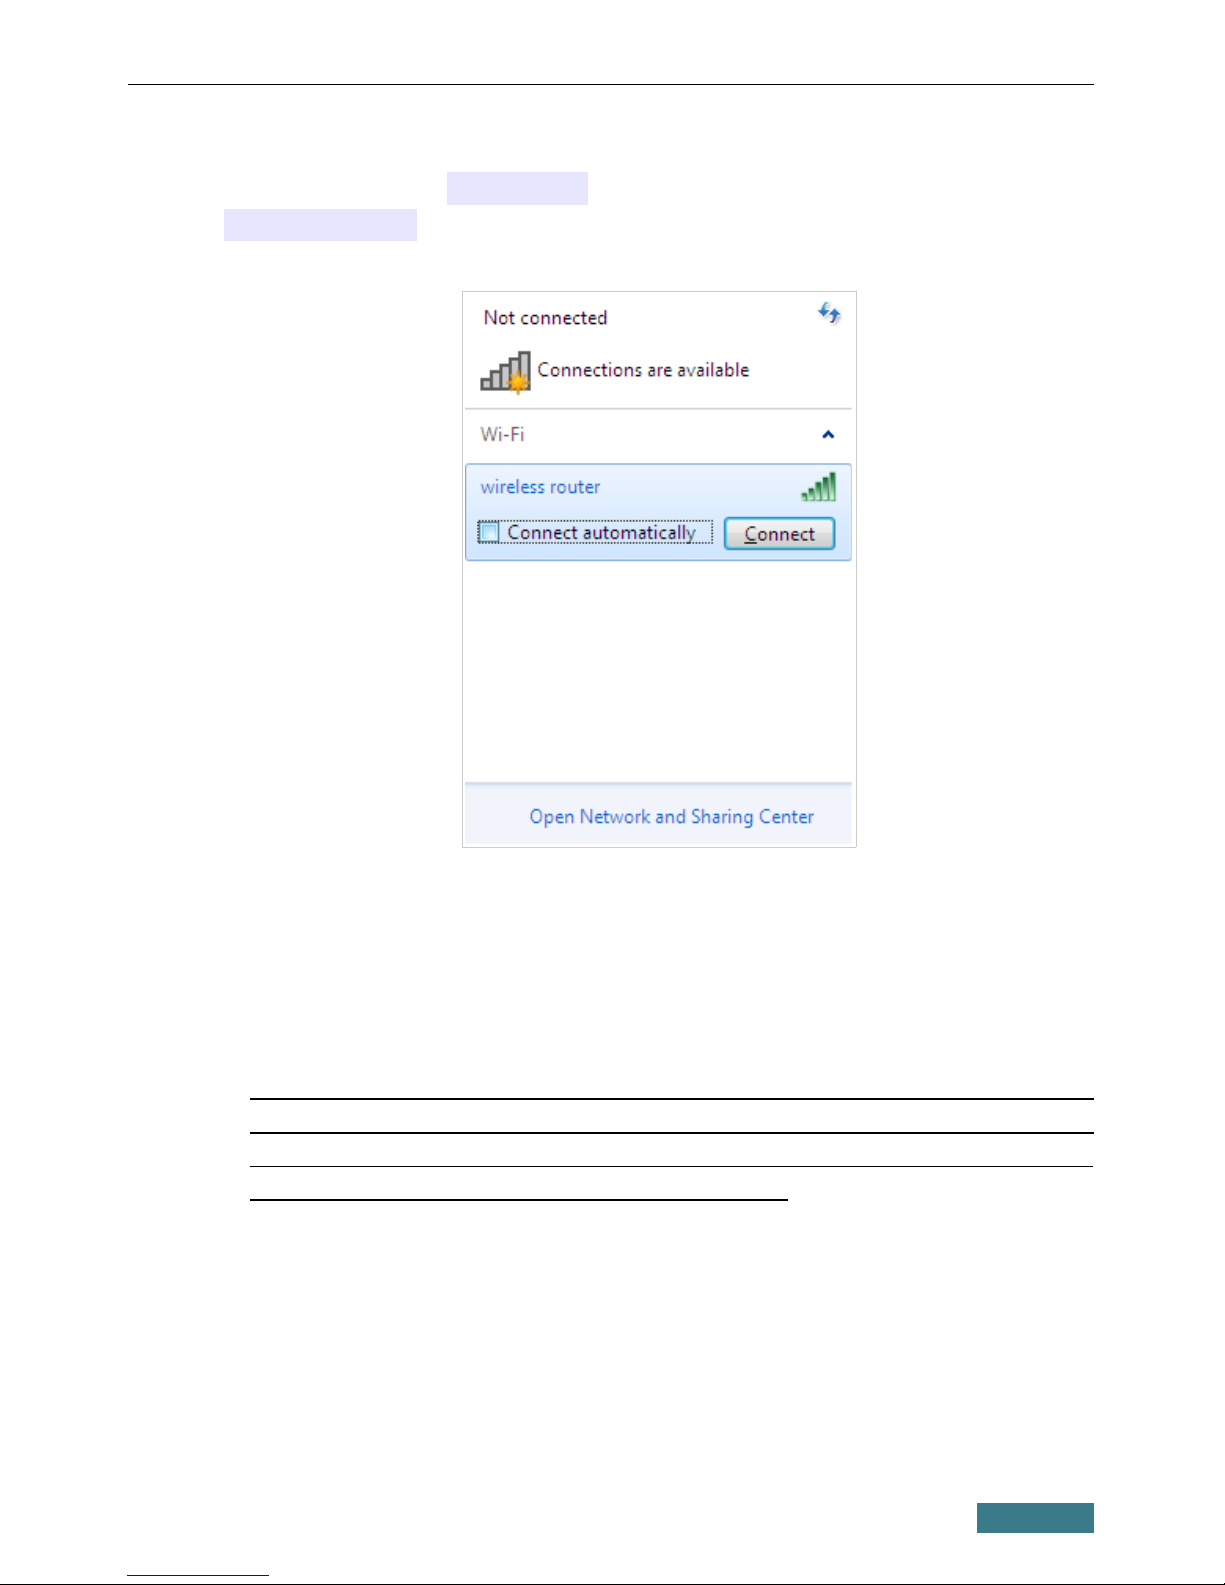
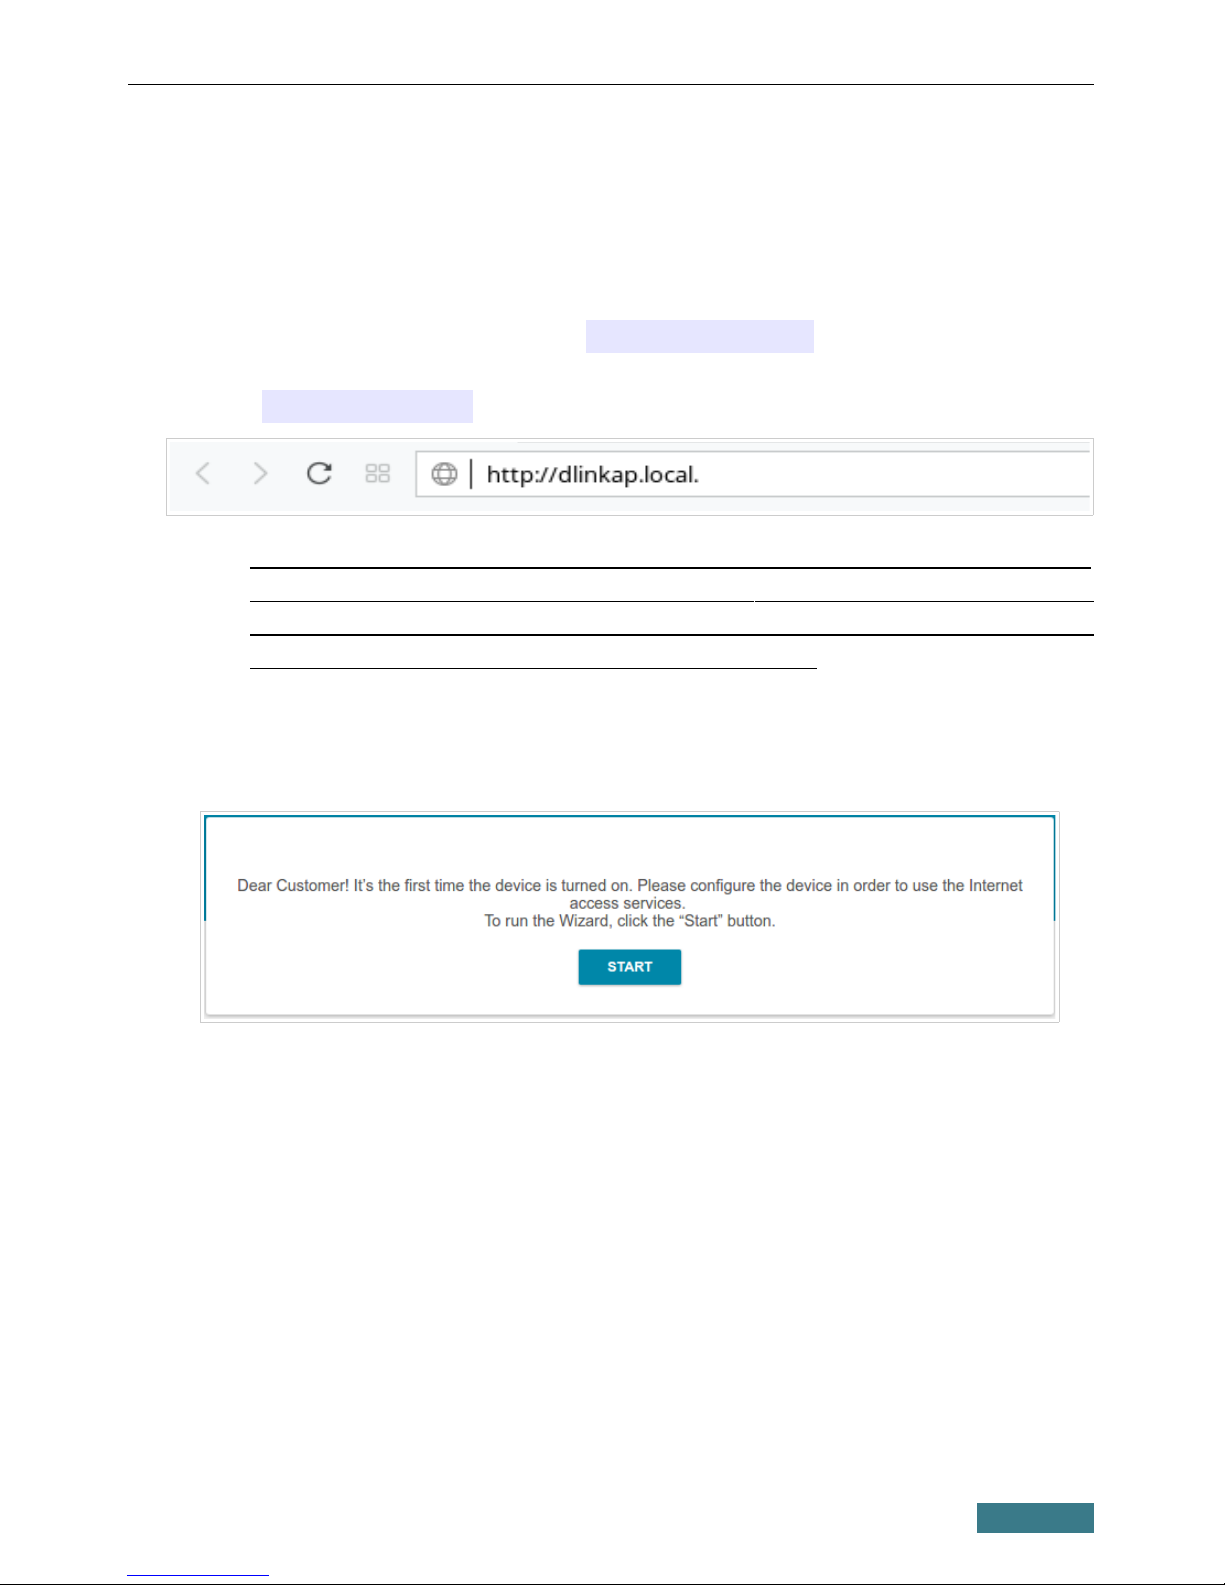
D-Link
D-Link DAP-1520 User manual

D-Link
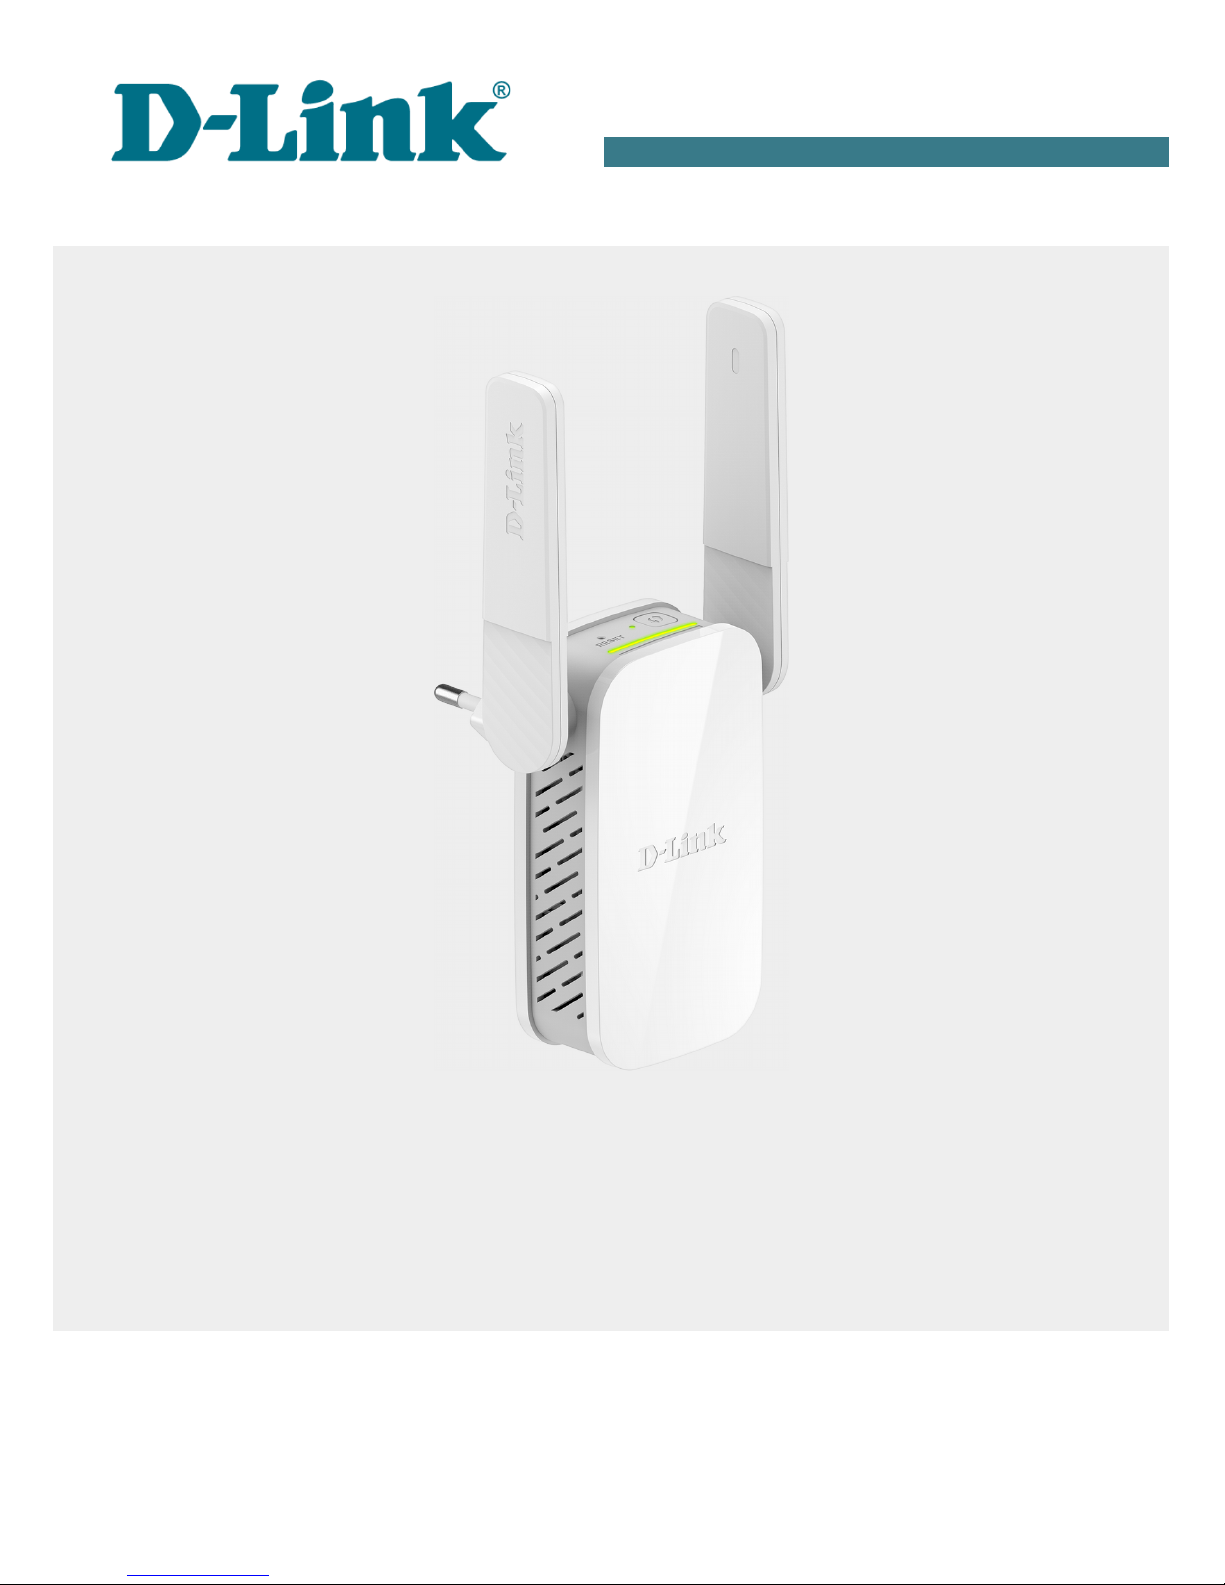
D-Link AMPLIFI DAP-1525 User manual

D-Link
D-Link DAP-1530 User manual

D-Link
D-Link DAP-1325-US User manual

D-Link
D-Link DCH-M225 User manual

D-Link
D-Link Eagle Pro AI AX1500 E15 User manual

D-Link
D-Link DIR-505 Manual

D-Link
D-Link DAP-1320 Manual

D-Link
D-Link DAP-1325 User manual

D-Link
D-Link DAP-1320 User manual

D-Link
D-Link DAP-1720 User manual

D-Link
D-Link DHP-701AV User manual

D-Link
D-Link DAP-1755 User manual

D-Link
D-Link DAP-1530 User manual

D-Link
D-Link DAP-1620 User manual

D-Link
D-Link DAP-1820 User manual

D-Link
D-Link DAP-1620B1 User manual

D-Link
D-Link DMG-112A User manual

D-Link
D-Link DAP-1650 User manual

D-Link
D-Link DAP-X1870 User manual


Popular Extender manuals by other brands


foxunhd
foxunhd SX-AEX01 operating instructions

TERK Technologies
TERK Technologies LFIRX2 owner's manual

Devolo
Devolo Audio Extender supplementary guide

Edimax
Edimax EW-7438RPn V2 instructions

Shinybow USA
Shinybow USA SB-6335T5 instruction manual

SECO-LARM
SECO-LARM ENFORCER EVT-PB1-V1TGQ installation manual