manuals.online logo
Brands
  1. Home
  2. •
  3. Brands
  4. •
  5. D-Link
  6. •
  7. Network Hardware
  8. •
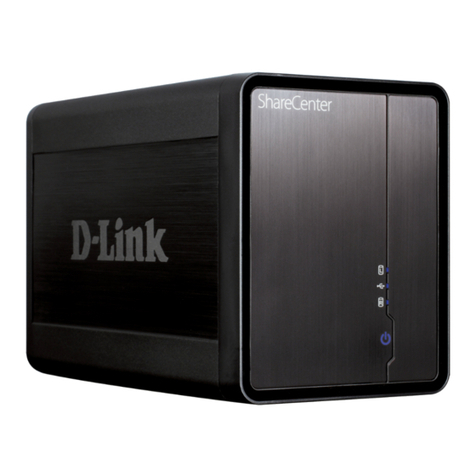
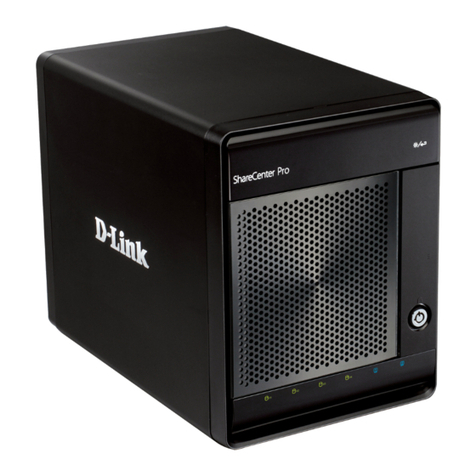
  9. D-Link DNR-2060-08P User manual

D-Link DNR-2060-08P User manual

Other manuals for DNR-2060-08P

2

Other D-Link Network Hardware manuals

D-Link ShareCenter Quattro DNS-345 User manual

D-Link

D-Link ShareCenter Quattro DNS-345 User manual

D-Link MYDLINK DNR-322L User manual

D-Link

D-Link MYDLINK DNR-322L User manual

D-Link ShareCenterTM + DNS-340L User manual

D-Link

D-Link ShareCenterTM + DNS-340L User manual

D-Link DGS-1024TG How to use

D-Link

D-Link DGS-1024TG How to use

D-Link DNS-1200-5 User manual

D-Link

D-Link DNS-1200-5 User manual

D-Link xStack Storage DSN-4000 Series User manual

D-Link

D-Link xStack Storage DSN-4000 Series User manual

D-Link DNR-326 User manual

D-Link

D-Link DNR-326 User manual

D-Link DIR-505 User manual

D-Link

D-Link DIR-505 User manual

D-Link ShareCenter Quattro DNS-345 User manual

D-Link

D-Link ShareCenter Quattro DNS-345 User manual

D-Link ShareCenter Quattro DNS-345 User manual

D-Link

D-Link ShareCenter Quattro DNS-345 User manual

D-Link xStack Storage DSN-2000 Series User manual

D-Link

D-Link xStack Storage DSN-2000 Series User manual

D-Link DNS-313 User manual

D-Link

D-Link DNS-313 User manual

D-Link Express EtherNetwork DI-604 User manual

D-Link

D-Link Express EtherNetwork DI-604 User manual

D-Link DAP-3711 User manual

D-Link

D-Link DAP-3711 User manual

D-Link DAS-3 Series User manual

D-Link

D-Link DAS-3 Series User manual

D-Link DHP-W311AV User manual

D-Link

D-Link DHP-W311AV User manual

D-Link ShareCenter Shadow DNS-325 User manual

D-Link

D-Link ShareCenter Shadow DNS-325 User manual

D-Link DNS-313 User manual

D-Link

D-Link DNS-313 User manual

D-Link DWL-2700AP - AirPremier Outdoor Wireless Access... User manual

D-Link

D-Link DWL-2700AP - AirPremier Outdoor Wireless Access... User manual

D-Link DXS-3610-54S User manual

D-Link

D-Link DXS-3610-54S User manual

D-Link ShareCenter DNS-320L User manual

D-Link

D-Link ShareCenter DNS-320L User manual

D-Link ShareCenter Pulse DNS-320 User manual

D-Link

D-Link ShareCenter Pulse DNS-320 User manual

D-Link DNR-2060-08P User manual

D-Link

D-Link DNR-2060-08P User manual

D-Link GO-PLK-200 User manual

D-Link

D-Link GO-PLK-200 User manual

Popular Network Hardware manuals by other brands

socomec SNMP Card II quick start guide

socomec

socomec SNMP Card II quick start guide

NVR SYSTEMS 4-CH user manual

NVR SYSTEMS

NVR SYSTEMS 4-CH user manual

Draytek VigorSwitch G1240 quick start guide

Draytek

Draytek VigorSwitch G1240 quick start guide

Westermo TD-34 LV installation manual

Westermo

Westermo TD-34 LV installation manual

LaCie Network Space MAX Quick install guide

LaCie

LaCie Network Space MAX Quick install guide

ZoneVu ZSI-450-IP Installation guide & user manual

ZoneVu

ZoneVu ZSI-450-IP Installation guide & user manual

QNAP Turbo NAS Application notes

QNAP

QNAP Turbo NAS Application notes

OpenEye MV Series quick start guide

OpenEye

OpenEye MV Series quick start guide

Huawei SmartAX MT880a quick start guide

Huawei

Huawei SmartAX MT880a quick start guide

Proxim Tsunami QuickBridge 2454-R installation guide

Proxim

Proxim Tsunami QuickBridge 2454-R installation guide

Bay Networks CLAM quick start guide

Bay Networks

Bay Networks CLAM quick start guide

Innodisk SATADOM-SH 3SE Series manual

Innodisk

Innodisk SATADOM-SH 3SE Series manual

Cisco CGR 1000 Series Getting connected guide

Cisco

Cisco CGR 1000 Series Getting connected guide

Matrix Switch Corporation MSC-HD161DEL product manual

Matrix Switch Corporation

Matrix Switch Corporation MSC-HD161DEL product manual

National Instruments NI 653x user manual

National Instruments

National Instruments NI 653x user manual

B&B Electronics ZXT9-IO-222R2 product manual

B&B Electronics

B&B Electronics ZXT9-IO-222R2 product manual

Yudor YDS-16 user manual

Yudor

Yudor YDS-16 user manual

Samsung ES1642dc Hardware user manual

Samsung

Samsung ES1642dc Hardware user manual

manuals.online logo
manuals.online logoBrands
  • About & Mission
  • Contact us
  • Privacy Policy
  • Terms and Conditions

Copyright 2025 Manuals.Online. All Rights Reserved.

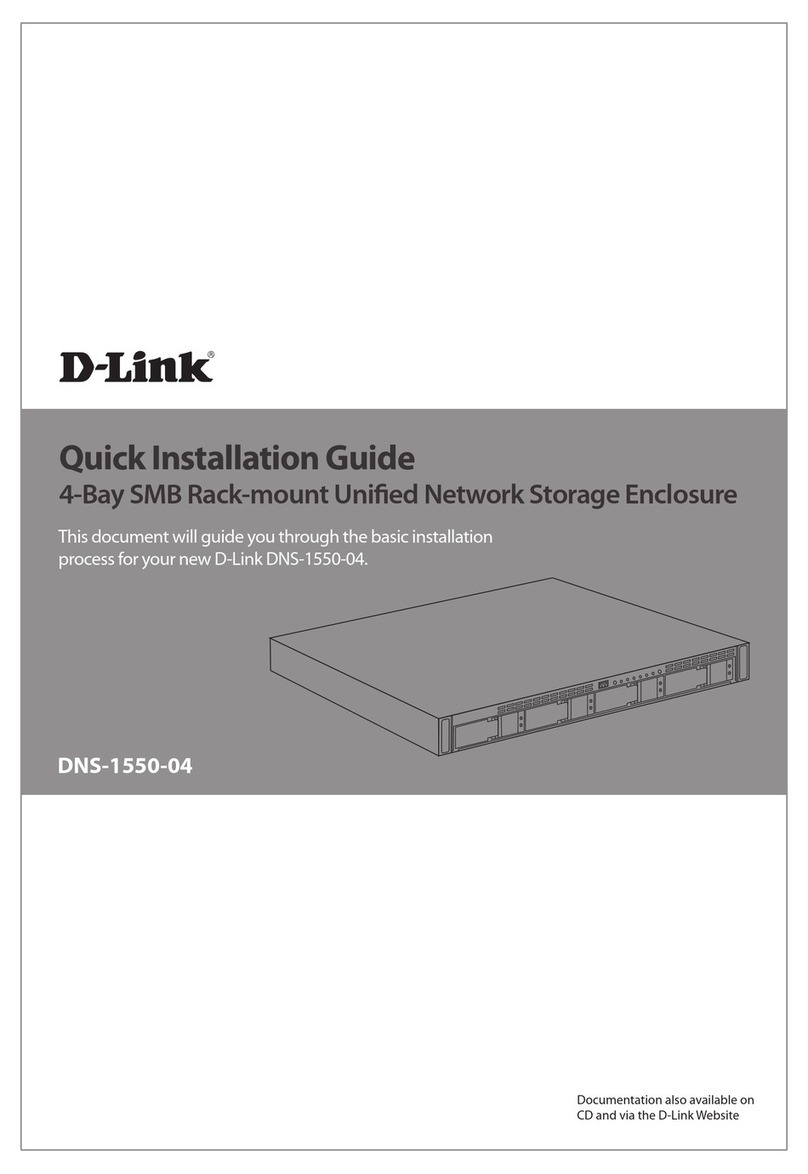
Documentation also available on
CD and via the D-Link Website
Building Networks for People
This document will guide you through the
basic installation process for your new
D-Link Network Video Recorder.
DNR-2060-08P
Quick Installation Guide
6-Bay Network Video Recorder
All manuals and user guides at all-guides.com
all-guides.com
2  D-Link 6-Bay Network Video Recoder
ENGLISH
About This Guide
This guide provides step by step instructions
for setting up your D-Link DNR-2060-08P 6-Bay
Network Video Recorder. Please note that the
model you have purchased may appear slightly
different from those shown in the illustrations.
The DNR-2060-08P is a reliable network camera
surveillance recorder for home and business.
The DNR-2060-08P provides a range of display,
storage, and management functions for users to
easily manage their surveillance system.
Package content
Inspect the packaging carton, then make sure
the DNR-2060-08P has been properly delivered.
Remove all items from the box and make sure the
box contains the following items.
- DNR-2060-08P 6-Bay Network Video Recorder
- Six SATA Cables
- Remote Control
- Power Cord
- Mounting Kit
- Software CD
- Quick Installation Guide
- Two Batteries for Remote Control
- 24 Screws
Item LED
Indicative
Color Status Description
A Network
LED Red Solid Light NVR is connected to
a network.
Blinking Data is being
transferred.
Off No connection to a
network.
B REC LED Red Blinking The LED blinks while
the NVR is recording
Off No recording.
C Alarm LED Red Solid Light Alarm is being
triggered.
Off No alarm triggered.
Table 1. Front Panel LED Descriptions
Front Panel - DNR-2060-08P
Hardware Overview
Front panel LEDs
Figure 1. DNR-2060-08P Front Panel
POWER
1 2 3 4 5 6 7 8
COPY DOME
ESC ENTER
SEQ
REC
FREEZE MODE MODE SEARCH MENU
PLAY/STEP
REW FF
PLAY
STOP
C: Alarm A: Network B: REC
All manuals and user guides at all-guides.com
D-Link 6-Bay Network Video Recoder  3
ENGLISH
1 USB connector
The USB 2.0 ports allow users to
connect an external USB device to
the unit, such as a USB ThumbDrive®
or a USB mouse.
2 Power Press this switch to power on the
NVR. The LED will light up.
3
Copy This button is also used for marking
time in quick video export function.
Dome Press this button to enter Dome
Camera Control mode.
Seq Press this button to start automatic
sequence display of cameras.
Freeze Press this button to freeze the current
viewing screen.
Play Press once to start the playback of
recorded video. Press again to exit.
Mode Press this button to view in full-screen
or multiple window modes.
Search Press this button to search recorded
video by date/time or event.
Menu Press this button to enter the OSD
setup menu.
4Channel Select
Button: 1-8
In Live and Playback modes, press
any button to view the corresponding
video in fullscreen.
5 Direction Button
1. In Zoom mode, these buttons
function as normal direction
buttons.
2. In the OSD setup menu, the
direction buttons are used to move
the cursor to previous or next elds.
To change the value in the selected
eld, press UP/DOWN buttons.
6 Shuttle/Jog This is used to control playback
operations.
7 Esc Button Press this button to cancel or exit from
a control mode.
8 Enter Button
1. In OSD menu or selection interface,
press this button to make the
selection or save settings.
2. In live full-screen viewing mode,
press this button to view 2× zoom;
press it again to return to normal.
1LED
Indication
Each IP camera has two
corresponding LEDs:
1. The lit orange LED signies that the
IP camera is connected and power
is supplied via PoE. When the LED
is off, either the power is separately
connected or the IP camera is not
connected.
2. The blinking green LEDs represent
data being transmitted from the IP
cameras to the NVR. When the
LED is not on, that means the IP
camera is not connected.
2 PoE Ports
The optional PoE ports offer direct
connections to four IP cameras. The
IP cameras can be “plug and play”
if the function is enabled in the OSD
menu.
3 Power Jack
Connect the power supply cord
shipped with the NVR. The use of
other power supply cords may cause
overloading.
4Main Monitor
Audio Out
A RCA connector is provided to
output audio associated with the main
monitor.
5
Main Monitor
(Digital
Output)
A digital output connector is provided
for connection to a displaying device
that transfers data digitally to show
the best video quality.
6Main Monitor
(VGA)
A VGA output connector is offered for
connecting to a VGA monitor.
7Alarm I/O &
RS-485
The NVR provides alarm I/O and
RS-485 ports that offer users the
exibility required to connect the
unit to other devices.
8
LAN
10/100/1000M
(RJ-45)
The NVR is capable of networking
and it allows videos to be viewed
over the LAN network or the Internet
by using Internet Explorer.
9 e-SATA Port Users can connect an e-SATA storage
device via this port.
10 USB 2.0 Port
The USB 2.0 port located on the rear
panel is for users to connect external
USB devices to the unit, such as
ThumbDrive® or a USB mouse.
Table 2. Front Panel Descriptions Table 3. Rear Panel Descriptions
Front panel I/O Rear panel I/O
Figure 2. DNR-2060-08P Front Panel Figure 3. DNR-2060-08P Rear Panel
1 4 7 8 6
5
32 1
4 7 8 9 1065
32
All manuals and user guides at all-guides.com
4  D-Link 6-Bay Network Video Recoder
ENGLISH
Operation
Getting Started
1. Make sure the NVR is connected to a network
via a router or a switch, or directly connected
to a PC. Please plug the cameras into the
NVR`s PoE ports.
2. The NVR will boot up, then start to record
automatically.when the NVR starts recording
automatically, the blue REC LED located on
the front panel will begin flashing continuously.
3. The NVR Search Tool is located on the
Software CD provided inside the box. After
finished with the installation of NVR Search
Tool on your machine, this tool can be used to
search the cameras connected with the NVR.
4. The NVR search tool can help you look for the
NVR and get related information. For more
detailed configuration instructions, please refer
to the user manual on the CD-ROM.
Power On
Connect the power adapter. Switch the NVR on
and ensure the power LED on the front of the unit
is lit.
Figure 4. DNR-2060-08P NVR Search Utility
Installation and Connection
Hard Drive Installation
1. Use a screwdriver to remove the screws from
the sides and top of the NVR, then gently lift
the cover.
2. There are two 3-bay hard drive racks inside.
Choose which rack you would like to install
your hard drive in, then slide the hard drive
into the rack bay.
3. Install a HDD in the NVR by connecting via the
included SATA cable.
4. Secure the hard drive in place by installing the
screws in the two round holes along the center
of the sides.
All manuals and user guides at all-guides.com