manuals.online logo
Brands
  1. Home
  2. •
  3. Brands
  4. •
  5. Daikin
  6. •
  7. Controllers
  8. •
  9. Daikin KBRCS01A Instruction manual

Daikin KBRCS01A Instruction manual

QUICK START MANUAL
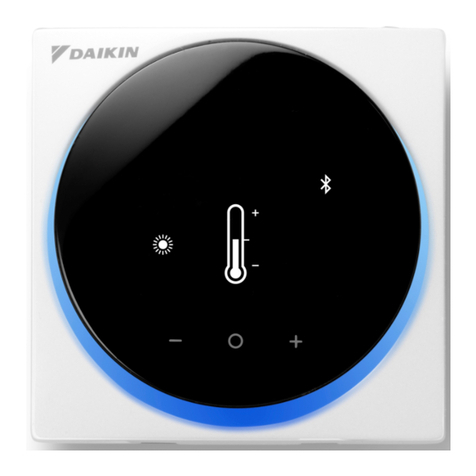
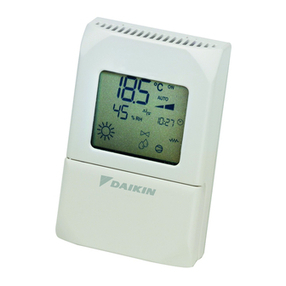
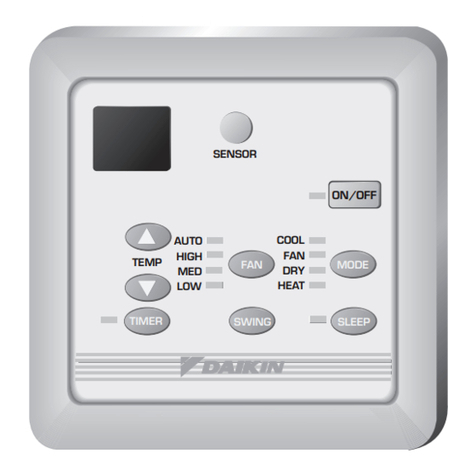
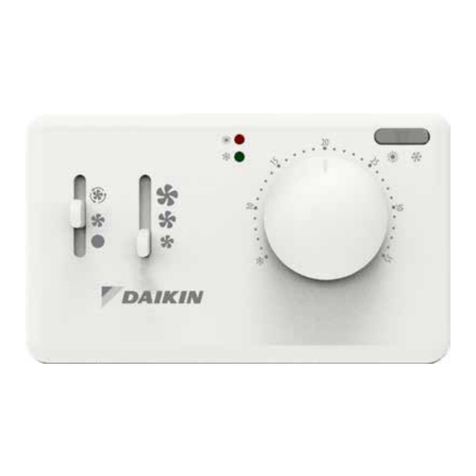
Easy Wall Controller (EWC) KBRCS01A
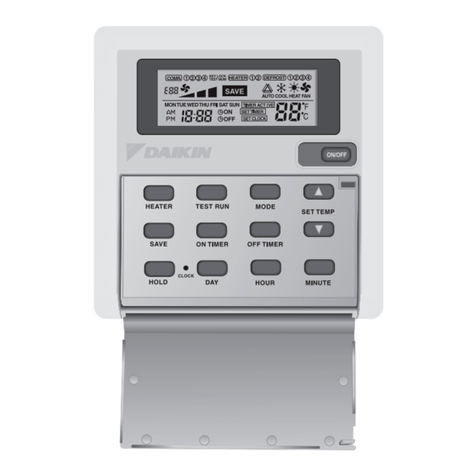
Easy Wall Controller (EWC) prov des:
-Room temperature measuring
-LOCAL / REMOTE control mode
-I, II, III, AUTO fan modes
-A/C system witch ON/OFF
-Turning the dial for temperature variation
Common features:
-Wall mounted Easy Wall Controller powered from Online Controller
-Modbus communication protocol
( ee Figure 3 – pin-out assignment)
Mount ng:
-wall mounting in dry internal environment
-approximately 1.5 m above the floor in a place with good air circulation
-do not mount where it can be affected by a draught, sunshine, heating devices or other factors
Installat on:
This device may be installed only by an authorised person for the installation and service of Daikin A/C units. Please
follow the safety instructions in the A/C unit manual.
1. Turn OFF the Online Controller - unplug Online
Controller system cable or turn the A/C isolator OFF
(NOT only ON/OFF button on A/C front panel).
2. Remove EWC front panel by pressing the two pawls
on bottom or top side (e.g. by screwdriver). ee
Figure 2.
3. Mount back panel on the selected place on the wall.
4. Connect Online Controller and EWC via the cable.
Look at Figure 3 for pin-out assignment.
5. Then turn ON the Online Controller - connect Online
Controller system cable or turn the A/C isolator ON.
6. et the communication parameters (Parity, Address, Communications rate, R 485 Line Termination) of EWC via
configuration jumpers (Figures 4 and 5).
Par ty must be set to Even.
Procedure:
a) Take out jumpers from JP1 to JP8 (LEDs are flickering irregularly under power supply)
b) Place jumper on position JP1 (Even parity)
c) Place jumper on position JP8 for confirm
Even parity (LEDs switch OFF)
Address has to be set from 0 to 63. The weight of individual
jumpers (IJ) for addressing and communication rate settings is
listed on Figure 5. Procedure:
a) Place jumper on the position JP4 for the address 8.
Commun cat on rate must be set to 38400 bps.
Procedure:
a) The jumper on position JP8 must be closed and
jumper JP7 must be open – remove it.
RS485 l ne Term nat on. Procedure:
a) Keep the jumpers J10 and J11 unconnected on the intermediate station or connect them on the end
station. ee Figure 6.
7. Open ETUP menu of Online Controller (via
web browser, for detailed instruction, please
read the Quick tart manual of the Online
Controller). At Modbus devices setup page
(Figure 7) choose EWC35 from Wall
controller selection box and insert Modbus
address 8. Confirm your selection with the
et button.
Figure
1
Figure
2
Figure
4
Figure
7
Figure
5
Figure
6
Figure
3
8. Check the connectivity status; if connection is established, the 'OK' will be displayed with a green background (see
Figure 7).
Setpo nt range of Easy Wall Controller
The Online Controller enables you to set the temperature range for the adjustable dial of the EWC. On Figure 8, there is
the ETUP menu of the Online Controller – Wall Controller settings page. Here you can set the required MIN and MAX
values for each operating mode.
Example:
Heating – max = 30
Heating – min = 10
Average value = 0,5 * (30+10) = 20
Calculat on of d splayed temperature value
ETUP menu - the Temperature screen enables you to set and define a value
which will be displayed in the main control module (Figure 9). In case of using and
selecting more sensors, the displayed value will be their arithmetic average.
The selection is done by checking the appropriate selection boxes (Figure. 10).
Note: Temperature sensor 1 (2) can be selected either for calculating room (indoor) temperature or ambient (outdoor)
temperature.
CONTINEO, s.r.o. and COLTBURG, s.r.o. declare that the product KBRCS01 is in identity
with requirement and other clauses of directive 1999/5/EC.
Directive 2002/96/EC WEEE is a EU legislative standard, which the main purpose is, as a first priority, the
prevention of waste electrical and electronic equipment (WEEE), and in addition, the reuse, recycling and
other forms of recovery of such wastes so as to reduce the disposal of waste. Do not put this product into
common household waste. Return it to an appropriate centre for electric and electronic waste.
Figure
8
Figure
1
0
Figure
9

Other Daikin Controllers manuals

Daikin Altherma EKWHCTRL1 Guide

Daikin

Daikin Altherma EKWHCTRL1 Guide

Daikin BRC1H61W User manual

Daikin

Daikin BRC1H61W User manual

Daikin MicroTech III Manual

Daikin

Daikin MicroTech III Manual

Daikin ECFWMB6 User manual

Daikin

Daikin ECFWMB6 User manual

Daikin homecontrols EKRSIBDI1V3 User manual

Daikin

Daikin homecontrols EKRSIBDI1V3 User manual

Daikin EKRP1C14 User manual

Daikin

Daikin EKRP1C14 User manual

Daikin BRC7C64W User manual

Daikin

Daikin BRC7C64W User manual

Daikin FTXB50C User manual

Daikin

Daikin FTXB50C User manual

Daikin DPS Manual

Daikin

Daikin DPS Manual

Daikin BRC1H61W User manual

Daikin

Daikin BRC1H61W User manual

Daikin System Manager Operating and maintenance instructions

Daikin

Daikin System Manager Operating and maintenance instructions

Daikin RoCon+ HP Series User manual

Daikin

Daikin RoCon+ HP Series User manual

Daikin RoCon+ HP User manual

Daikin

Daikin RoCon+ HP User manual

Daikin DCS601B51 User manual

Daikin

Daikin DCS601B51 User manual

Daikin MicroTech II Manual

Daikin

Daikin MicroTech II Manual

Daikin ALTHERMA User manual

Daikin

Daikin ALTHERMA User manual

Daikin FWEC1 User manual

Daikin

Daikin FWEC1 User manual

Daikin IM 735-4 Manual

Daikin

Daikin IM 735-4 Manual

Daikin BRC1H62W User manual

Daikin

Daikin BRC1H62W User manual

Daikin QUG-Altherma Interface Instruction manual

Daikin

Daikin QUG-Altherma Interface Instruction manual

Daikin BRC944B2 Instruction manual

Daikin

Daikin BRC944B2 Instruction manual

Daikin DPS Manual

Daikin

Daikin DPS Manual

Daikin DCC601A51 User manual

Daikin

Daikin DCC601A51 User manual

Daikin BACnet Manual

Daikin

Daikin BACnet Manual

Popular Controllers manuals by other brands

BERMAD BIC 2 user manual

BERMAD

BERMAD BIC 2 user manual

Deif SGC 120 user manual

Deif

Deif SGC 120 user manual

Festo SEC-AC-305 Description

Festo

Festo SEC-AC-305 Description

DAYLIFF PVm015 Installation & operating manual

DAYLIFF

DAYLIFF PVm015 Installation & operating manual

Copley Controls Corp. UM03013/C installation guide

Copley Controls Corp.

Copley Controls Corp. UM03013/C installation guide

Omron Z500 Series Setup manual

Omron

Omron Z500 Series Setup manual

Osram DALI PRO 2 IoT manual

Osram

Osram DALI PRO 2 IoT manual

Rain Bird ESP-LX Installation, programming, & user manual

Rain Bird

Rain Bird ESP-LX Installation, programming, & user manual

Honeywell ICON 100 SERIES user guide

Honeywell

Honeywell ICON 100 SERIES user guide

Colordreamer Titan A8 Pro manual

Colordreamer

Colordreamer Titan A8 Pro manual

FHP AHP 641-224 user guide

FHP

FHP AHP 641-224 user guide

SattControl SattCon 05-25 Installation and Maintenance

SattControl

SattControl SattCon 05-25 Installation and Maintenance

Toro TEMPUS DC LCD user guide

Toro

Toro TEMPUS DC LCD user guide

Seneca S21 manual

Seneca

Seneca S21 manual

Hayward GVA-24 installation manual

Hayward

Hayward GVA-24 installation manual

Moxa Technologies ioThinx 4500 Series Quick installation guide

Moxa Technologies

Moxa Technologies ioThinx 4500 Series Quick installation guide

Danfoss VLT AutomationDrive FC 300 instruction manual

Danfoss

Danfoss VLT AutomationDrive FC 300 instruction manual

gefran 600 user manual

gefran

gefran 600 user manual

manuals.online logo
manuals.online logoBrands
  • About & Mission
  • Contact us
  • Privacy Policy
  • Terms and Conditions

Copyright 2025 Manuals.Online. All Rights Reserved.