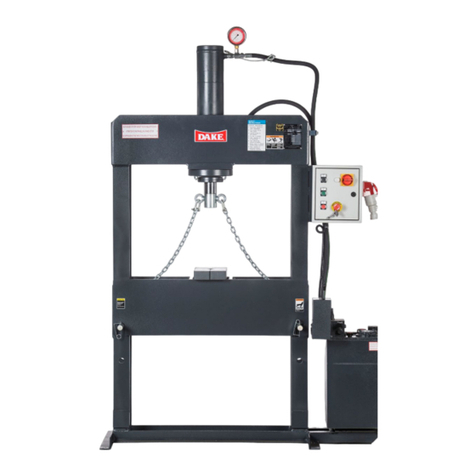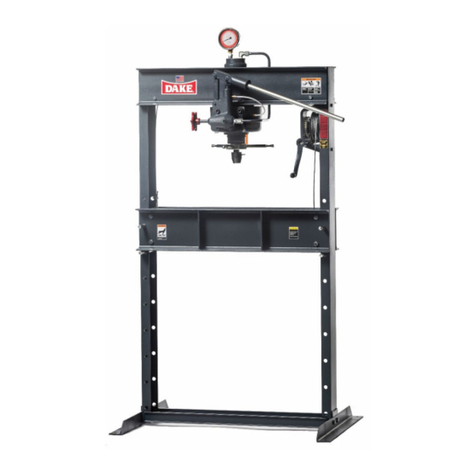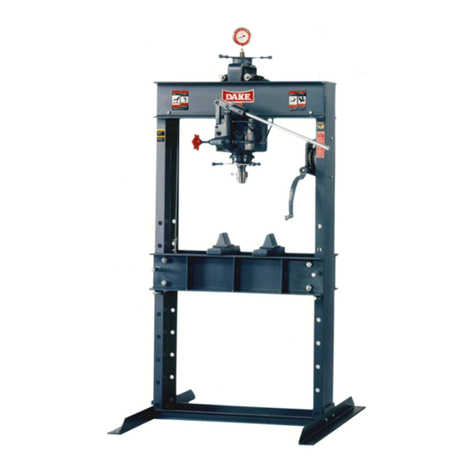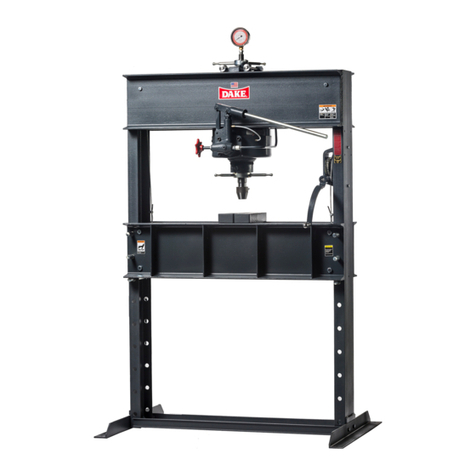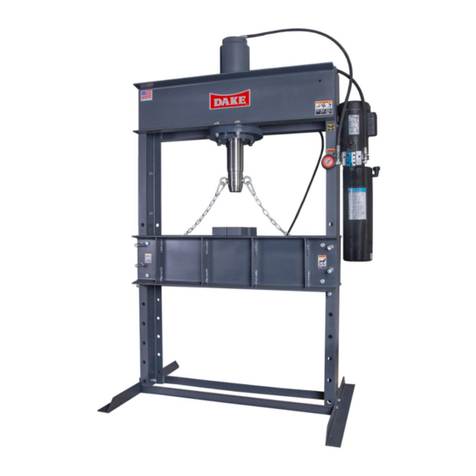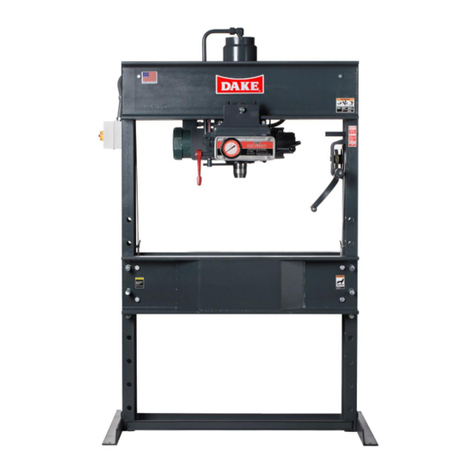
Model 8-025, 8-050, 8-075 & 8-150 03/14
3
OPERATIONS
The press has been completely tested at the factory and after setting up according to instructions above, the
press is ready for operation. However, it is necessary for the operator to acquaint themselves with the
controls.
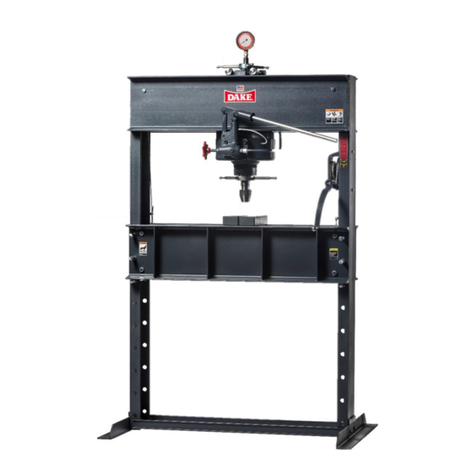
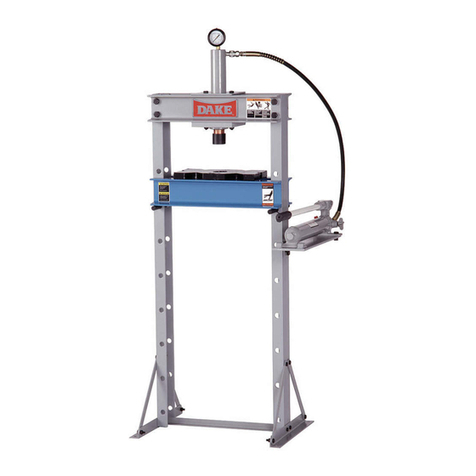
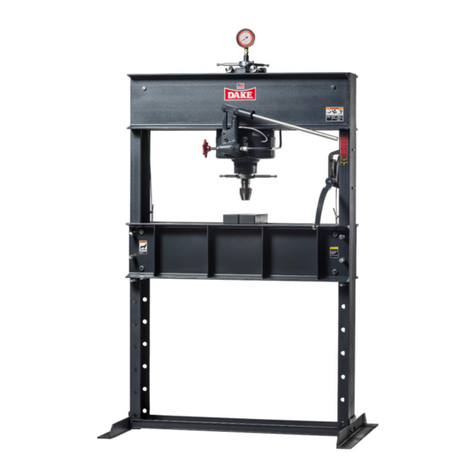
1. Handcrank is provided to raise and lower table channels to proper height for work. When desired
height is obtained insert table pins. Models 8-025 and 8-050 use 2 pins on each side (4 total) and
Models 8-075 and 8-150 use 3 pins on each side (6 total).
NOTE: Be sure all table pins are in place and in as far as they can go before pressure is applied,
also slack off on the cable.
2. The two table plates and two V-blocks are used for supporting the work in process.
3. The control handle on the right side of the press is used for operation of the press. When the control
handle is held in the down position, the ram will move down. When the control handle is held in the up
position, the ram will move up. Upon release, the control handle will return to the neutral position and
ram motion will stop. Pressure builds upon contact with the work. It is not necessary to stop the motor
after each operation.
4. The relief valve located in the manual valve has been set at the factory to open at the maximum
tonnage of the press. The valve can be adjusted by removing the hex cap nut located on the lower left
hand front corner of the manual valve. Turning the adjusting screw counterclockwise lowers the
setting.
MAINTENANCE
CAUTION: When disconnecting any parts of this machine be extremely careful that all parts are clean
to prevent entrance of dirt in the hydraulic system.
1. If press loses Pressure:
a. Check all tubing joints for leaks and tighten the tube nuts.
b. Trouble shoot throttling 4-way valve. Refer to bulletin on Dynex throttling 4-way valve.
c. Worn cup leather (Serial No < 192522) or T-ring seal (Serial No > 192523). If none of the
previous conditions seem to have been the cause of the trouble, the cup leather or T-ring seal
may be worn out or damaged. To inspect this it is necessary to drain the oil and remove the
workhead from the press frame. Remove tube assembly (Item No. 48 & 49). Insert a rod into
the hole located on the top side of cylinder and unscrew workhead assembly from frame. Insert
rod into the hole on piston guide (item 47) and unscrew from cylinder. Remove piston from
cylinder. The cup leather or T-ring seal can now be inspected and replaced if necessary. Also
at this time, inspection of rod seal (item 44) and O-ring seal (item 43) is recommended.
Replace if necessary in reverse order being careful not to damage the T-ring seals and O-ring
seal.
2. If press will not develop rated tonnage.
a. Relief valve not set properly. This valve is located in the lower left hand front corner of the
manual valve. The valve has been set at the factory to by-pass oil from the pump back to the
reservoir when the pressure reaches rated capacity. To expose the relief valve for adjusting
remove the control handle ball (item 53), the control panel (item 57), and the hex cap nut. The
load on the spring which governs the pressure at which the valve will by-pass is adjusted by
turning the adjusting screw clockwise to raise the setting. Replace the hex cap nut, control
panel, and control handle ball after adjusting. The relief valve should not be tampered with after
it is once set at the capacity of the press.
b. Trouble shoot throttling 4-way valve. Refer to bulletin on Dynex throttling 4-way valve.
c. Worn cup leather or T-ring seal (see Section I, item C above)
3. If nothing happens when press is operated.
a. If motor does not run, the electrical circuit should be investigated.

